
Gluten-free breadcrumbs may seem simple, but homemade can make a big difference in your cooking. Fresh, flavorful, and easy to make, these crumbs are the perfect way to use up bread that's past its prime. Whether you want fine crumbs for a panade or panko-style coarse flakes for super-crispy cutlets, this recipe shows you exactly how to make gluten free breadcrumbs at home-better, fresher, and without the additives in store-bought brands.
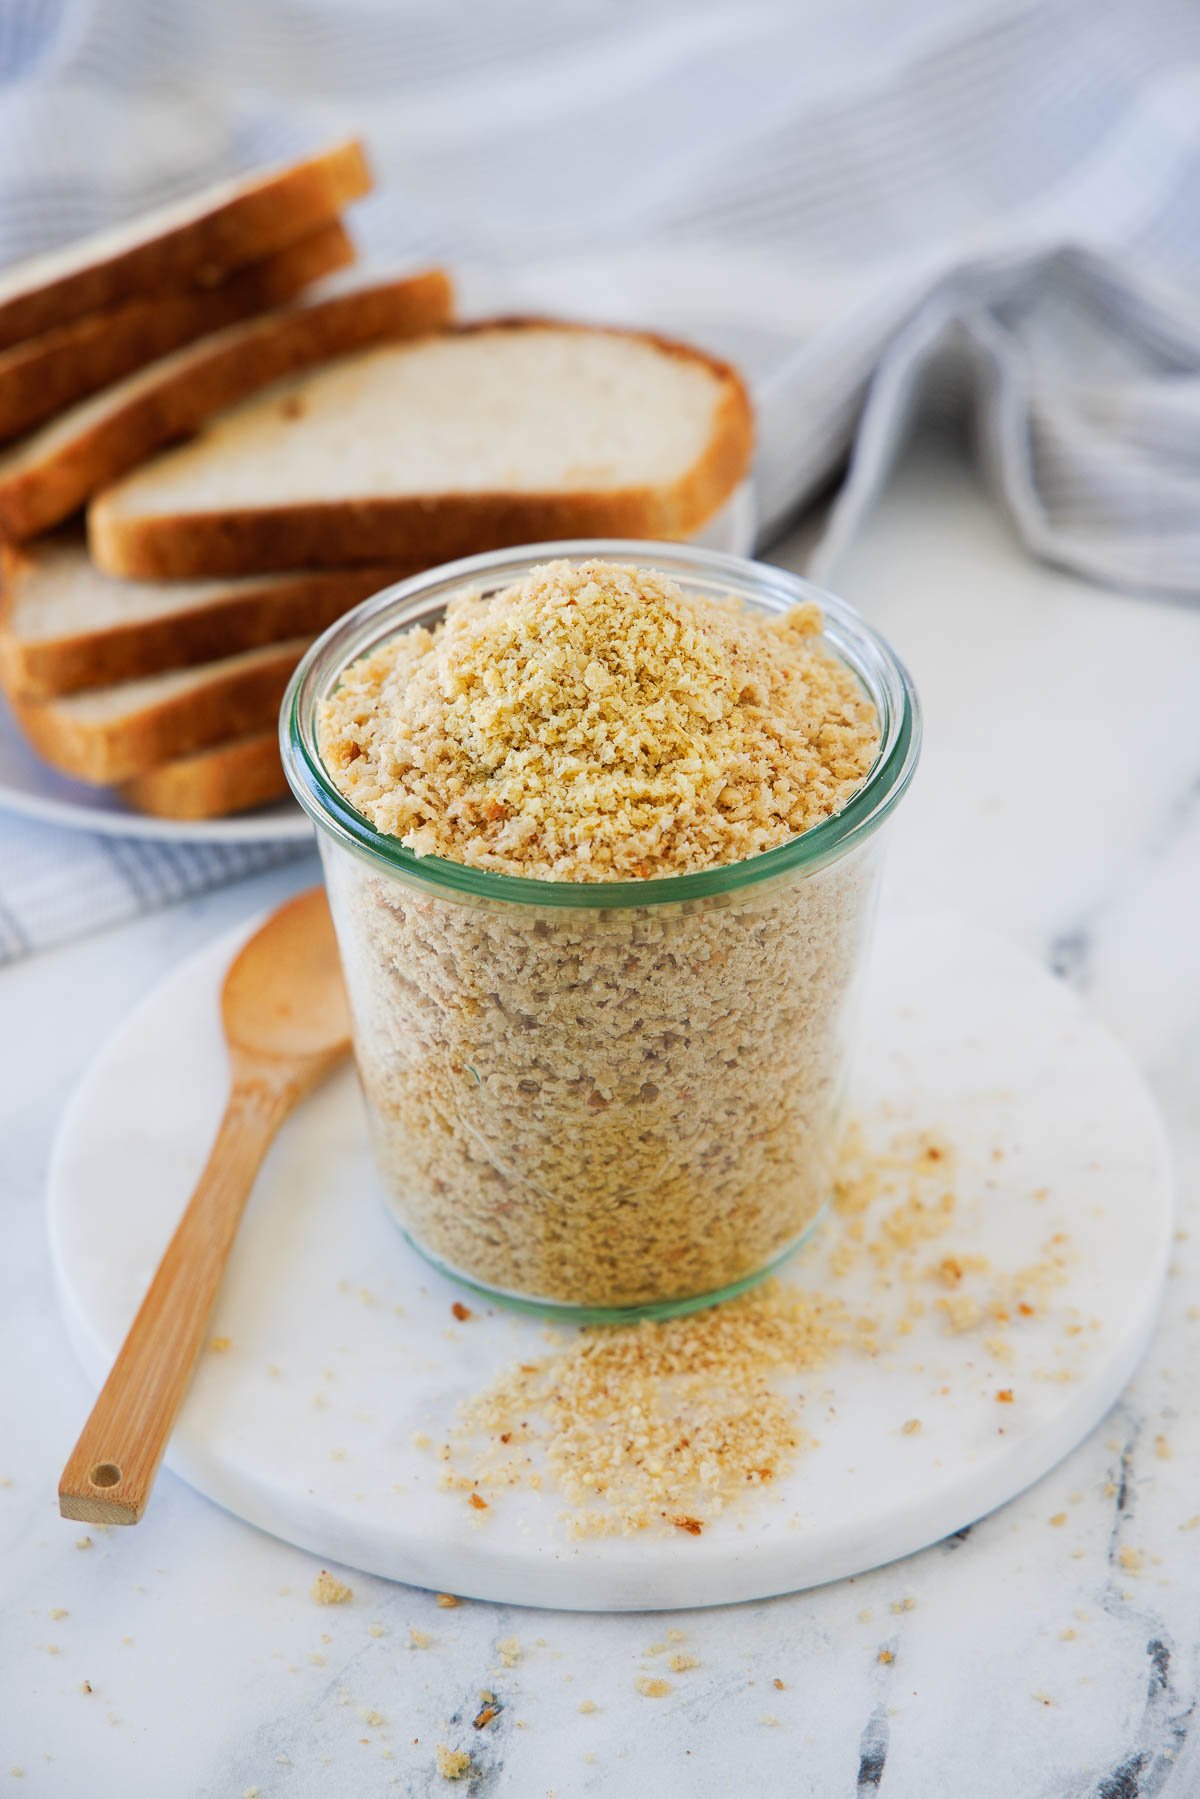
You can tailor this gluten-free breadcrumbs recipe to your needs-from light, airy gluten-free panko-style flakes for crispy coatings to fine, seasoned gluten-free breadcrumbs for extra flavor. Use them in meatballs, mac and cheese, or as a crunchy topping for roasted vegetables and casseroles. Start with your favorite bread labeled gluten-free and, in about 30 minutes, you'll have fresh, flavorful crumbs ready to use. I've included tips for making gluten free bread crumbs without a food processor and for storing breadcrumbs for later.
Recipe
- Why You'll Love Gluten-Free Breadcrumbs
- What You'll Need
- How to Make Gluten-Free Breadcrumbs
- Fresh vs. Toasted vs. Panko-Style Gluten-Free Breadcrumbs
- How to Use Gluten-Free Breadcrumbs
- Storage & Shelf Life (table)
- Recipe FAQs
- Did You Make This Recipe?
- Recipes With Breadcrumbs
- Did You Make This Recipe?
- 📖 Recipe
- 💬 Comments
Why You'll Love Gluten-Free Breadcrumbs
- Fresh flavor - Homemade beats store-bought every time.
- Your texture, your way - Fine for making a panade (binding), toasted for gratins, panko-style coarse for crispy cutlets and air-fryer recipes.
- Zero waste - The perfect use for stale or leftover gluten-free bread.
- Clean ingredients - No preservatives, excess sodium, or mystery additives.
- Freezer-friendly - Make a batch and keep it on hand for quick, last-minute cooking.
Homemade gluten-free croutons are another terrific thing to make homemade!
What You'll Need

- Gluten-free bread - Any variety you like: white, whole grain, artisan, or sourdough. The bread you choose will determine the flavor, texture, and color of your breadcrumbs. Choose high-quality bread with clean ingredients and no unnecessary additives. Here is the GF bread I often buy if you're looking for a good option. And of course this works with wheat bread too.
Substitutions & Variations
- Seasoned breadcrumbs - Add dried herbs (Italian seasoning, parsley, basil, oregano), plus a pinch of garlic powder and salt, for homemade gluten-free Italian breadcrumbs.
- Seasoned breadcrumbs - For Italian-style gluten-free breadcrumbs, see notes in the recipe card, adding dried Italian seasoning.
- Crusts or no crusts - Remove crusts for a lighter texture and pale color, or keep them on for more crunch, rustic texture, and deeper flavor.
You can also use gluten-free croutons to make this chicken pasta Caesar salad.
Chef's Tip - Skip the parchment: Use bare, light aluminum sheet pans so the crumbs contact hot metal; they dry faster and crisp more evenly. Liners (parchment or silicone) insulate and encourage steaming. If you must use parchment and add 2-3 minutes and stir once more. Dark pans brown quicker, so check early. No oil or spray needed.
How to Make Gluten-Free Breadcrumbs
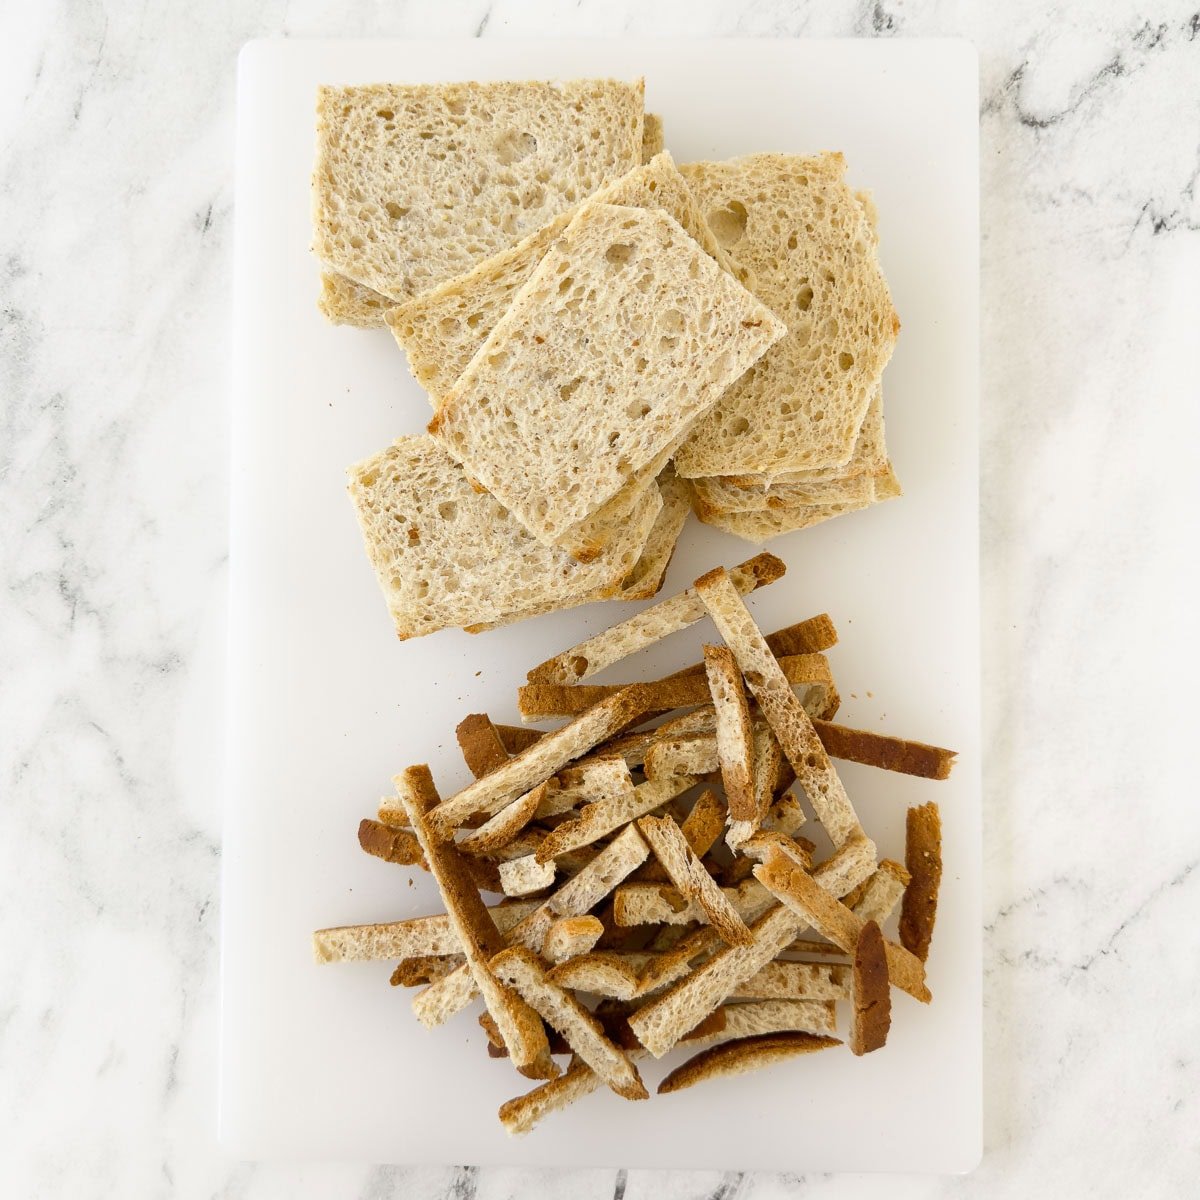
- Pre-heat your oven to 300°F. Either trim crusts from the bread or leave them on.
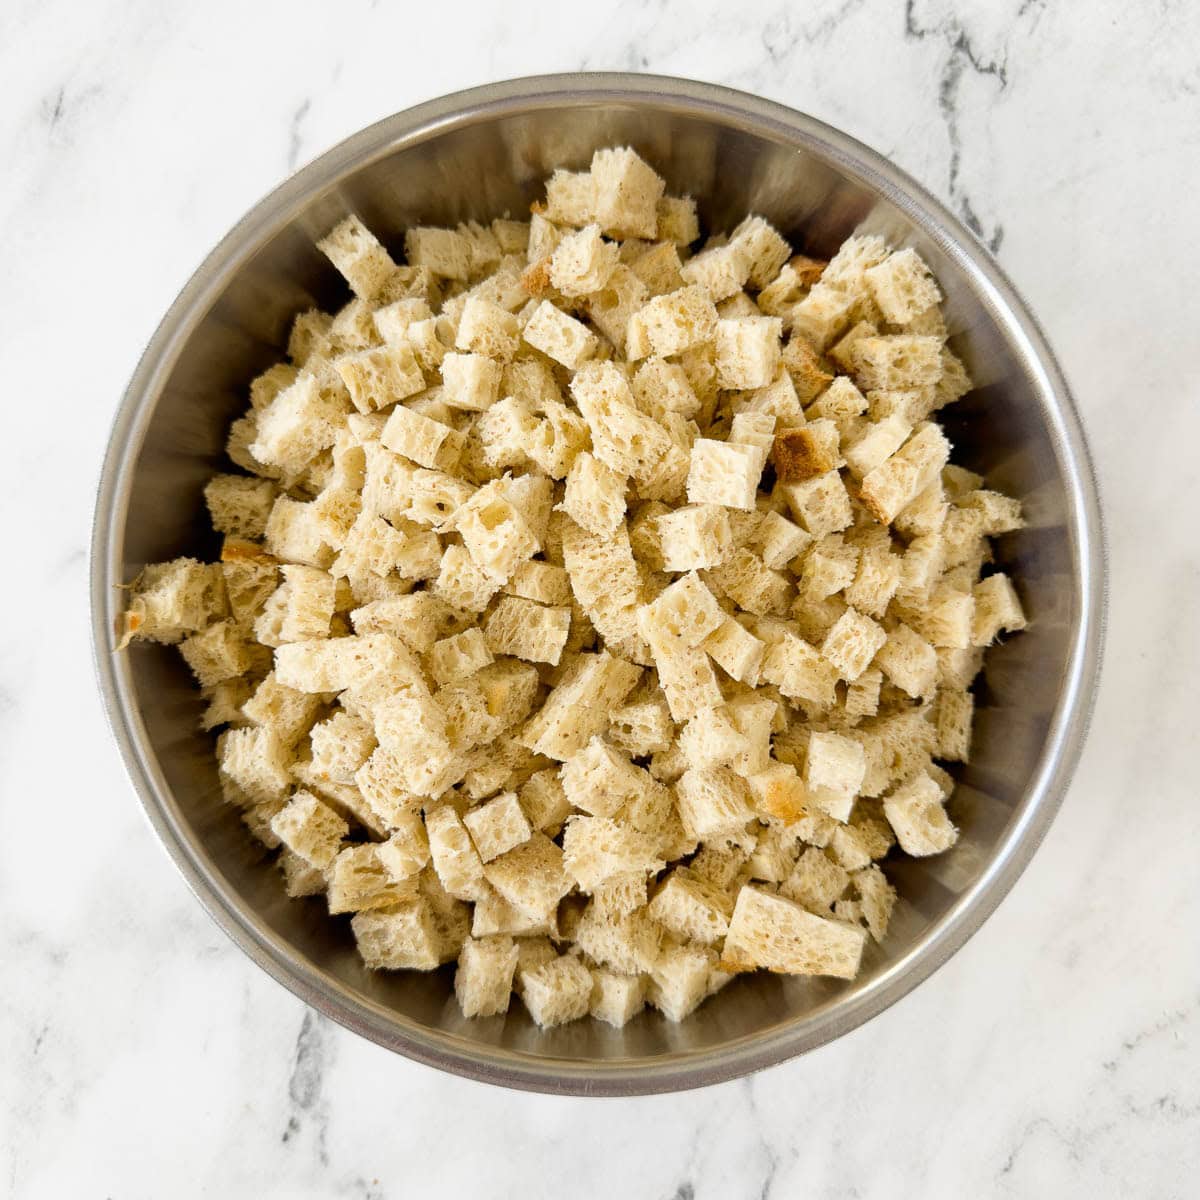
- Cut bread into cubes or tear into small pieces. If you have a food processor, go to next step. If not, toast the cubes, then crush by hand.
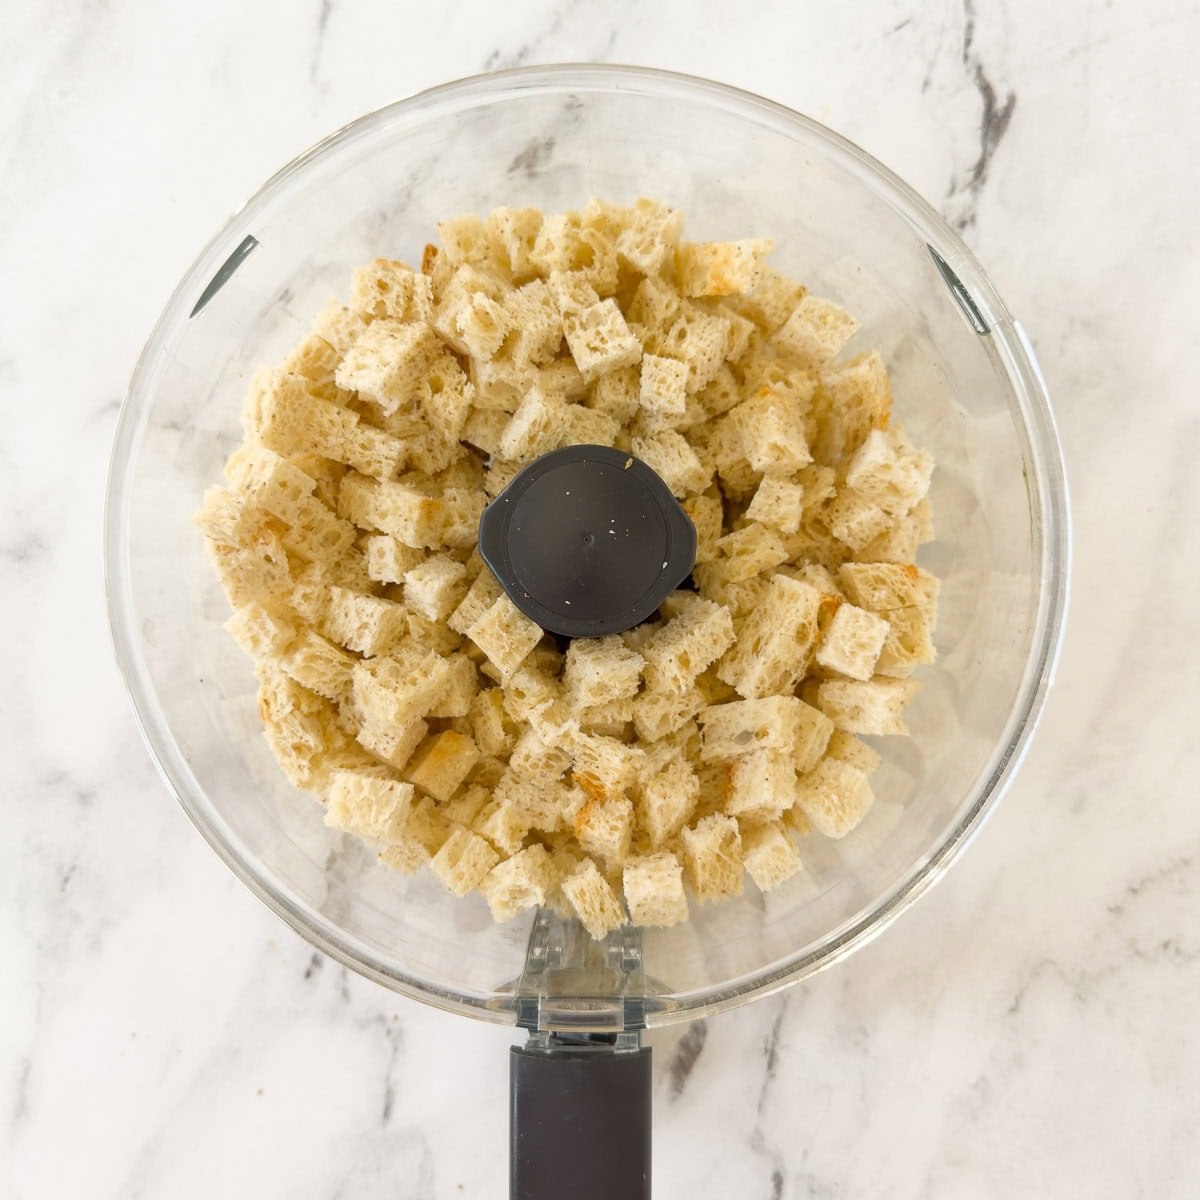
- Add the bread cubes to the food processor. Don't overload, do in two batches if needed.
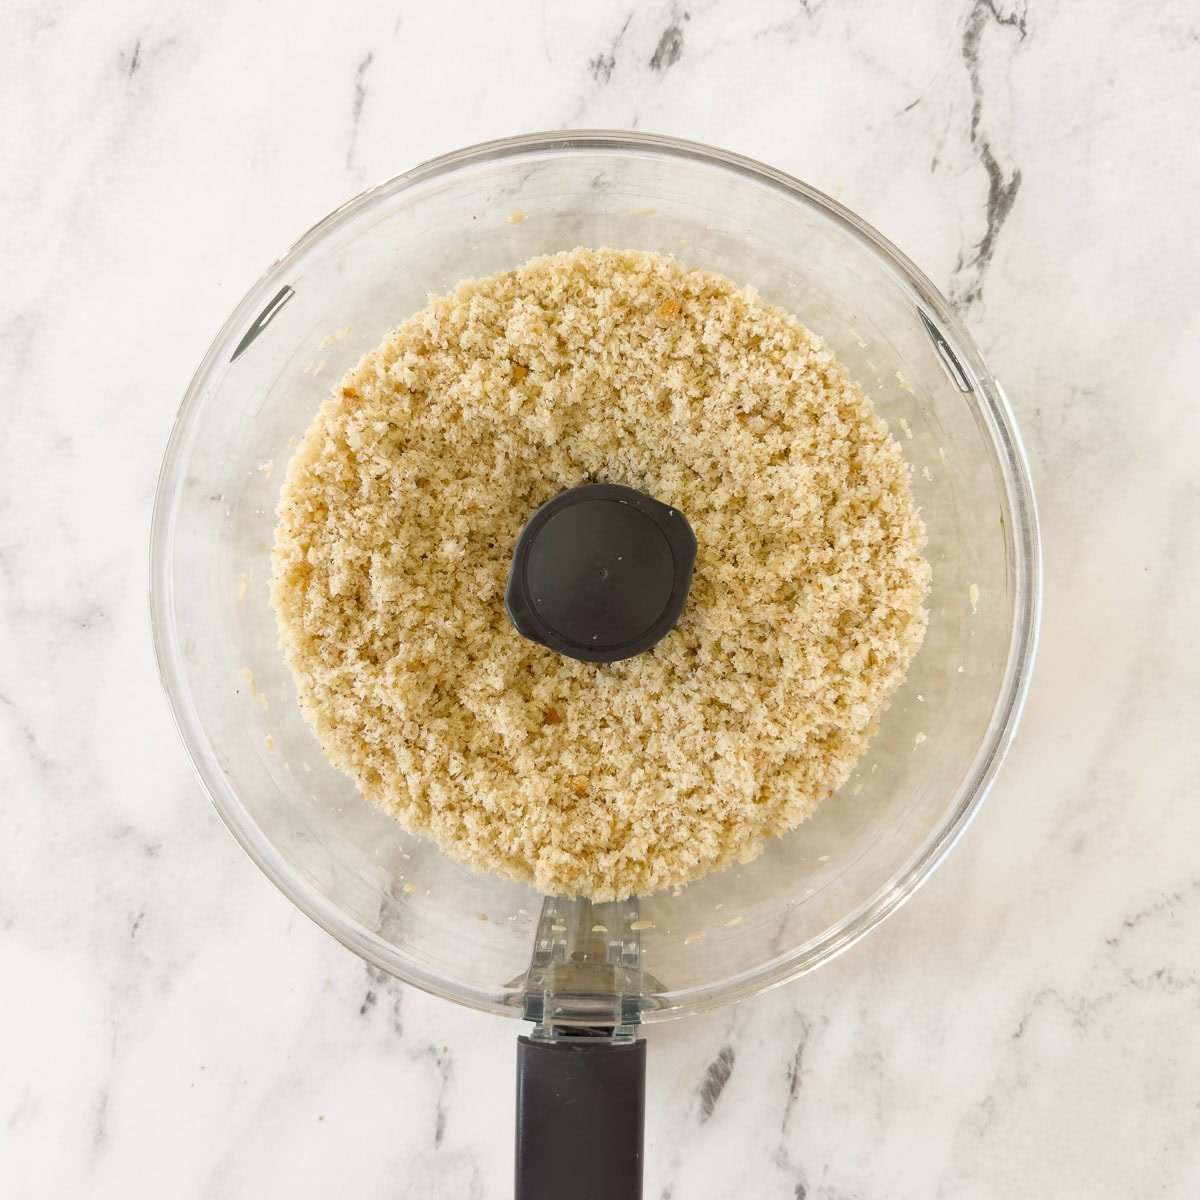
- Pulse until bread forms fine crumbs. You might need to process the breadcrumbs in two batches.
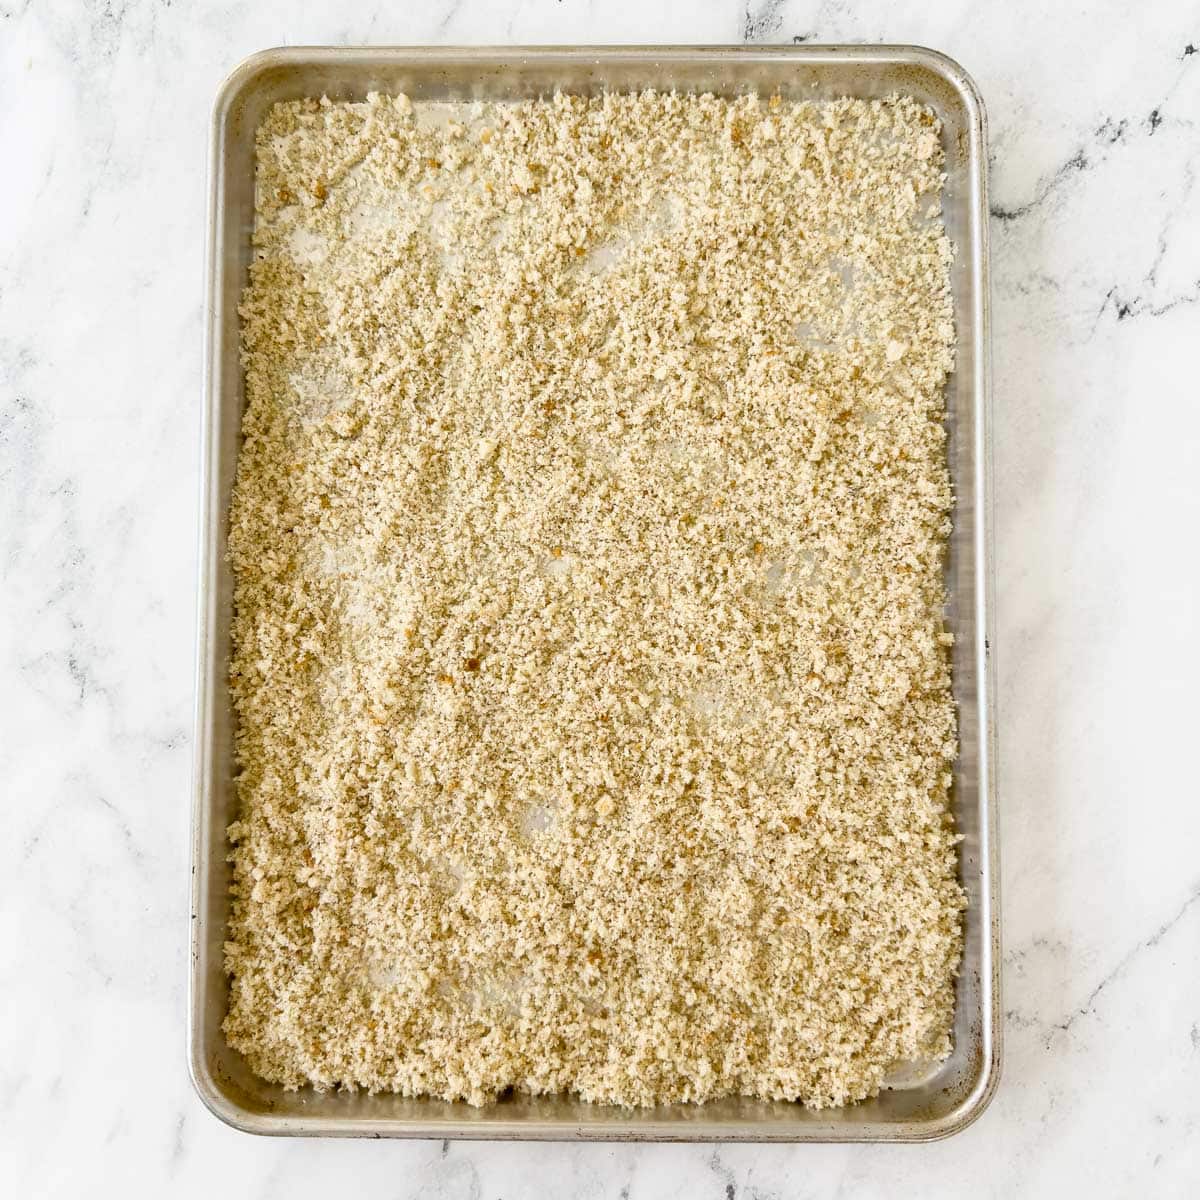
- Spread on a rimmed baking sheet (s) and bake until crumbs are golden and dry. If you are using just one half sheet rimmed baking sheet, turn them over about half way through.
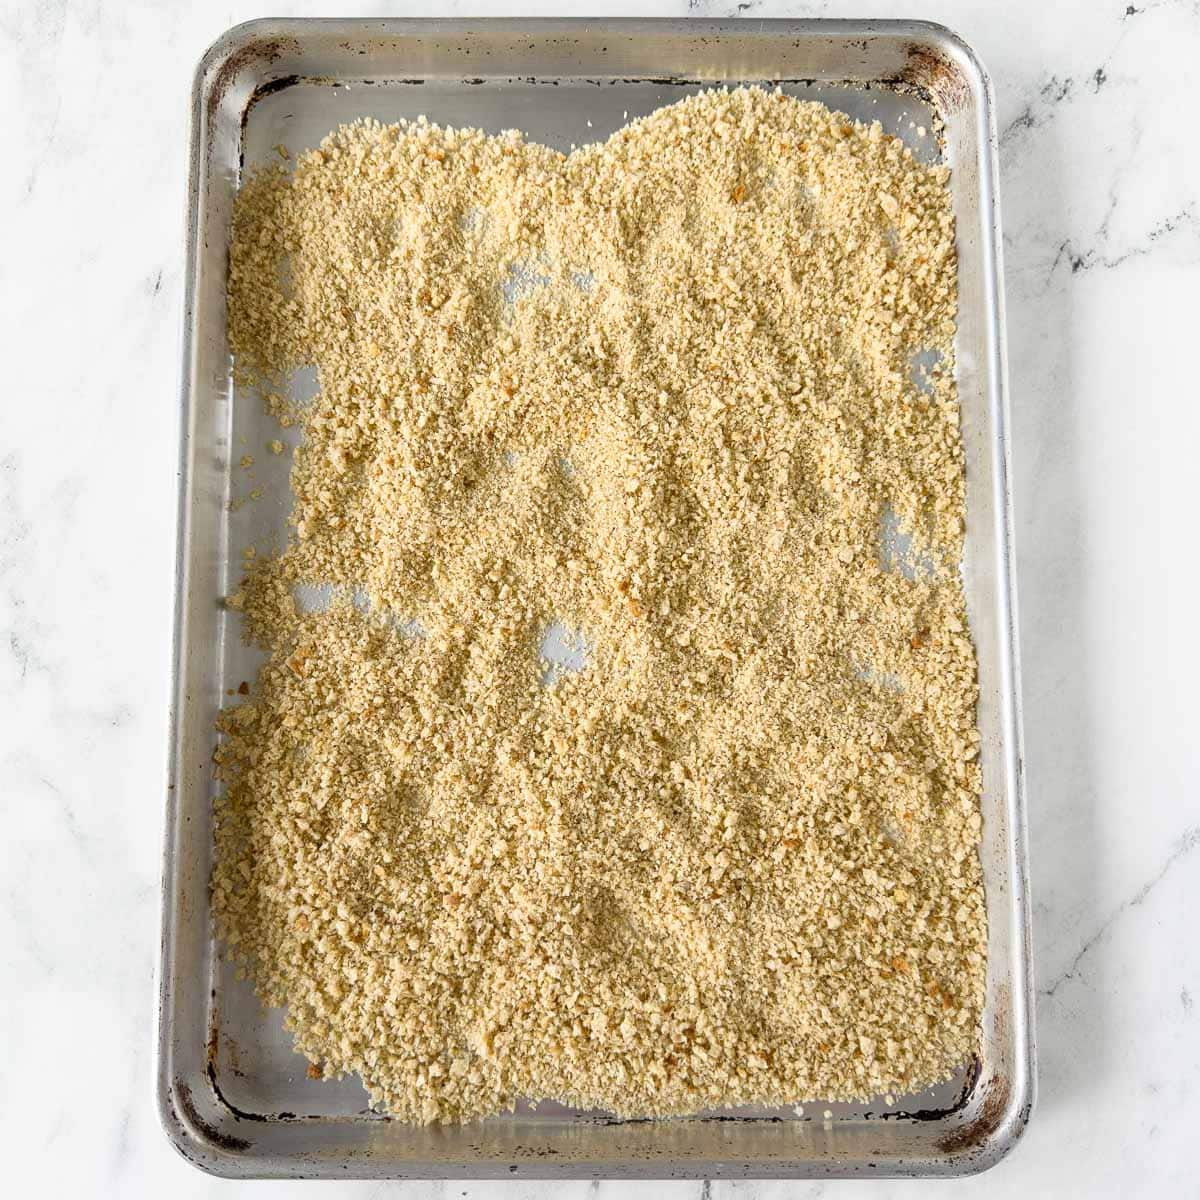
- Toasted breadcrumbs. You can also split them between two baking sheet for faster baking (drying), just watch your timing. Leave them coarse or process again to refine.
Chef's Tip - How to Tell When Homemade Gluten-Free Breadcrumbs Are Dry Enough: You'll know they're ready when you can smell their toasty aroma, they're lightly golden, and they move freely when you shake the baking sheet - no clumps or damp spots. And to refine just a bit, rub them between your hands.
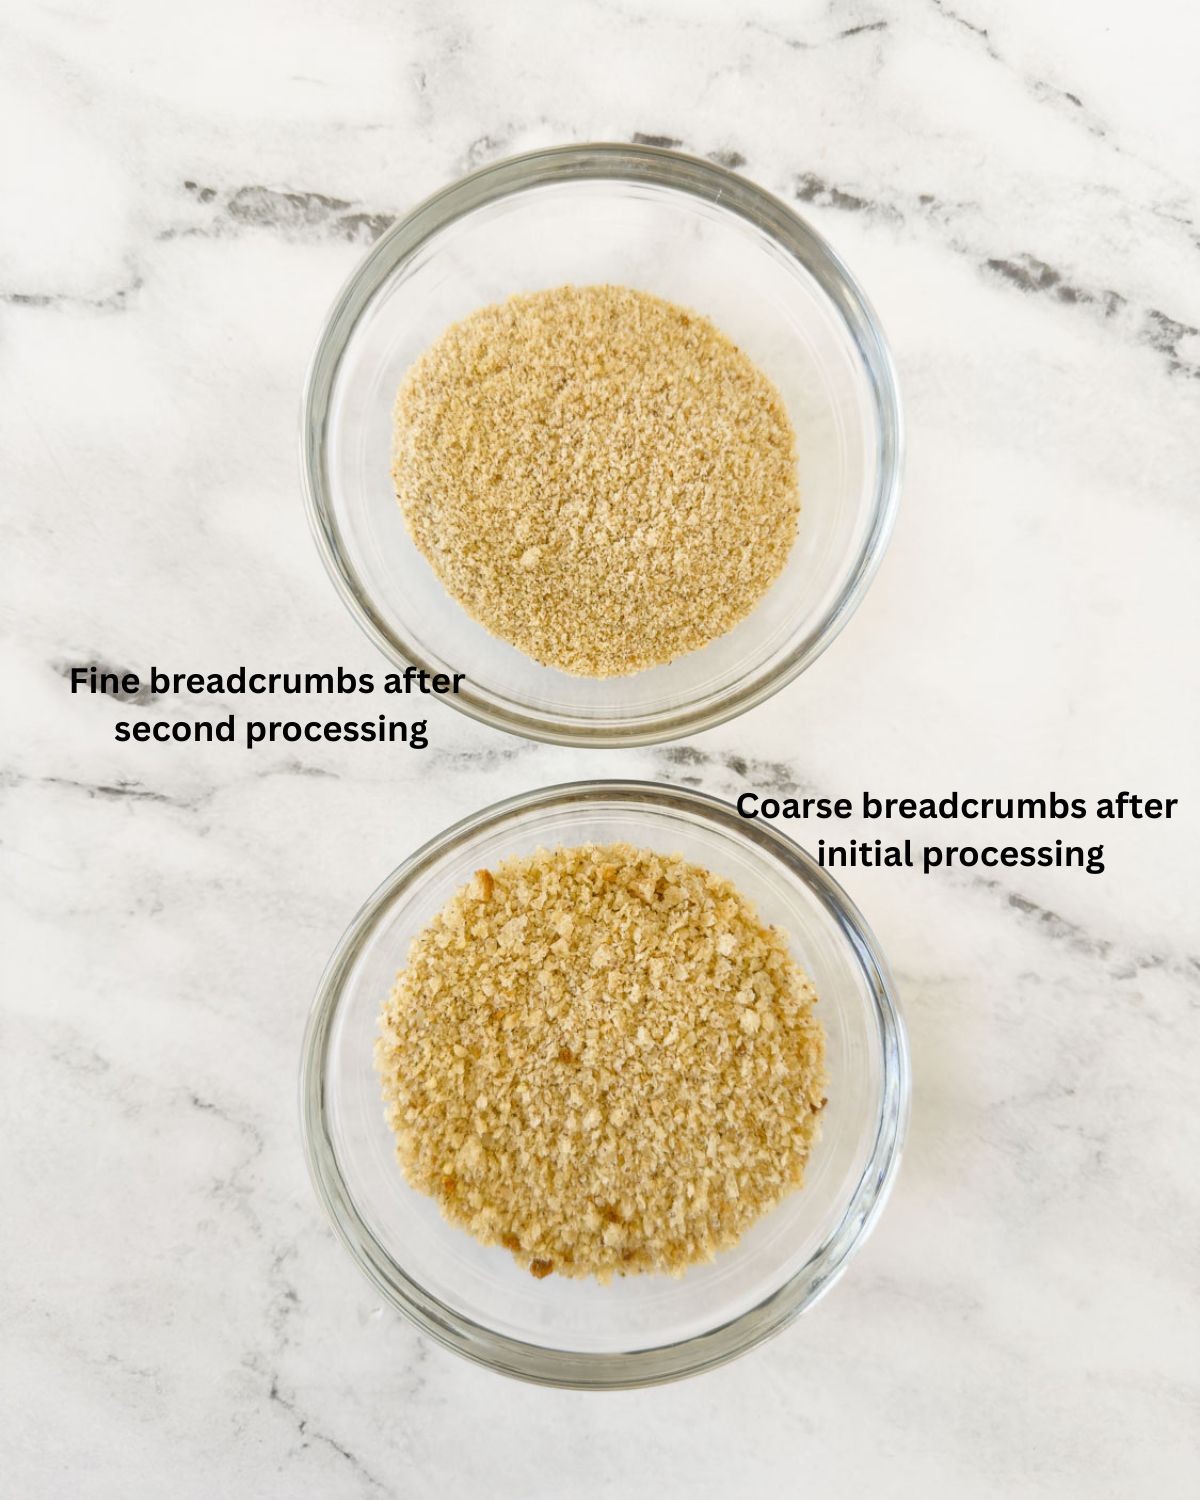
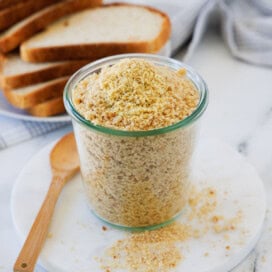
Chef's tip for texture. Depending on the recipe needs, you can always toss breadcrumbs back in the food processor one last time after they are cool and pulse for about 45 seconds to refine. The lead photo at the top is coarse breadcrumbs, more panko-style, and the photo above shows different stages.
Making Breadcrumbs Without a Food Processor
No food processor? No problem. Trim the crusts (or leave them on for more texture) and cut the bread into small cubes. Toast the cubes as directed above until golden and crisp. Transfer to a large, sealed bag and crush with a rolling pin until you have fine crumbs. The texture will be a little more rustic and less uniform-but still delicious and perfect for most recipes.

Fresh vs. Toasted vs. Panko-Style Gluten-Free Breadcrumbs
Most packaged breadcrumbs are toasted, giving them a longer shelf life and a lightly nutty flavor. With homemade gluten-free breadcrumbs, you can choose the texture that fits the job:
- Fresh (untoasted) - Soft, moisture-absorbing crumbs; best for panade in meatballs/meatloaf or stuffing where tenderness matters.
- Toasted (dry) - Light and crisp; best for casserole/ gratin toppings and finishing roasted veg. Stores longer and stays crunchy.
- Panko-style (coarse, airy flakes) - Very coarse dried crumbs from GF sandwich bread (trim crusts for the lightest flakes). Best for breaded cutlets and air-fryer or oven "fried" textures. Keep flakes pale in color and allows the cooking build color.
Chef's tip: What's the difference between seasoned breadcrumbs, plain breadcrumbs, and gluten-free breadcrumbs? Seasoned breadcrumbs are usually store-bought with herbs and salt added. Plain breadcrumbs are just ground dried bread. Gluten-free breadcrumbs can be either plain or seasoned - the only difference is they're made with gluten-free bread. Making them yourself means you control the texture and seasoning.
How to Use Gluten-Free Breadcrumbs
Homemade gluten-free breadcrumbs are endlessly versatile, adding flavor and texture to all kinds of dishes. Use them to:
- Coat proteins - Press onto chicken, fish, or roast pork before baking or pan-frying for a crisp, golden crust.
- Top casseroles - Sprinkle over baked pasta, vegetable bakes, or a zucchini gratin for a crunchy finish.
- Bind mixtures - Mix into homemade meatballs, meatloaf, or veggie patties to hold them together.
- Stuff vegetables - Combine with sautéed onions, herbs, and cheese.
- Air-frying - Use the panko-style breadcrumbs for crispy air-fryer chicken cutlets.
Storage & Shelf Life (table)
| Where | How long | How to store / use |
|---|---|---|
| Pantry (toasted, fully dry only) | Up to 1 week | Cool completely; store airtight in a light aluminum or glass jar. Re-crisp at 300°F for 3–5 min if needed. |
| Refrigerator | 1–2 weeks | Airtight container. If you ever see moisture or mold, discard—they weren’t dried enough. |
| Freezer | Up to 3 months | Portion into recipe-size bags or use IQF: spread in a thin layer, freeze 1 hour, then bag so crumbs stay loose. Use straight from frozen or re-crisp briefly. |
Chef's tip for freezing: Always cool breadcrumbs completely before storing to prevent condensation and sogginess.
Recipe FAQs
Yes, thaw it completely first so it toasts evenly.
Almost any variety of bread works, but choose one with good flavor and texture; white for mild crumbs, whole grain for hearty flavor, artisan for rustic crumbs, or gluten-free sourdough for tang.
Not unless you want a very pale, soft crumb. Crusts add flavor, color, and a touch of rustic crunch.
Yes. Dry small cubes, cool, then crush in a zip-top bag with a rolling pin until fine or coarse.
The breadcrumbs weren't fully dry or steam/oil softened them-use toasted dry crumbs, add fat just before topping, bake uncovered last 10 minutes.
Did You Make This Recipe?
If you make homemade breadcrumbs, please comment and let me know, and if you loved it, please give it a 5 star rating! They really help other readers.
Recipes With Breadcrumbs
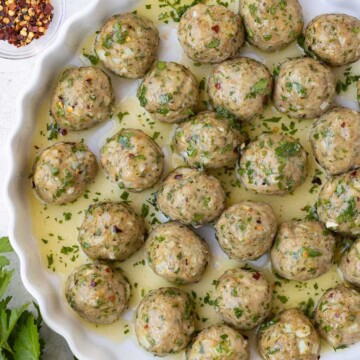
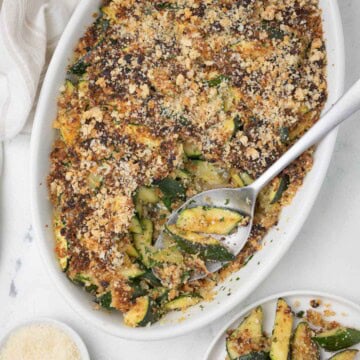
If you've got extra breadcrumbs on hand, put them to good use in these delicious recipes. Try them in one of these ideas to make the most of every batch.


Did You Make This Recipe?
If you make homemade breadcrumbs, please let me know how they came out. I enjoy hearing from you. If you loved the recipe, please give it a 5-star rating! They really help other readers.
📖 Recipe
Homemade Gluten-Free Breadcrumbs
Equipment
- Food Processor optional
- Rimmed baking sheet half sheet size
Ingredients
For plan breadcrumbs
- 1 ½ pound loaf of bread GF or wheat, your choice
Optional for Italian seasoned breadcrumbs (per 1 cup crumbs)
- 1-2 teaspoons dried Italian seasoning
- ½ teaspoon garlic powder
- ¼ teaspoon onion powder
- ¼ teaspoon kosher salt
- ⅛ teaspoon black pepper optional
- 1 tablespoon finely grated Parmesan skip for dairy-free
Would you like to save this recipe?
Instructions
Pre-heat oven and prep bread
- Pre-heat the oven to 300°. Trim crust from bread slices or keep them on for more rustic breadcrumbs. Cut bread into cubes or tear into very small pieces.
Food Processor Instructions
- Process bread cubes by pulsing in a food processor until fine. Divide crumbs between two rimmed baking sheets and bake until crumbs are golden and dry, about 30 minutes. Stir them at half way to check their progress. Timing depends on your oven. If using a single baking sheet where the layer is thicker, stir a few times, they may take longer, or do them in two batches.
By Hand (no food processor) Instruction
- Cut the bread slices into small cubes and bake as cubes. When very dry, cool, place in an airtight bag, and crush fine (or leave more textured) with a rolling pin.
Cooling and Storing
- When done baking, cool crumbs completely and refrigerate or freeze in an airtight container.
For panko-style breadcrumbs
- Dry cubed GF bread at 300°F for 10-15 minutes, then pulse in a food processor in short bursts, or crush in a bag with a rolling pin. Stop while large flakes remain. Sift out fine crumbs and save for toppings. If needed, return flakes to the oven 3-5 minutes to finish drying.
Notes
-
- Room temperature: Store toasted breadcrumbs in an airtight container in the pantry for up to 1 week.
-
- Refrigerator: 1-2 weeks in an airtight container. They'll stay safe longer, but they start losing crispness and flavor after that. And if they ever look moldy toss them. That means you did not get them dry enough.
-
- Freezer: 3-4 months in an airtight, freezer-safe container or bag. Freeze them in recipe-sized portions to make grabbing what you need easy. Thaw at room temperature or toast briefly in a skillet to refresh.
Ayo says
I love this. I can't wait to try it out. Thanks for sharing.
Sally Cameron says
It's the simple things, right?
David says
I made these last night and before putting them in the oven I sprinkled with a fair amount of Italian season and parmesan cheese mixed and if I couldnt see the green from the Italian season I added a bit more then I made burgers and I liked it better than store bought and ended up making 8 slices bread approximately 2 cups ( 4 slices makes about 1 cup ) I will be definitely using this recipe again
Sally Cameron says
Sounds great David!
Sue says
Thanks for this - it worked perfectly! My husband has to go on a low salt diet and I was surprised by the amount of salt in packaged breadcrumbs (as well as other weird ingredients like fish oil!). This way I could use a loaf of bread with low sodium and halve the amount of salt in homemade chicken schnitzels. Thanks! 🙂
Jenny says
Hi can I just put my bread in the toaster and then put them through the food processor?
Sally Cameron says
HI Jenny. Honestly I've never tried that, but you could give it a try and please report back on how it works. The bread needs to very dry, otherwise when you refrigerate it it might get moldy because of the leftover moisture in the crumbs.
Carolina says
Hi, I don’t have a food processor but I do have a Vitamix, can I use it make it?
Sally Cameron says
Hi Carolina. I've never tried that. The tools are different. I don't think it would work. Food processors are great tools and come in many price points. Worth investing in. They last just about forever. KitchenAid and Breville are both good products. If the budget is tight, even look on eBay or Craigslist, hunt around, try second hand stores. Because blenders run at high speeds, eve when you pulse, they are better for pureeing. IF you try it out please comment back with your results. Could be an interesting test.
Catherine henderson says
I make the breadcrumbs then freeze them. They keep really well and can be used straight from the freezer
Sally Cameron says
Smart to freeze them, Catherine, they are always available when you need them. 😉
Mental Woman x says
crumbs
Samantha Smith says
samson7486@gmail.com
What if you do not have a food processor?
Sally Cameron says
Hi Samantha. Try toasting the cubed bread first, then when cool, place in a zip bag, being sure all of the air is pushed out, and crush with a heavy rolling pin. I don't think you will get as fine of crumbs this way, but it might suffice. I could not live without a food processor. These days it is a basic and important piece of kitchen equipment if you like to cook. They are very affordable and come in multiple sizes and prices ranges. I'd suggest you check them out. They are worthwhile, even if you have to save to buy one. Look at both KitchenAid and Breville models.
divya popli says
This is really easy to make at home i always struggle to make it thanks for this idea. you can check my site also at MadoverBrand.
Teresa says
Do you make these everytime you need them or will they stay stored in a container for a bit?
Sally Cameron says
Once they are dry they store well Teresa. I store them in the fridge in an airtight container. Hope that helps!
Ceri Bailey says
Hi. Thanks for putting this recipe up. My son is obsessed with chicken nuggets. He's really fussy and I'm struggling to get him to try new things. I think if I involve him in making real chicken nuggets then that's a battle won. Looking forward to making these real breadcrumbs with him and seeing what other healthier meals we can make together. Thanks so much
ali says
I had a loaf to get smashed and so I made bread crumbs out of it, It looks like flour, almost . Do I need to cook it and how do I store it? http://myrecipesbox.com/browse-recipes/
Sally Cameron says
Hi Ali. Mine does not look as fine as flour. It still has a little texture. Maybe you over-processsed it? Use it anyway and see how it works. If you read under the paragraph entitled "Making Homemade Bread Crumbs" I explain how to bake them. Baking dries them out, otherwise they may get moldy quickly from the moisture. Hope that helps.
Vanessa says
I am trying this for the 1st time, I am using bread rolls that were a little bit stale.
Patricia Brenner says
What is your recipe for macaroni and cheese?
Sally Cameron says
I don't have one on this site for Mac and Cheese Patricia. There is one I developed for The Daniel Plan Cookbook if you can get your hands on a copy of that. While I love good old Mac & Cheese, with eating little pasta and cheese anymore it's something I have not made in ages.
susan says
I admit I haven't tried this yet, but plan to make the croutons. I have to put food in a processor alot at work, so my question is...don't you have to dry out the bread before you put it in the processor? I would think the bread would just ball up if it wasn't dried out.
Sally says
Hi Susan. The bread crumbs process nicely when fresh. After oven-drying, if you want them very fine, you can process again. Try it and please report back.