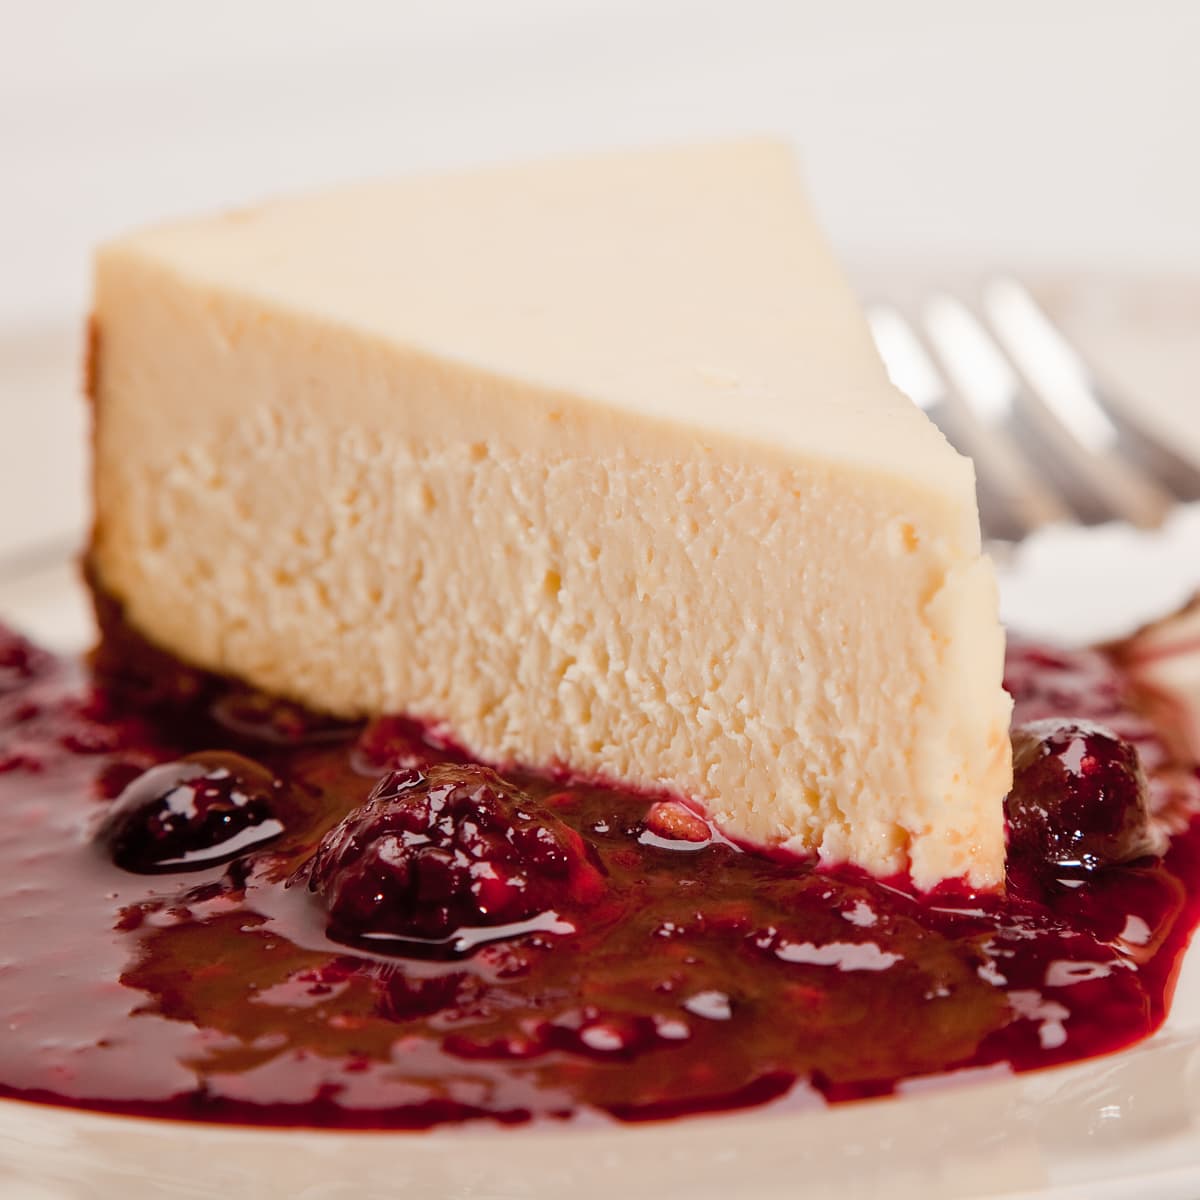
Craving a gluten-free cheesecake? Here's one that's ultra-creamy, rich, and fuss-free. This version bakes perfectly in an Instant Pot or pressure cooker for silky results without cracks and in a fraction of the usual time. Keep it classic and bare, or finish with a simple sour cream layer, fresh berries, or your favorite sauce for the holidays. Naturally gluten-free with a crisp GF crust-and reliably flawless every time.
Cheesecake is a classic favorite, but I don't make it often-it's a rich indulgence, loaded with cream cheese, eggs, and sugar. A full-sized cheesecake serves 12-16, which means a lot of leftovers (and too much temptation in the fridge!). The perfect solution? A small-batch 7-inch or 8-inch cheesecake made right in your Instant Pot-just the right size for a treat without overdoing it.
Jump to:
Why You'll Love Gluten-Free Cheesecake
- It takes way less time than traditional cheesecake.
- Simple ingredients and so easy to make!
- Use whatever toppings you please.
Ingredients You'll Need
- Cream cheese: Get full-fat cream cheese , not low-fat cream cheese.
- Sugar: You can use regular sugar or go lower carb with allulose or allulose and monk fruit blend.
- Eggs: Large are fine.
- Vanilla: Use real vanilla extract. Vanilla paste is good too.
- Lemon: just a little juice and the zest if you please.
- Crust: Use gluten-free or classic graham crackers or ginger cookies.
- Butter: A little unsalted butter for the pan and crust.
Please see the recipe card for measurements.
Substitutions and Variations
- Use almond extract instead of vanilla extract.
- Eliminate sugar by using powdered allulose or a monk fruit-allulose blend. It works great. I use the powdered allulose (⅔ cup).
- Varying your toppings gives you lots of variations.
- Stir ½ cup mini chocolate chips into the batter before pouring it into the pan. Stir them in 1 teaspoon of cornstarch before adding them to the batter-this helps them stay evenly distributed...or melt them and swirl into the batter.
Chef's Tip - Classic Sour Cream Topping
For a smooth, tangy finish that also hides any small surface cracks, combine 1 cup sour cream with 2-3 tablespoons sugar and ½-1 teaspoon vanilla. Spread it over the slightly cooled cheesecake (it can still be just warm), then chill until the topping is set and the cheesecake is completely cold.
How to Make Gluten-Free Cheesecake (Instant Pot)
Pressure Cooker Set Up
Prepare a foil strip for lifting the cake out of the pressure cooker with an 18" strip of foil and double folding it twice lengthwise. Set trivet inside the pressure cook and add 2 cups of water.
Note - The photos were taken using a stovetop pressure cooker. New photos with my Instant Pot are in the works.

Make the Gluten-Free Crust
For the crust, I use organic, gluten-free ginger snap cookies or graham crackers. To make the crumbs, whirl the cookies in a food processor or put them in a heavy duty zip bag and crush finely with a rolling pin or meat pounder. I like the extra flavor from the ginger cookies. Combine with the melted butter.
Spread a little butter on the bottom and sides of the pan, then press the crumbs into the bottom and a little up the sides.

Mix Batter and Pour
In the bowl of a food processor (or with a hand mixer) puree the room temperature cream cheese and sugar until smooth, about 15 seconds. Blend in the eggs, lemon juice, zest, and vanilla, about another 10 seconds. Do not overwork the batter. Pour batter into the springform.
With the aid of the foil "wings" lift the cheesecake carefully into the pressure cooker. Fold the foil strips down so that they do not interfere with closing the lid. Lock the lid on and set the Instant Pot to high pressure for 19 minutes.
Note - If you use an older stovetop pressure cooker that reaches high pressure (PSI) than an electric Instant Pot, set your timing for 15 minutes.
Finishing the Cheesecake
When time is up, press the cancel button and allow the pressure cooker to go through a natural release for 10 minutes, then release any extra pressure manually. A gentle jiggle in the middle is exactly what you want. The center will firm up as it chills. If the edges are set and the center wobbles a little it's done.
Cool on a wire rack at room temperature and chill overnight. It's amazing. After a few hours or an overnight chill it becomes more dense and velvety like a traditional cheesecake.

Make-Ahead Tips
Cheesecake is one of the best make-ahead desserts. Prepare it 1-2 days in advance and keep it covered in the refrigerator until ready to serve. The texture actually improves after a full overnight chill, becoming even smoother and more sliceable.
Add any toppings-berries, whipped cream, sauces, or the sour cream layer-just before serving or after the cheesecake is fully chilled.
Serving Suggestions
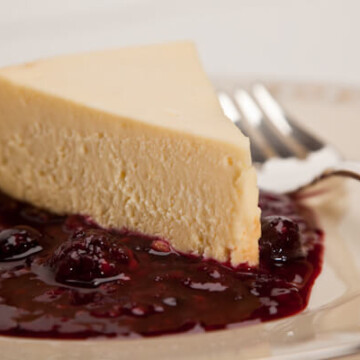
Serve gluten-free cheesecake well-chilled for the smoothest, creamiest texture. It's wonderful just as it is, or dress it up for the season with fresh berries, a spoonful of blueberry compote, or a simple drizzle of melted chocolate. A dollop of lightly sweetened whipped cream is always welcome.
For holiday dinners, pair it with a bright cranberry sauce, a swirl of strawberry coulis, or a dusting of cocoa or cinnamon for a festive finish. This cheesecake slices beautifully, making it a great make-ahead dessert for entertaining.
Storing
Cover the cheesecake tightly and refrigerate for 4 days.
Recipe FAQs
Yes. Any classic graham cracker or cookie-crumb crust works perfectly if you don't need the cheesecake to be gluten-free. The filling stays the same.
Yes. A hand mixer works very well for this smaller cheesecake. Mix on low speed and stop as soon as the batter is smooth-especially after adding the eggs. A stand mixer isn't ideal for this recipe because the bowl is large and the batter is smaller volume; it tends to incorporate too much air, which can lead to puffing or cracks.
A 7-inch springform or removable-bottom cheesecake pan fits most Instant Pots. If yours is larger or smaller, you may need to adjust the cooking time slightly.
Two things help most: Avoid over-mixing the batter once the eggs are added.
Let the pressure release naturally. Even if a small crack appears, the texture will still be perfect-and toppings easily cover it.
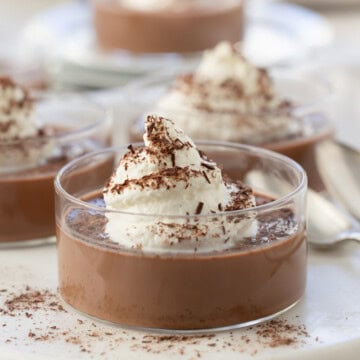
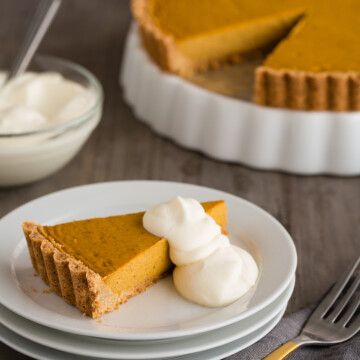
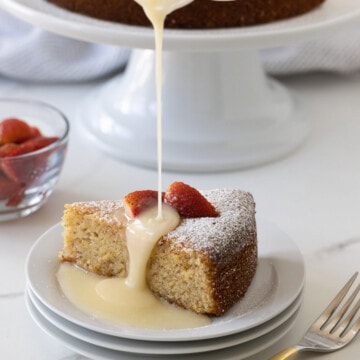
More Dessert Recipes

Please Leave a Comment
If you make this gluten-free cheesecake, please leave a comment and let me know. I love hearing from you and comments also help other readers. Thanks for supporting my site!
📖 Recipe
Gluten-Free Cheesecake (Instant Pot)
Equipment
- Aluminum foil
- 6 quart electric pressure cooker I Use an Instant Pot 6 qt Duo
- Food Processor or electric hand mixer
Ingredients
Crust
- 1 teaspoon soft butter for greasing the pan
- 3 ½ ounces graham crackers/cookies or ginger cookies gluten-free or regular
- 3 tablespoons butter melted
Cheesecake Filling
- 16 ounces regular cream cheese
- ½ cup sugar for no-sugar see notes below
- 2 large eggs
- 1 tablespoon fresh squeezed lemon juice
- 1 teaspoon grated fresh lemon zest optional
- 1 teaspoon fresh orange zest optional
- 1 teaspoon good quality vanilla almond is good too
Instructions
Ready the pressure cooker and pan
- Prepare a foil strip for lifting the cake out of the pressure cooker by taking an 18" strip of foil and double folding it twice lengthwise. Set trivet inside the pressure cook and ad 2 cups of water. Place the foil strip on the bottom of the trivet and up the sides.
Make the crust
- Crush the cookies fine in a food processor or in a zip bag with a rolling pin.In a small bowl, mix the cookie crumbs and the melted butter together, then pour the crumbs into the springform pan. Pat most of the crumbs on the bottom with a little up the sides, pressing to adhere and create a smooth base. You can use your fingers or a flat bottom glass to assist with the coverage and evenness.Butter the bottom and sides of the springform pan with the 1 teaspoon of soft butter.
Make the batter
- In the bowl of a food processor puree the cream cheese and sugar until smooth, about 15 seconds. Blend in the eggs, lemon juice, zest, and vanilla, about another 10 seconds. Do not overwork the batter. Pour batter into the prepared pan.Note: without a food processor use an electric hand mixer and a medium bowl.
- Carefully lower the pan into the pressure cooker, keeping it level. Fold the foil strips down so that they do not interfere with closing the lid. Lock the lid in place. Set the Instant Pot to high pressure for 19 minutes. When time is up, press the cancel button and allow the pressure cooker to go through a natural release for 10 minutes, then release any extra pressure manually.
- Carefully unlock and remove the lid tilting away from you so the hot steam can escape. When steam subsides, remove the pan to a wire rack to cool. If there is a little water on top blot with a paper towel. The cheesecake will look a little puffy almost like a dense soufflé. As it cools it condenses.When cool, cover the cheesecake with plastic wrap and refrigerate the cheesecake for 4 hours or overnight. I put a folded paper towel on top to catch any condensation from the plastic wrap, which should not happen if your cake is totally cool before putting it in the fridge.
- To un-mold after cooling and chilling, run a thin knife around the inside of the pan, release the spring and remove the pan rim. To serve, garnish as desired. To slice easily, see trick below!
Fran says
I have a 4 q figure pressure cooker. Will that work as well?
Sally Cameron says
Hi Fran, honestly I have not tried it in that size of a PC. It should work as long as the springform fits in your model. Hope you try it an enjoy. let me know.