
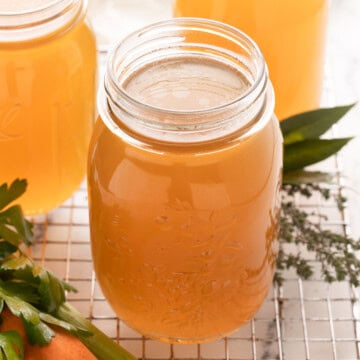
If you've never made homemade turkey broth, it's time you do! After years of making this recipe, I've perfected a method for the richest, most flavorful turkey broth recipe, starting with roasted turkey legs and thighs plus caramelized vegetables. This is truly amazing broth, slow-simmered for hours (or an Instant Pot option) until golden and deeply savory. It's the secret to incredible Thanksgiving gravy, soups, and sauces, with a depth of flavor no store-bought version can touch.
Is turkey stock the same as turkey broth? Basically, yes. Technically, broth is made with meaty turkey pieces, while stock is made mostly from bones. You'll also hear it called turkey bone broth or turkey stock-the terms are often used interchangeably. This recipe is a foundational flavor engine for your Thanksgiving gravy and for soups, stews, and risotto after.
Jump to:
Why You'll Love this Turkey Broth Recipe
- Rich flavor, simple process - Roasting the turkey pieces and vegetables first creates a deeply flavored broth with almost no extra effort.
- Two options - Stovetop or Instant Pot/pressure cooker, both mostly hands off.
- Better than store-bought - The depth, aroma, and clean ingredients make this homemade broth unbeatable.
- Make ahead and freeze - Break the process into two easy days, freeze portions for soups, sauces, and gravies later.
To make a terrific turkey soup, use this recipe for chicken vegetable soup and swap leftover turkey and turkey broth.
Ingredients You'll Need
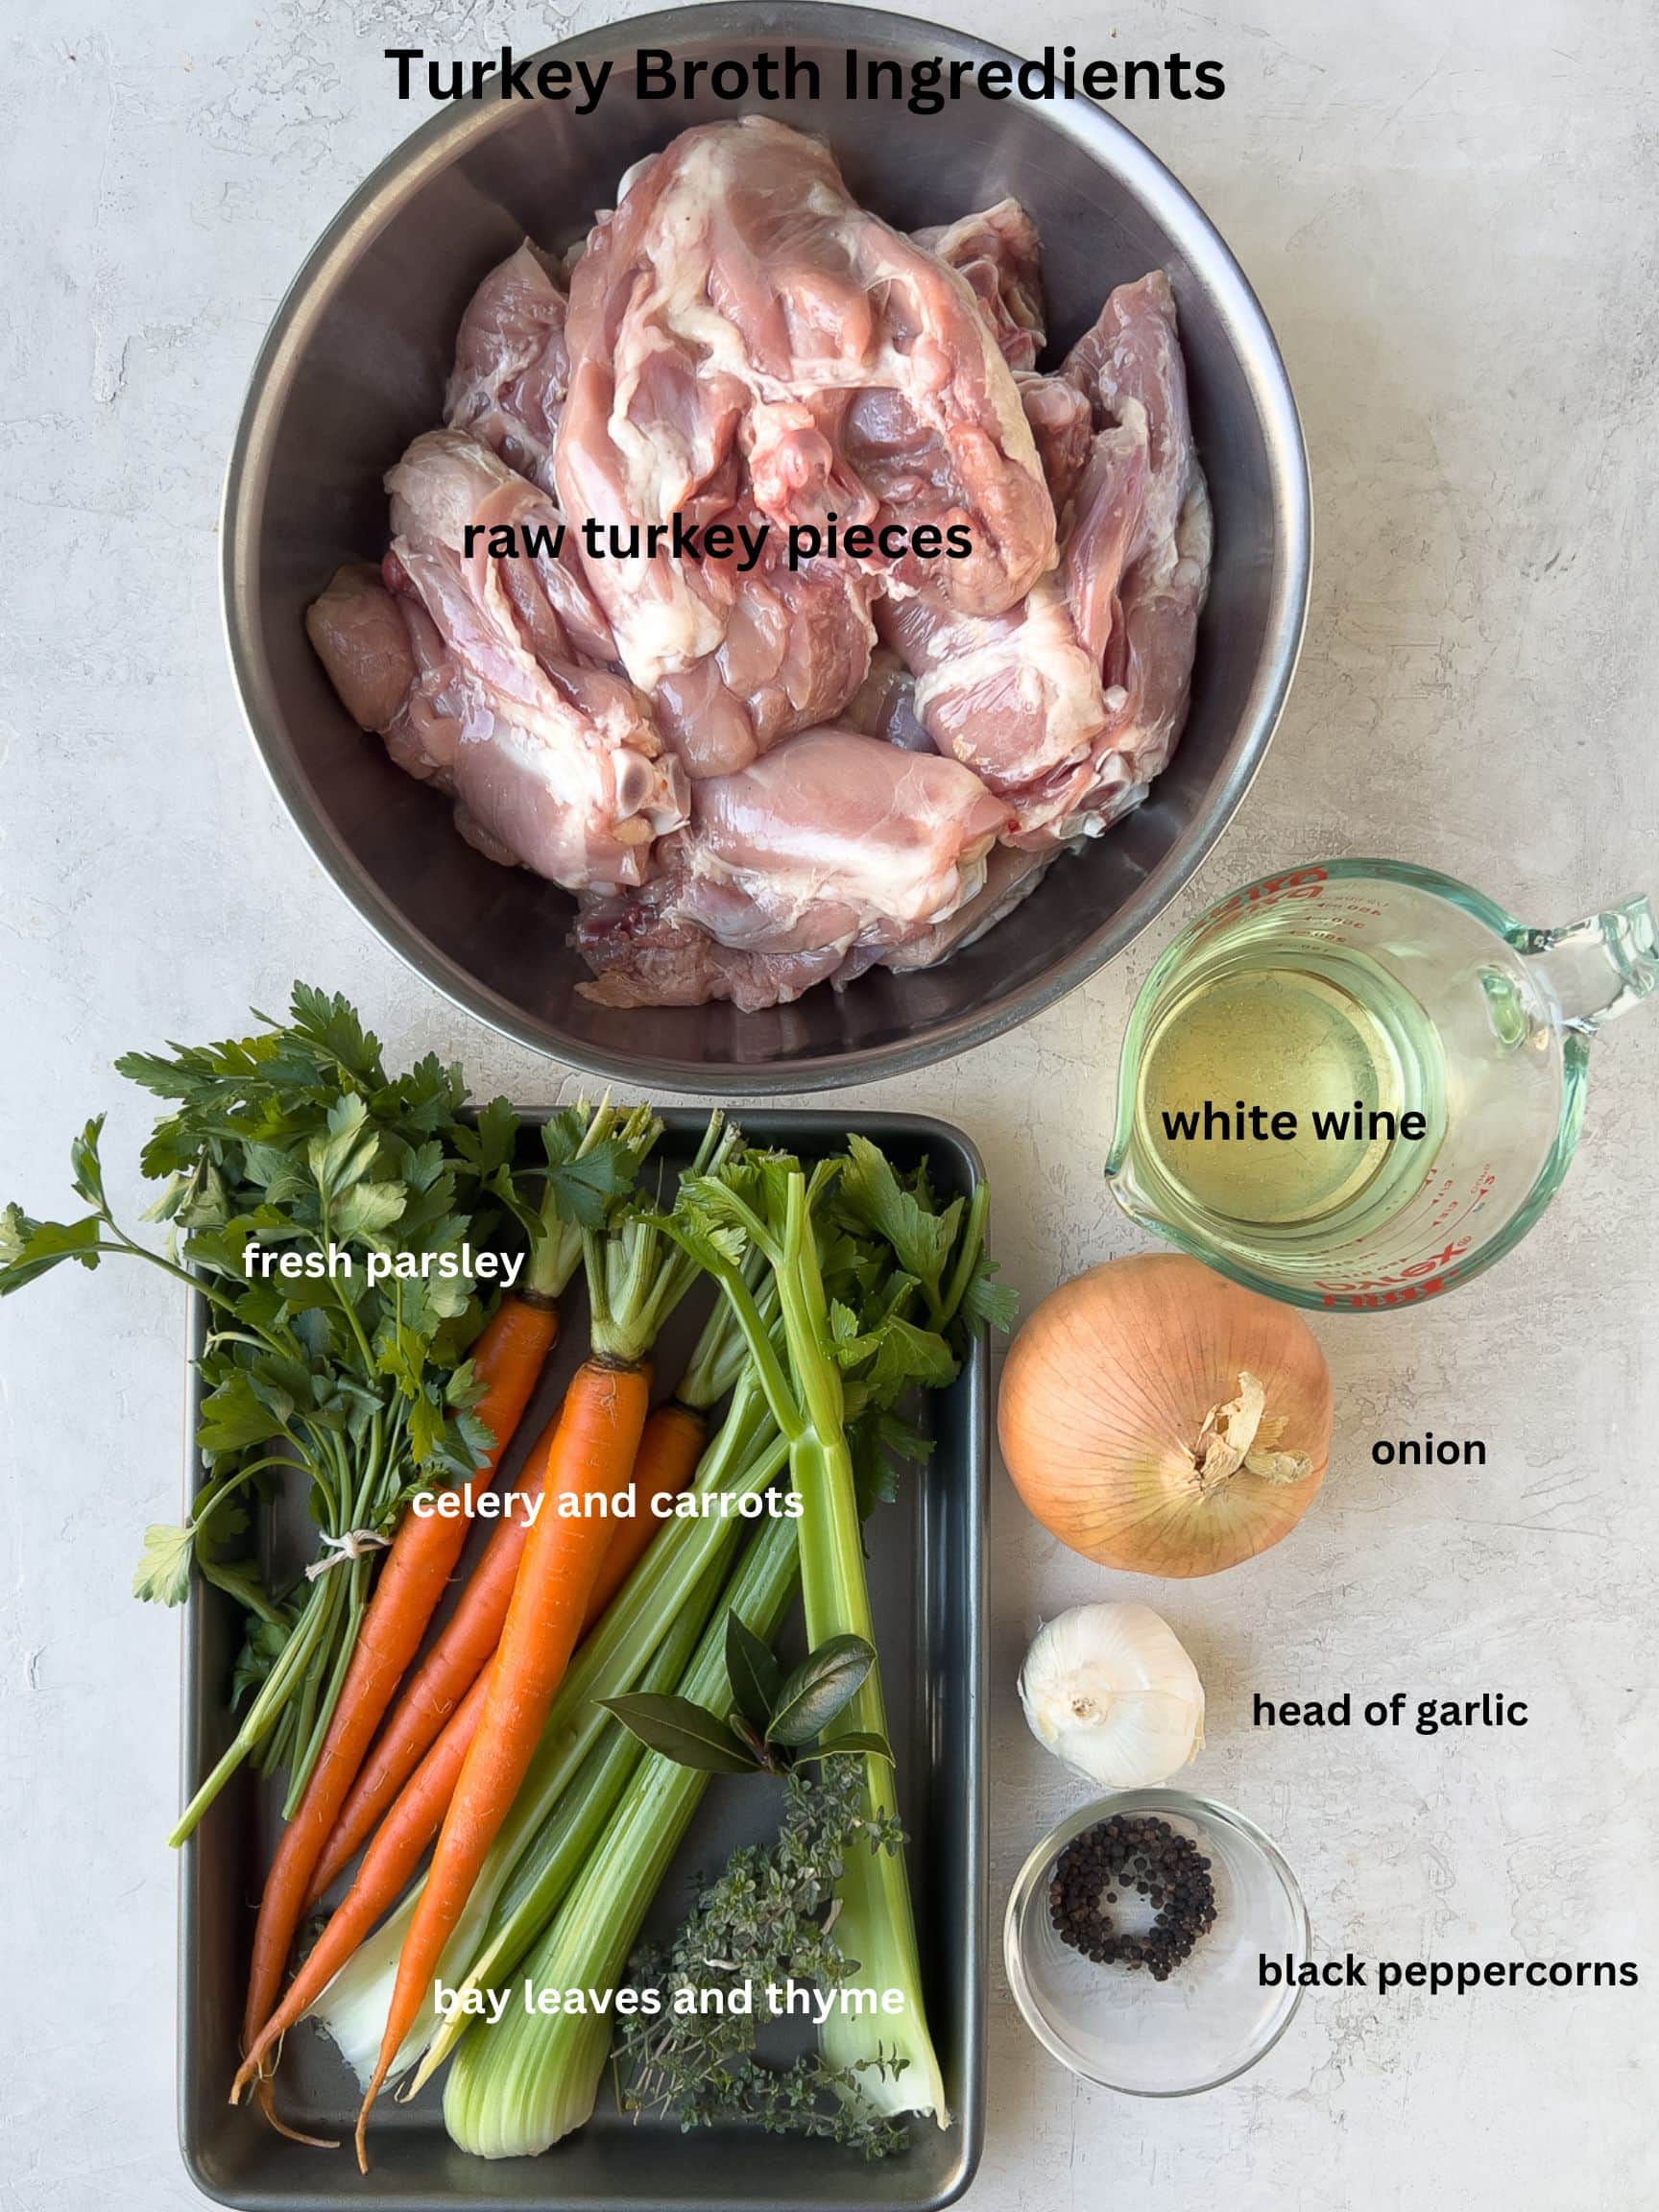
Instead of using a roasted turkey carcass, this recipe starts with fresh turkey parts-just like making chicken stock, but richer from roasting.
- Turkey - Use a mix of legs, thighs, backs, or whatever your butcher has. Starting with meaty pieces gives the broth a richer body and golden color.
- Onions - Brown, yellow, or sweet onions add savory depth. Avoid red onions, which can tint the broth. Onions form part of the classic flavor base for stocks and broths.
- Carrots - Add natural sweetness and balance. Together with onion and celery, they form the classic French mirepoix base that builds flavor.
- Celery ribs - Essential for aromatic, earthy flavor and balance in the broth.
- Garlic (optional)- I add a whole head of garlic, sliced in half crosswise. It gently perfumes the broth with savory depth without making it taste "garlicky." You can skip it if you prefer a more neutral broth.
- White wine or dry vermouth (optional) - Adds depth and subtle acidity to round out the flavors. Small airline size bottles are perfect to keep on hand for cooking.
- Bay leaves - Leaves add a faint herbal note that brings everything together.
- Parsley - Fresh flat-leaf (Italian) parsley adds brightness. Skip the dried.
- Thyme - Fresh sprigs are best. Toss them in whole. A must-have herb for turkey broth.
- Black peppercorns - Use whole peppercorns for gentle spice and rounded flavor.
Please see the recipe card for measurements.
Chef's Tip: Why I Add Garlic - I tuck a whole head of garlic, sliced in half crosswise right through the papery skin, into the pan with the turkey parts and vegetables because it contributes roasted depth, sweetness, and "umami". Roasting the garlic mellows the sharp, raw garlic flavor and caramelizes its natural sugars, so it doesn't make the broth taste garlicky. Instead, it adds gentle sweetness, savory depth, and a rich, golden flavor-especially wonderful for turkey gravy and soups. If you prefer a very neutral broth, you can leave it out.
Use turkey broth in this French Onion Soup, it's a great alternative to beef broth.
Chef's Tip - Remove the Skin Before Roasting. Removing the skin before roasting gives you a cleaner, more refined turkey broth. It reduces grease from the start and leaves more room in the pot for meaty, collagen-rich pieces that build body and depth of flavor. You'll spend less time skimming, get a broth that freezes and reheats beautifully, and still achieve a rich golden color from the roasted meat and vegetables.
How to Make Turkey Broth
Start in the oven: Roasting is the secret step to a rich, deeply flavorful turkey broth. Roasting the turkey pieces, bones, and vegetables intensifies their natural flavor and gives the broth that beautiful golden-brown color. It's the difference between a good turkey broth and a truly great one.
Because this recipe makes a large batch (perfect for freezing), the stovetop stockpot method is ideal. You'll get the best flavor and high yield by simmering slowly for several hours, rather than using a smaller pressure cooker or slow cooker.
If you prefer to use an Instant Pot, it works great (I do it), see notes below for my turkey broth Instant Pot method.
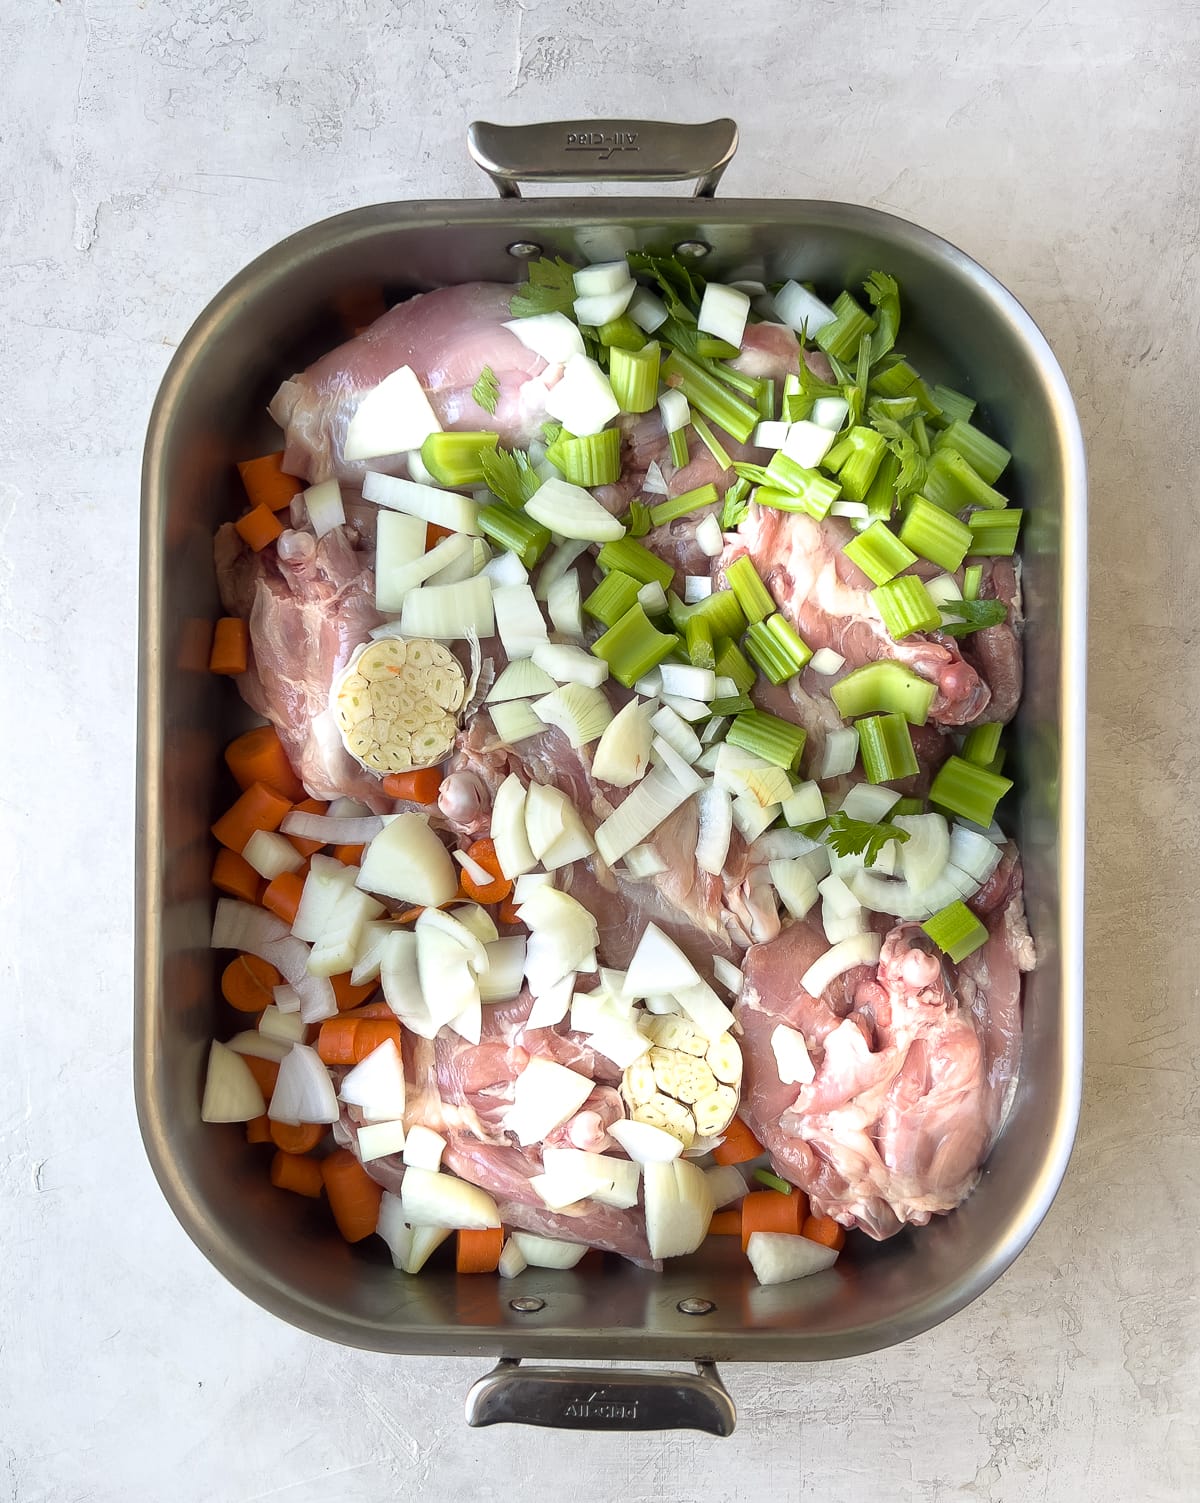
Step 1: Roast the turkey and vegetables
Remove as much skin as possible from the turkey pieces. Distribute the turkey parts in a large roasting pan, then top with roughly chopped carrots, celery, onion, and a split head of garlic (unpeeled).
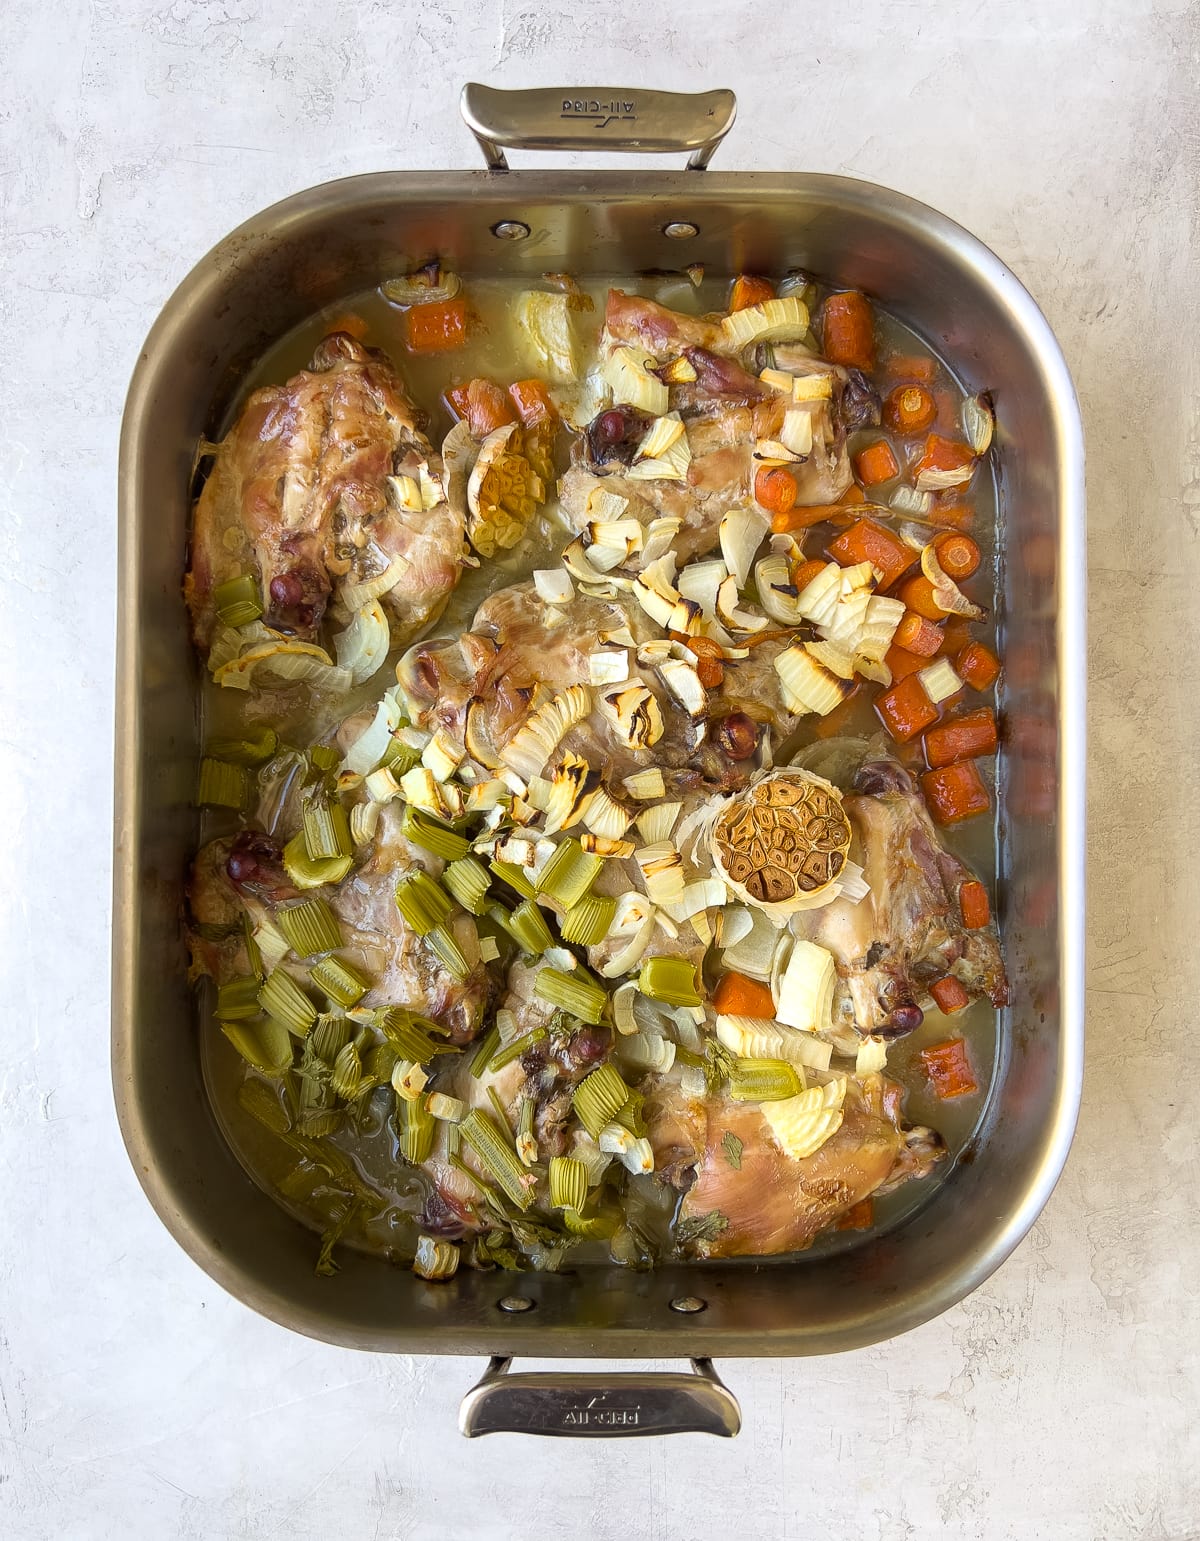
Roast the turkey and vegetables for 1 hour at 375°F, then add 1 cup of dry white wine or dry white vermouth and roast for another 30 minutes. This is what you use to make the broth. Allow the roasted turkey and vegetables to cool, refrigerate until the next day to make the broth. Breaking up the process make it more manageable.
Note - When I use my pressure cooker, I do it all in one day as it is faster (about 4 ½ hours total).
Chef's tip: How much salt? None. Never add salt to your broth. Any broth. Add salt to the dish you're cooking with the broth. This gives you more control over the salt levels in a dish.
Step 2: Start the broth
Early the next morning, place everything in a large 10-12 quart stock pot and cover with 5 quarts of cold water to start. Add bay leaves, fresh thyme, parsley, and black peppercorns to the pot.
Turn up the heat to get the pot to a simmer, then turn down to low for a low gentle bubble for 10-12 hours. As the broth cooks down and the water level drops, add boiling water from a tea kettle. Over a 12 hour period I add from 1-3 quarts to keep the water level up.
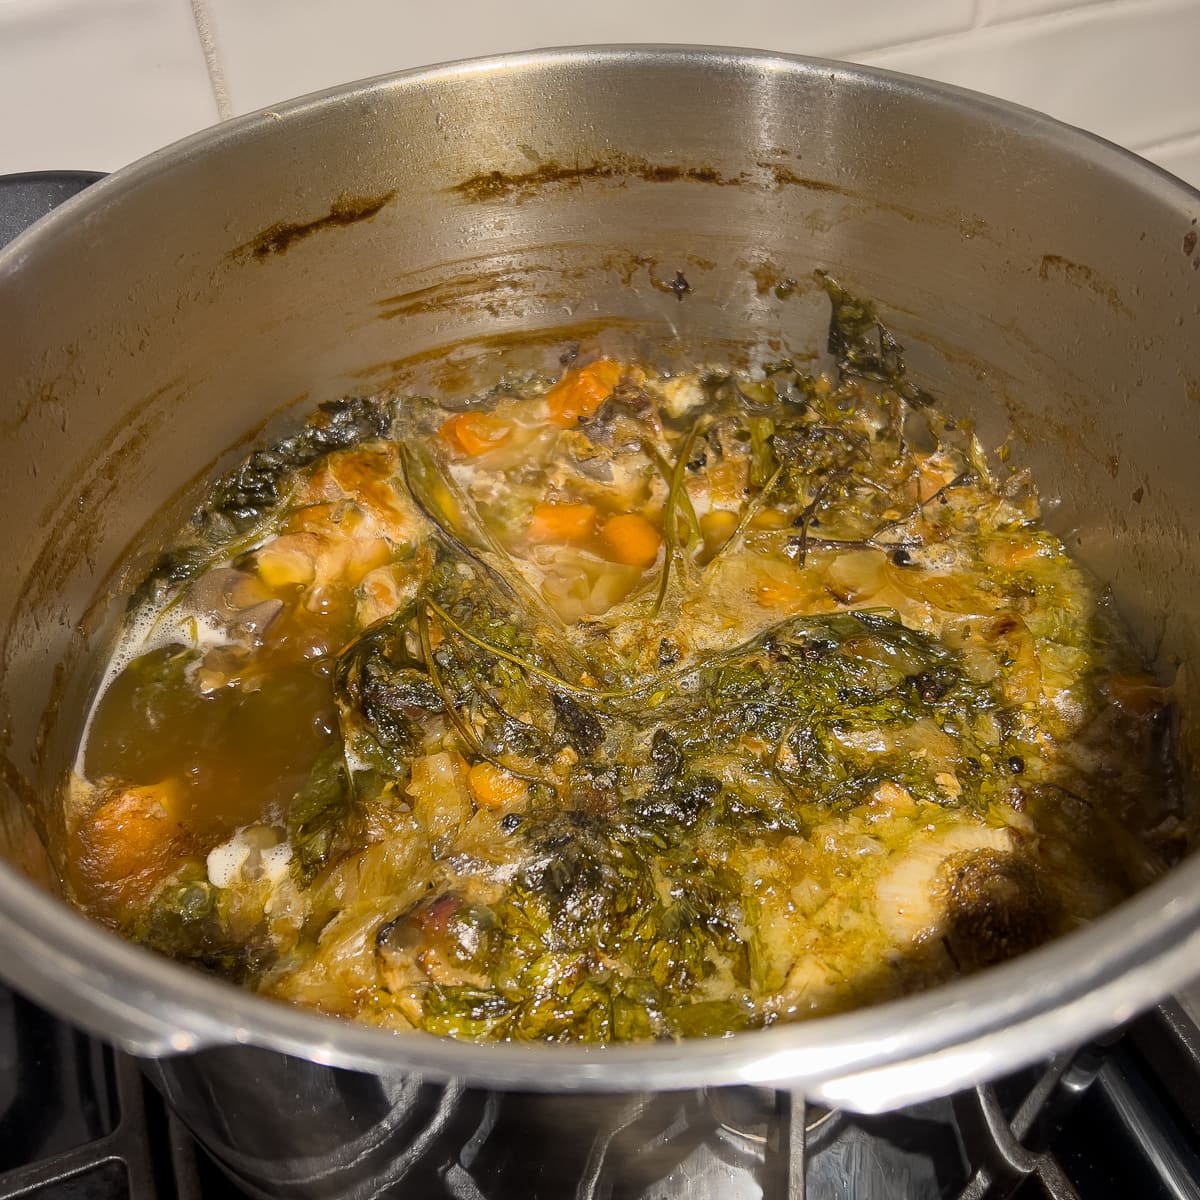
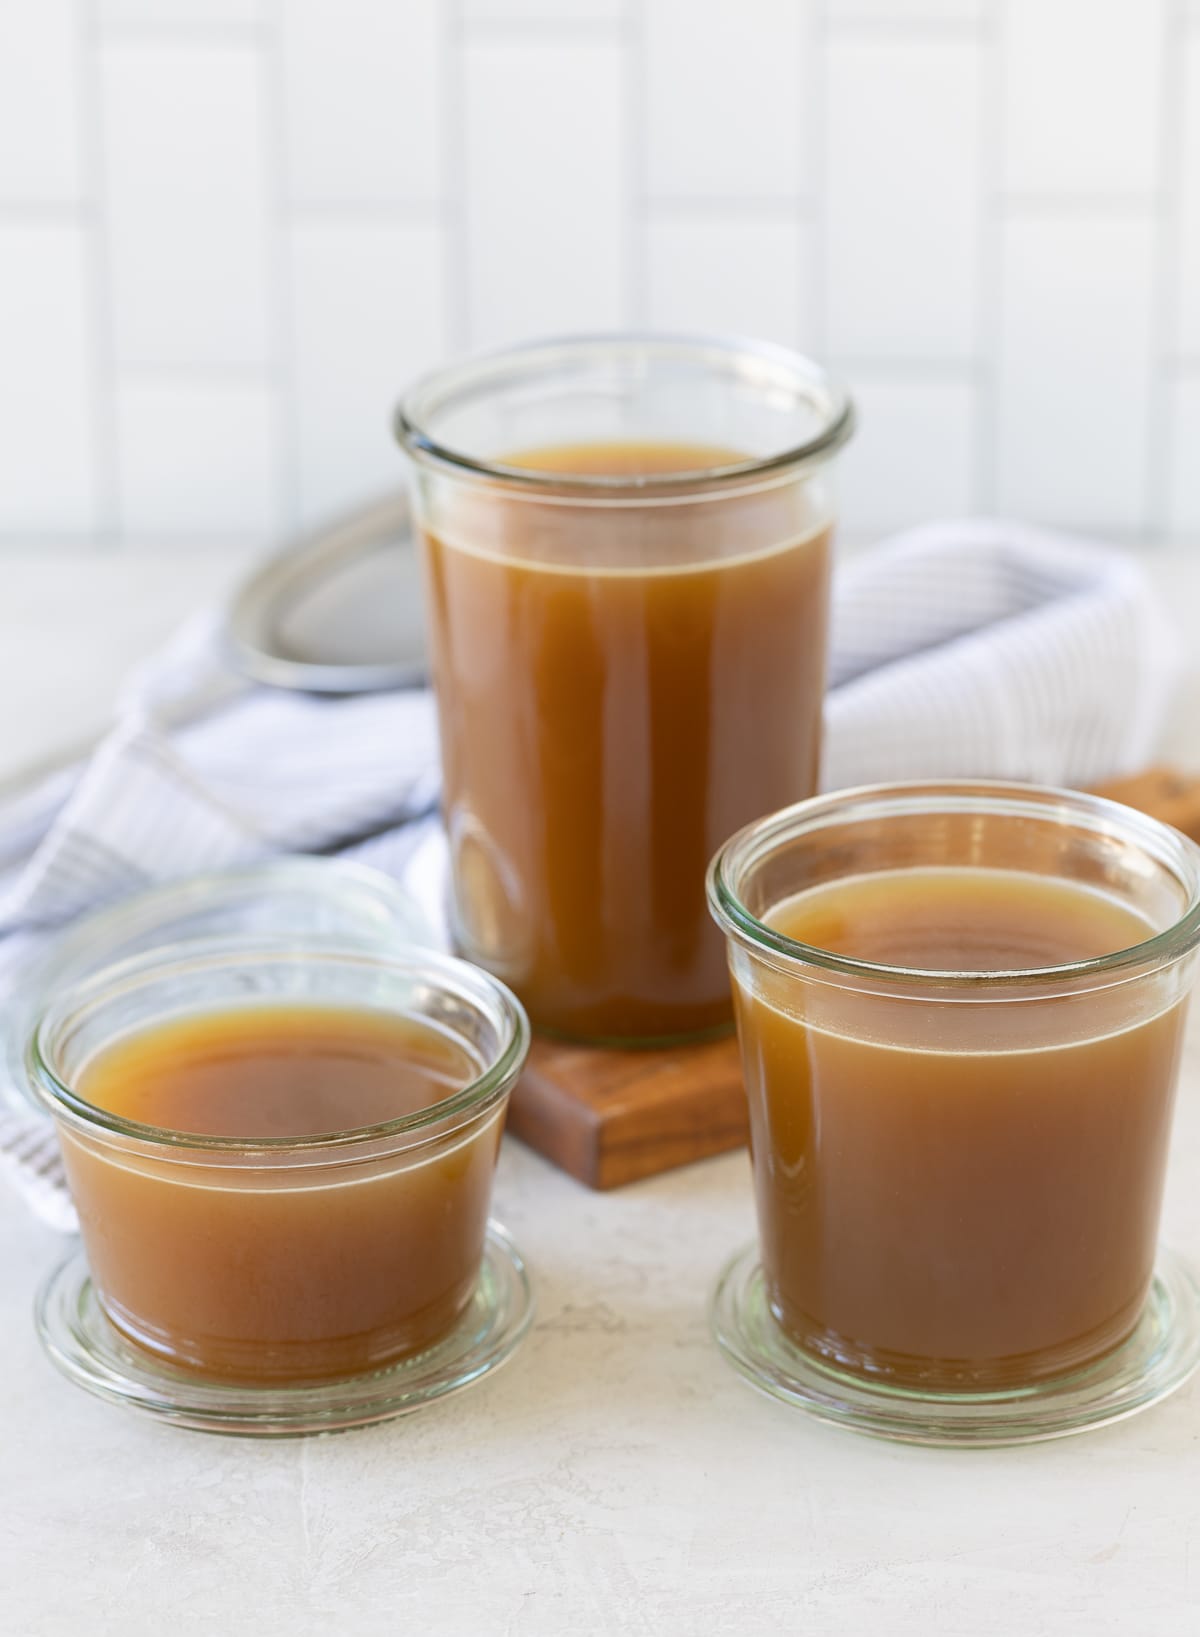
Cooking long and slow ensures extracting the most flavor and nutrition for fantastic turkey broth. The house will smell like roasting turkey and you will have a rich, golden brown broth, full of flavor.
Chef's Tip: Simmer Don't Boil. Keep the broth at a gentle simmer, not a rolling boil. Boiling breaks up the proteins and vegetables, turning the broth cloudy and muddy in flavor. Slow simmering draws out flavor and keeps the clarity of the broth.
Step 3: Strain and chill
Strain the broth through a fine sieve into a large clean pot. Don't use plastic as it will slow cooling. Discard the spent bones, meat and vegetables.

Quickly chill the strained broth by placing the pot in an ice water bath. Fill a sink half full with with cold water and ice. To speed cooling, place something under the pot like a trivet so cold water circulates underneath (the photo is chicken broth).
Stir broth occasionally for faster cooling. You want the broth cooling as quickly as possible for food safety. Cool to 70°F before refrigerating.
Chef's tip: If you want to skip the roasting process you can still make great turkey broth. The flavors will not be as rich but it's still delicious.
Step 4: Refrigerate and degrease
Transfer the cold broth to large storage containers and cover to refrigerate overnight. I use these commercial kitchen style Cambro containers.
In the morning, remove any fat that has solidified on top. Divide broth into containers, label and freeze for Thanksgiving and after. Homemade turkey broth will add big flavors to your Thanksgiving recipes.
Chef's Tip: Make the broth Monday of Thanksgiving week and it will be good until Thursday. For longer use, freeze it. You can also make it a week or more ahead and freeze.
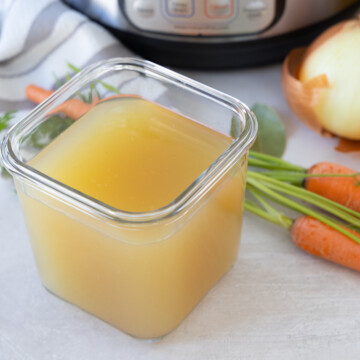
Instant Pot Turkey Broth Method (Pressure Cooker)
These days, I make turkey broth in the Instant Pot more often than I do on the stove. You won't get the bigger volume you can achieve with a large stockpot, but the pressure cooking environment extracts flavor exceptionally well. You get a deep, rich broth in a fraction of the time. It's faster, it's reliable, with great results.
Roast the turkey parts and veggies as the directions outline. Use 5 pounds of turkey thighs (stripped of skin) plus a few less vegetables, and you'll get about 2 ½ quarts of rich, roasted turkey broth. Fill with water to the max line, lock on the lid, press the broth setting and set for 2 hours.
After two hours, allow natural pressure release then strain and chill. It follows my Instant Pot chicken broth recipe but with turkey.
How to Use Turkey Broth
Roasted turkey broth is what i use to make my turkey gravy on Thanksgiving. It's also terrific in soups, such as this turkey and wild rice soup recipe, and this pumpkin risotto, just about anywhere you would use a good broth. For good sipping on a chilly day, remember to add a little salt for flavor.

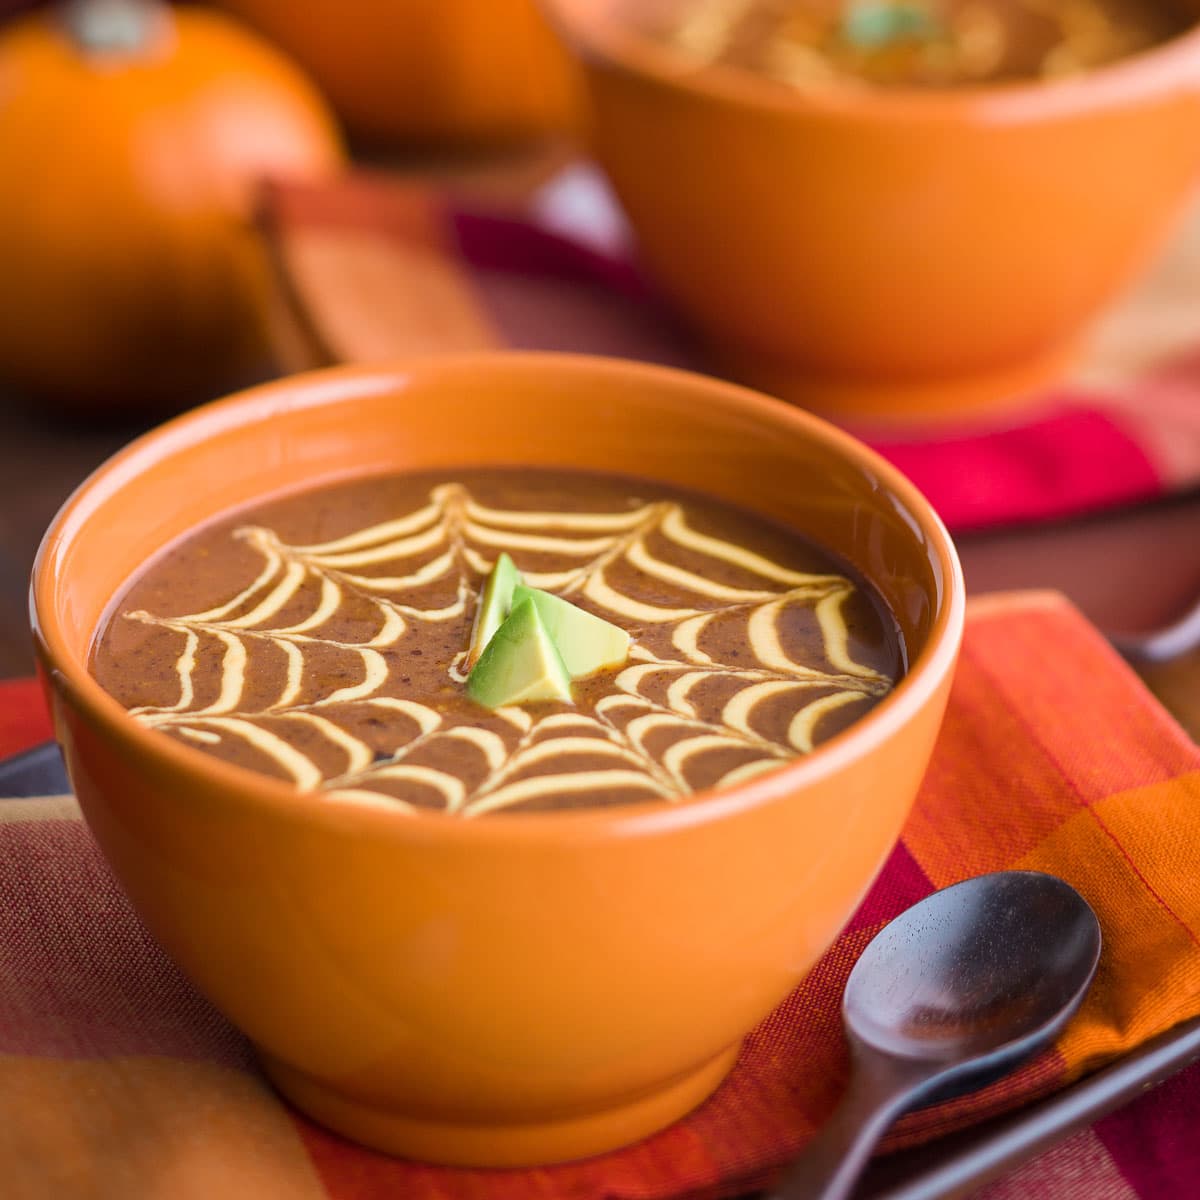
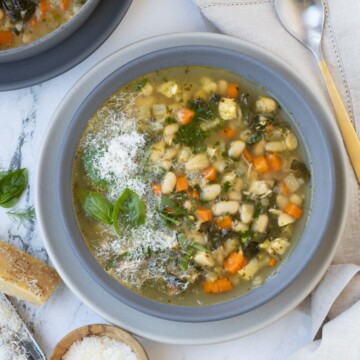
I use it to make my easy French onion soup. Look at the photo above and see how dark and rich the soup looks. That's not beef broth but homemade turkey broth! Another soup it's terrific in is my creamy black bean and pumpkin soup, plus it's a really simple soup to make.
How to Freeze Turkey Broth
If you don't plan to use your turkey broth within 4 days, portion and freeze it for later. Turkey broth freezes beautifully and keeps for up to 3 months.
Best containers for freezing:
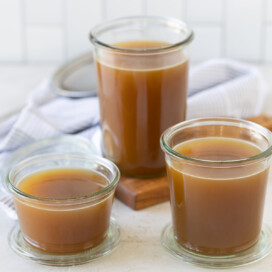
I freeze all of my broths in Souper Cubes®. The ½-cup, 1-cup, and 2-cup Souper Cubes are ideal for portioning, thawing, and cooking. Glass Mason jars, or square glass containers with tight-fitting lids also work.
To thaw frozen broth:
- Refrigerator method (best): Transfer containers to the refrigerator for 24 hours to thaw slowly.
- Cold-water method: Submerge sealed containers in a bowl of cold water until partially thawed, then heat gently on the stovetop over low heat.
- Microwave method: Defrost at 40% power or on the "manual defrost" setting until slushy, then transfer to a pot and finish thawing on low.
⚠️ Food Safety Tip: Never thaw broth on the counter at room temperature. It puts the broth in the temperature danger zone (41°F-135°F) where bacteria can grow rapidly.
Recipe FAQs
Use turkey broth in place of chicken broth for soups, stews, risotto and just about any where you need broth, being sure the flavor is complimentary.
No. Keeping your broth unsalted makes it more versatile, so you can season precisely when using it in soups, sauces, or gravy later.
Yes. Roast the turkey pieces and vegetables first for rich flavor, then transfer to your Instant Pot. Do this is two batches for a 6-quart Instant Pot. Add cold water to the max fill line and cook on High Pressure for 2 hours, followed by a natural release. Strain and cool before using or freezing. The longer cook time extracts deeper flavor and gelatin from the bones for a richer broth.
Technically no, but roasting creates deeper flavor and color. The caramelization adds that rich golden brown hue and roasted aroma that separates homemade from store-bought broth.
Cloudy broth usually means it boiled too hard. Always keep it at a gentle simmer and avoid stirring. Boiling emulsifies fat and proteins into the liquid, making it look cloudy. It's still delicious, just not clear.
More Broth and Soups Recipes
For more broth recipes, try my long-simmered chicken bone broth, Instant Pot chicken broth, or vegetable broth. And here's my terrific Thanksgiving stuffing recipe where you can use this turkey broth.
⭐️Did You Make This?
If you make this turkey broth recipe, please comment and let me know. I appreciate hearing from you. If you loved it, please give it a 5 star rating! They really help other readers. And if you have any questions, comment or email me.
📖 Recipe
Turkey Broth Recipe
Equipment
- OR a large heavy duty disposable aluminum pan works You may need to double them up for strength or place the pan on a rimmed baking sheet pan for support. Dispose of after use.
Ingredients
For the oven
- 7 pounds turkey pieces thighs, necks, legs
- 1 large onion brown, yellow, sweet, white
- 3-4 large carrots
- 3-4 celery ribs
- 1 whole head garlic
- 1 cup white wine or dry white vermouth or water
For the stockpot
- 3 bay leaves fresh or dry
- ½ bunch Italian parsley
- ½ bunch fresh thyme
- 2 teaspoons whole black peppercorns
- 5 quarts cold water
- Boiling hot water to fill pot as needed
Instructions
Heat oven, prep turkey
- Pre-heat oven to 375° (190 c) and get out a large roasting pan. Remove as much skin and any extra fat that you can from turkey pieces. Place pieces into the roasting pan in a single layer.
Prep veggies and roast
- Roughly chop onions, carrots and celery. Split garlic head horizontally through the center (no need to peel). Add vegetables and garlic to the roasting pan with the turkey. Place pan in the oven and roast for 1 hour. At the end of the hour, add the wine and roast another 30 minutes.
Make the broth
- Place roasted turkey and vegetables into a large stock pot (10-12 quarts). Add bay leaves, parsley, thyme, peppercorns and cold water. Bring the pot to just under a boil, turn down to low and barely simmer for 10-12 hours. You want the pot to be at a slow, gentle bubble to extract as much flavor as possible. When the water level drops about 2", add a little boiling water from a tea kettle, keeping the ingredients just under water.
- At the end of 10-12 hours, remove all meat, vegetables, herbs and discard, as they will be spent. Drain broth through a fine sieve into a clean large pot or bowl. Place in a sink filled with ice and cold water to cool quickly. Place pot on a trivet or small rack to help water circulation under the pot for faster cooling. Stir occasionally. You want the broth to cool as quickly as possible for food safety.
- When stock is cool, below 70°, cover and place in the refrigerator. The next morning, remove any fat solidified on top, place into containers, label and freeze.
Linda Chin says
Still use all your little tips and steps, however I've moved to doing this in the Instant Pot since it's more hands off and quicker. I skip the roasting step when I have Turkey bones after Thanksgiving, but this allows me to make a smaller batch before Thanksgiving to use in cooking that day.
Sally Cameron says
Thanks for reporting back Linda! And totally agreed on using an Instant Pot. Easier, faster, even though the batches are smaller it's great hands off, so I just make multiple batches. In fact, I'm picking up more turkey thighs to make more broth tomorrow. If you make risotto, try it with risotto!
Tracey says
Love that I found this recipe. It is a great soup base and makes the best gravy! Thanks for sharing!
Sally Cameron says
I'm glad you found it to! Thanks for commenting!
Vinny says
Excellent recipe and nicely presented. I use a very similar recipe the weekend before Thanksgiving Day and it lasts just fine in the refrigerator. I make another batch with the carcus of the Thanksgivings Day bird, we freeze that batch. It yields about a gallon and a half.
Sally Cameron says
Thanks Vinny. I still have some in my freezer. Used it for black bean pumpkin soup yesterday. Great way not to waste those turkey bones.
Paula says
Are you telling me to roast the turey, I got legs then simmer them after they are roasted. They are n the oven and are not making much broth.
Sally says
Hi Paula. Yes, you roast the turkey parts and veggies, then use that to simmer with the water to make the broth. The roasting adds richness and flavor. Let me know if you have any ore questions. It's really good when it is done and your house will smell like roast turkey while it is cooking. Read through the recipe one more time.
Bonnie says
After the roasting is done can the next step be done in a slow cooker?
Sally says
Hi Bonnie. Honestly I have never tried that because I am not a big slow cooker person. I usually go the other direction with tools, and that would be pressure cooking for speed. Because broth cooks a long time at a low simmer, and you have to add water as the level drops, I personally would stick with the stovetop method. I would also think that a slow cooker would limit how much broth you could make at once. When I do broth or stock, I use a 12 quart pot and make a big quantity, then strain, chill and freeze in small containers.
marcia says
Fabulous recipe! I will never boil the heck out of a chicken to make broth again!
Christine (CookTheStory) says
I agree with you. Homemade broth rocks and if it's to much for your family, it freezes well for a later use. Excellent tutorial.
Sally says
Thanks Christine! I wanted to add the shot we took of the broth cooling in an ice bath for a quick visual, but it was not a pretty pic. Checked out your blog. Nice! Thanks again for commenting.