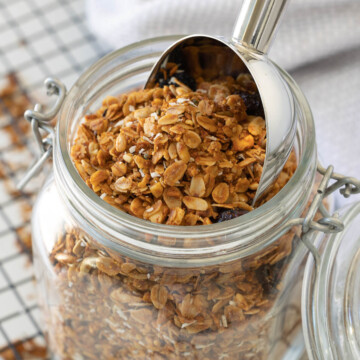
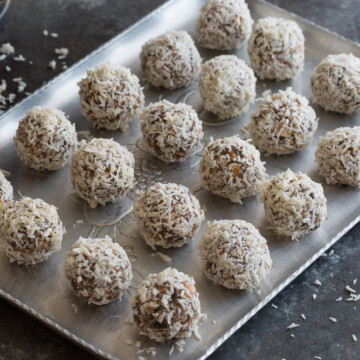
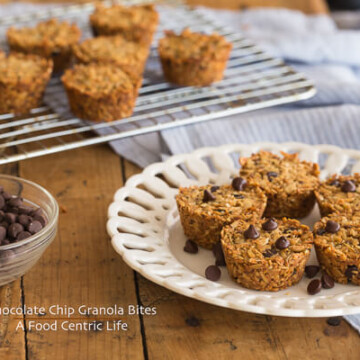
These Granola Bites are the portable version of my roasted maple granola - same wholesome flavor, baked into bite-size portions with a touch of dark chocolate. Crunchy, nutty, maple-sweet, and gently spiced, it's one of the best ways to start the day and a favorite anytime snack. Loose granola is great when you're at home, but what about when you're on the go? Granola bites are the answer.
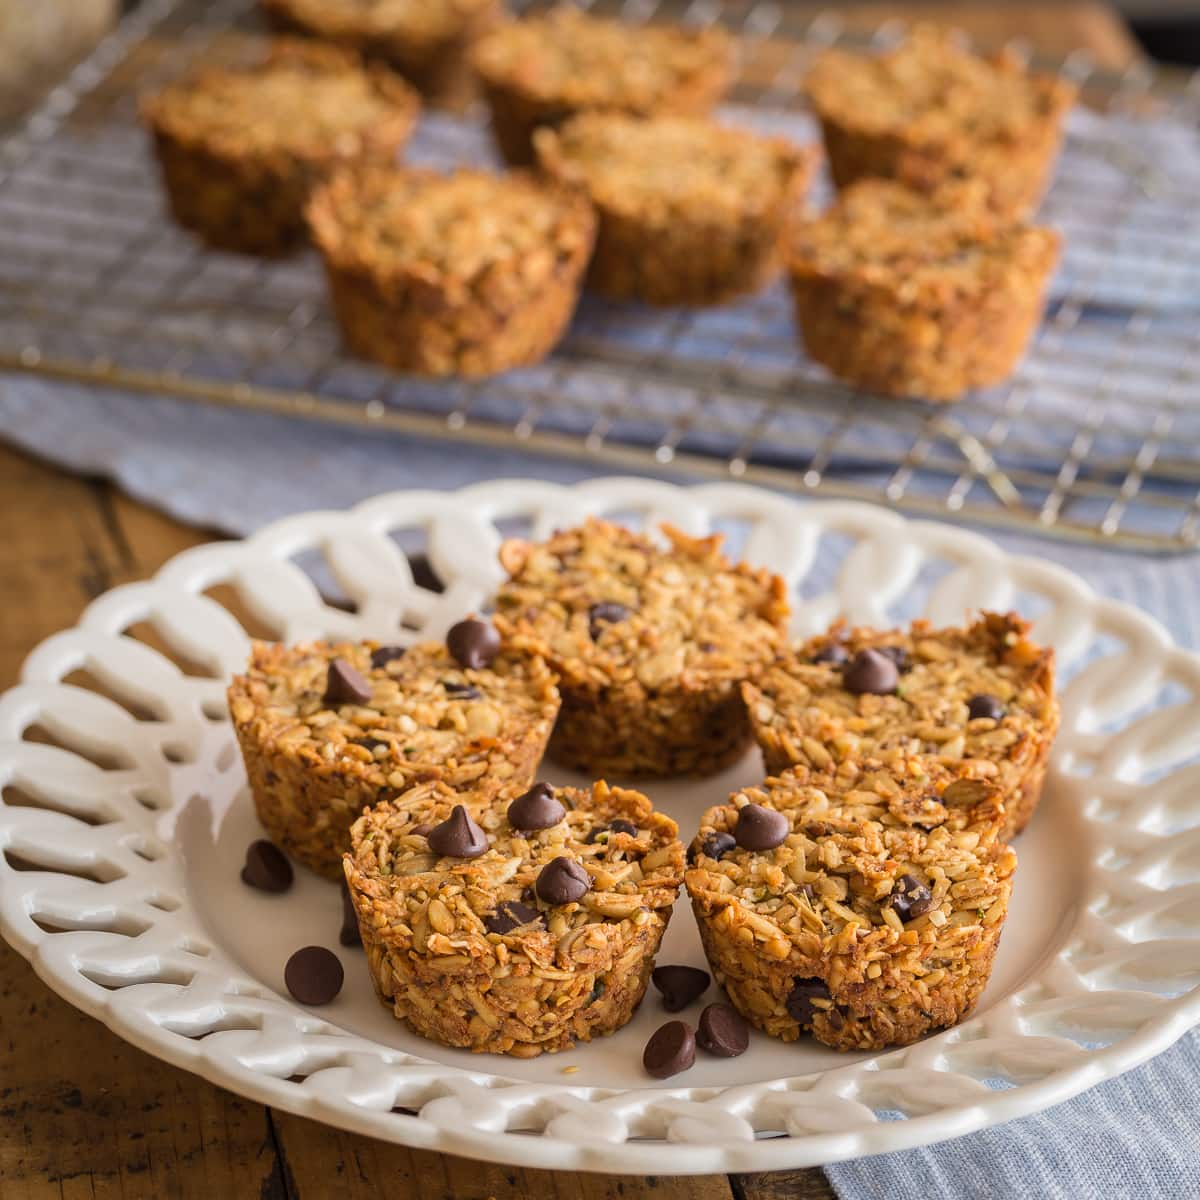
As I was handing out bags of my homemade granola to friends for their flight home, I realized loose granola isn't exactly airplane-friendly. I needed a more portable version-something easy to pack and even easier to eat on the go. Using my granola recipe, I baked the mixture in a mini muffin pan to create these granola bites. They're the perfect size to tuck into a handbag, briefcase, backpack, or lunchbox.
[feast_advanced_jump_to]Why You'll Love These Granola Bites
- Quick and wholesome. Simple pantry ingredients-rolled oats, nuts, and seeds-baked into perfectly portioned bites.
- Naturally gluten-free. Just use certified GF oats.
- Healthy sweetness. Maple syrup and a hint of cinnamon give flavor without refined sugar.
- Snack or breakfast. Great on-the-go, after workouts, or with morning coffee.
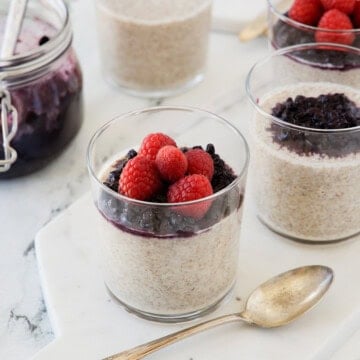
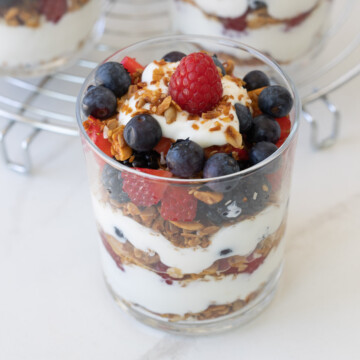
Another way to use granola is in the terrific Greek yogurt breakfast parfaits.
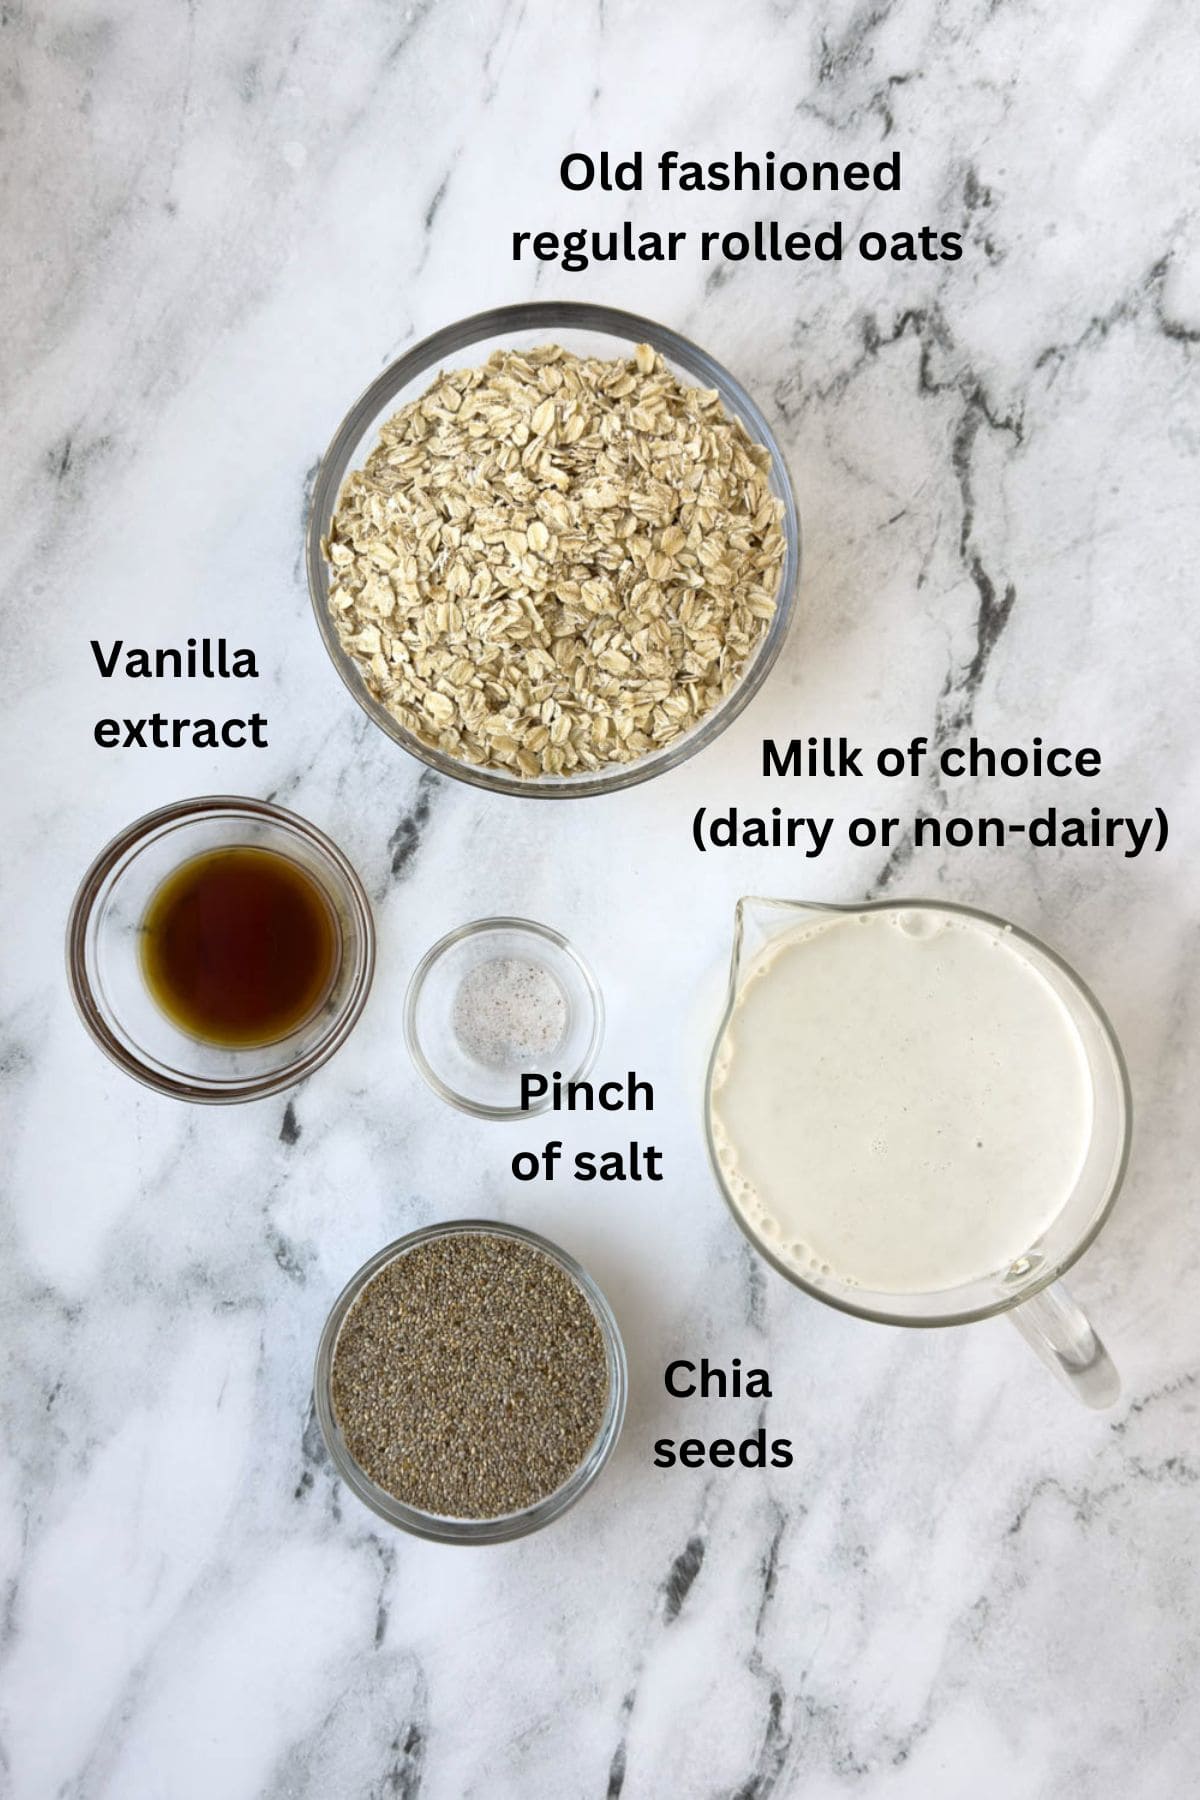
Ingredients You'll Need
- Oats - Old-fashioned rolled oats, gluten-free if needed. Avoid quick or instant oats.
- Shredded coconut - Use dry, fine, unsweetened shredded coconut for crisp texture.
- Nuts - A mix of chopped walnuts and slivered blanched almonds adds crunch.
- Sunflower seeds - Raw, unsalted seeds for healthy fats and flavor.
- Flaxseed - Ground flaxseed (or buy whole and grind yourself for freshness).
- Hemp seeds - Also called hemp hearts; add protein and a tender texture.
- Chocolate chips (optional) - Use your favorite brand, or sugar-free mini chips to reduce sugar.
- Maple syrup - The real deal, not pancake syrup.
- Oil - Unrefined extra-virgin coconut oil or MCT oil for clean, subtle flavor.
- Vanilla - A good-quality pure vanilla extract makes a difference.
- Spice - Ground cinnamon or Chinese Five Spice (a warm, aromatic blend).
- Egg whites - Two egg whites act as the binder that holds the bites together.
Tools:
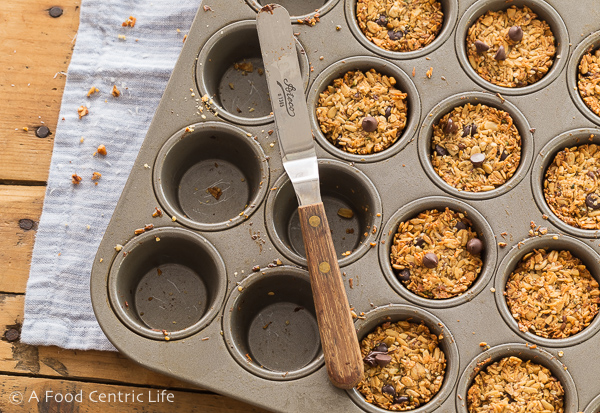
- Mini muffin pan - You'll need one to shape and bake your granola bites.
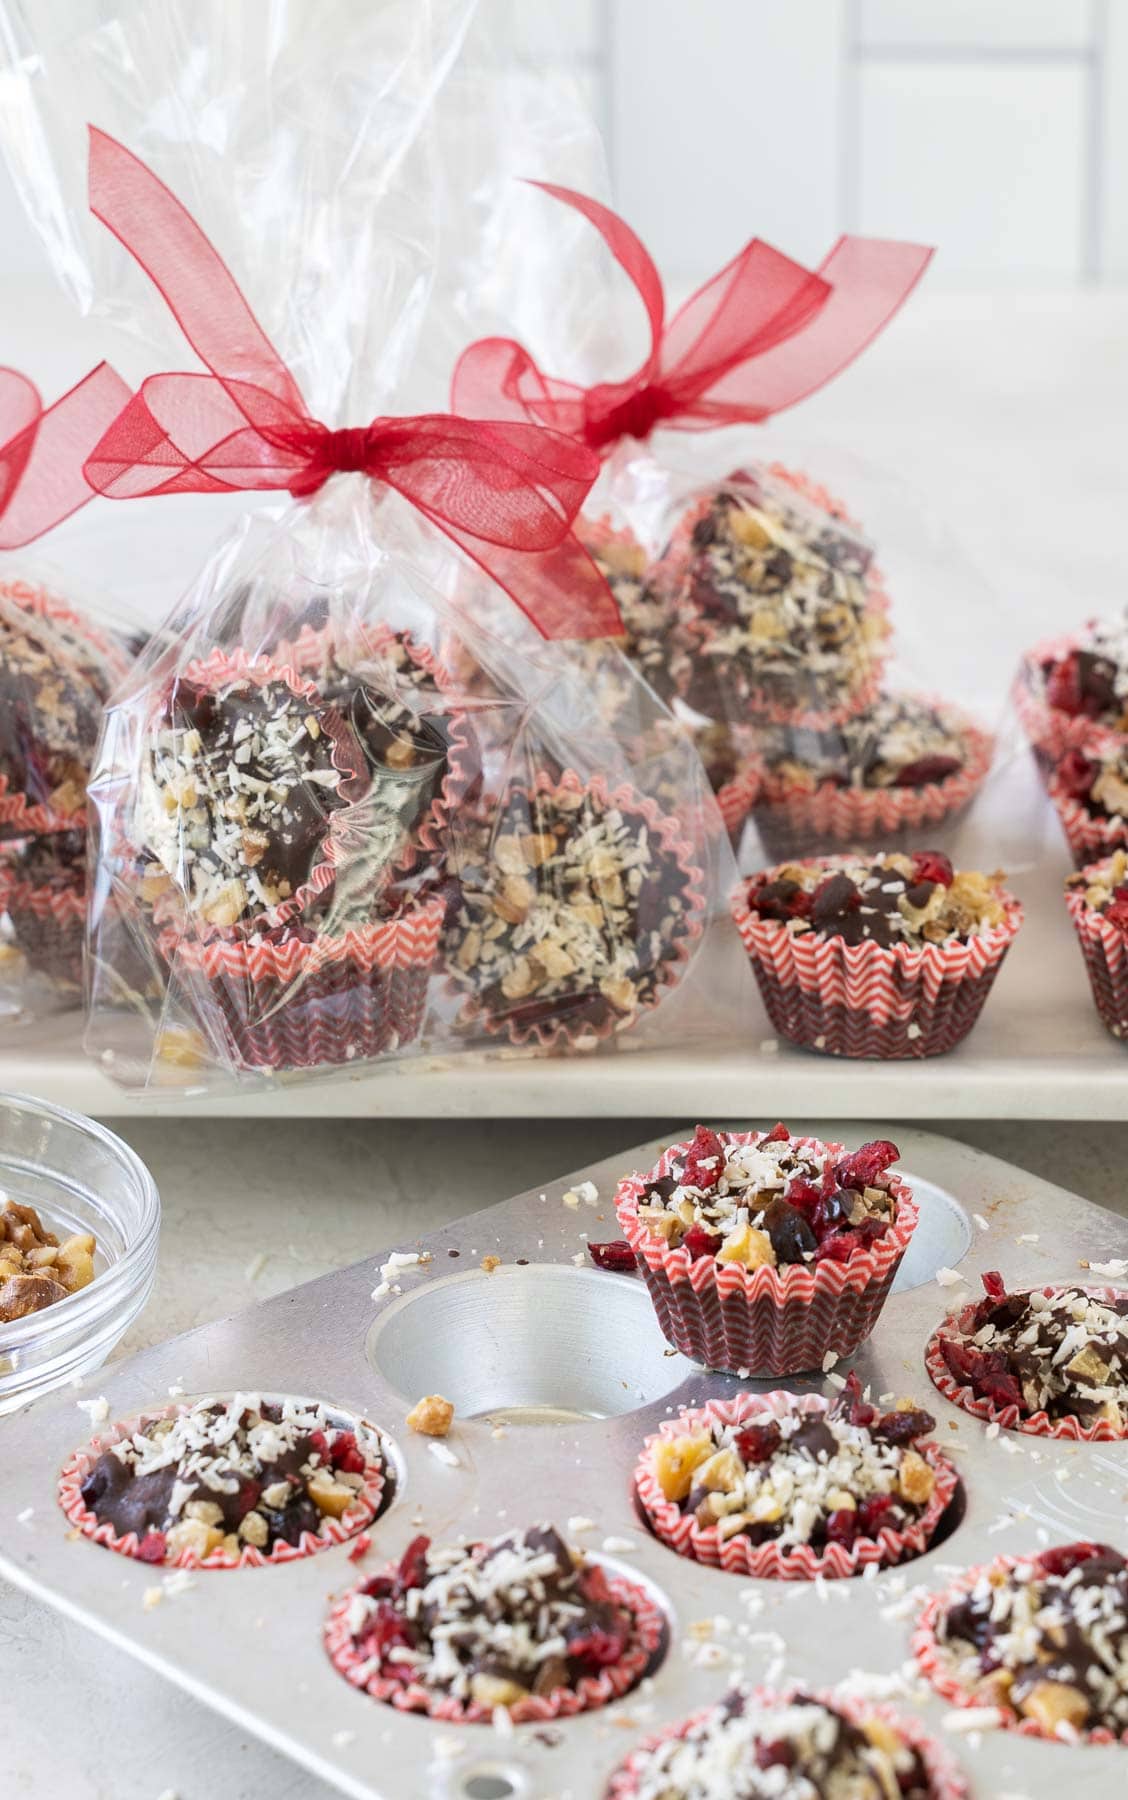
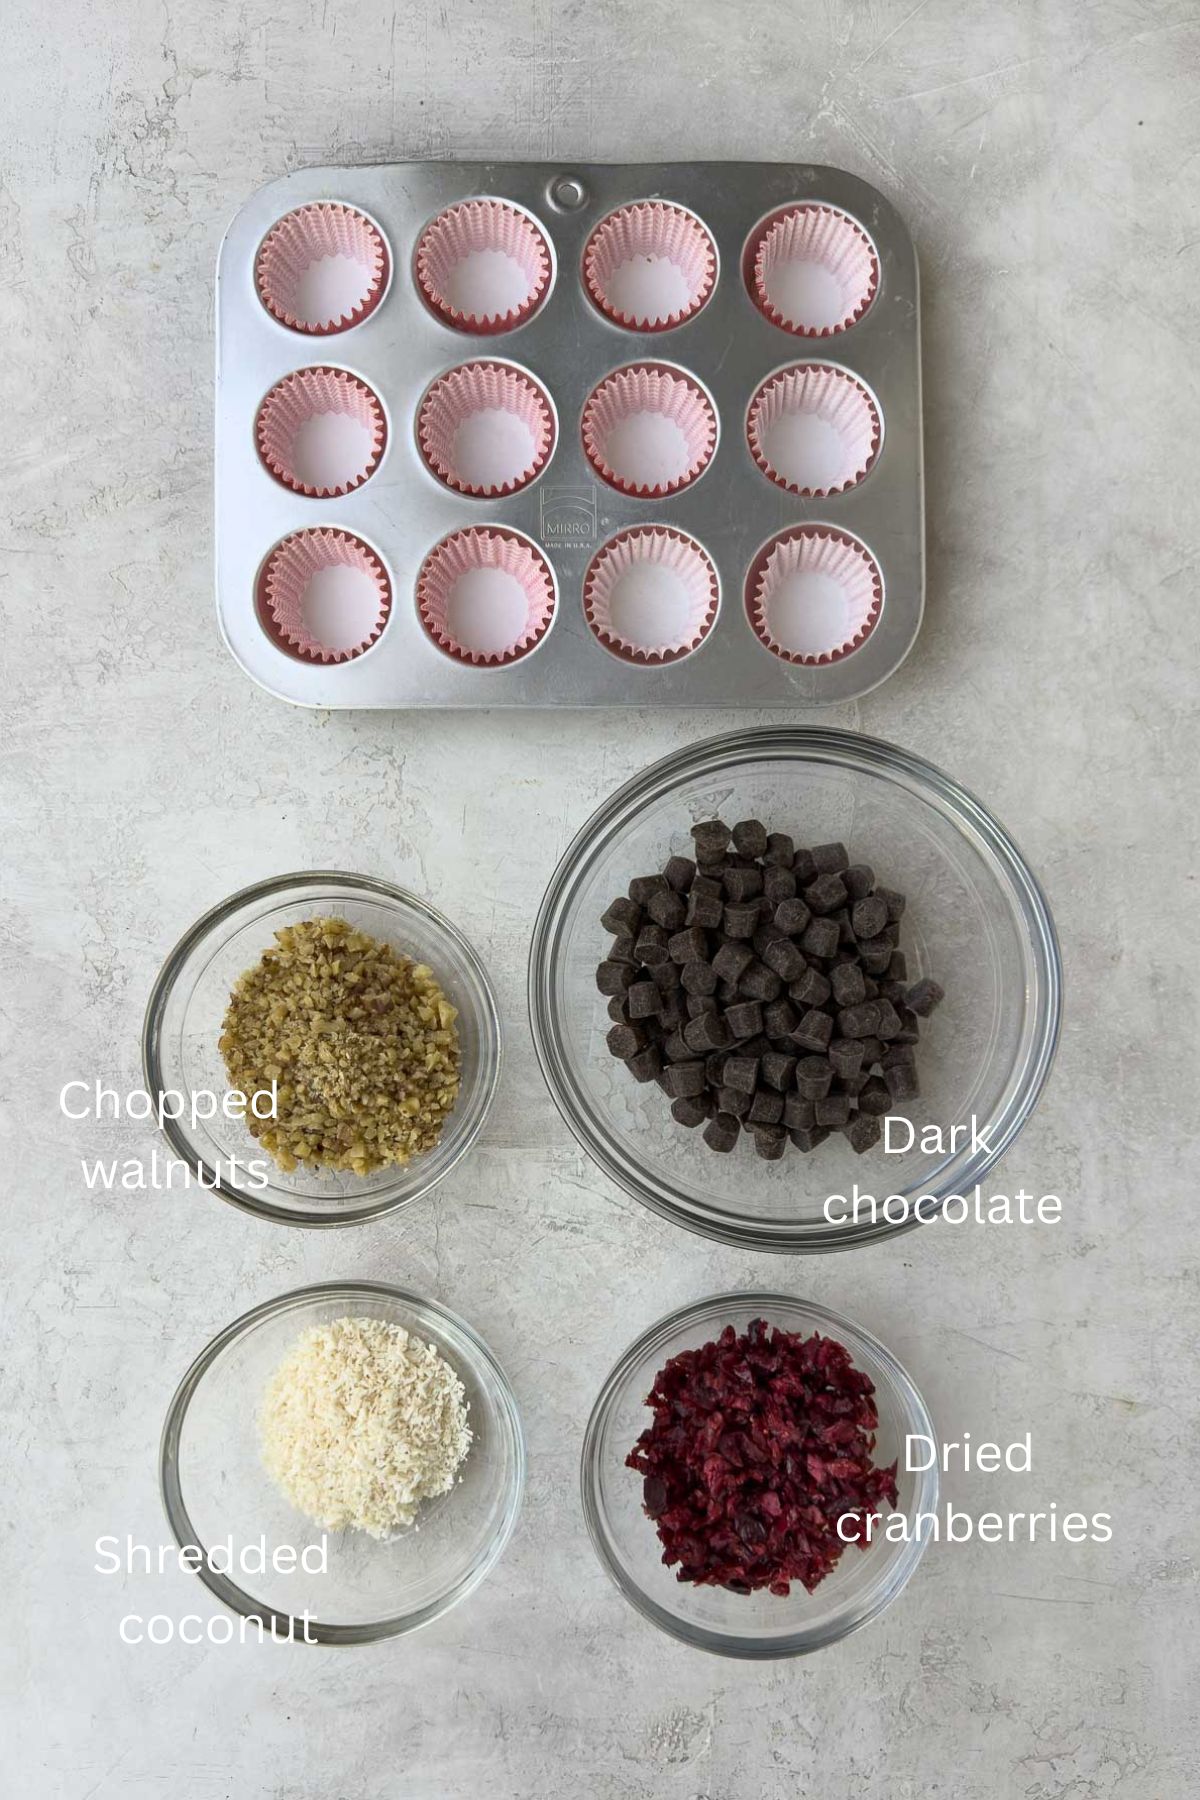
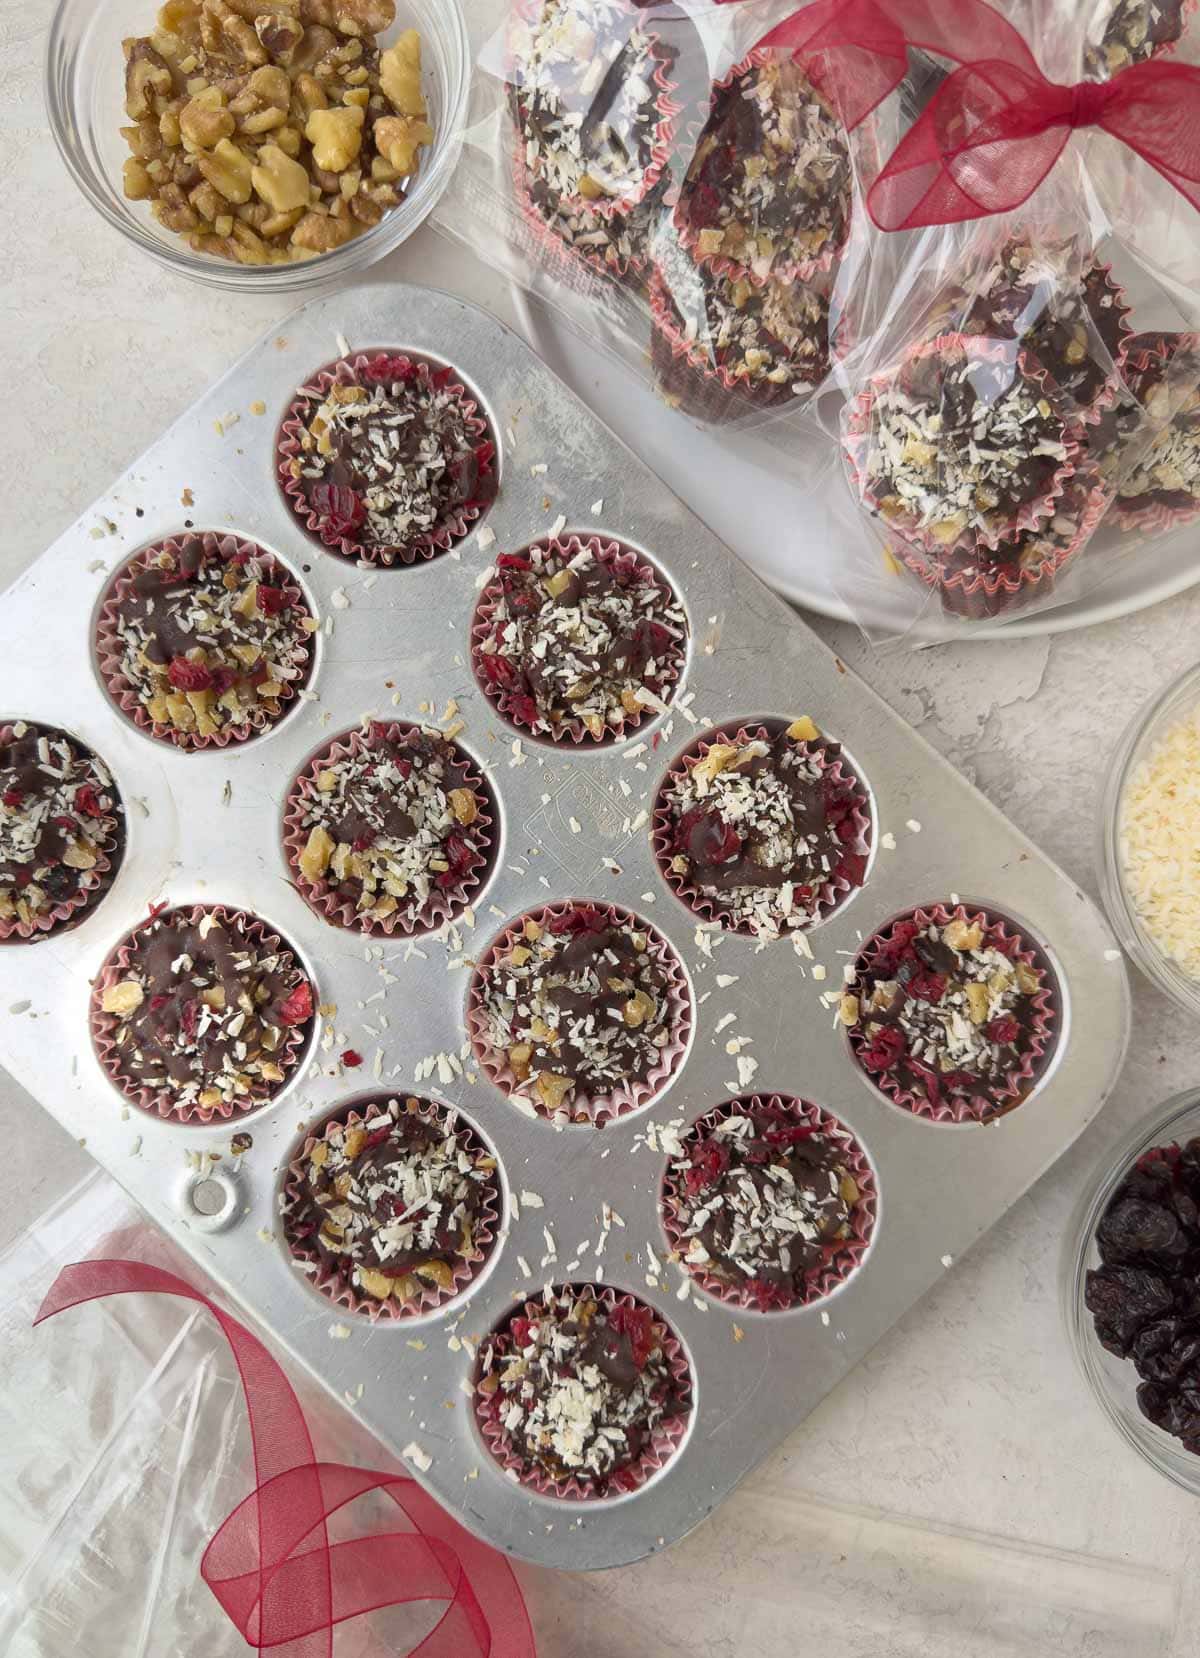
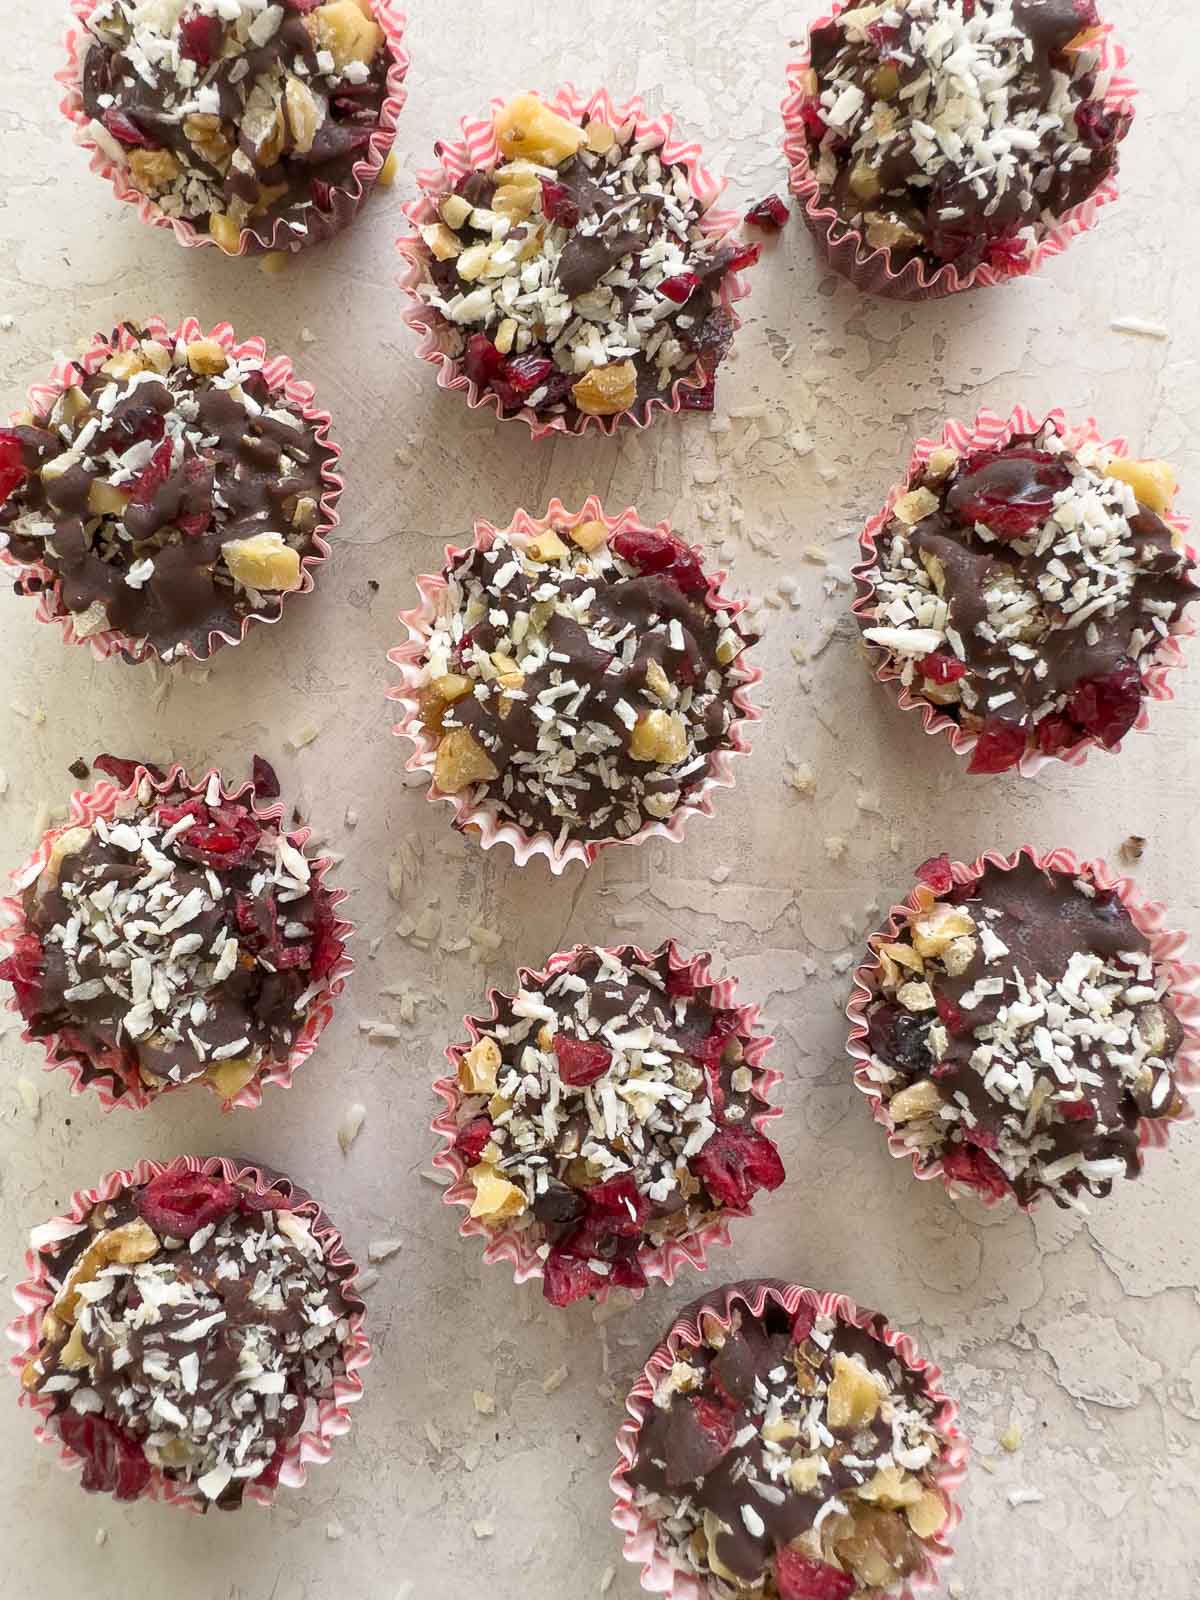
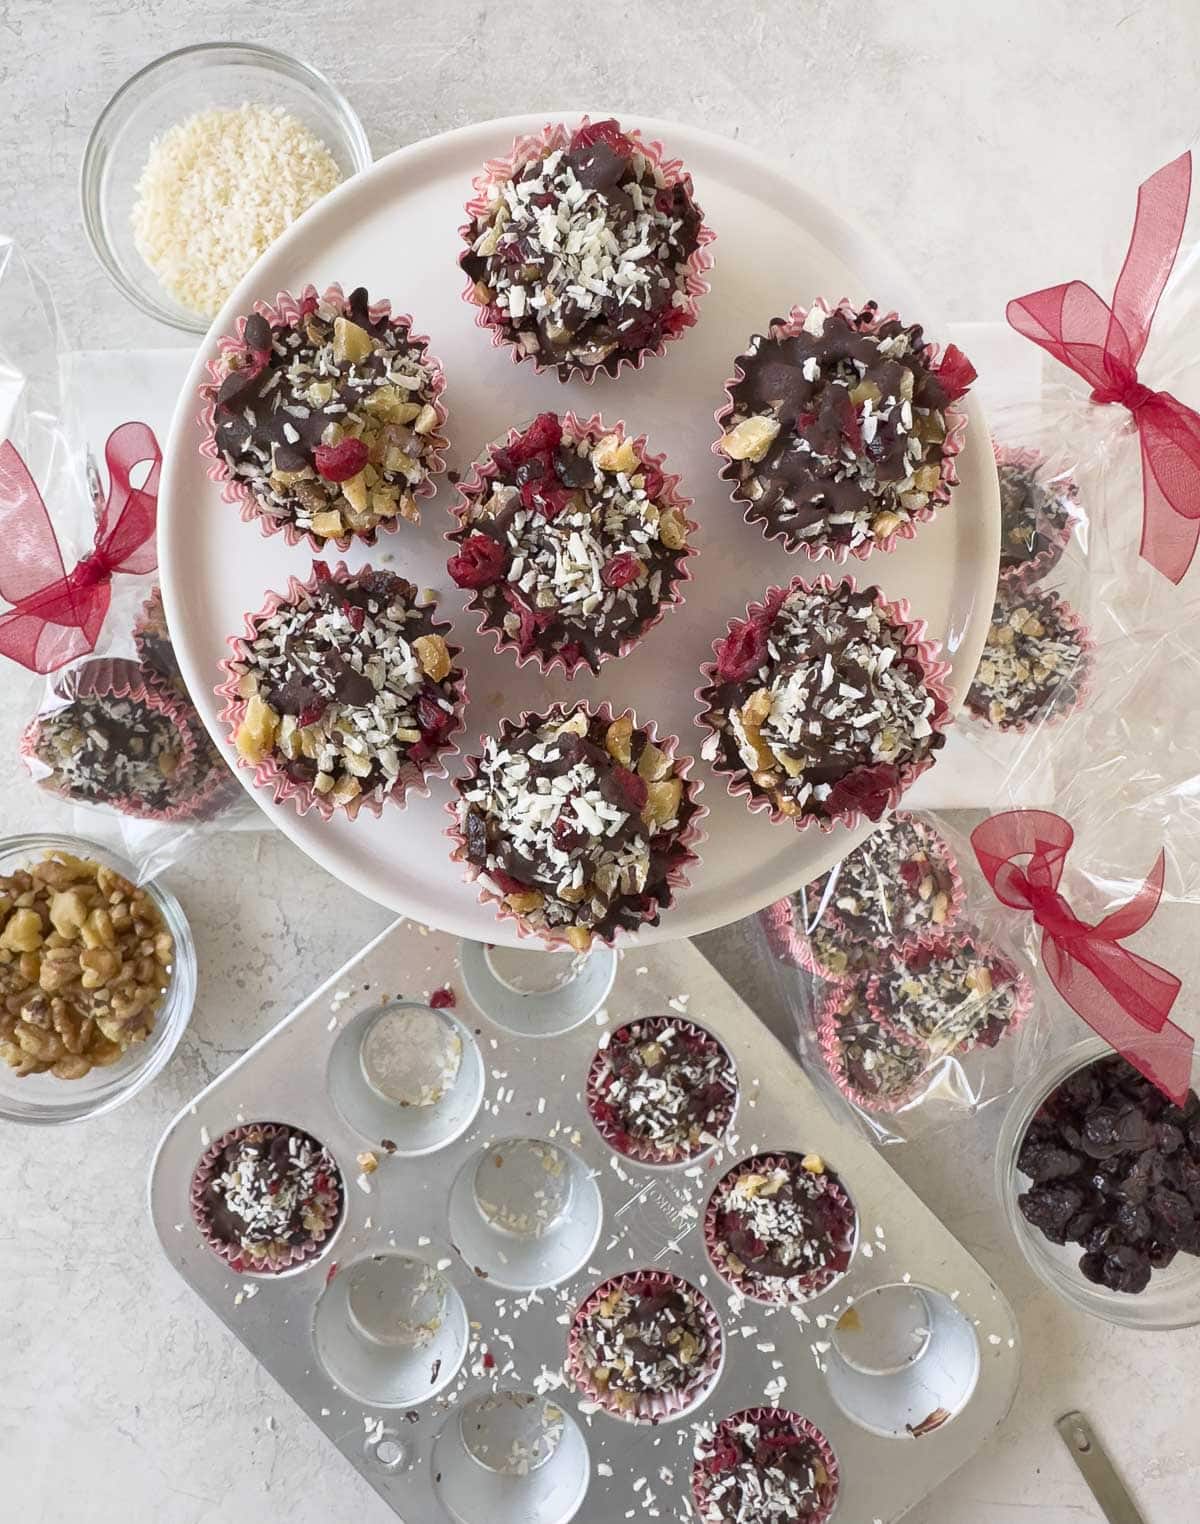
Use your mini muffin pan to make these decadent Chocolate Bark Bites! Like chocolate bark in a bite-sized package.
Substitutions and Variations
- Nuts & Seeds: Mix and match your favorites - pecans, pistachios, pumpkin seeds, or chia seeds all work well. Keep the total volume about the same.
- Oil: Avocado oil, or a healthy neutral oil if you are allergic to coconut.
- Spices: Try pumpkin pie spice, cardamom, or nutmeg instead of cinnamon for seasonal twists.
- Nut-Free Version: Skip the nuts (if nut allergic) and use extra seeds (sunflower, pumpkin, or hemp). The texture stays crunchy and balanced.
How to Make Granola Bites
Pre-heat the oven to 325°F and ready a mini muffin pan with 24 cups or wells. Spray the wells. The one I use has wells 1 ¼″ deep and 2″ across measured on the inside.
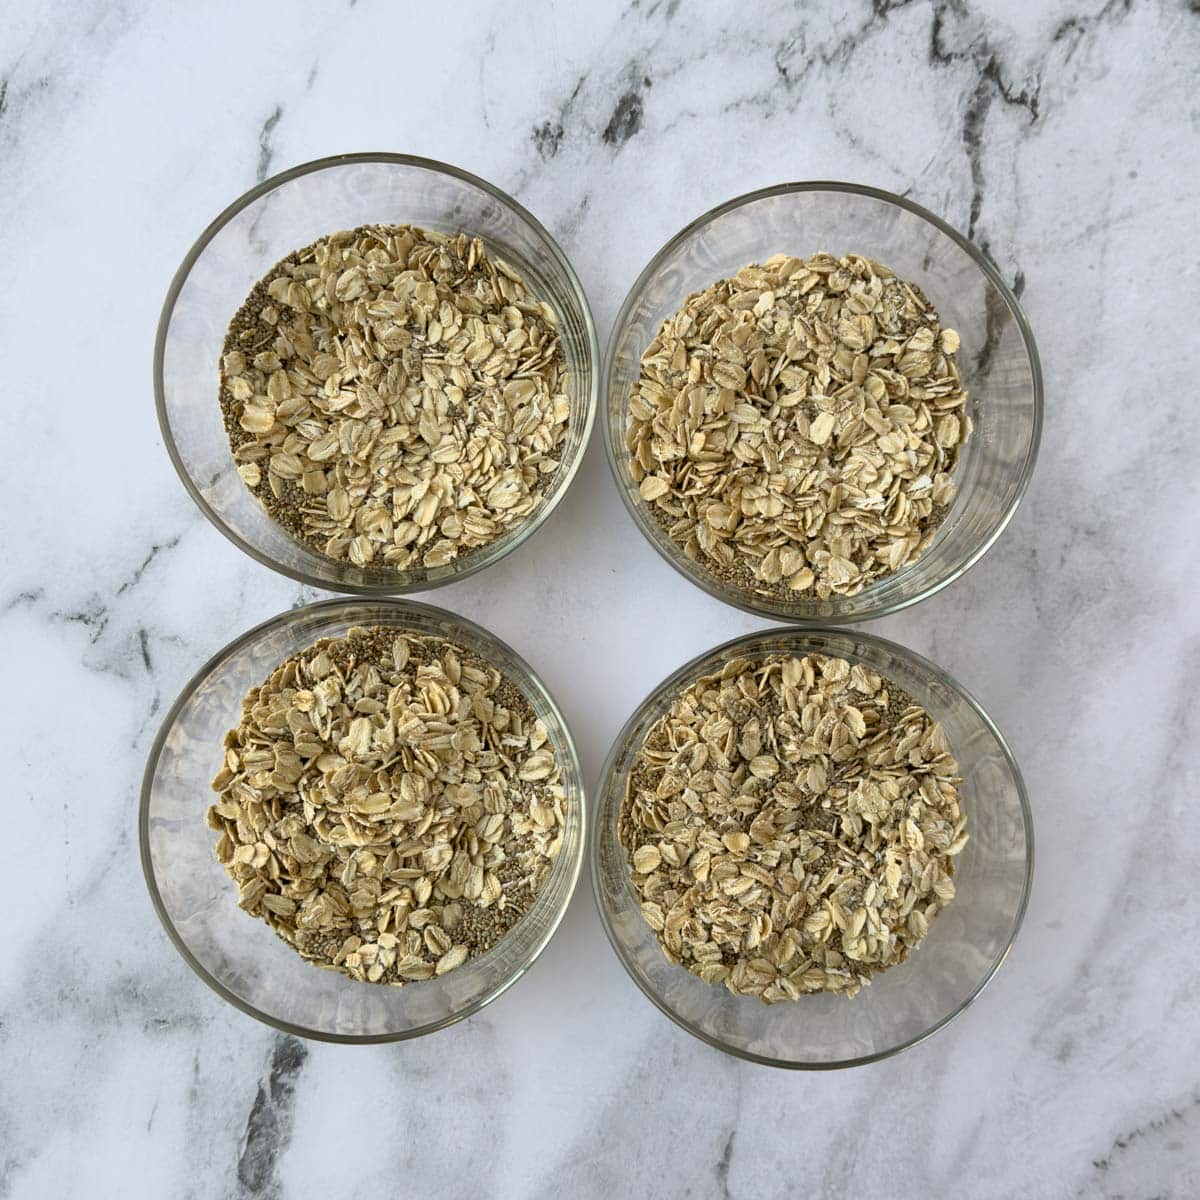
- Mix the dry ingredients.
In a medium bowl, combine the oats, coconut, nuts, flaxseed, hemp seeds, and sunflower seeds. Stir well to evenly distribute. - Whisk the wet ingredients.
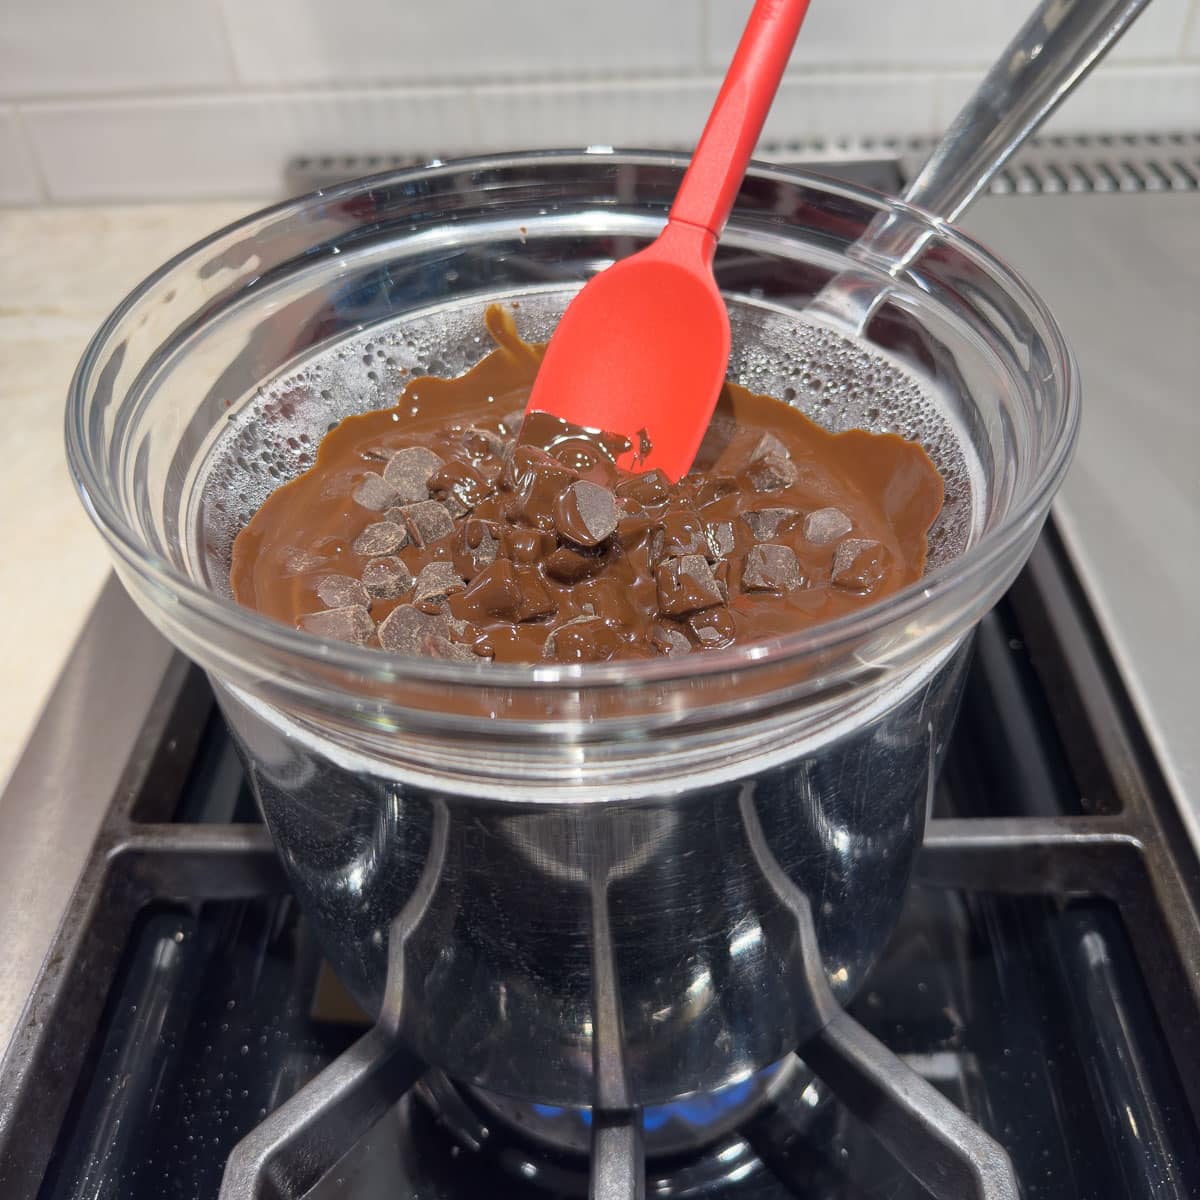
In a separate bowl, whisk together the maple syrup, melted coconut oil, vanilla, spice, and egg whites until smooth and fully blended. - Combine and coat.
Pour the wet mixture over the dry ingredients and stir until everything is evenly coated and slightly glossy. Stir in the chocolate chips, if using. - Portion and press.
Spoon about 2 tablespoons of the mixture into each mini muffin well, pressing firmly to compact it. - Bake.
Bake for about 25 minutes, until the bites are firm and the edges are just turning light golden brown. - Cool completely.
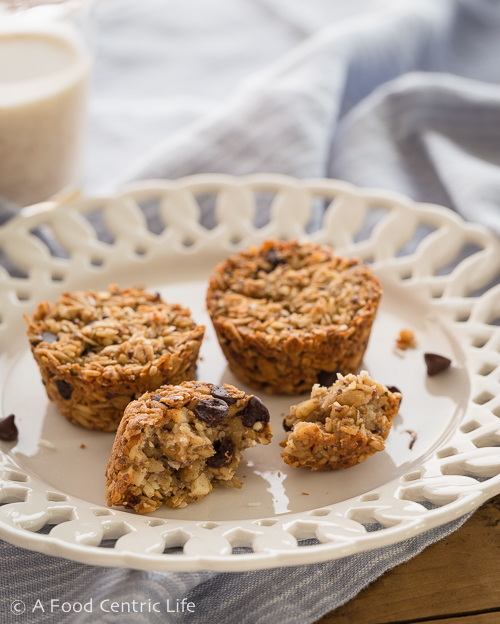
Let the bites cool fully in the pan before loosening with a small offset spatula or paring knife. Cooling helps them set and hold their shape.

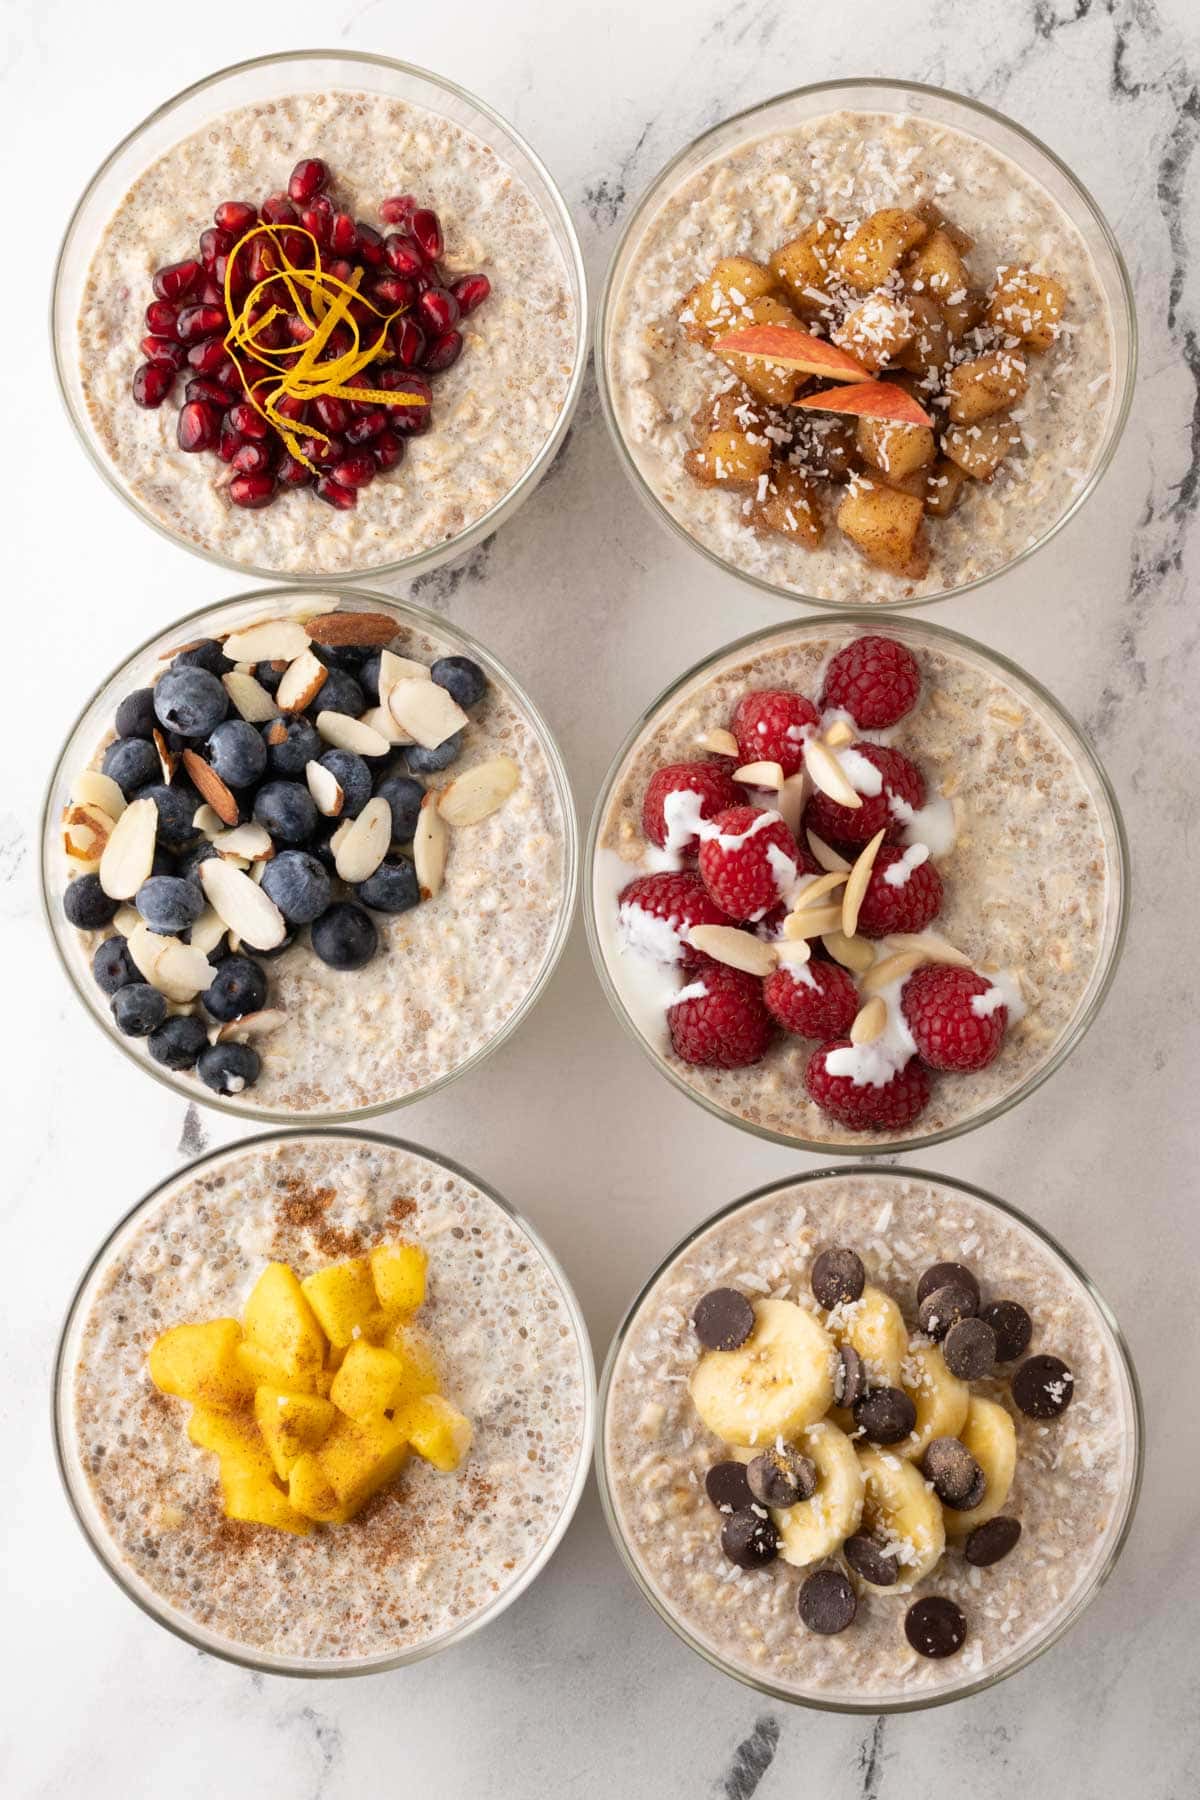
Serving Suggestions
Enjoy these Granola Bites for breakfast on busy mornings, as a pre- or post-workout snack, or tucked into a lunchbox. They pair perfectly with yogurt, fresh fruit, or a cup of coffee or tea. For a quick dessert, drizzle a few with melted dark chocolate and let them cool until set.
Storage & Freezing
Store cooled granola bites in an airtight container at room temperature for up to 1 week, or refrigerate for 2-3 weeks.
For longer storage, freeze them in a single layer until firm, then transfer to a freezer bag or container; they'll keep for about 3 months. To refresh after freezing, warm briefly in a 300°F oven for 5-7 minutes to restore their crisp texture.
Recipe FAQs
Are granola bites healthy?
Yes - these homemade granola bites are made with wholesome oats, nuts, and seeds. They're naturally sweetened with maple syrup and contain no refined sugars or additives found in many packaged snacks.
Yes. The egg whites act as the binder, but you can replace them with about 2 tablespoons of aquafaba (the liquid from canned chickpeas) or 1 tablespoon of flaxseed meal mixed with 3 tablespoons of water. Let the flax mixture sit for 5-10 minutes until it thickens, then use as you would the egg whites. Both options help hold the mixture together without adding sugar or extra fat.
If the mixture isn't compacted firmly before baking or you remove them from the pan too soon, they can fall apart. Press the mixture down tightly in the mini muffin cups and let them cool completely before removing.
Absolutely. Replace the nuts with extra sunflower or pumpkin seeds to keep the same crunchy texture without nuts.
More Breakfast & Snack Recipe Ideas
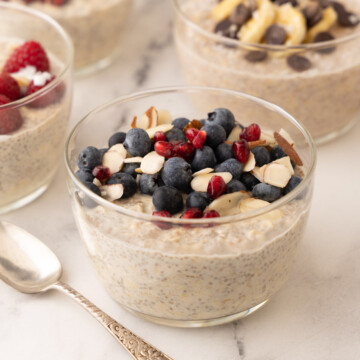
From chia pudding and parfaits, to high protein overnight oats and oatmeal protein balls, these are all good breakfast and snack ideas.
Did You Make This Recipe?
If you make these granola bites, please leave and comment and let me know. I appreciate your feedback and love hearing from you. And please leave a star rating too, they help other readers.
📖 Recipe
Granola Bites
Equipment
Ingredients
Dry
- 1 ½ cups rolled oats 6 ounces, gluten-free
- ½ cup dry, fine, unsweetened coconut thread 1 ½ ounces
- 3 tablespoons finely chopped walnuts 1 ounce
- 3 tablespoons finely chopped slivered blanched almonds 1 ounce
- 2 tablespoons raw unsalted sunflower seeds
- 1 ½ tablespoons ground flaxseed
- 1 ½ tablespoons hemp seeds
- 3 tablespoons sugar-free dark chocolate chips Lilys Sweets
Wet
- ¼ cup real maple syrup
- ¼ cup unrefined coconut oil melted
- 1 teaspoon vanilla extract
- ½ teaspoon cinnamon or Chinese Five Spice
- 2 egg whites
Instructions
- Pre-heat oven to 325º. Spray a mini muffin pan (see post for notes). In a medium bowl, thoroughly mix the oats, coconut, nuts, and seeds. In another bowl, whisk together the maple syrup, oil, spice and egg whites. Pour the liquid into the dry mix and story until the dry mix is completely and evenly coated. Stir in the chocolate chips.
- In the sprayed mini muffin pan, pack approximately 2 tablespoons of the granola into each well. Tamp down firmly. Bake approximately 25 minutes (that is what it takes in my convection oven), until firm and the edges are just a light golden brown. Allow to cool completely in the pan, then pop out each bite with a mini spatula or thin knife.


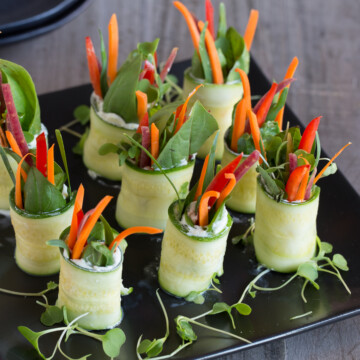
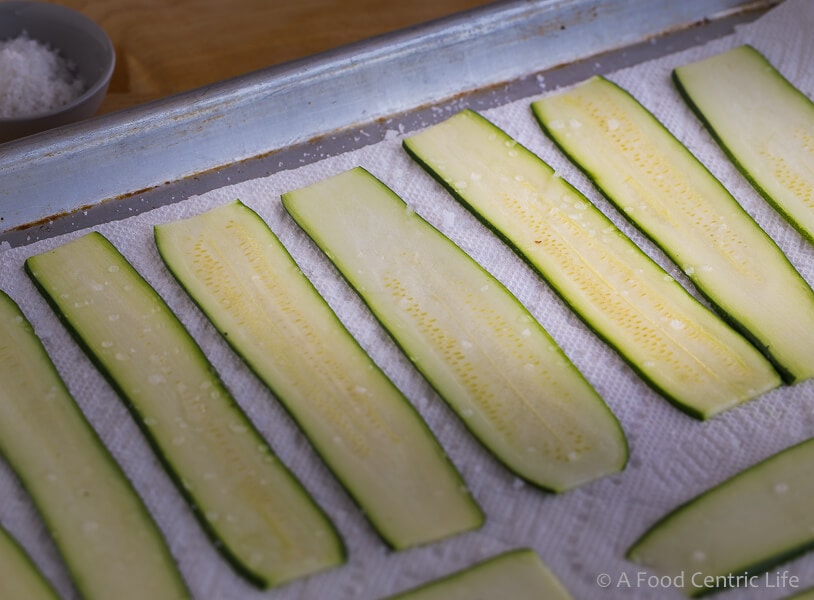 Salting the Zucchini Slices
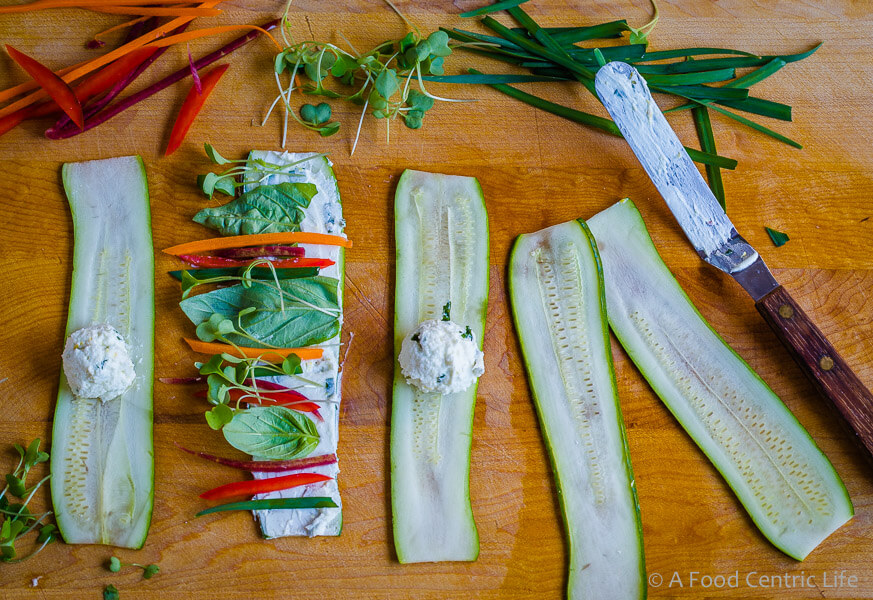 How to Assemble the Zucchini Appetizer Rolls