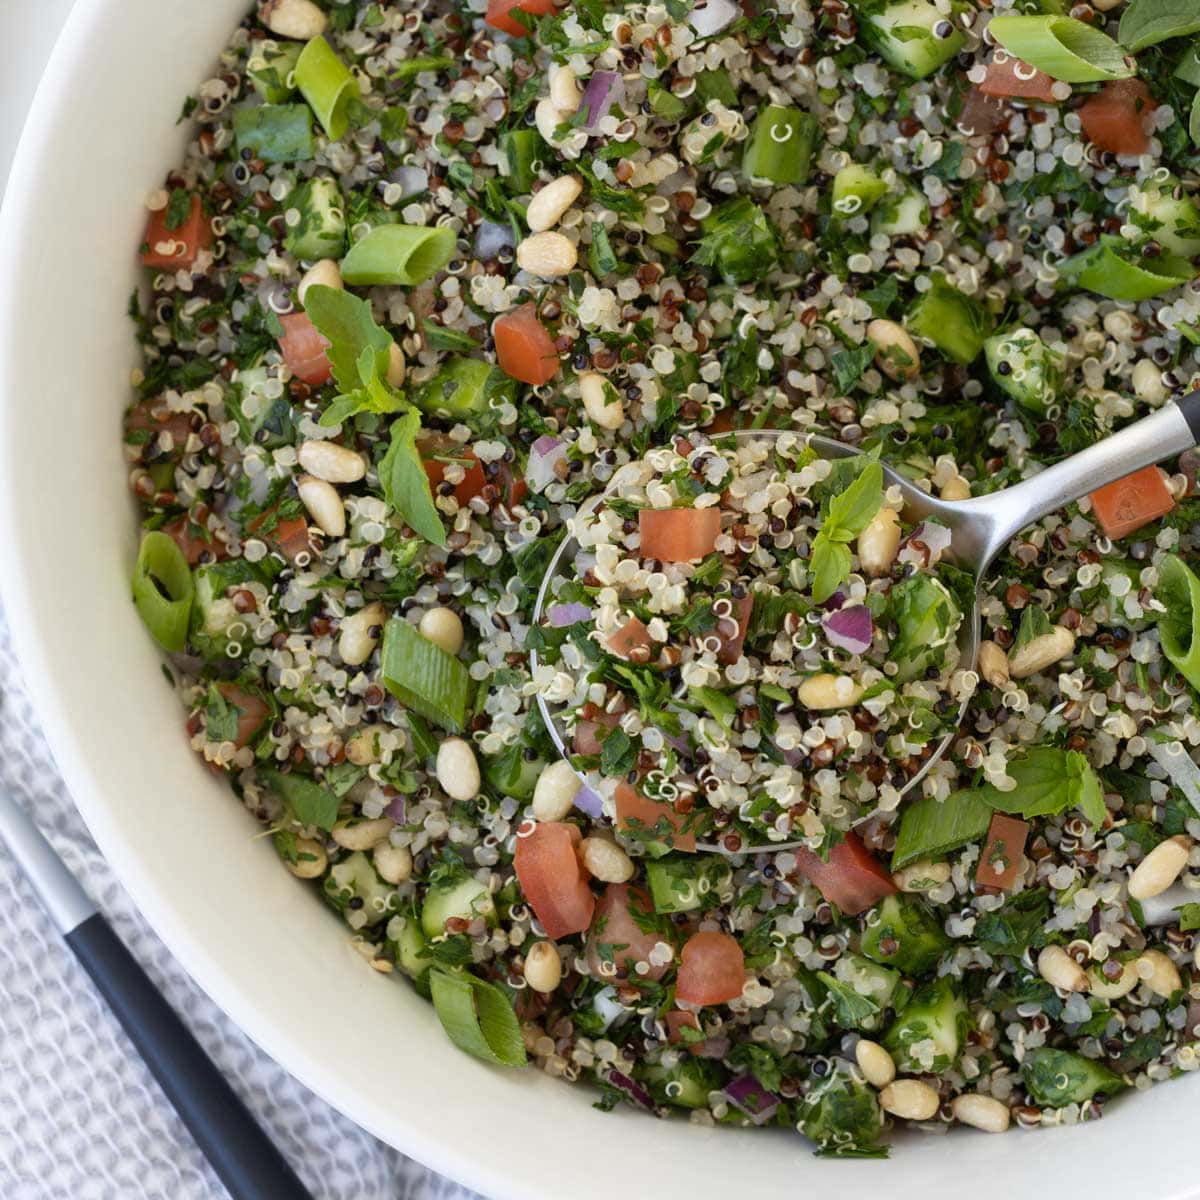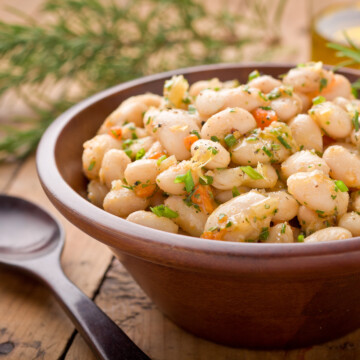
White beans, especially tender cannellini beans, make a fresh, versatile salad that's perfect for summer. Whether you're pulling a can from the pantry or cooking a pot of dried beans from scratch, this white bean salad comes together easily and delivers bright, satisfying flavor. Tossed with fresh lemon, herbs, garlic, and shallot, this white bean salad is delicious on its own, piled over fresh greens, or served alongside your favorite grilled mains.

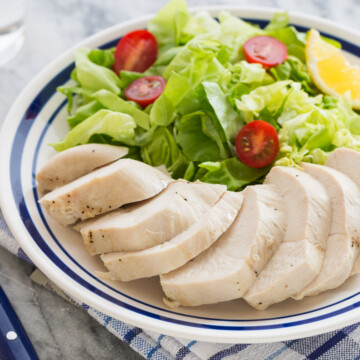
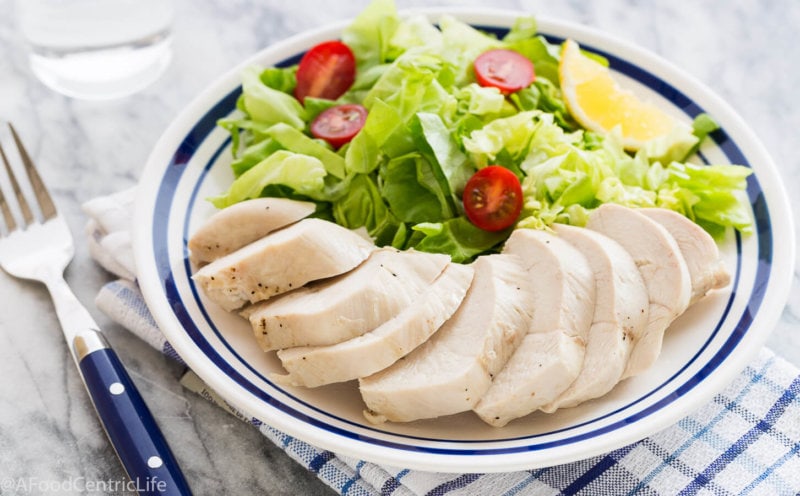
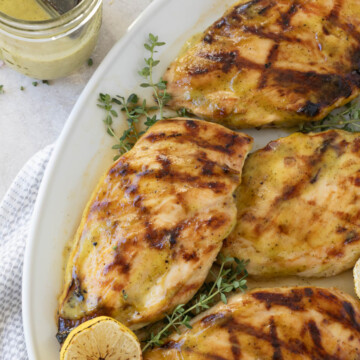
Using canned beans are perfect for quick, last-minute meals, while dried beans cooked from scratch offer a little extra flavor and texture if you have the time. A slow simmer brings out their creamy interior and delicate taste - perfect for simple, healthy dishes like this summer white bean salad. Cannellini beans are my favorite for their tender, buttery texture, but great northern, navy, or small white beans all work beautifully. Just add plenty of fresh herbs, good olive oil, lemon, and seasoning for a side that pairs effortlessly with grilled chicken, shrimp, pork, or beef.
[feast_advanced_jump_to]Why You'll Love This White Bean Salad
- Quick and easy - Made with simple, healthy ingredients.
- Versatile - Serve as a side, over fresh greens, or alongside grilled meats.
- Meal prep friendly - Keeps well in the fridge for up to 5 days.
- Customizable - Use cannellini, great northern, navy, or small white beans and swap in your favorite fresh herbs.
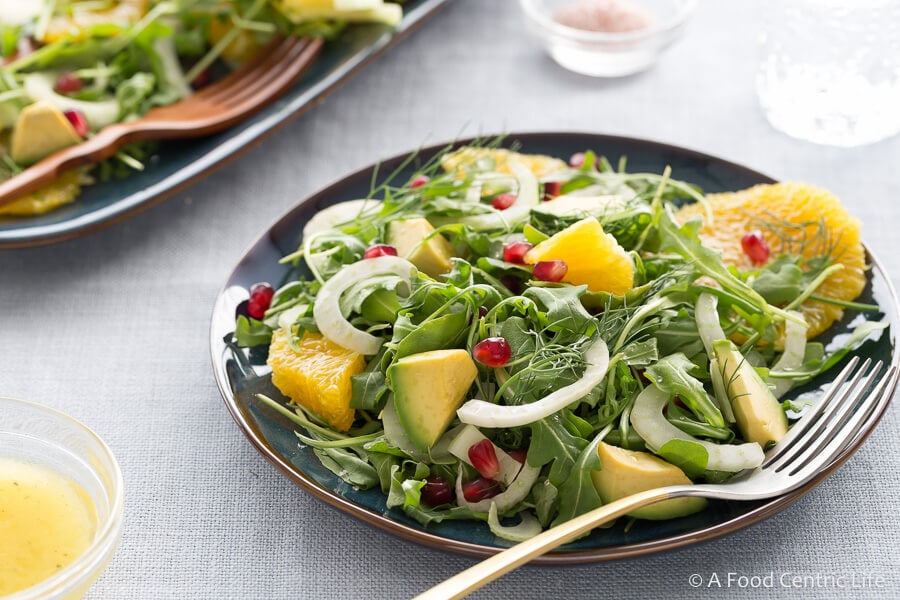
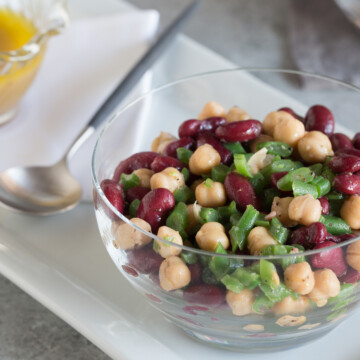
Hee's another super easy bean salad recipe - three bean salad.
Ingredients You'll Need
Use dried cooked beans or canned beans for speed and convenience, just rinse and drain well.
- White beans - Cooked beans, either start with dried and cook or use canned. Cannellini beans are my first choice.
- Shallot - Finely chopped for mild, aromatic flavor.
- Garlic - Freshly minced, optional for extra punch.
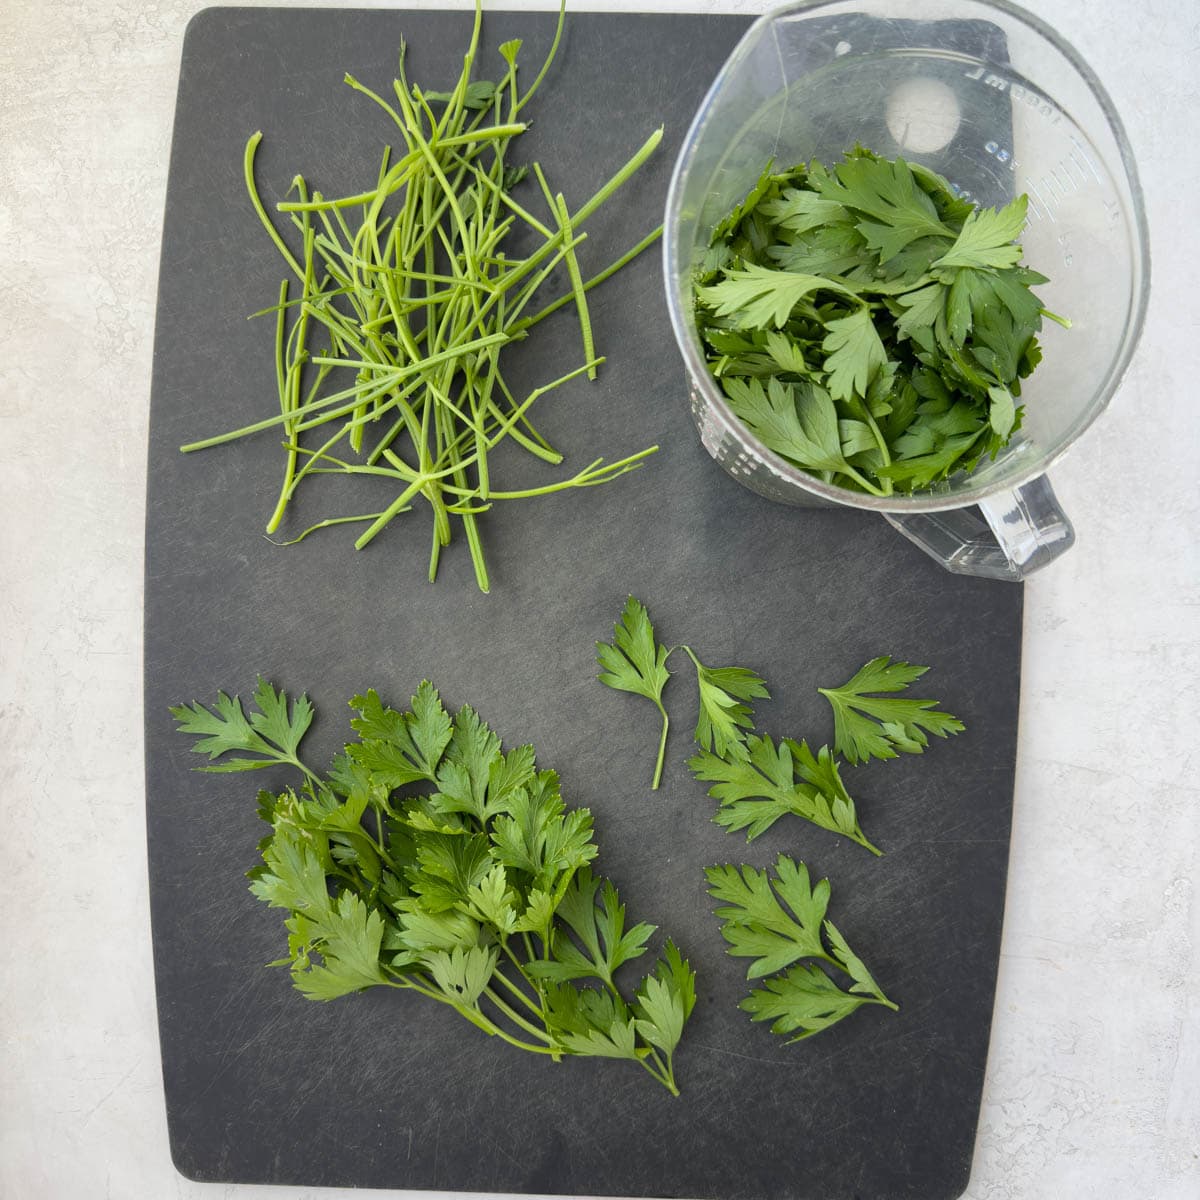
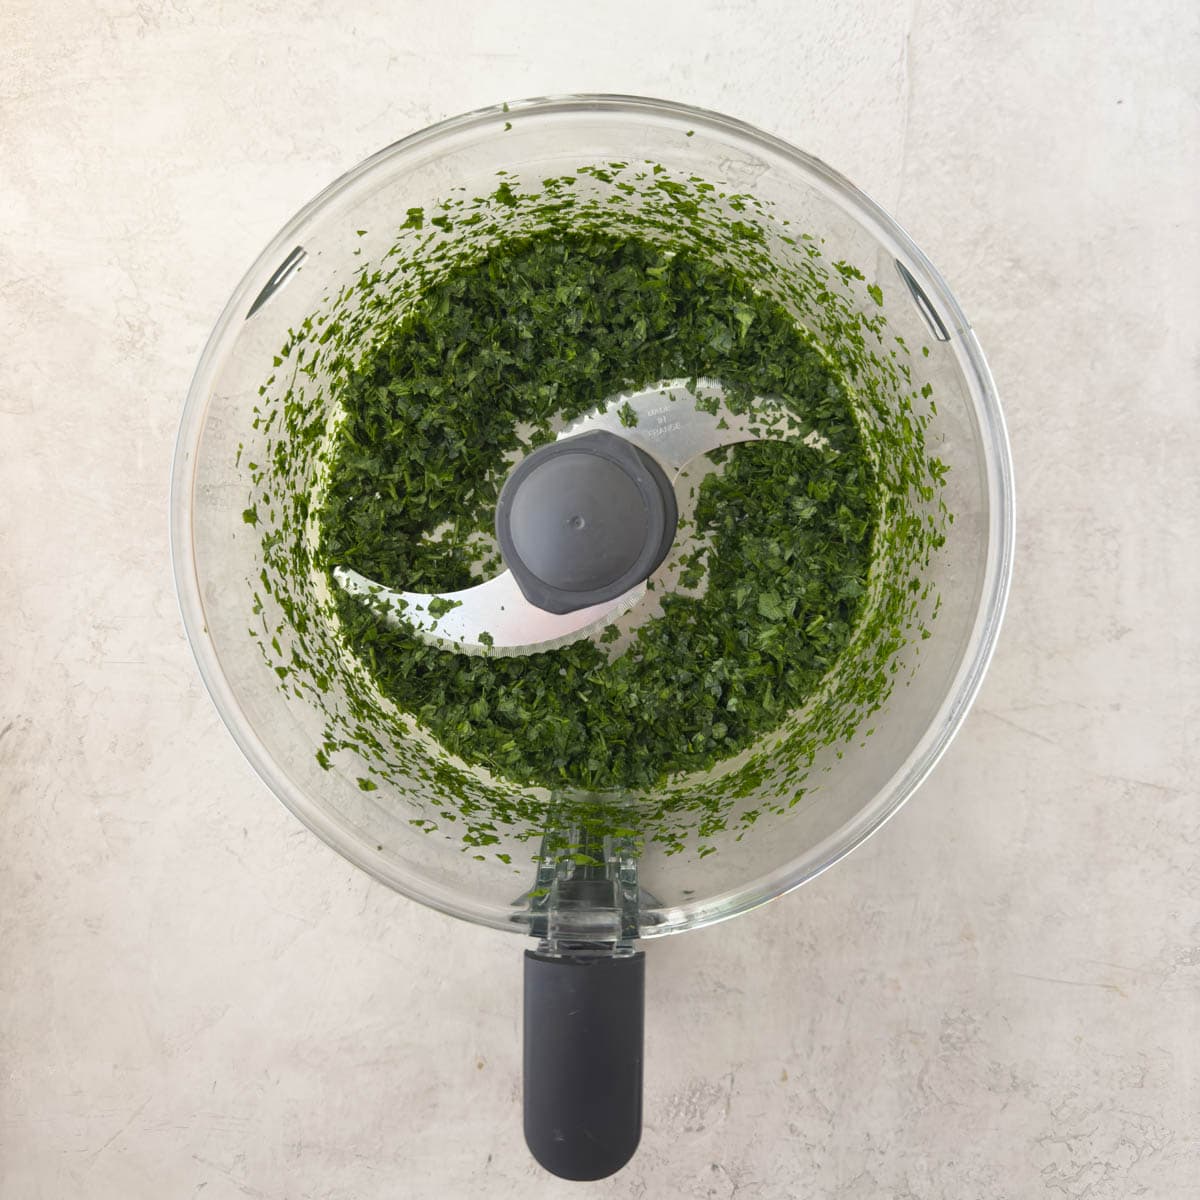
- Herbs - Fresh chopped parsley, basil, dill, or mint add flavor (use a combo).
- Lemon - Use juice and zest for citrusy bright flavor and aroma.
- Olive oil - Good quality extra virgin olive oil for the vinaigrette.
- Vinegar - Choose white wine vinegar, red wine vinegar, apple cider vinegar.
- Dijon mustard - Adds a little tang and depth to the vinaigrette and emulsifies it.
Please see the recipe card for measurements, salt, and pepper.
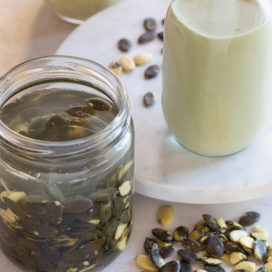
Chef's tip on buying dried beans: Buy from a store with good turnover to make sure they're fresh-older beans can take much longer to cook and sometimes never soften properly. Ideally, use dried beans within two years of harvest for the best texture and flavor. Discovering Napa Valley-based Rancho Gordo heirloom beans got me cooking with dried beans versus always reaching for canned.
Substitutions and Variations
- Add cheese - Crumbled Greek feta or goat cheese adds tangy flavor, but skip it for dairy-free or vegan diners.
- Change the allium - Swap in finely chopped chives or white onion for a different flavor profile.
- Try other beans - Great Northern, navy, or small white beans all work well, canned or cooked from dried.
- Add carrot - For extra color and a hint of sweetness, fold in a small finely chopped carrot. If you simmer dried beans with a carrot, finely chop some of the cooked carrot and mix it into the salad.
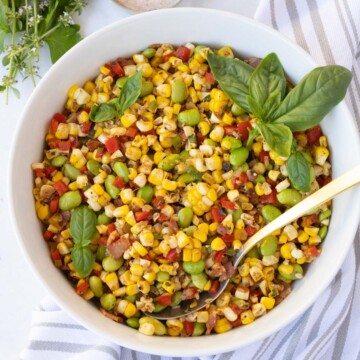
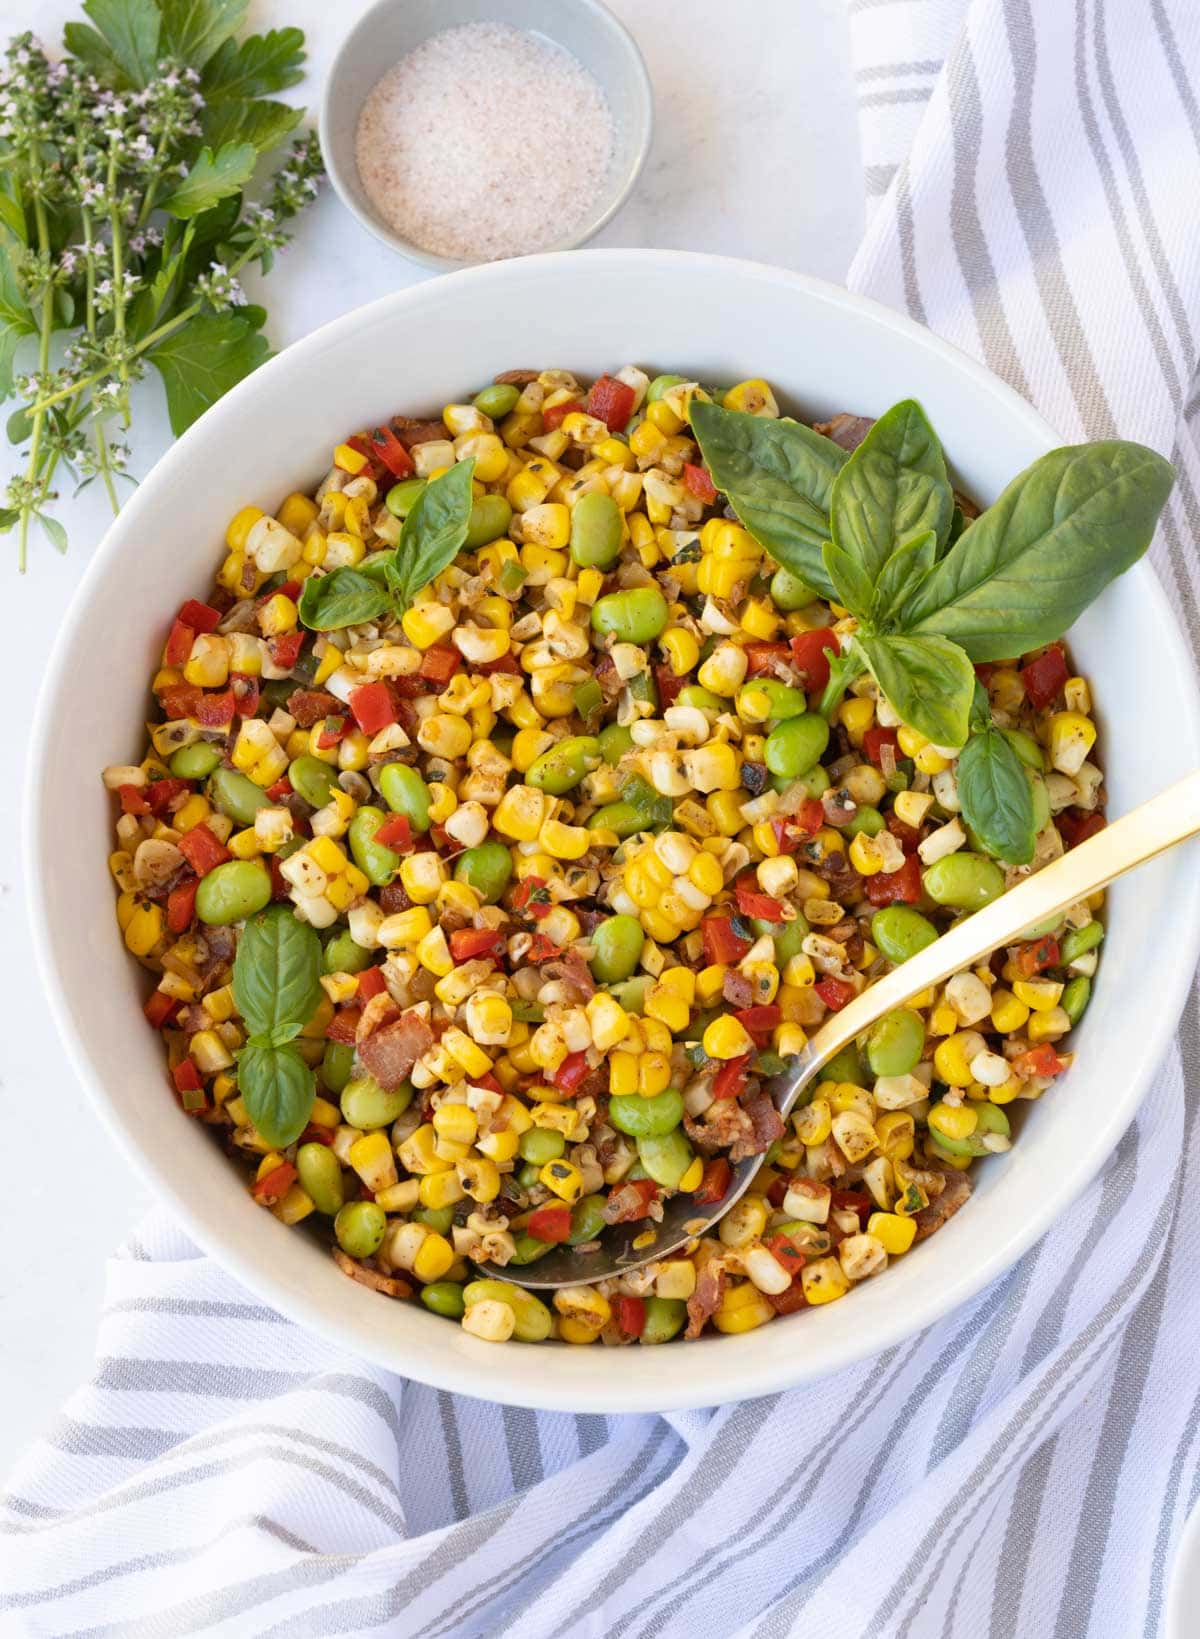
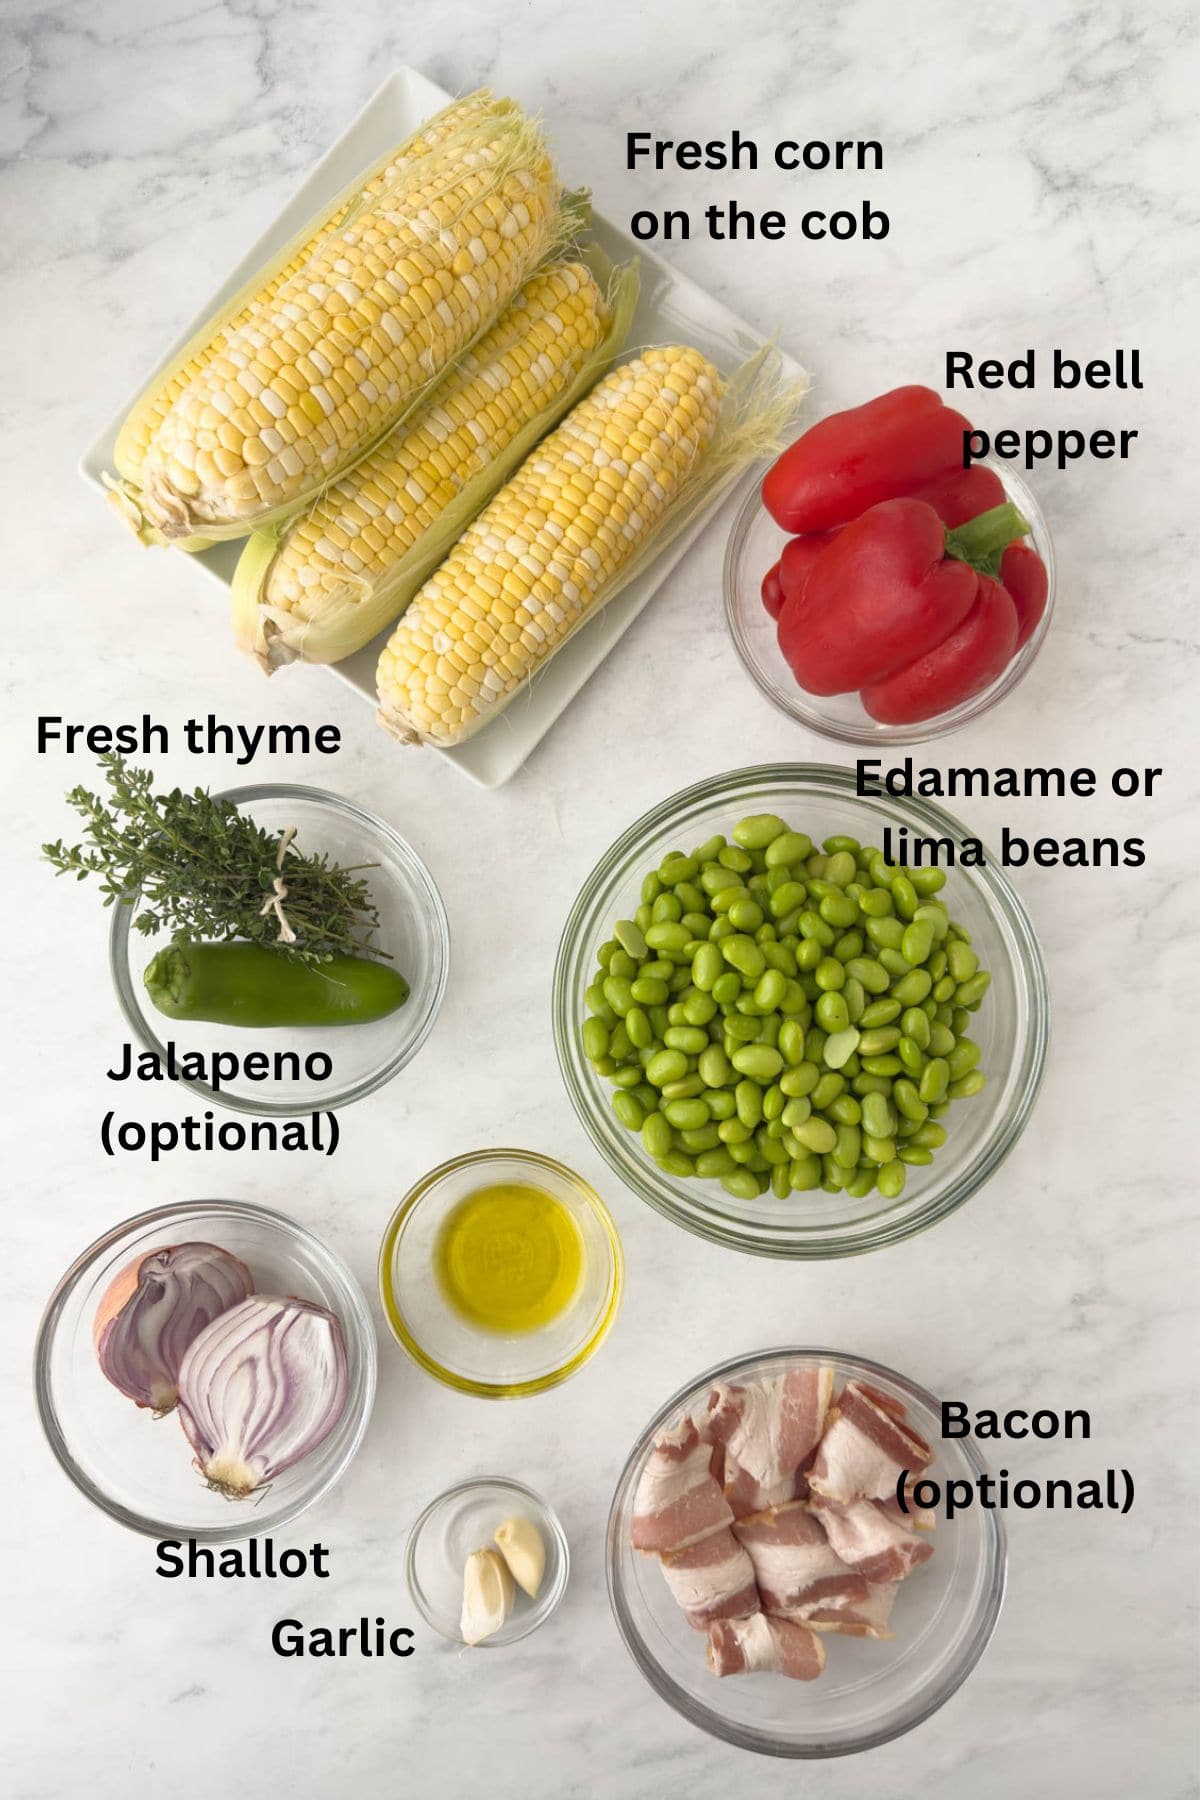
if you love beans in salads, try this corn and black bean salad made with frozen corn and canned black beans so it's easy!
How to Make a White Bean Salad
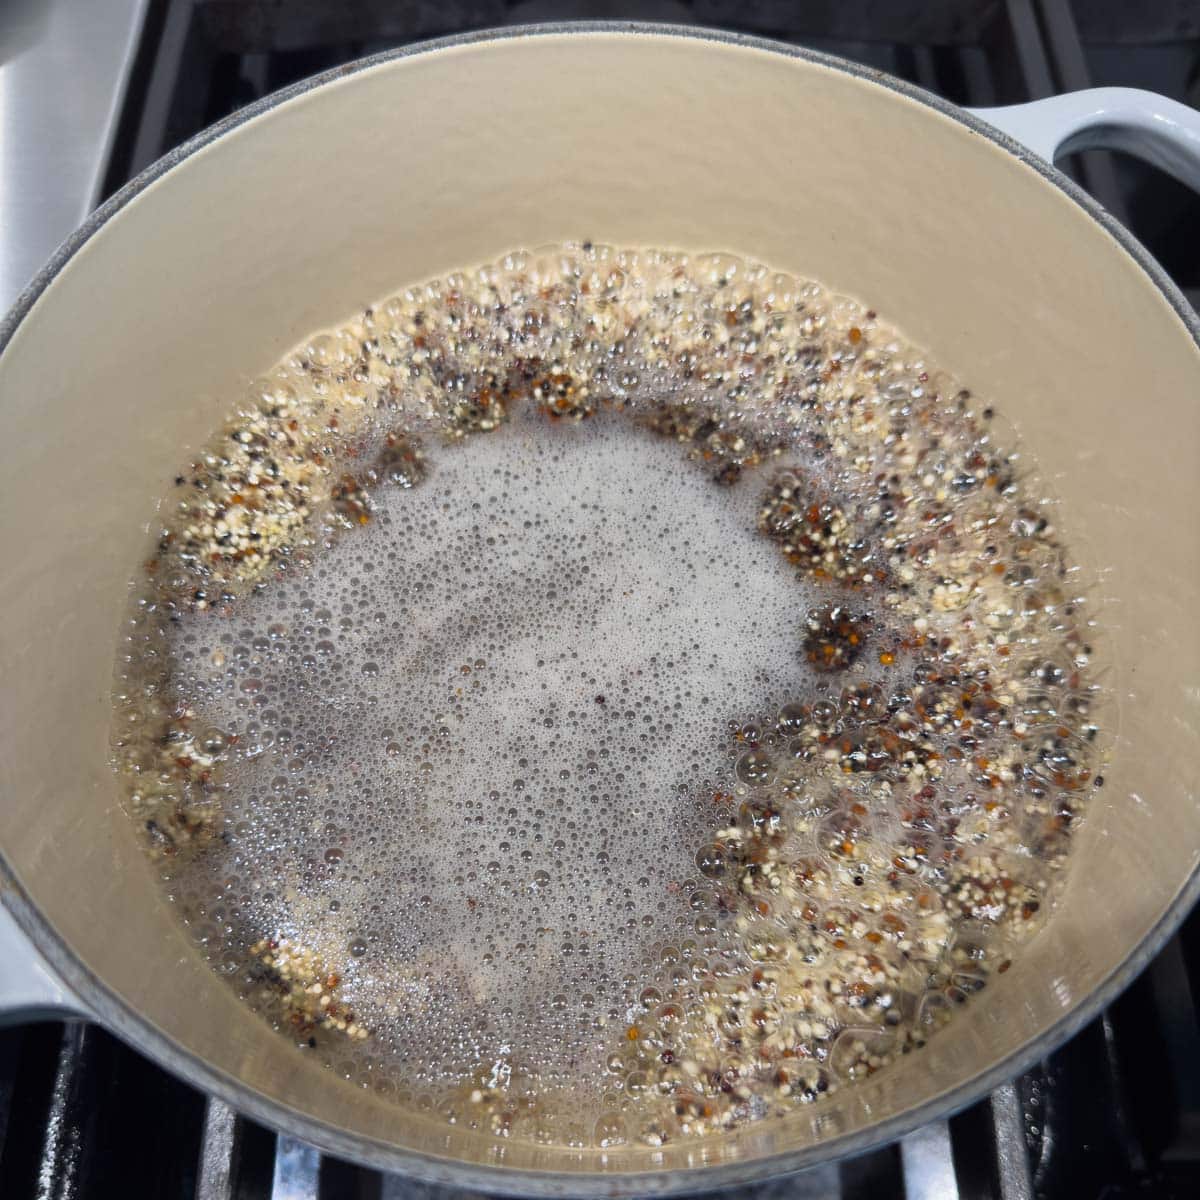
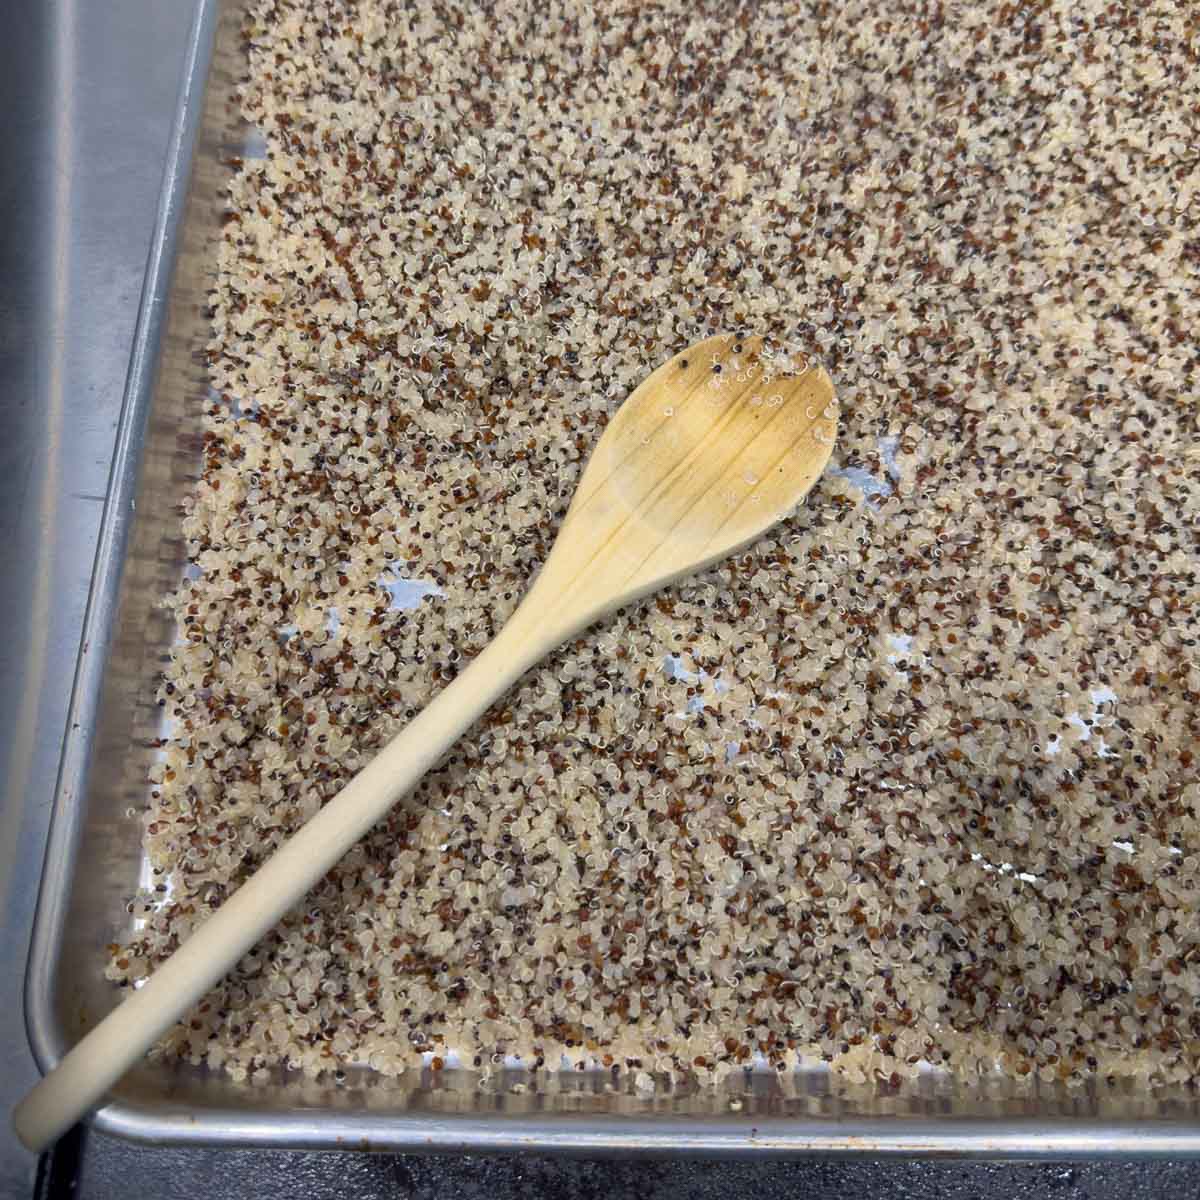
If using dried beans, rinse and soak beans before going to bed. The next day, drain and cook them in the morning, then finish the salad when ready to serve. You can also cook the beans a day or two ahead of time and keep refrigerated in an airtight container until ready to complete the salad and serve.
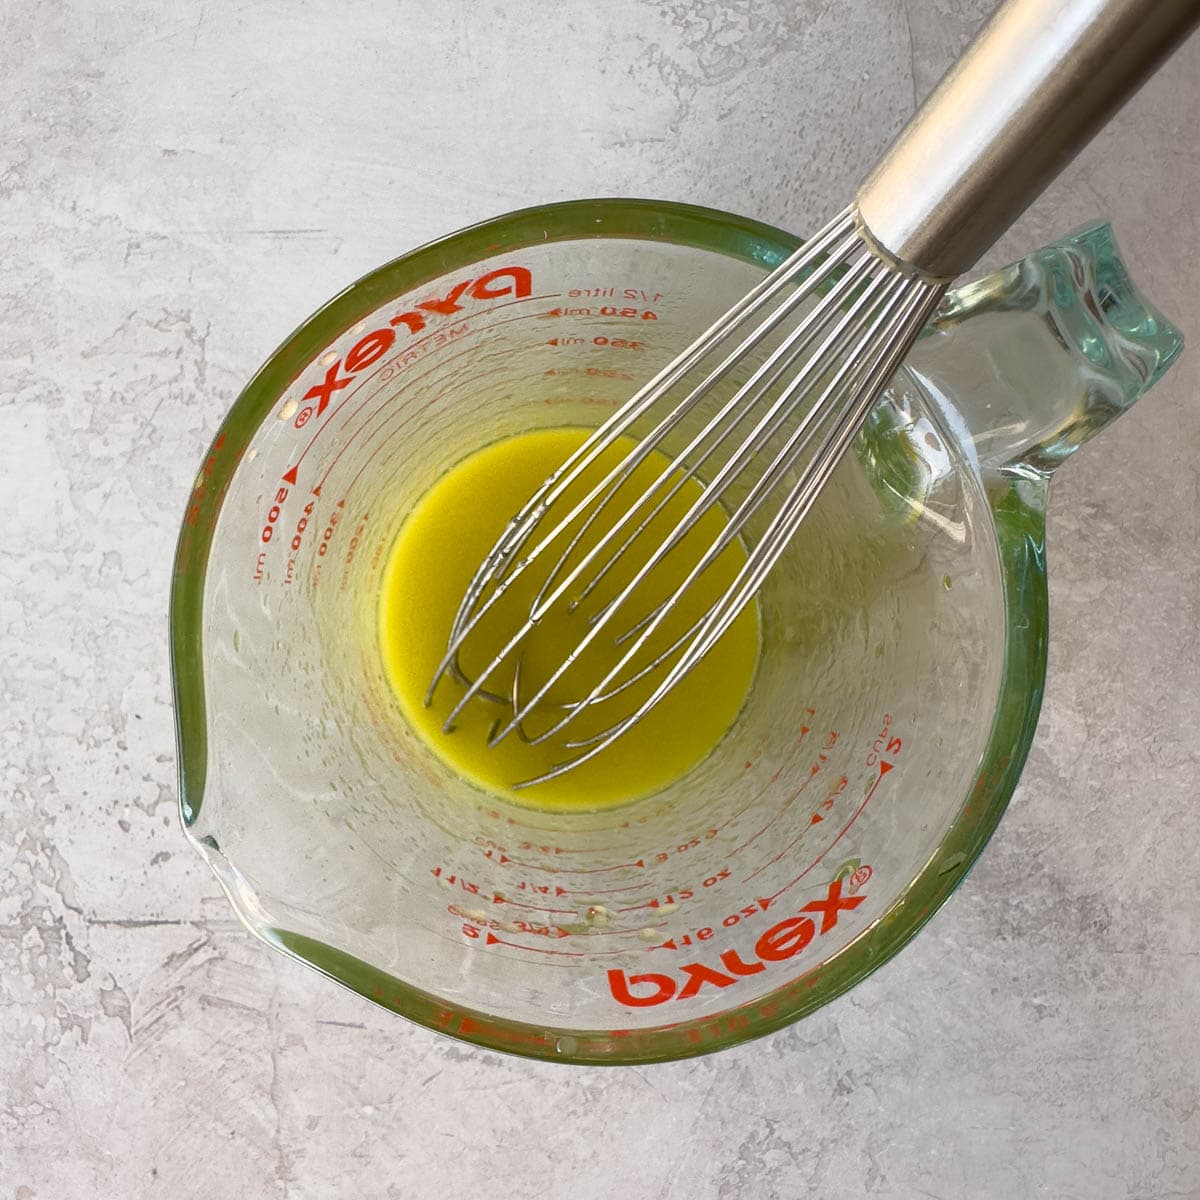
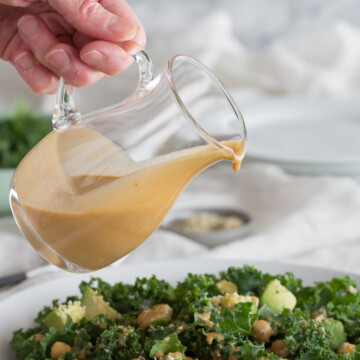
- Make the vinaigrette.
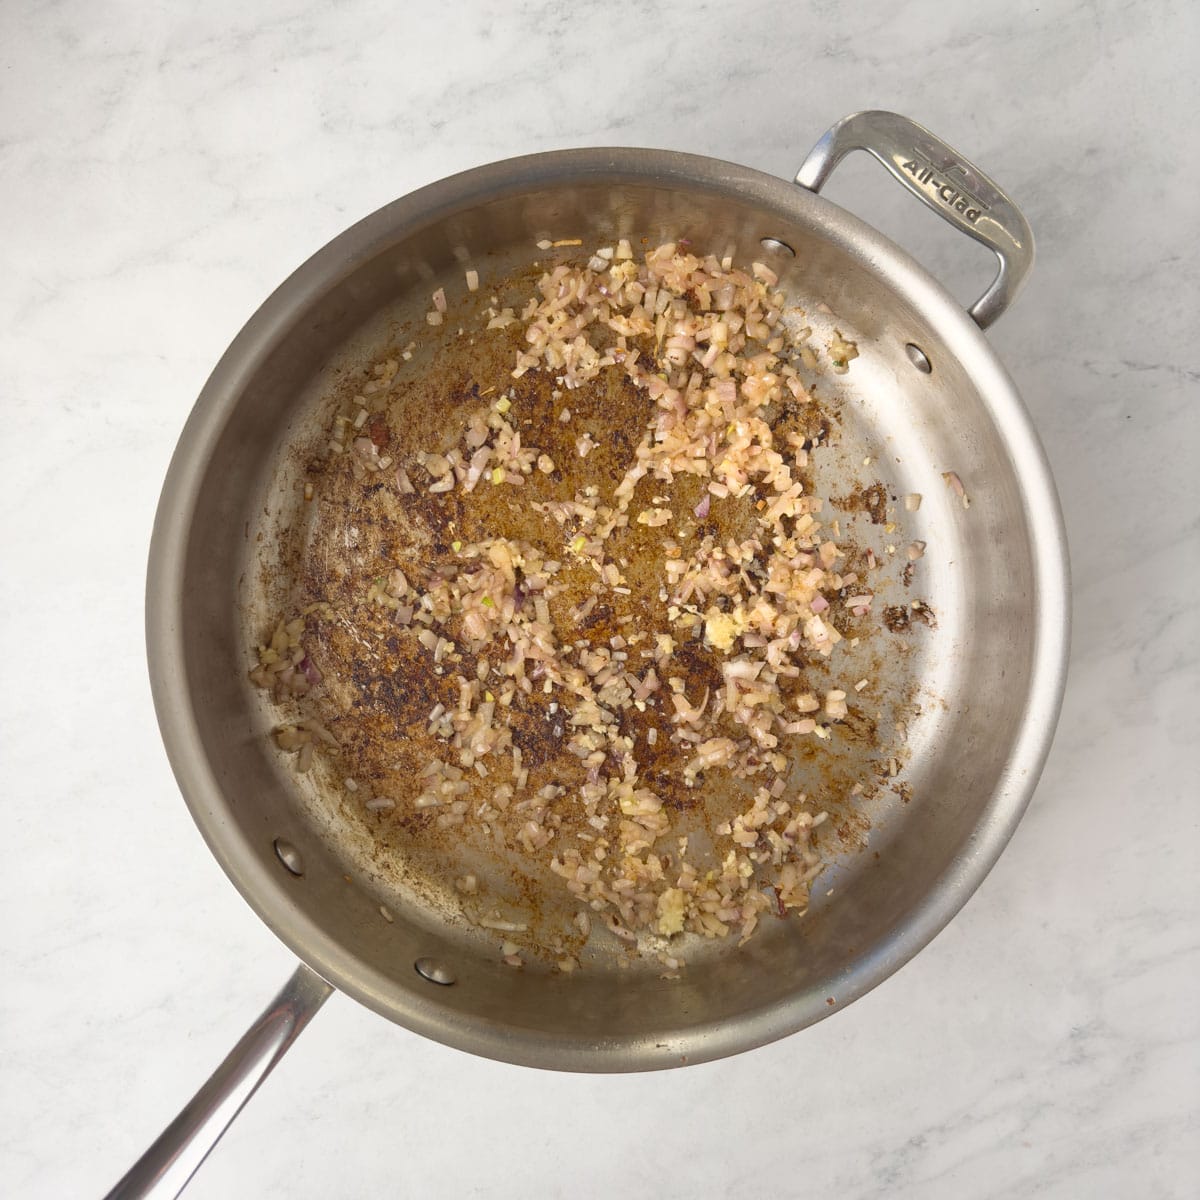
- Chop the shallot and herbs, zest the lemon.
- Add the white beans to a medium bowl and toss with the vinaigrette, herbs, and zest. Season with salt and pepper.
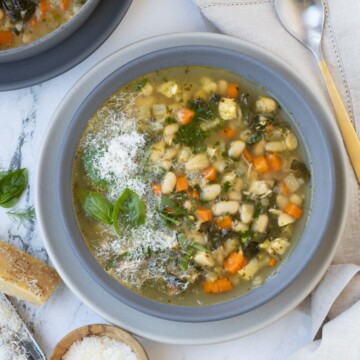
For a cool weather creamy soup using cannellini beans, try this creamy fennel soup.
Chef's tip: Let the flavors meld. For the best flavor, let the white bean salad stand at room temperature for 20-30 minutes before serving. This gives the beans time to absorb the vinaigrette and the flavors to meld beautifully. Serve at room temperature for maximum flavor, or chill slightly if you're serving it on a hot day.
Serving Suggestions
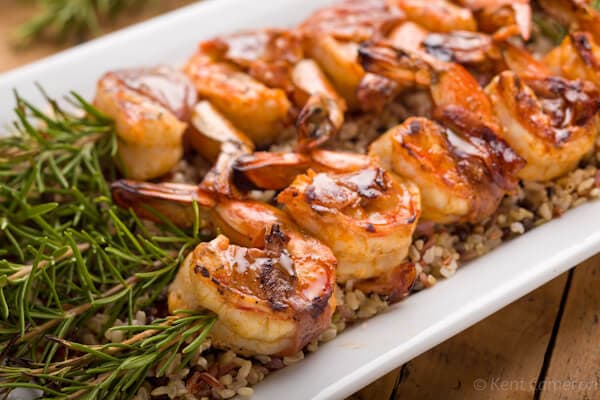
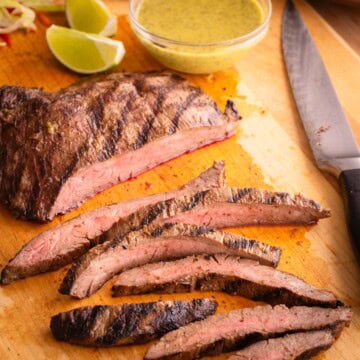
Serve chilled or at room temperature with lots of fresh herbs and a little olive oil. This simple white bean salad is a terrific side dish for grilled chicken and meat, or burgers and seafood.
Recipe FAQs
Absolutely. This white bean salad holds up well and actually tastes better after a few hours as the flavors meld. Store it in the refrigerator for up to 5 days.
Yes! Feel free to add extras like halved cherry tomatoes, diced cucumber, crumbled feta cheese, or a handful of arugula for variety. For some kick, add chopped jalapeno pepper.
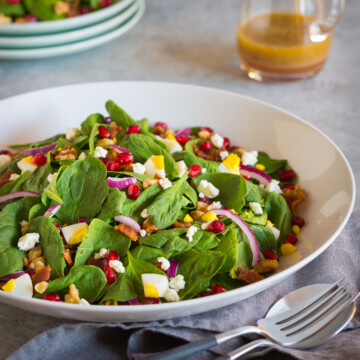
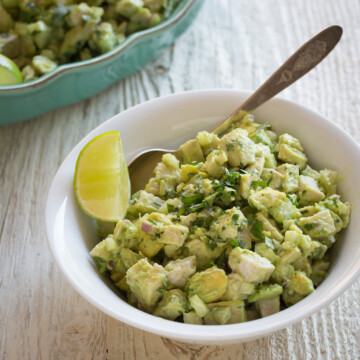
More Salad Recipes
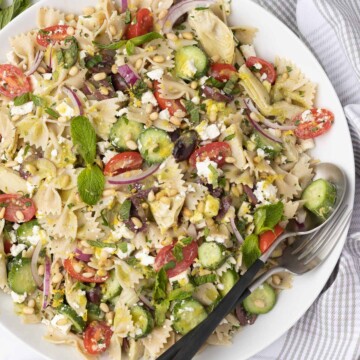
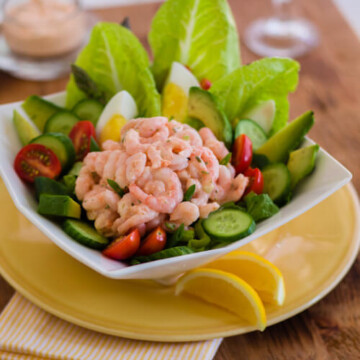
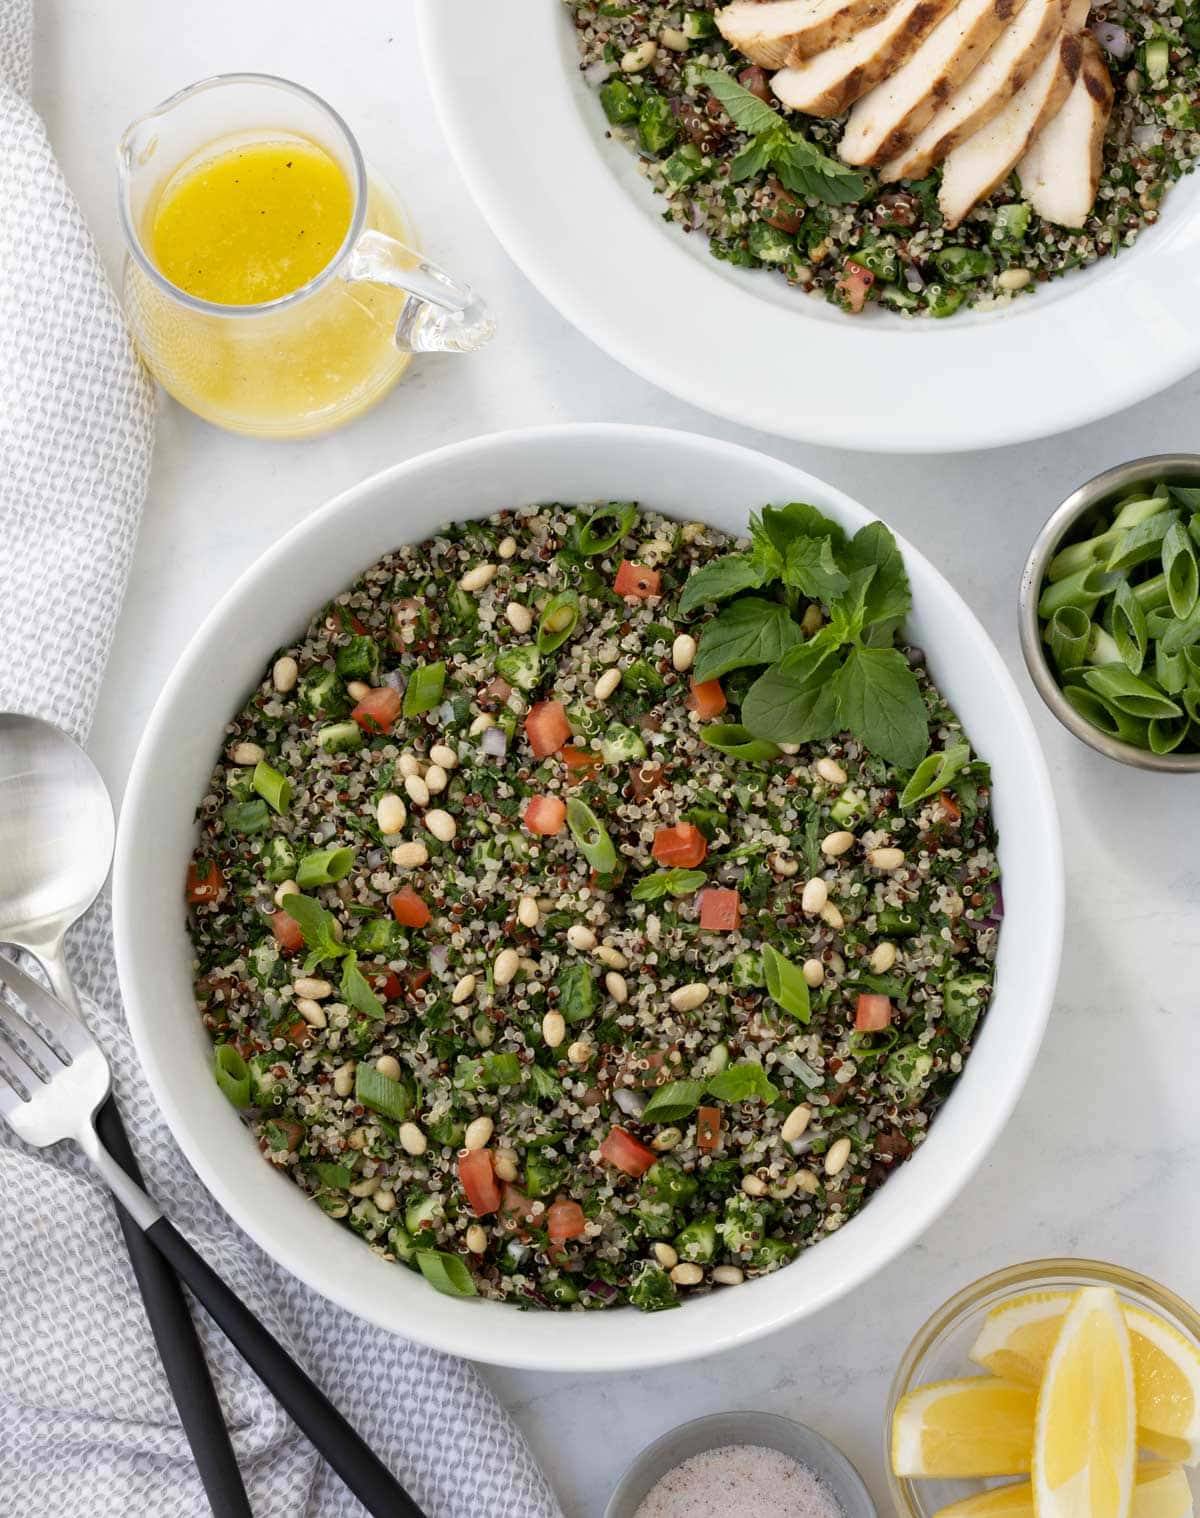
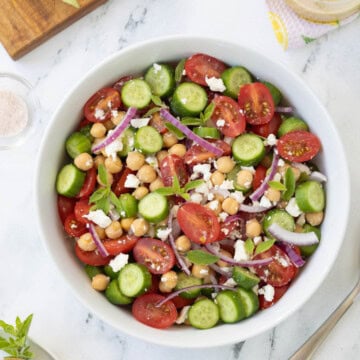
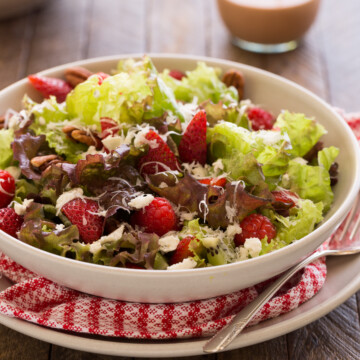
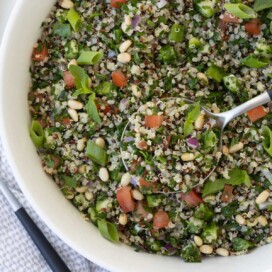
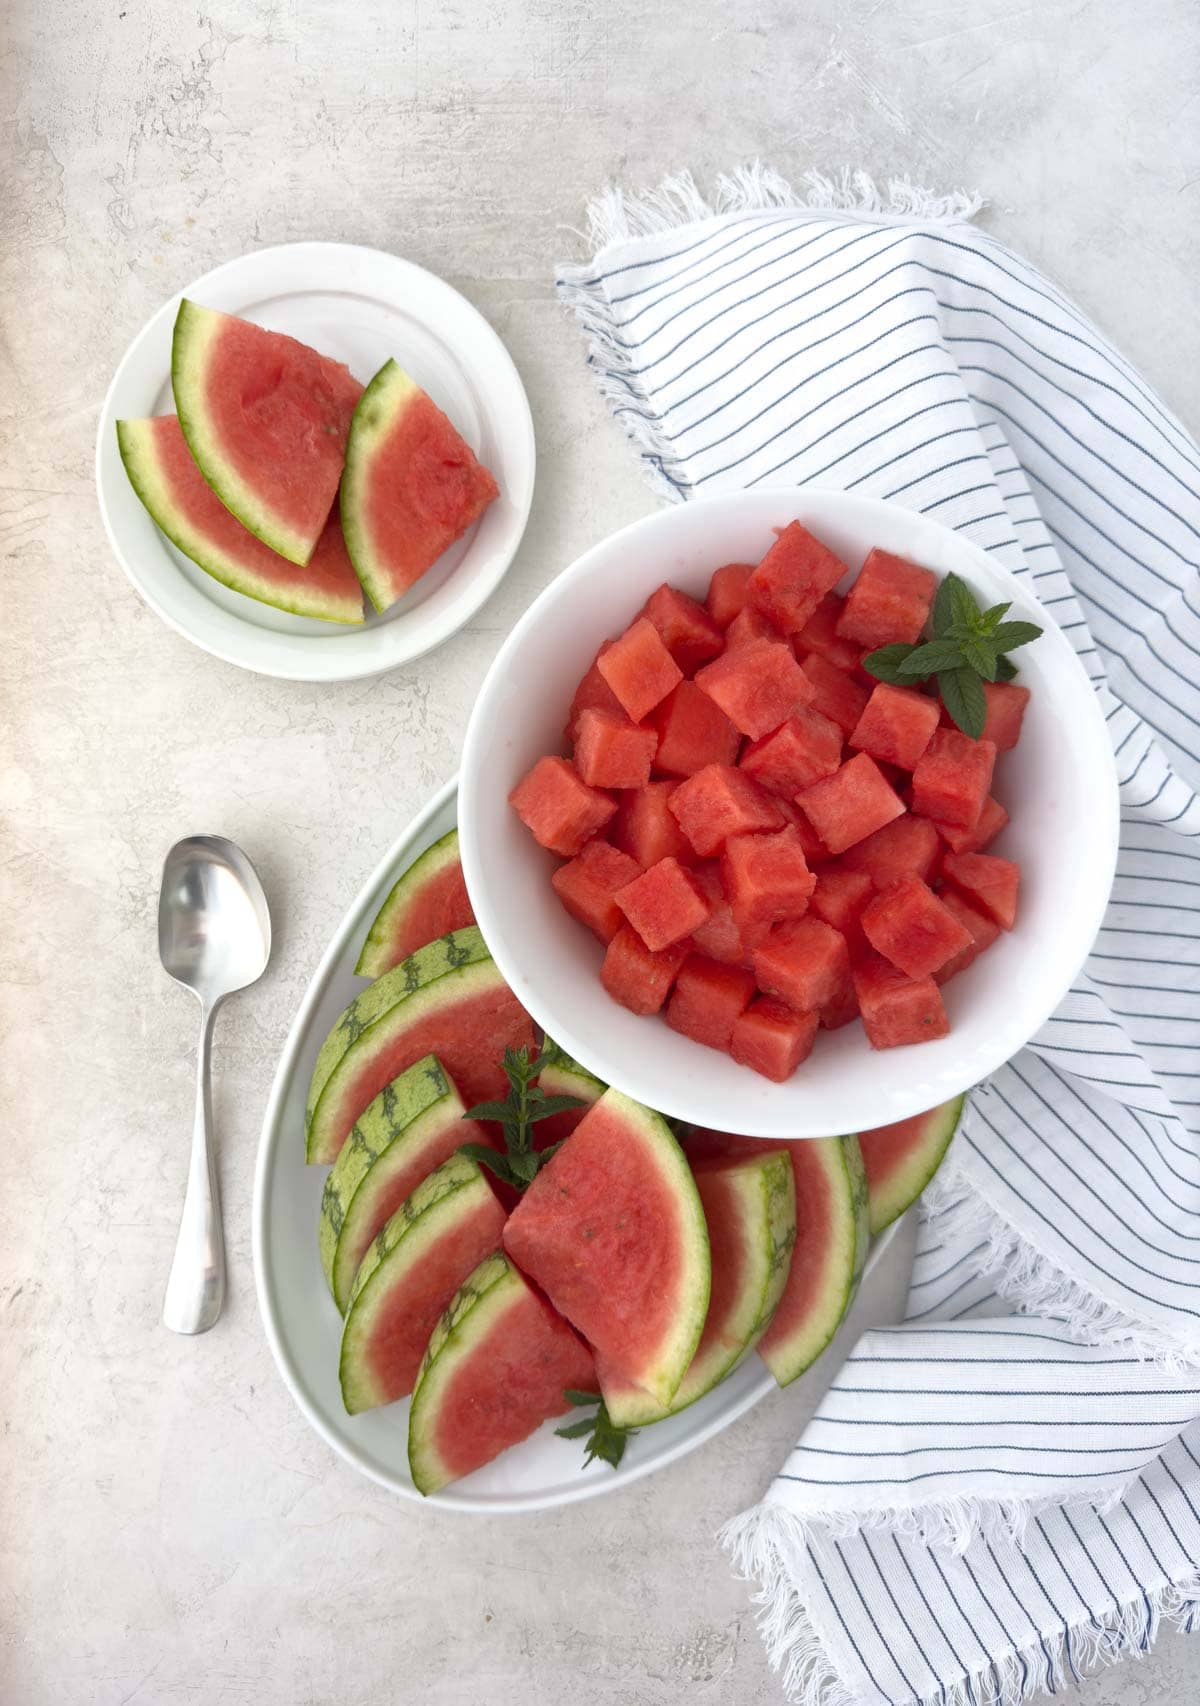
Looking for more salad inspiration? Here are a few more ideas-none of them green! Salad can be so much more than leafy greens. Be sure to check out the full Salads Recipe Index for even more fresh, creative options.


Did You Make This Recipe?
If you make this white bean salad, please add your comment. I appreciate your feedback and enjoy hearing from you. If you loved it, please give it a 5-star rating! They really help other readers.
📖 Recipe

White Bean Salad
Ingredients
- 3 cups cooked cannellini beans canned or from dried
- 1 small shallot finely chopped
- 1 garlic clove finely chopped or zested fine
- ¼ cup fresh chopped herbs such as parsley, basil, or mint
- 1 lemon for zest
- 3 tablespoons extra virgin olive oil
- 1 tablespoon vinegar ACV, champagne, red wine, or white wine
- 1 teaspoon Dijon mustard
- 1 small garlic clove finely zested
Would you like to save this recipe?
Instructions
For dried beans start here
- If using canned beans, drain and rinse well. If starting with dried beans, soak overnight, then cook until tender, drain, and cool.
For canned beans start here
- Make the vinaigrette. In a small bowl, whisk together olive oil, vinegar, Dijon mustard, lemon juice, a finely zested small garlic clove, and a pinch of salt and pepper.
- In a large bowl, combine the beans, chopped shallot, garlic (if using), lemon zest, and herbs. Pour the vinaigrette over the salad and toss gently to coat.Taste and adjust seasoning with additional salt, pepper, or lemon juice as needed.Serve immediately or chill slightly before serving.
Notes
Nutrition
Updated 8-12-19