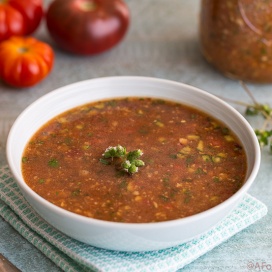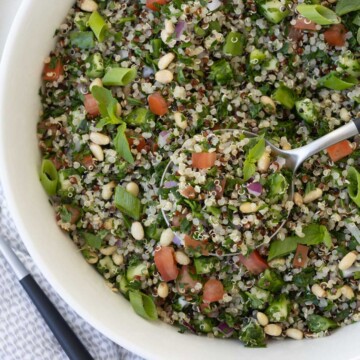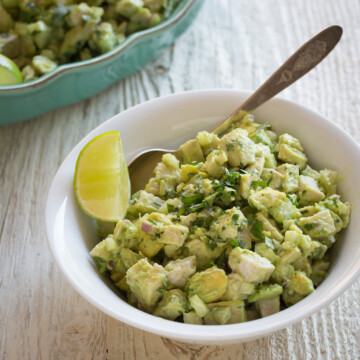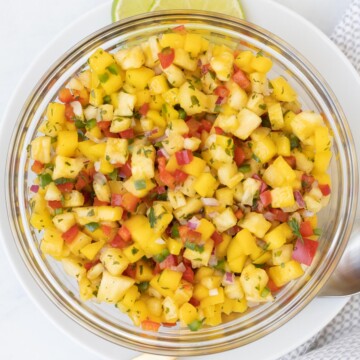
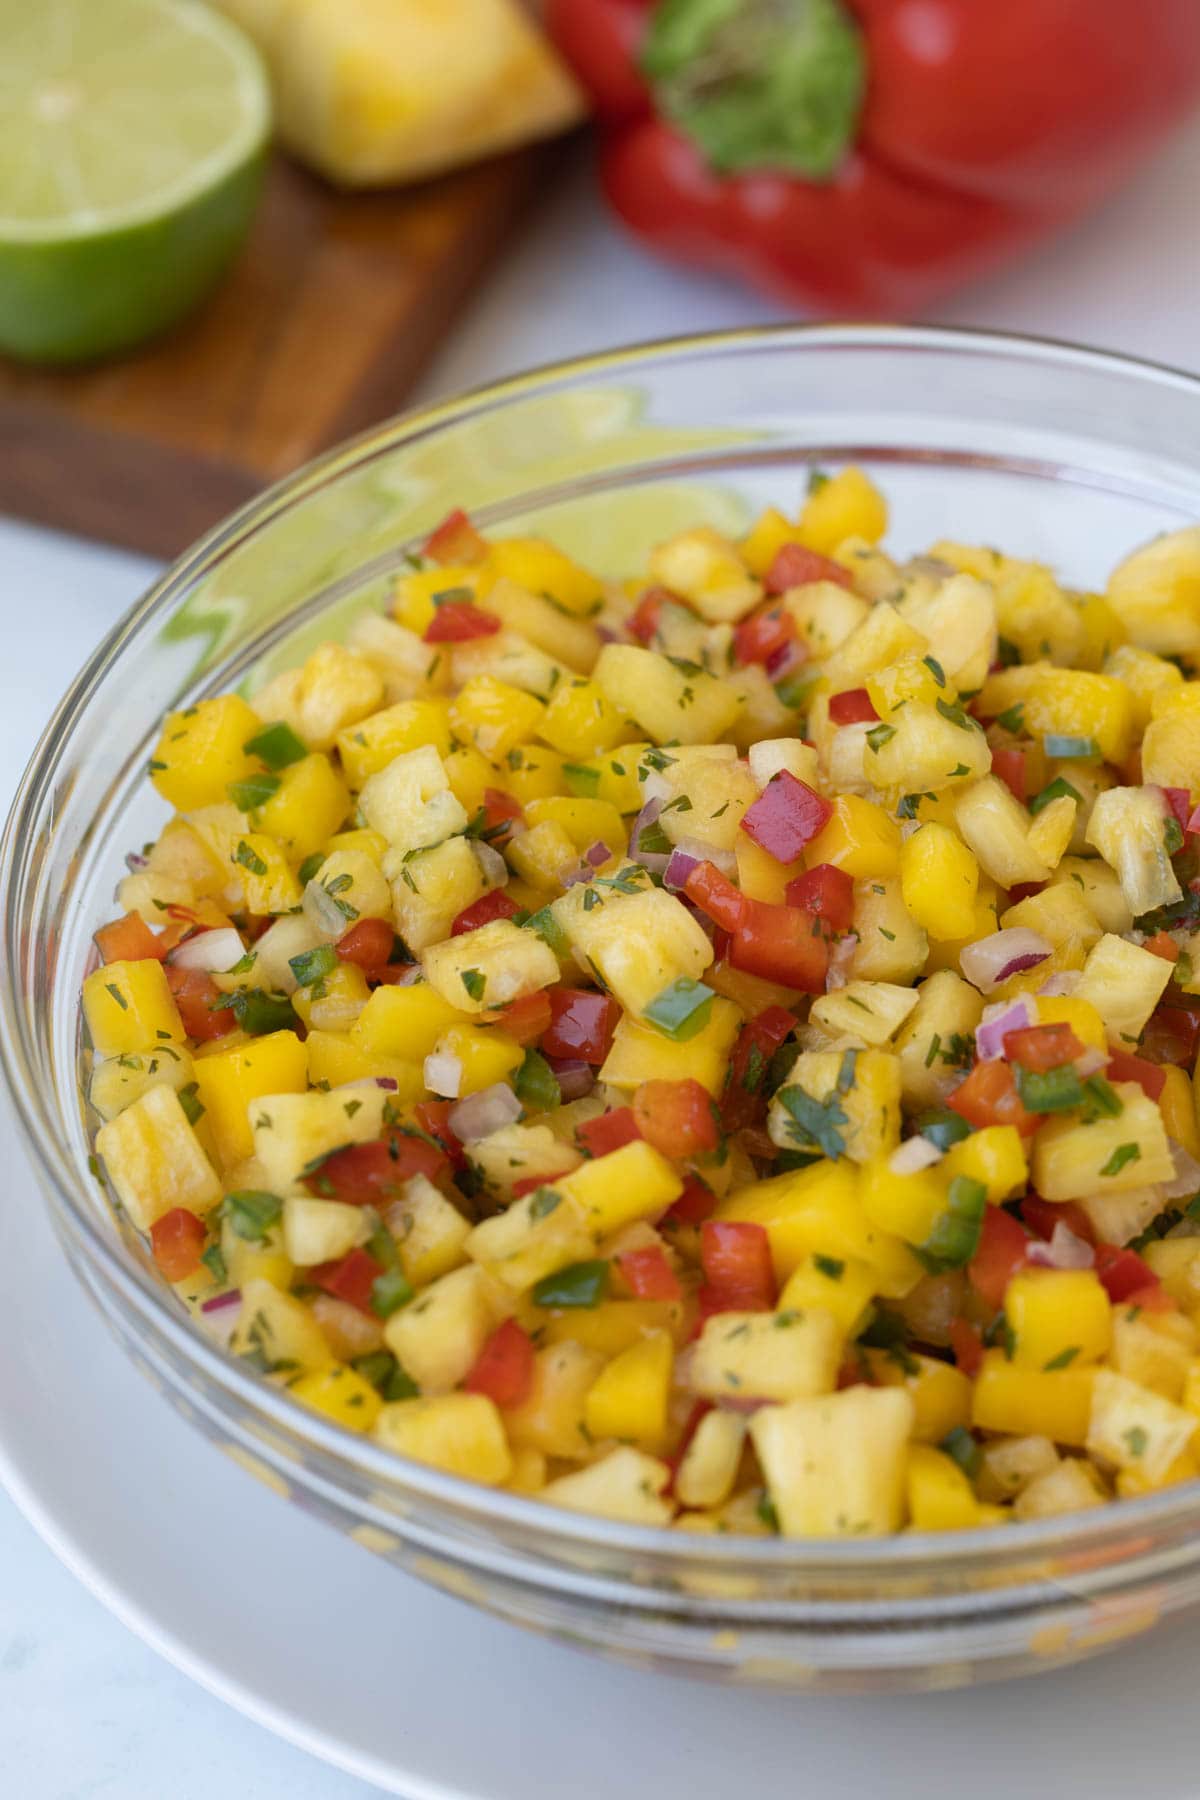
Pineapple mango salsa is a fresh, colorful fruit salsa made with sweet pineapple, ripe mango, crisp red bell pepper, jalapeño, cilantro, and lime juice. Serve it with seafood, grilled chicken, pork tenderloin, tacos, or tortilla chips. It's easy to make, refreshing, and a delicious way to brighten summer meals.
This pineapple mango salsa was a huge hit in one of my cooking classes, so I'm sharing it with you here. Make a batch while pineapple and mango are at their best. It's vibrant, refreshing, and easy to make.
Pineapple Mango Salsa Recipe Snapshot
- No cooking required - Fresh, cool, and perfect for hot summer days.
- Make-ahead friendly - Prep ahead so the flavors can blend before serving.
- Versatile - Serve with seafood, grilled chicken, pork, tacos, or chips.
- Sweet and savory - Juicy pineapple and mango balance lime, herbs, onion, and chile.
- Colorful and fresh - A bright summer salsa that makes everything look and taste better.
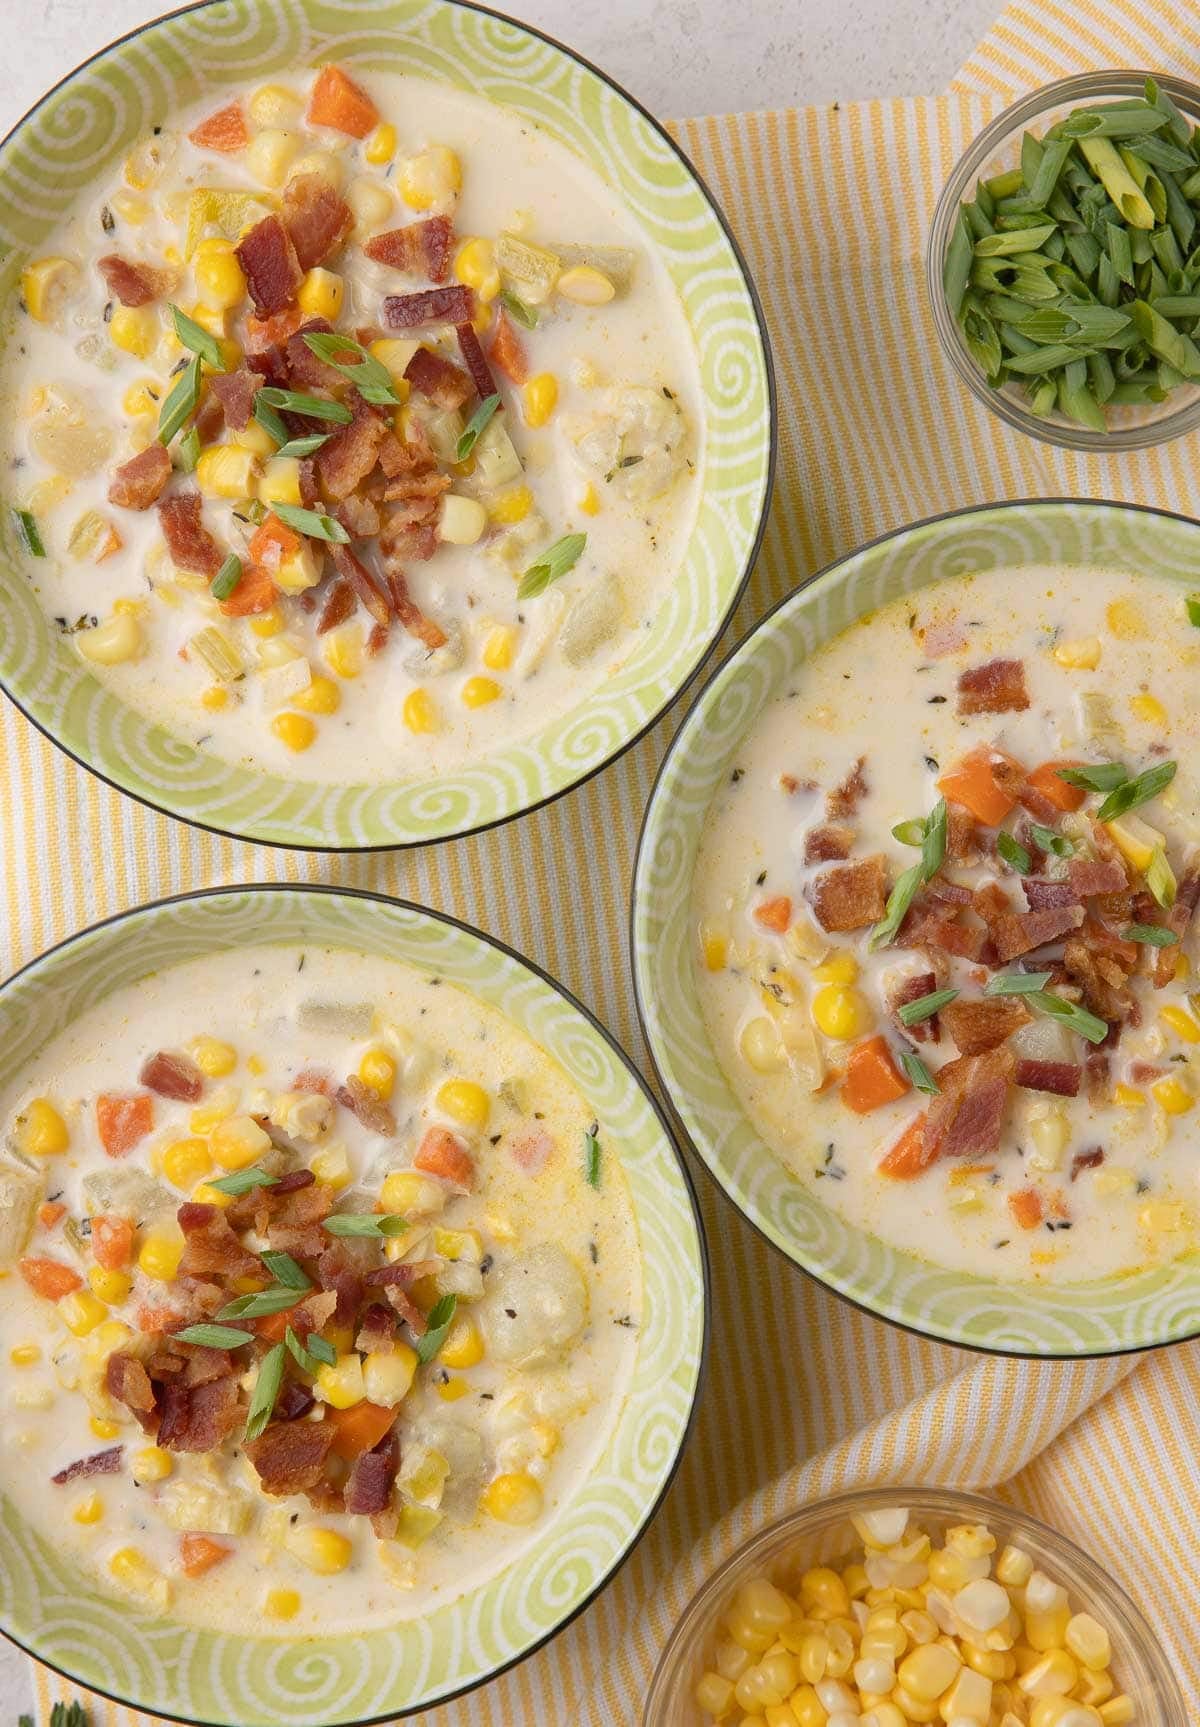
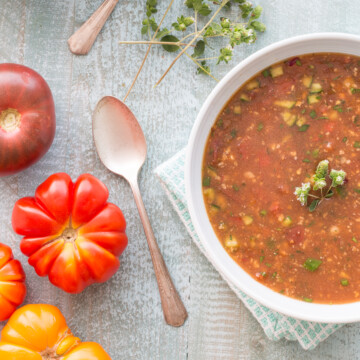
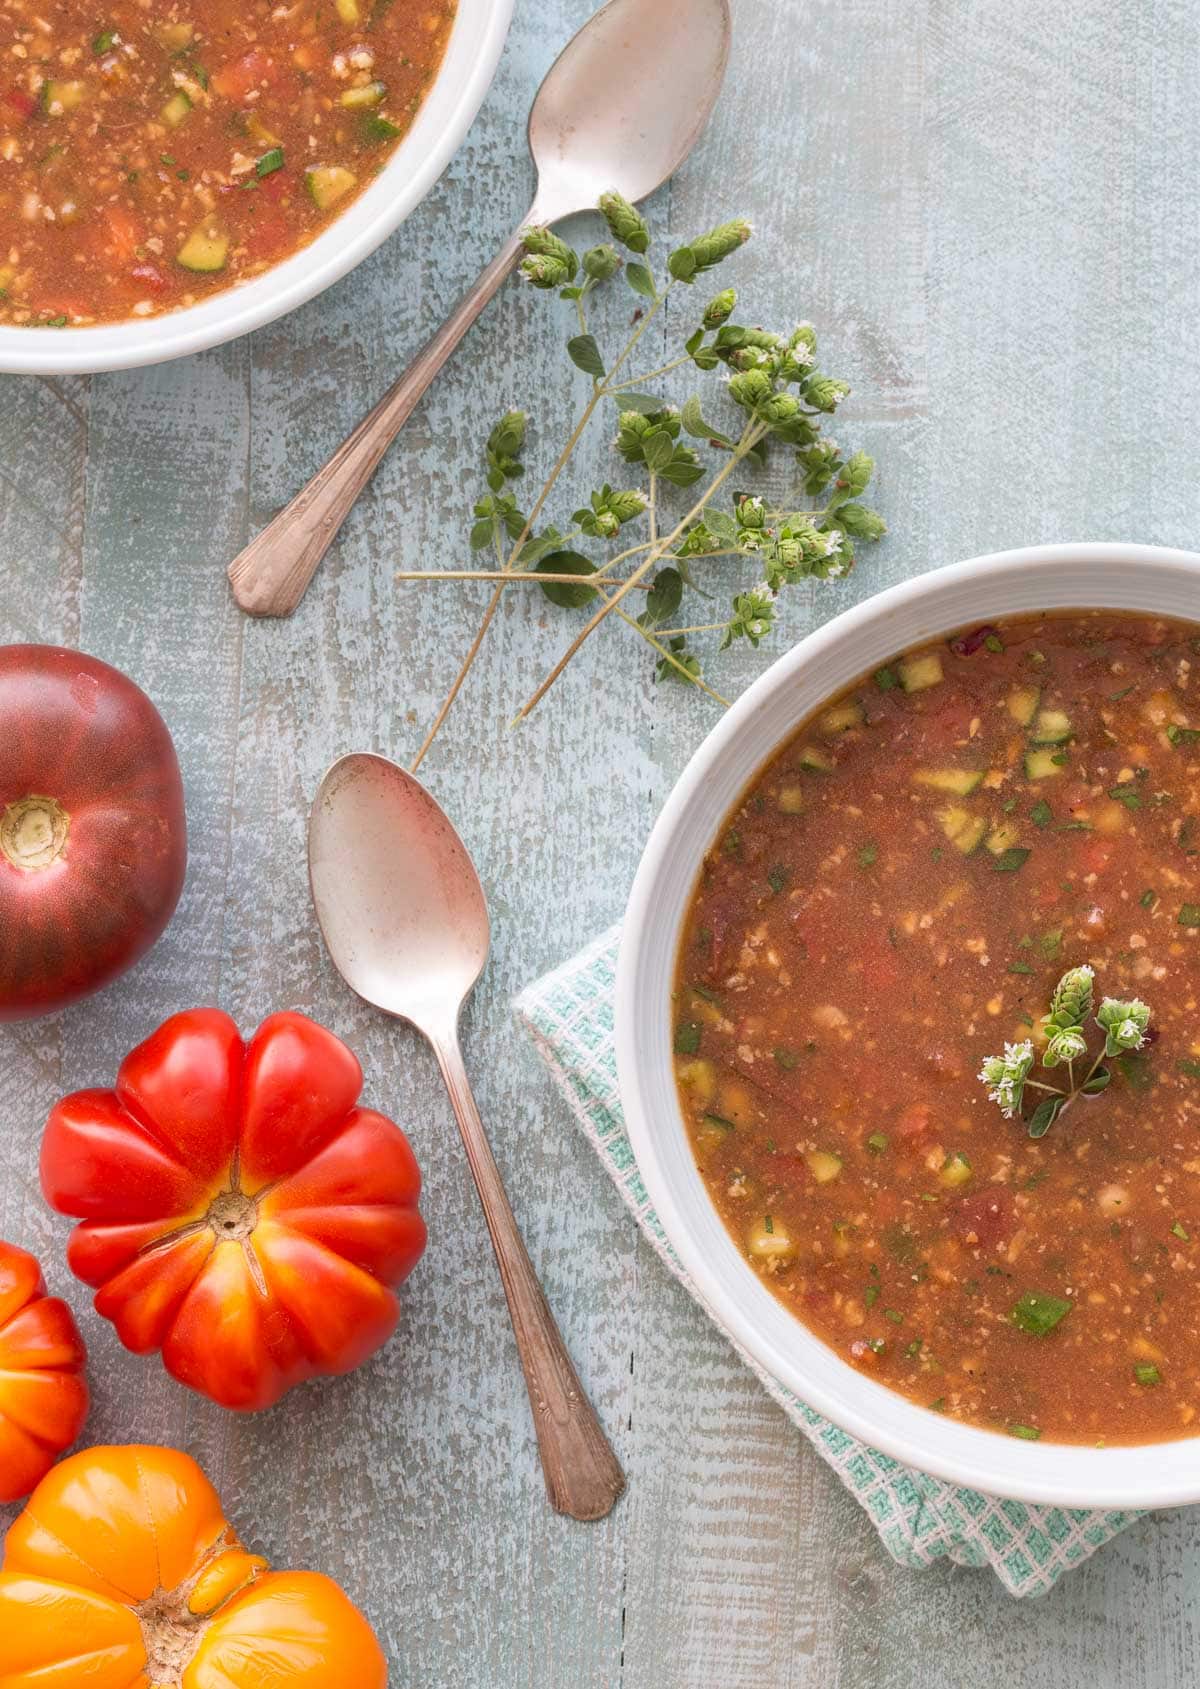
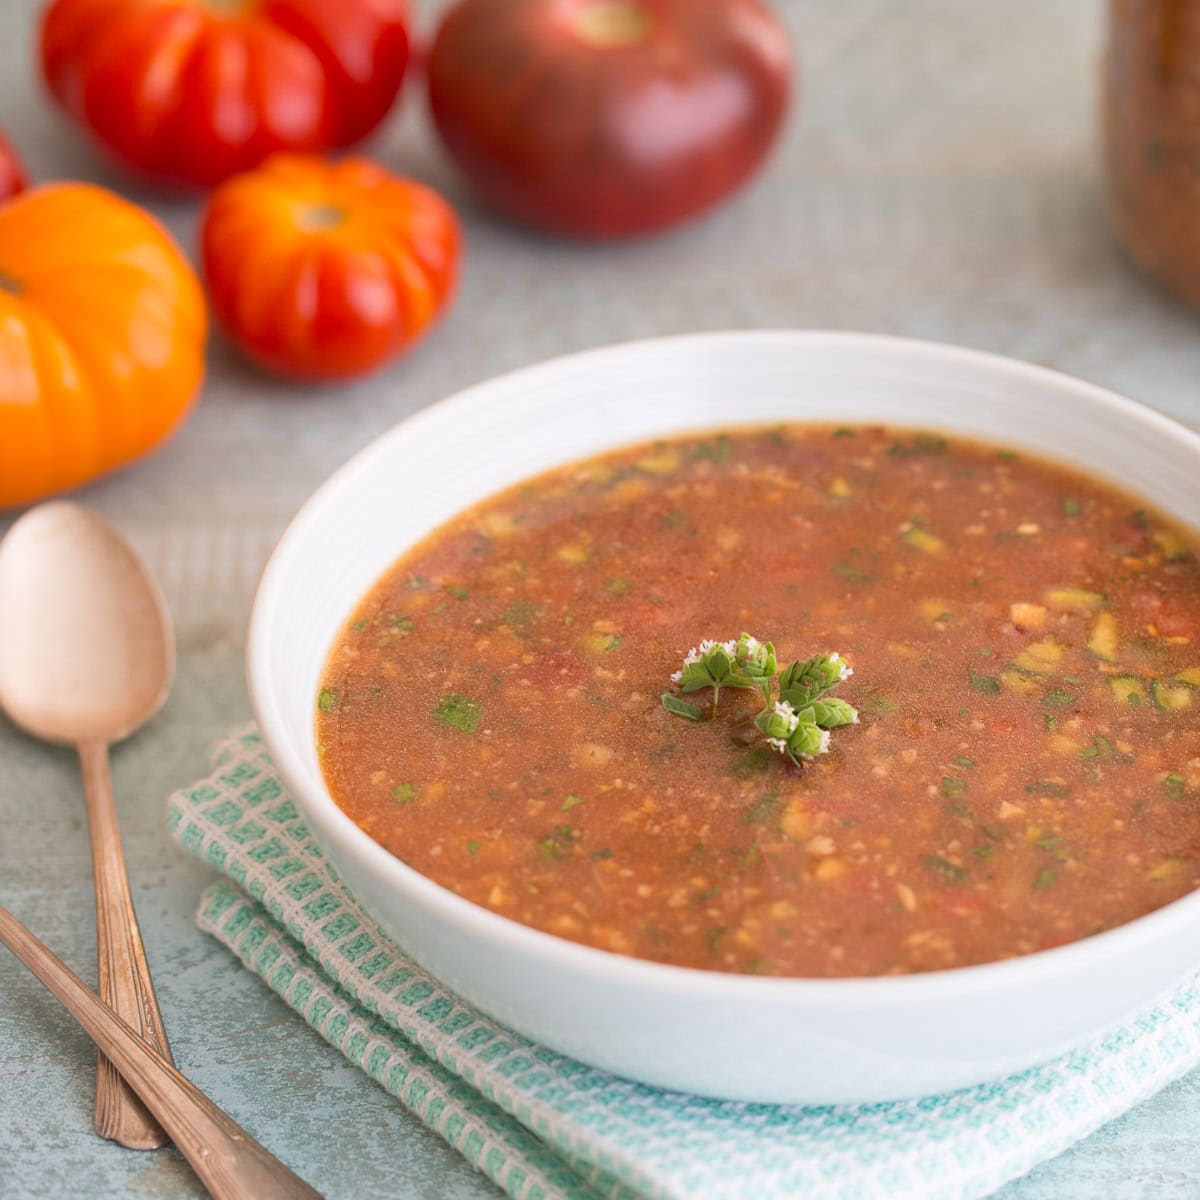
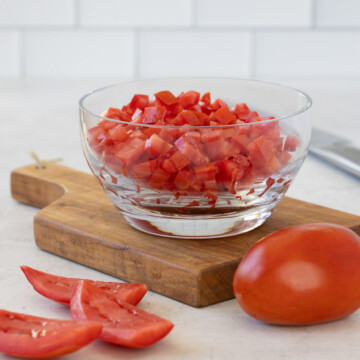
For another cool, refreshing summer recipe try this tomato summer gazpacho.
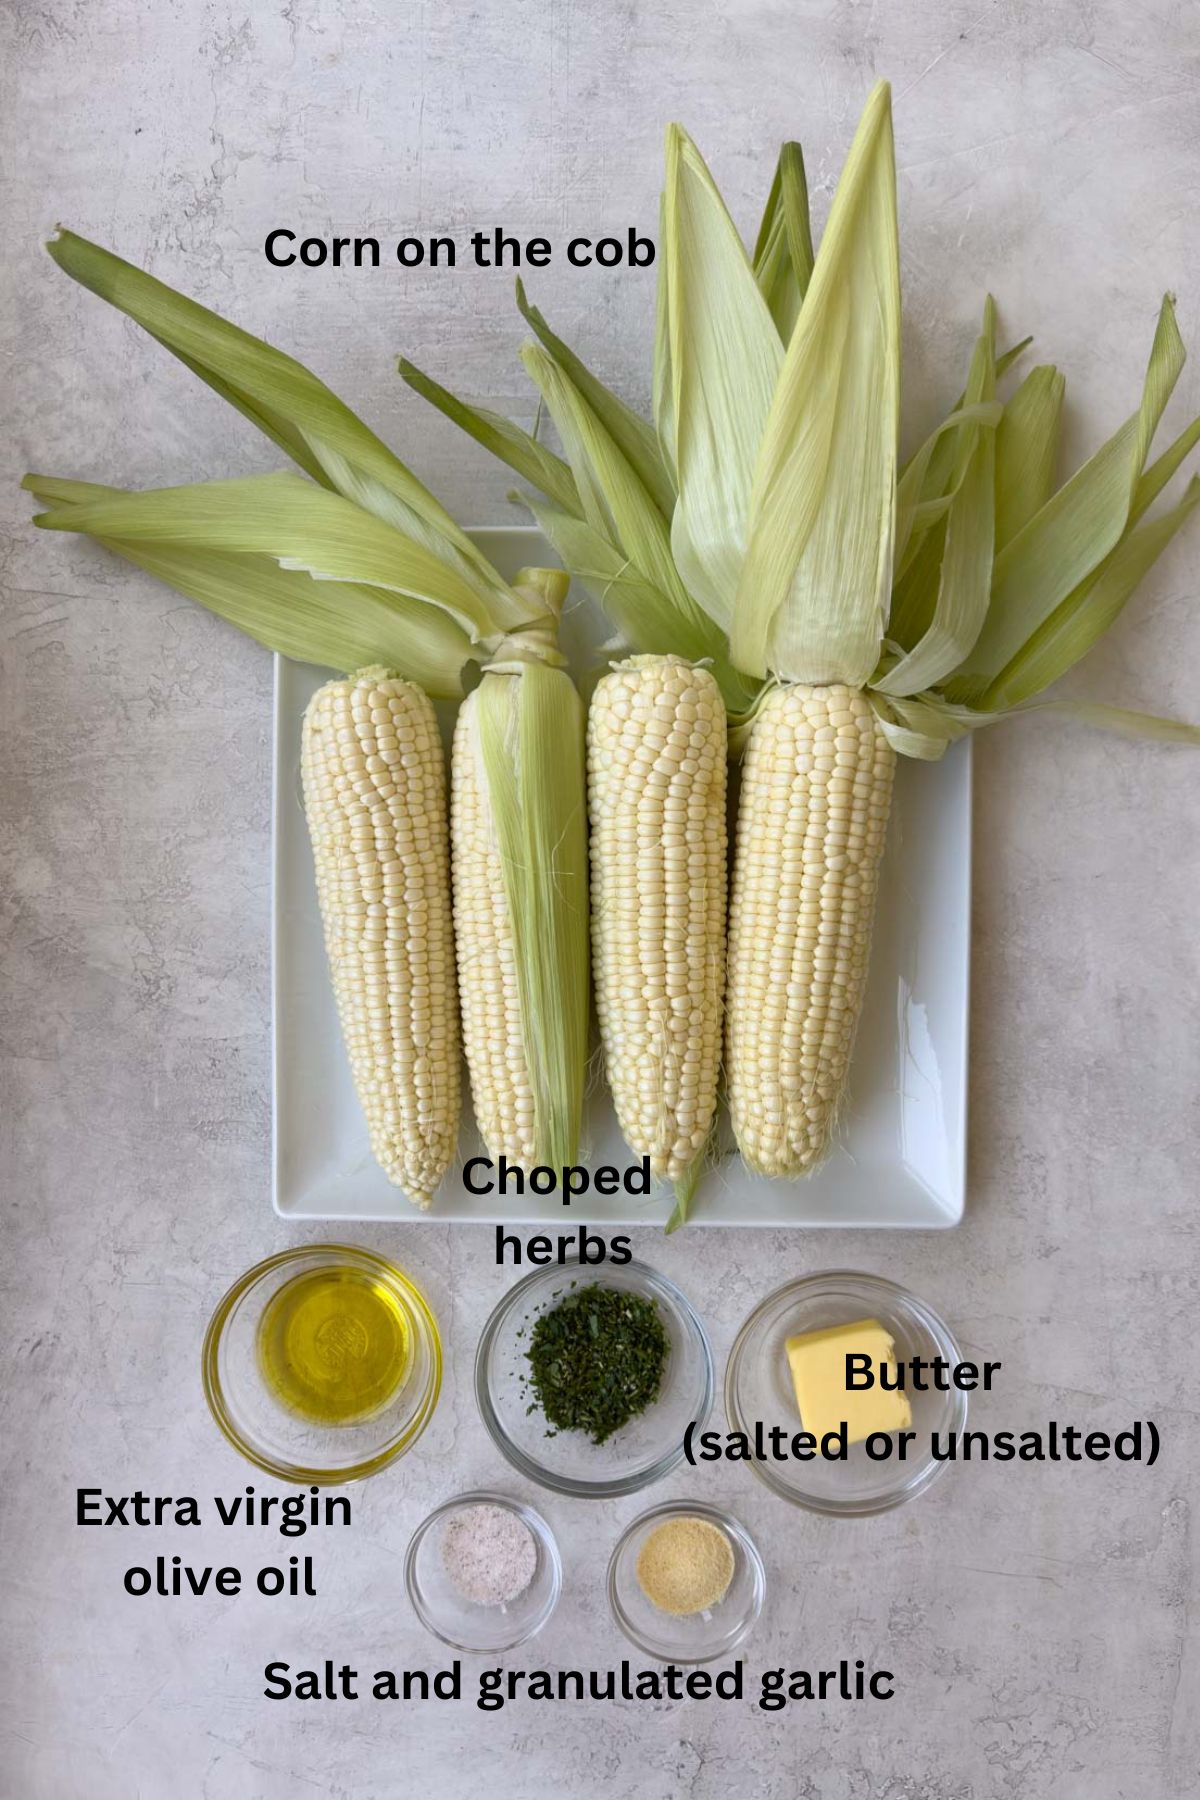
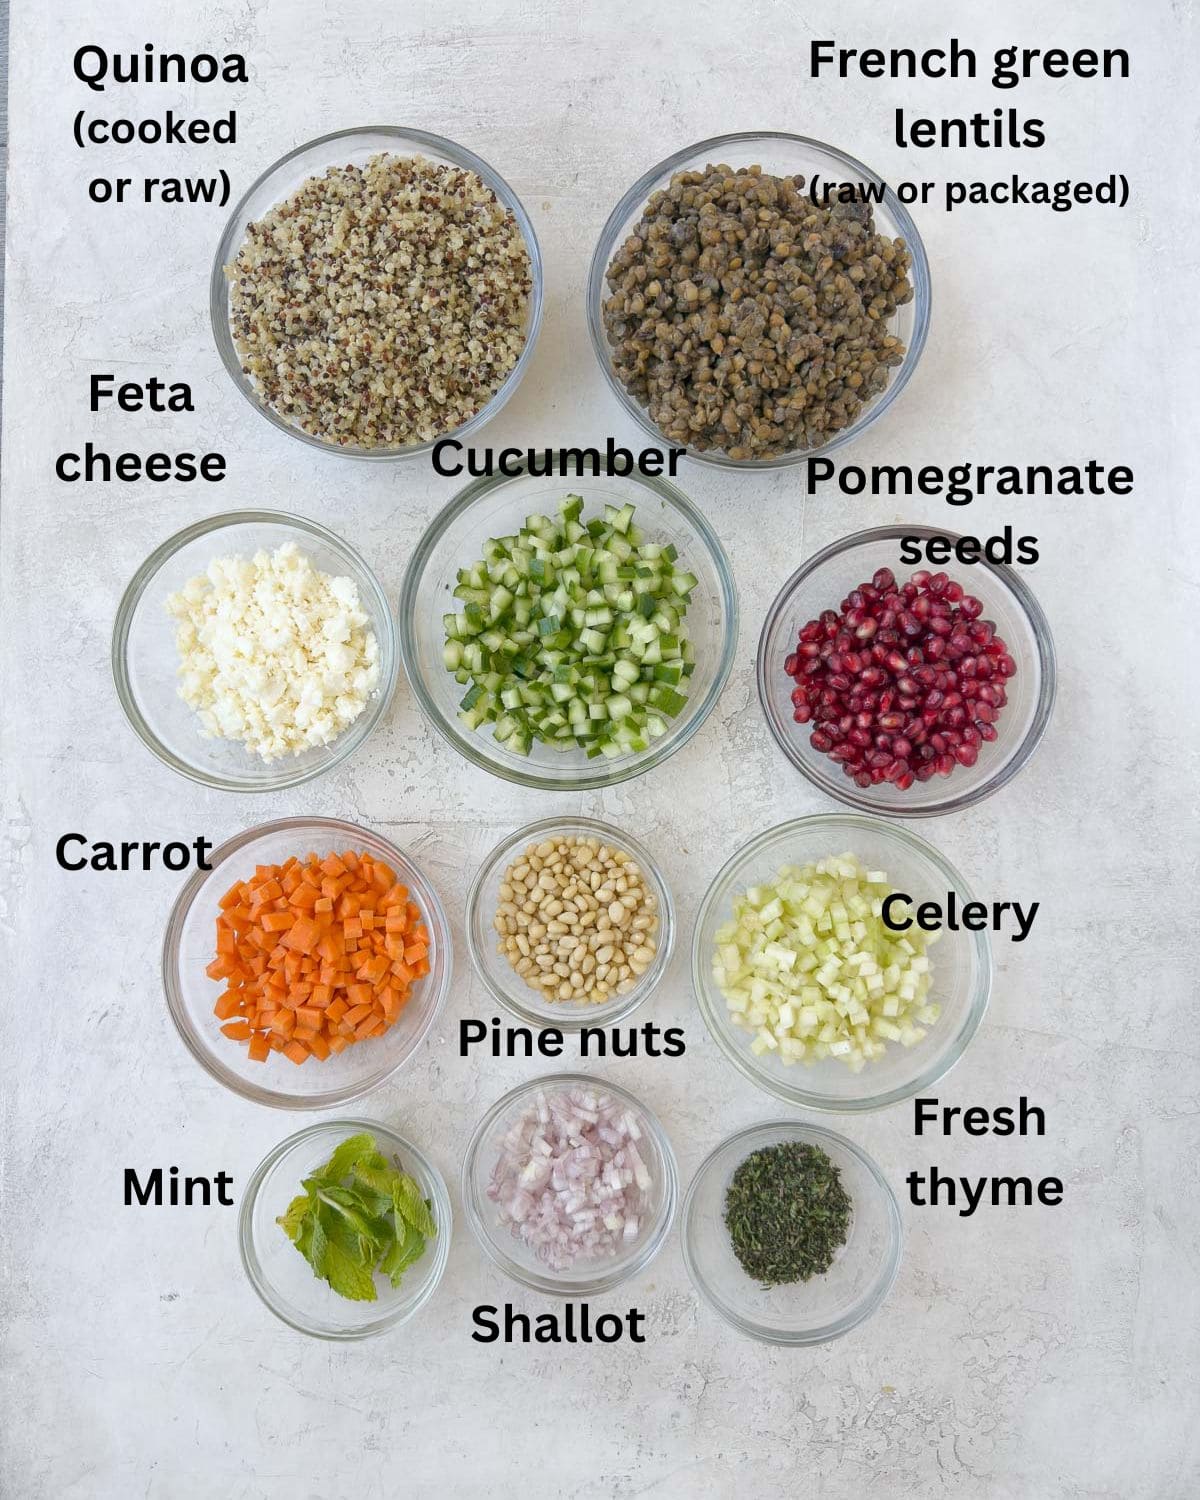
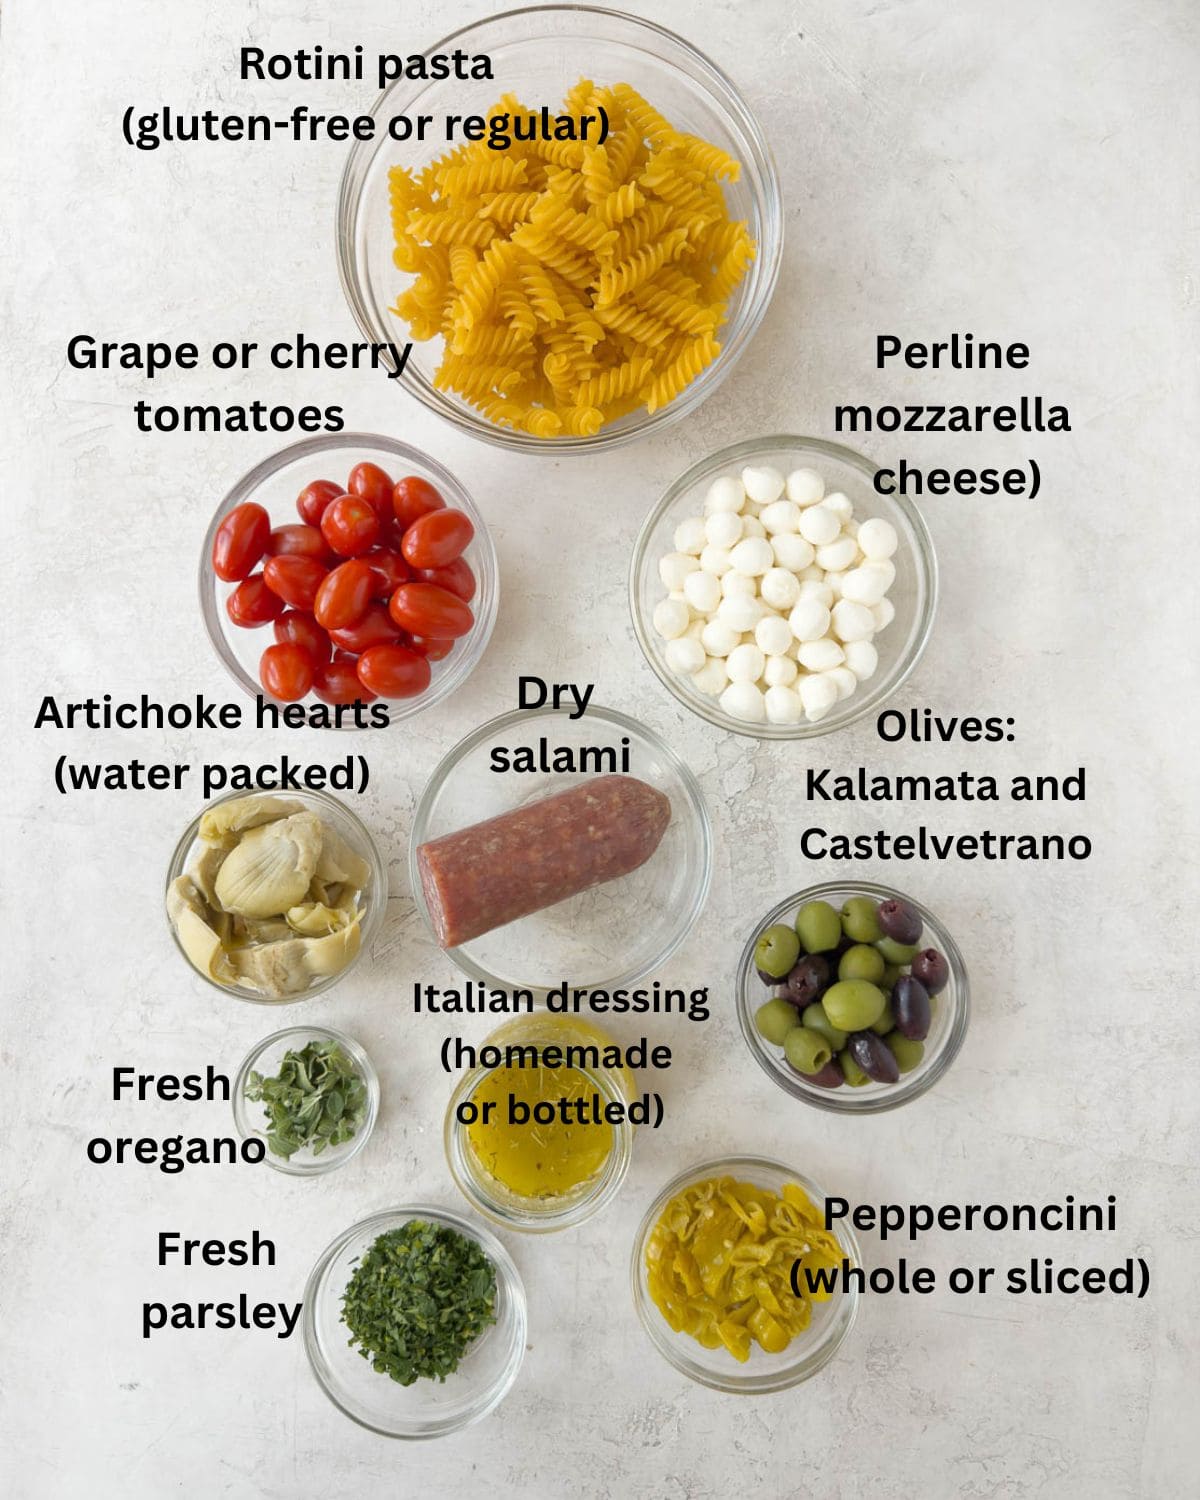
Ingredients You'll Need
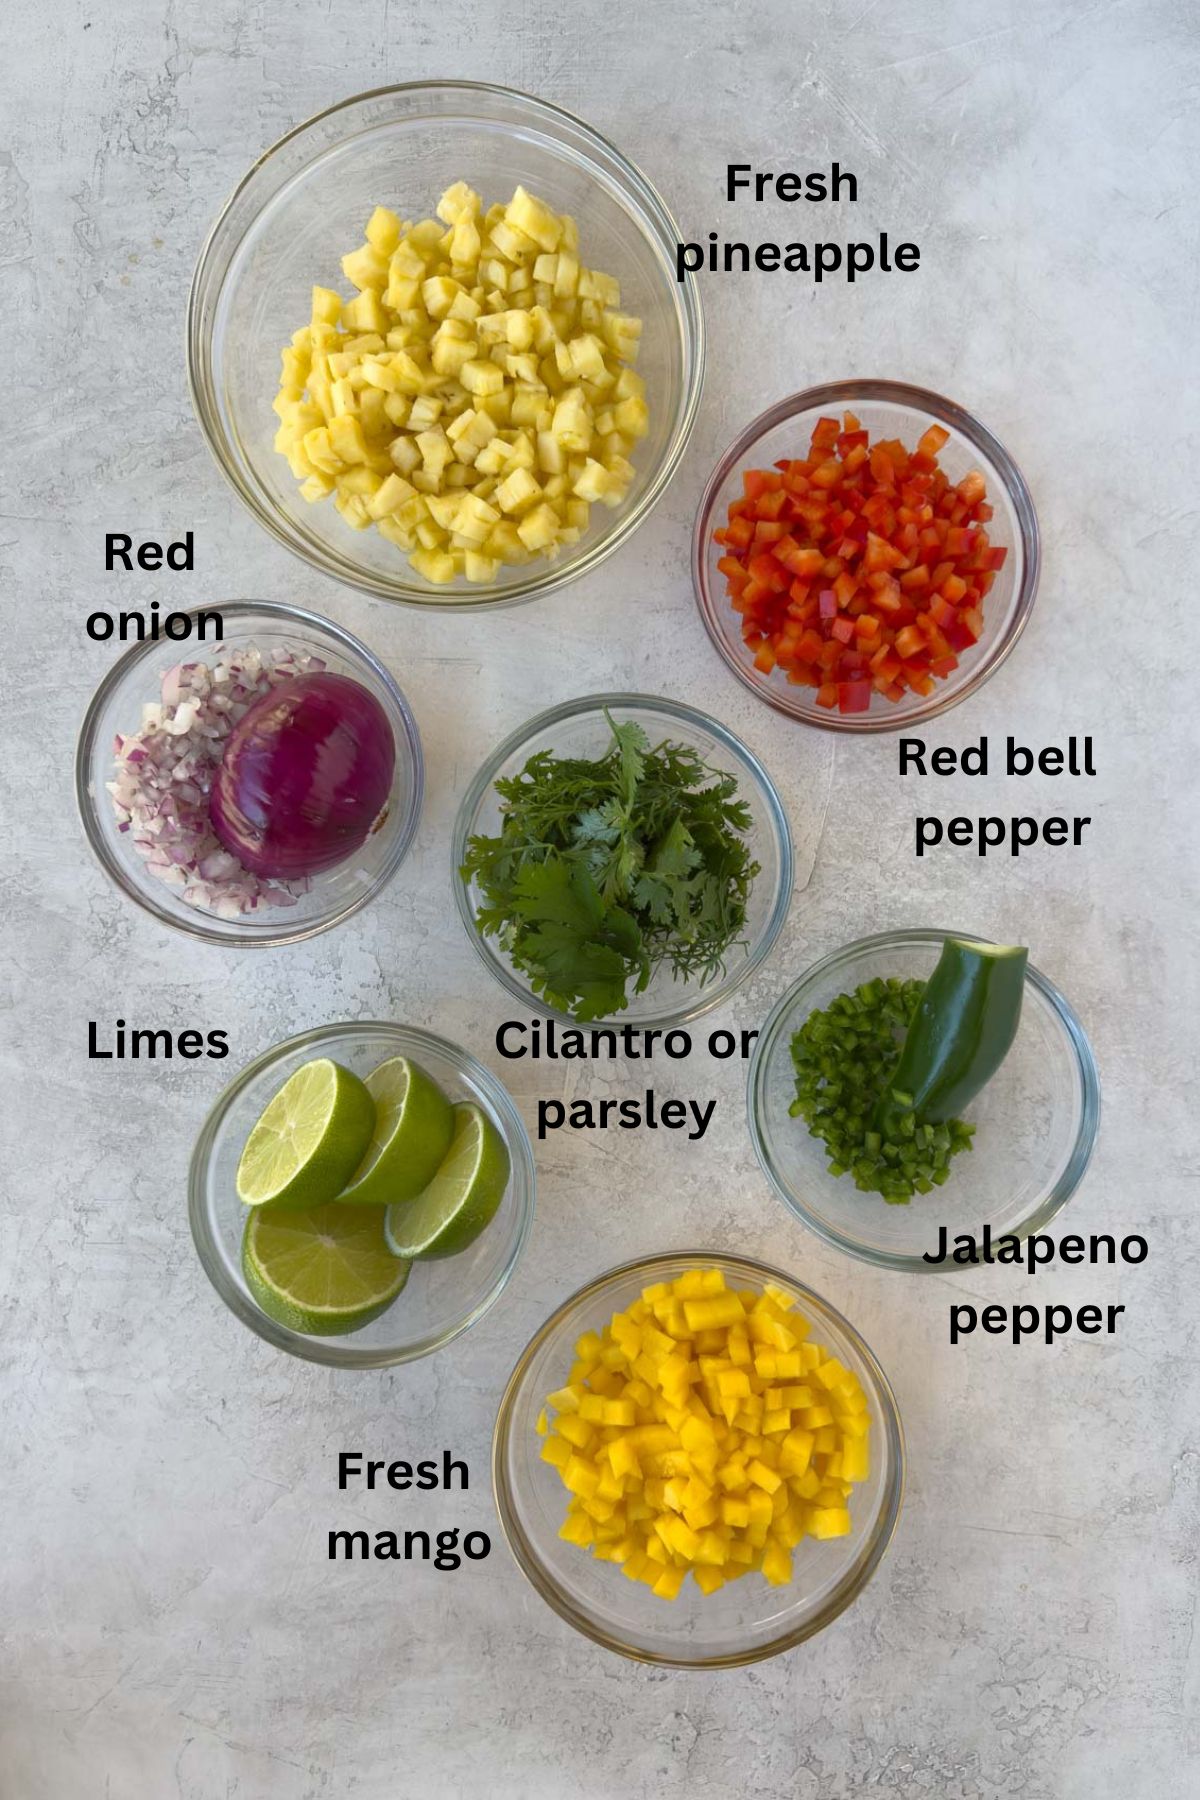
- Pineapple - Use half of a small fresh ripe pineapple, or pre-cut pineapple spears from the produce section. If buying pre-cut fruit, choose spears instead of chunks for better texture and easier cutting.
- Mango - Choose a ripe, sweet mango that is still firm enough to hold its shape when diced.
- Onion - Red onion adds color and a savory counterpoint to the sweet fruit, but another onion or shallot works too.
- Jalapeño pepper - Adds a little fresh heat. Remove the seeds and ribs for milder salsa.
- Red bell pepper - Adds sweetness, crunch, and beautiful color contrast.
- Fresh herbs - Fresh cilantro and mint are terrific together in this fruit salsa.
- Lime juice - Fresh lime juice adds bright acidity to balance the sweetness of the pineapple and mango.
For measurements, please see the recipe card.
Chef's Tip: How to buy a mango. Mangoes vary in shape and color by variety, so don't rely on skin color alone. Choose one that yields slightly to gentle pressure and smells fruity and sweet near the stem. If it feels rock hard and has little aroma, let it ripen at room temperature for a few days.
Substitutions and Variations
- For more heat - Use a serrano pepper or add a little finely diced red chile.
- For a milder salsa - Replace the jalapeño with green bell pepper or a mild Anaheim pepper.
- Add more green - Stir in chopped chives, green onion, or extra fresh herbs.
- No fresh pineapple? - Use canned pineapple packed in juice or water, not syrup, and drain it well. I've also used frozen, drained and patted dry.
- Make mango salsa - Omit the pineapple and use about 3 mangoes instead.
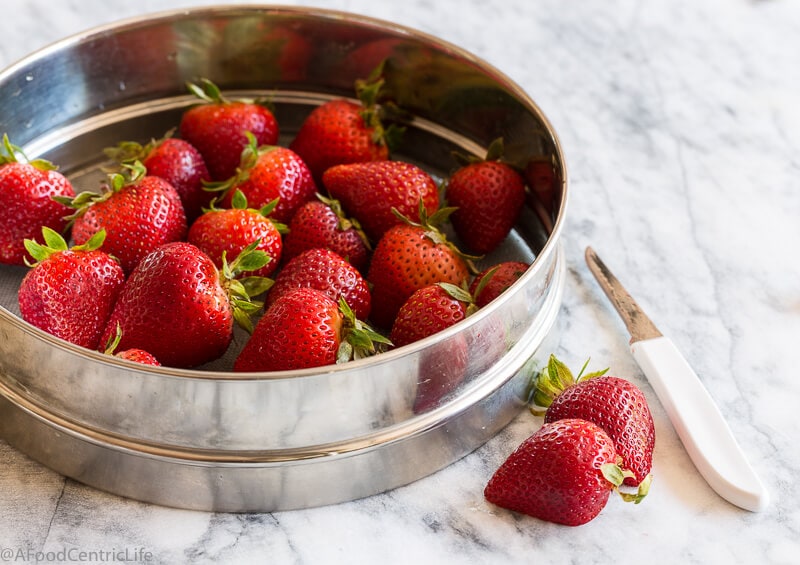
- No mango? - Substitute chopped peaches, nectarines, or strawberries for a different but equally fresh fruit salsa.
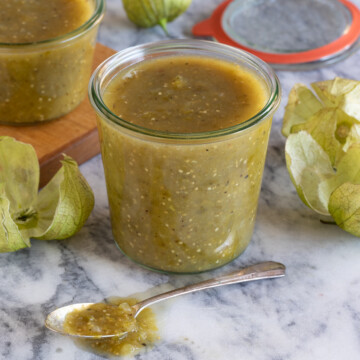
If you like salsas, try this homemade salsa verde recipe made with tomatillos or this sweet and spicy strawberry salsa.
Chef's Tip: How to choose pineapple. Choose a pineapple with skin that is turning golden yellow rather than mostly green. It should smell sweet at the base and give slightly when gently squeezed. Another clue: tug one of the top leaves. If it releases easily, the pineapple is usually ripe.
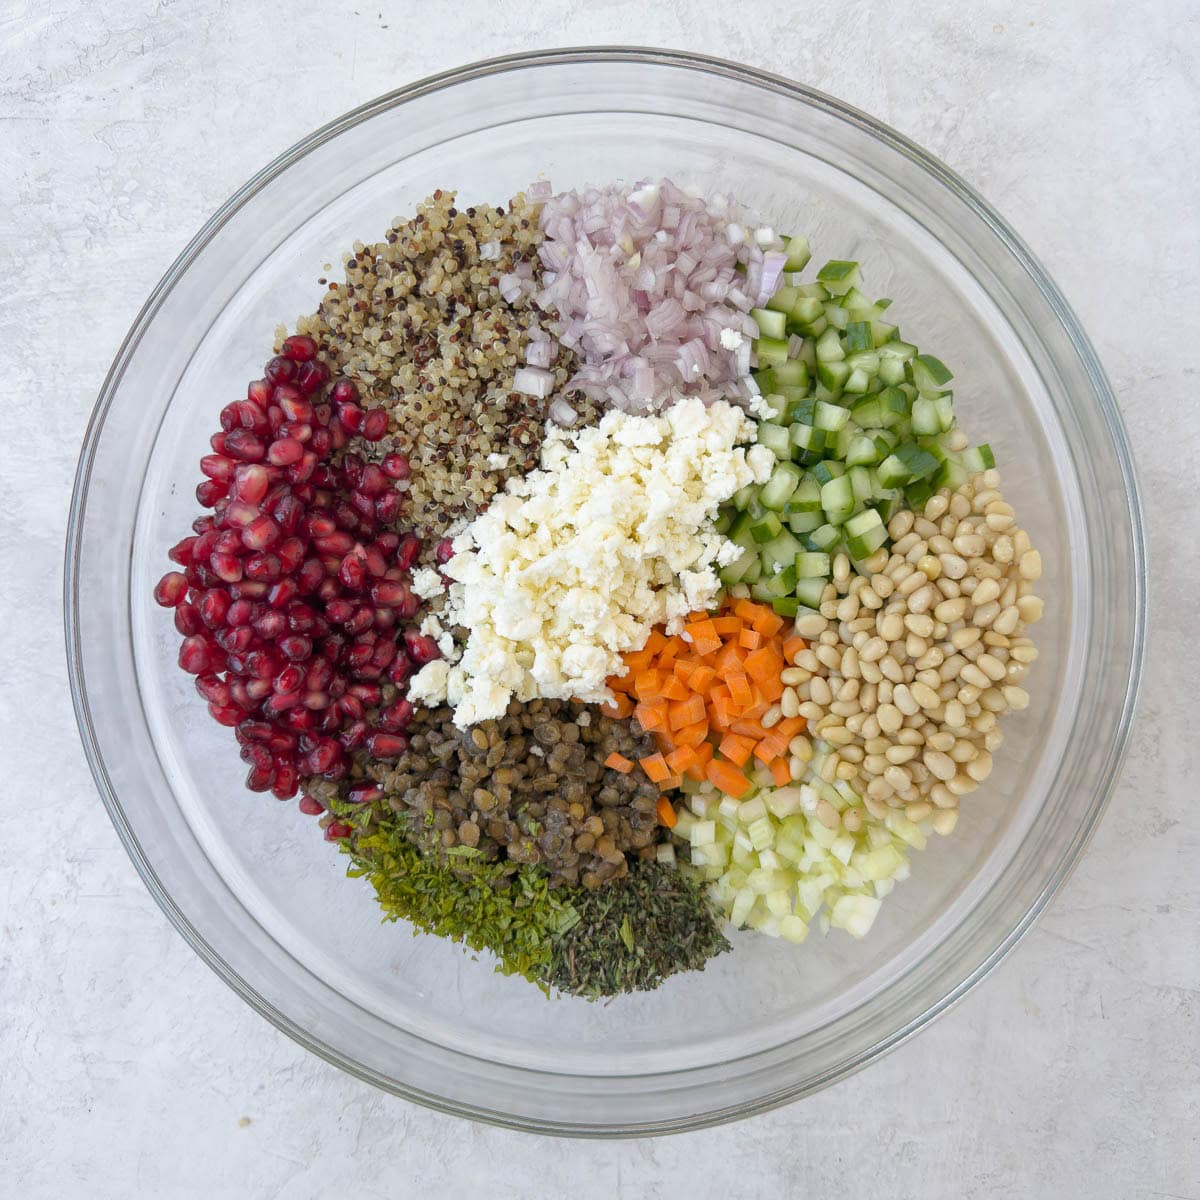
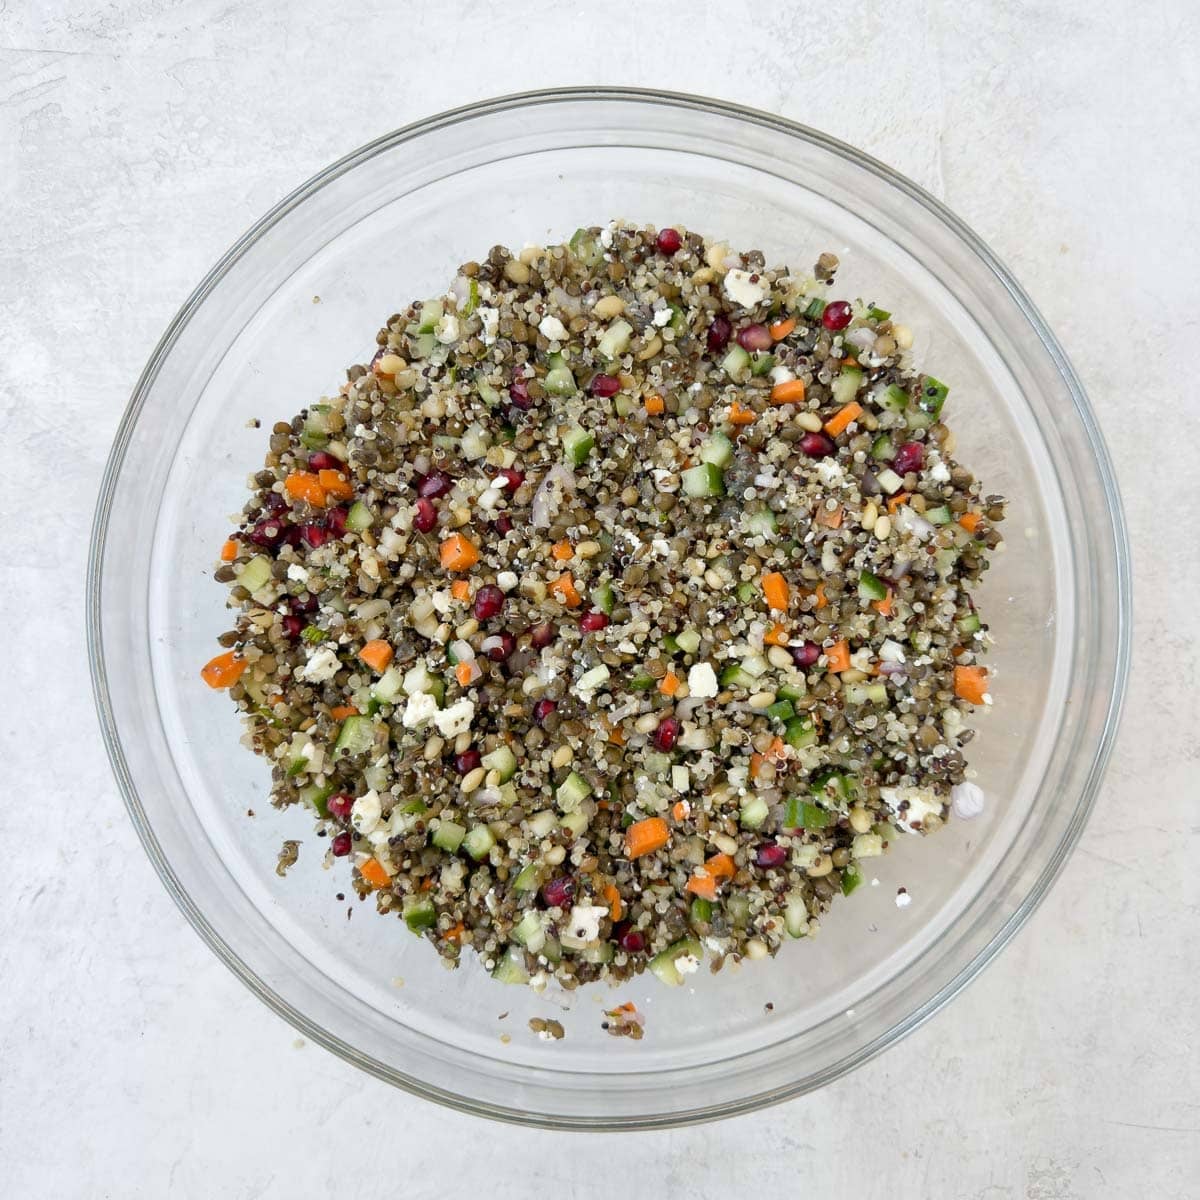
How to Make Pineapple Mango Salsa
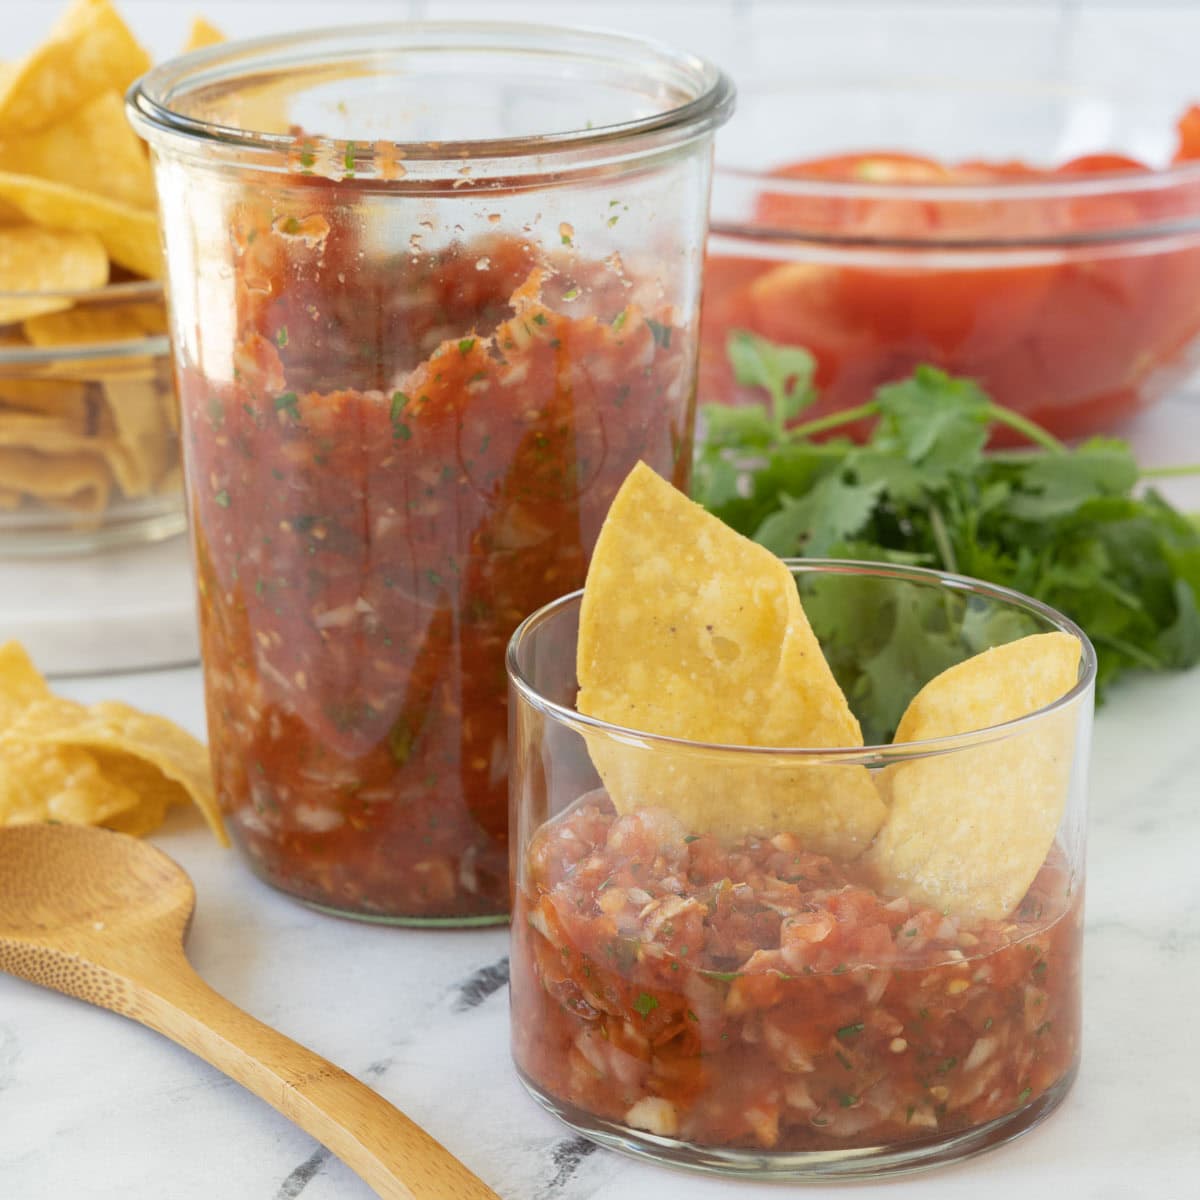
When all of the ingredients are finely chopped and ready, add them to a large bowl with the fresh lime juice. Toss gently to combine, then cover and refrigerate for at least 30 minutes to let the flavors blend. Your fresh pineapple mango salsa is ready to serve.

Serving Suggestions
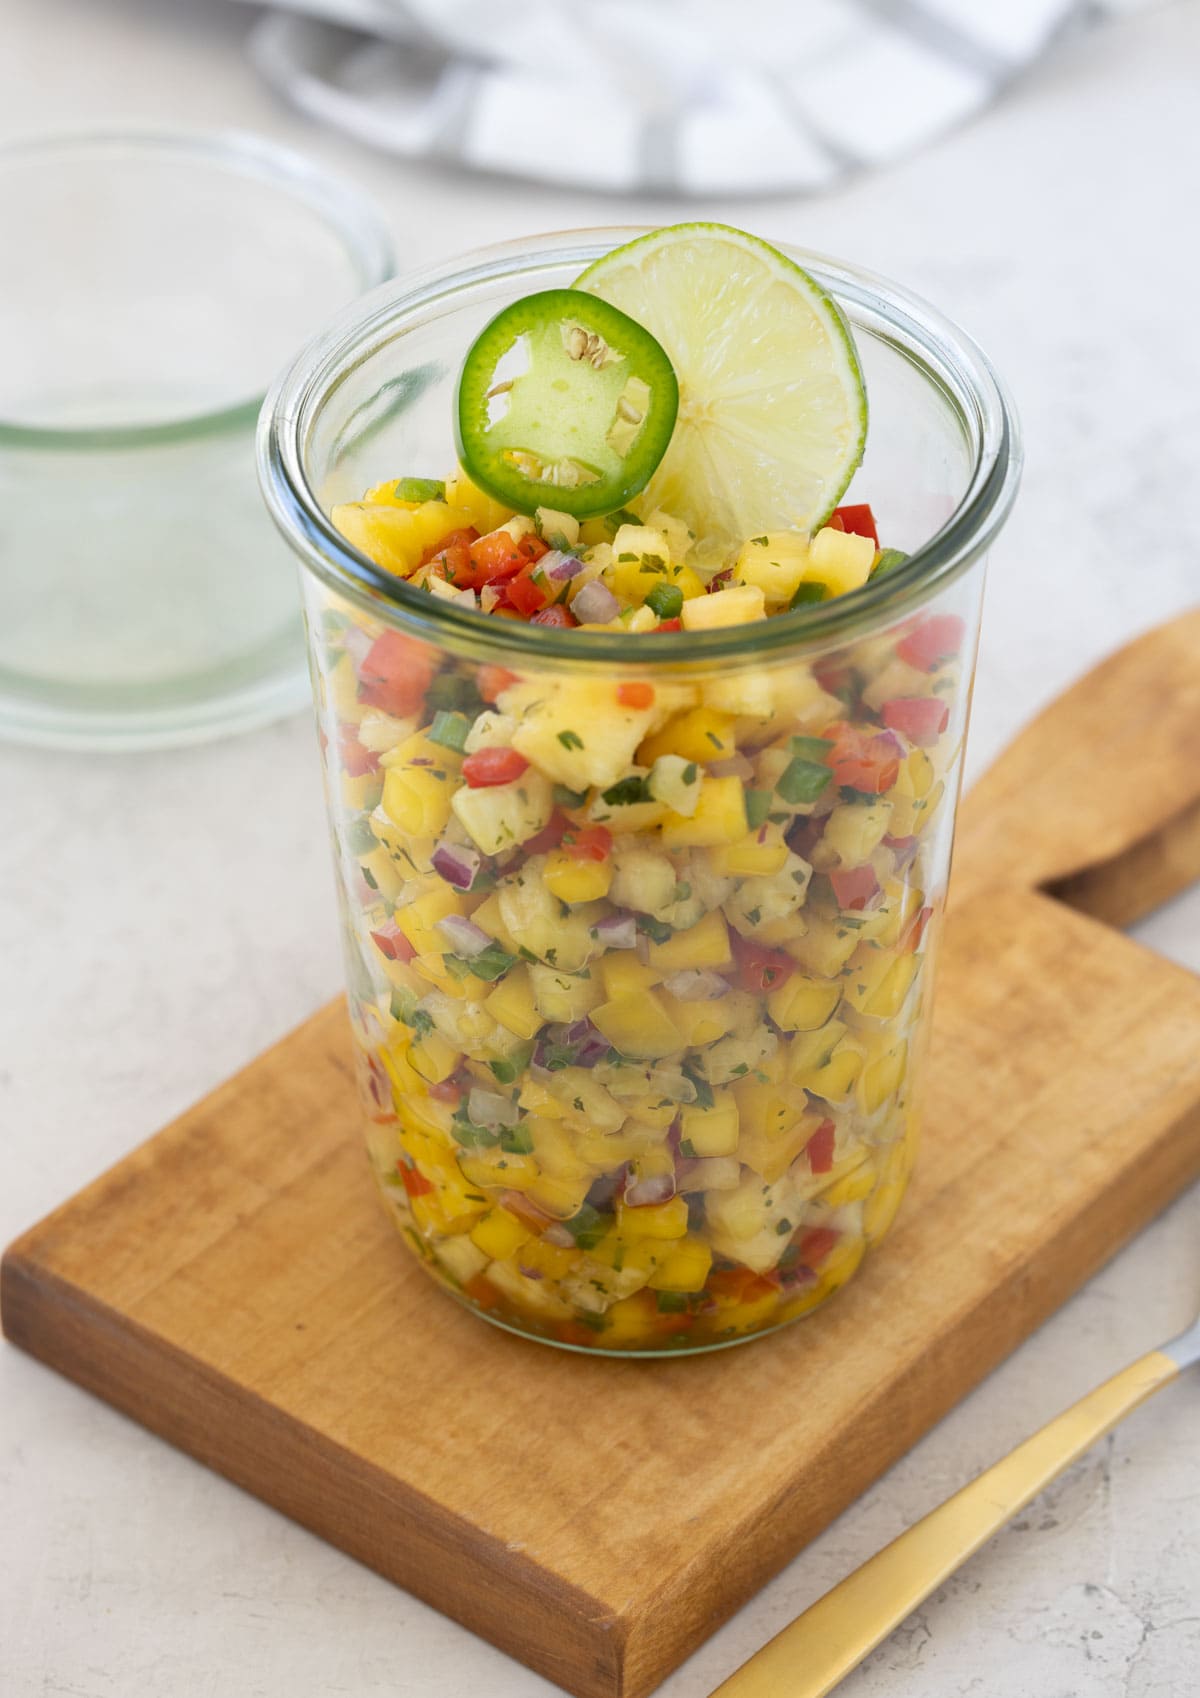
Pineapple mango salsa becomes juicier as it sits. If needed, drain off a little liquid before serving.
- Serve it with crisp tortilla chips as you would smoked tomato salsa or green tomatillo salsa.
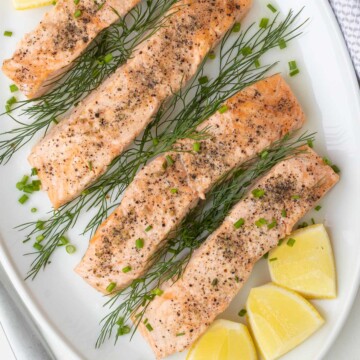
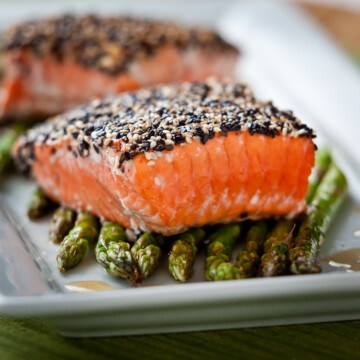
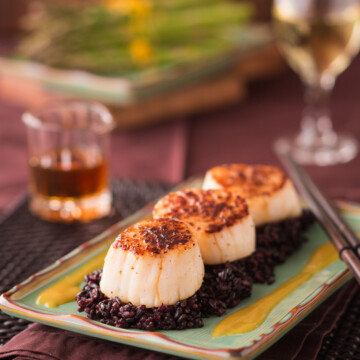
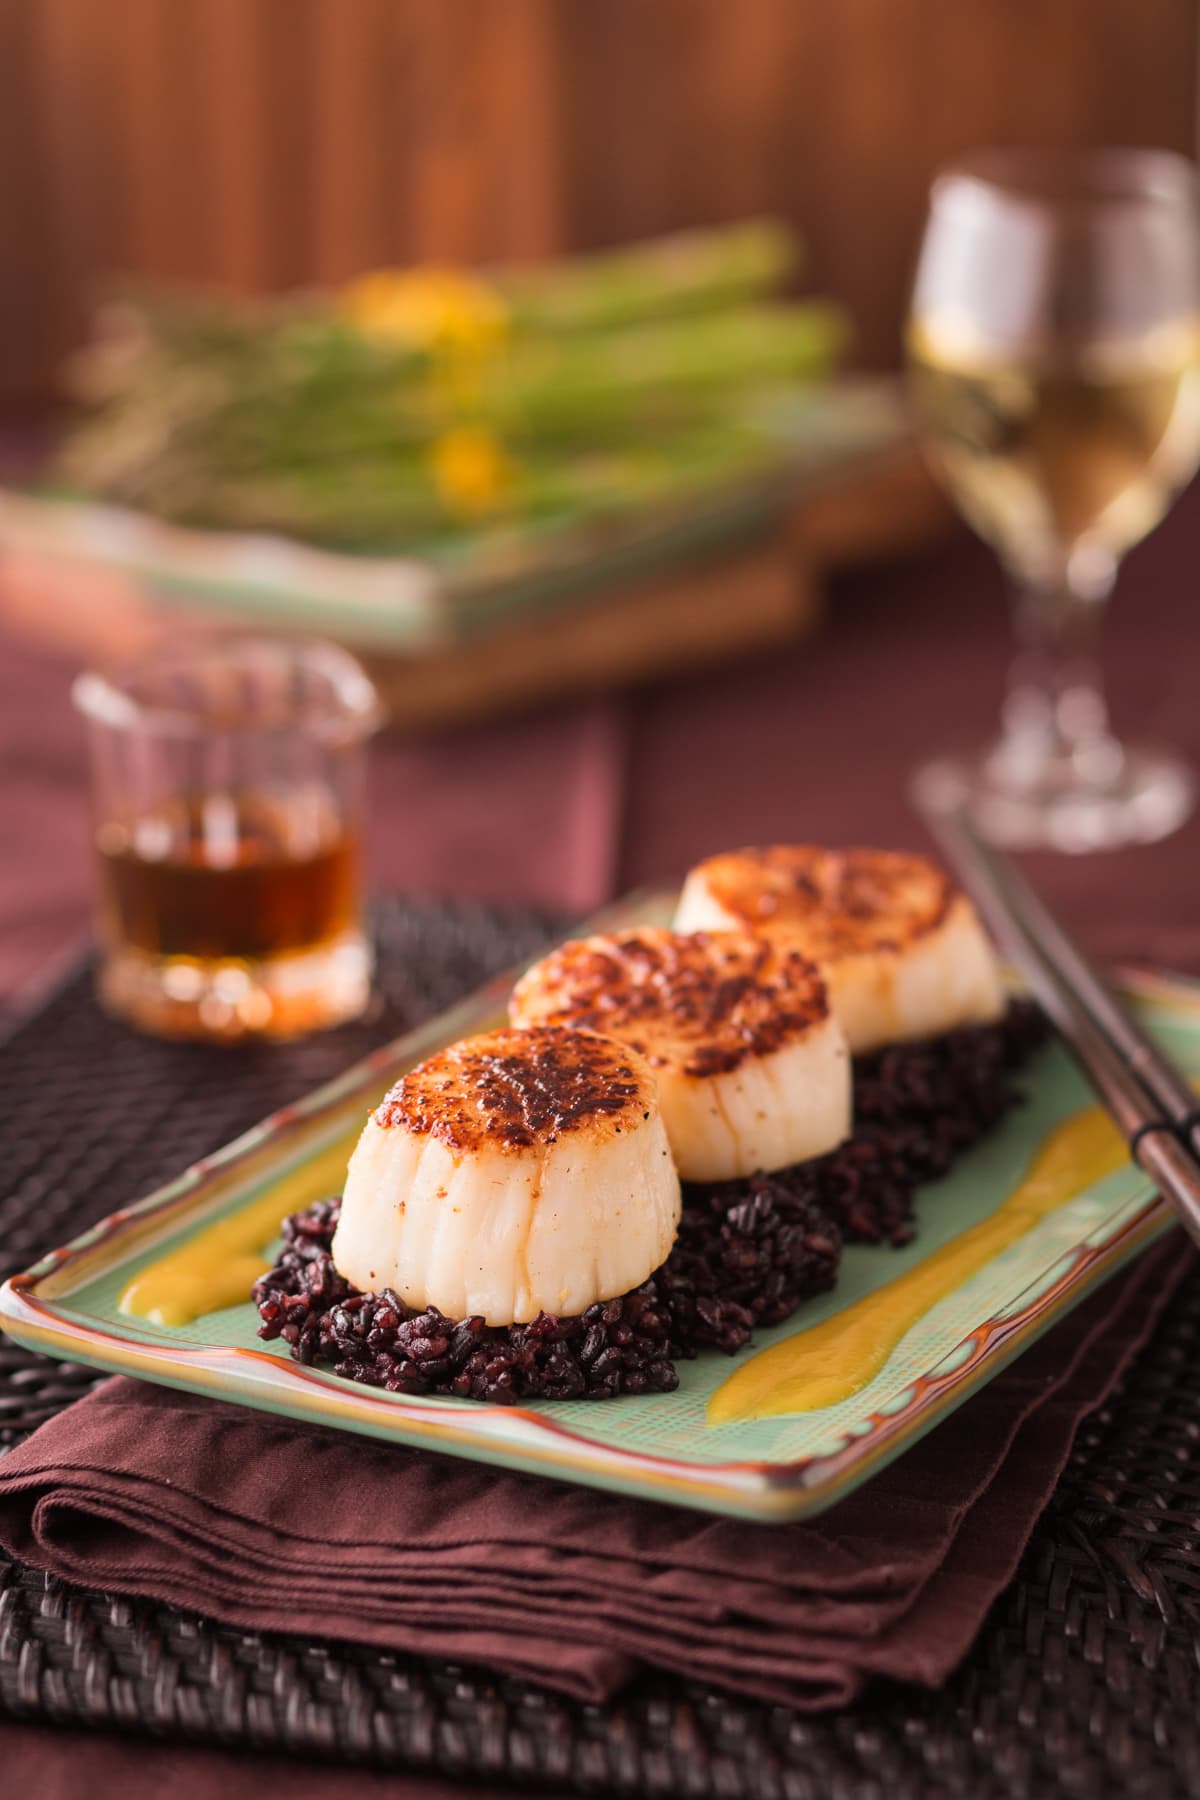
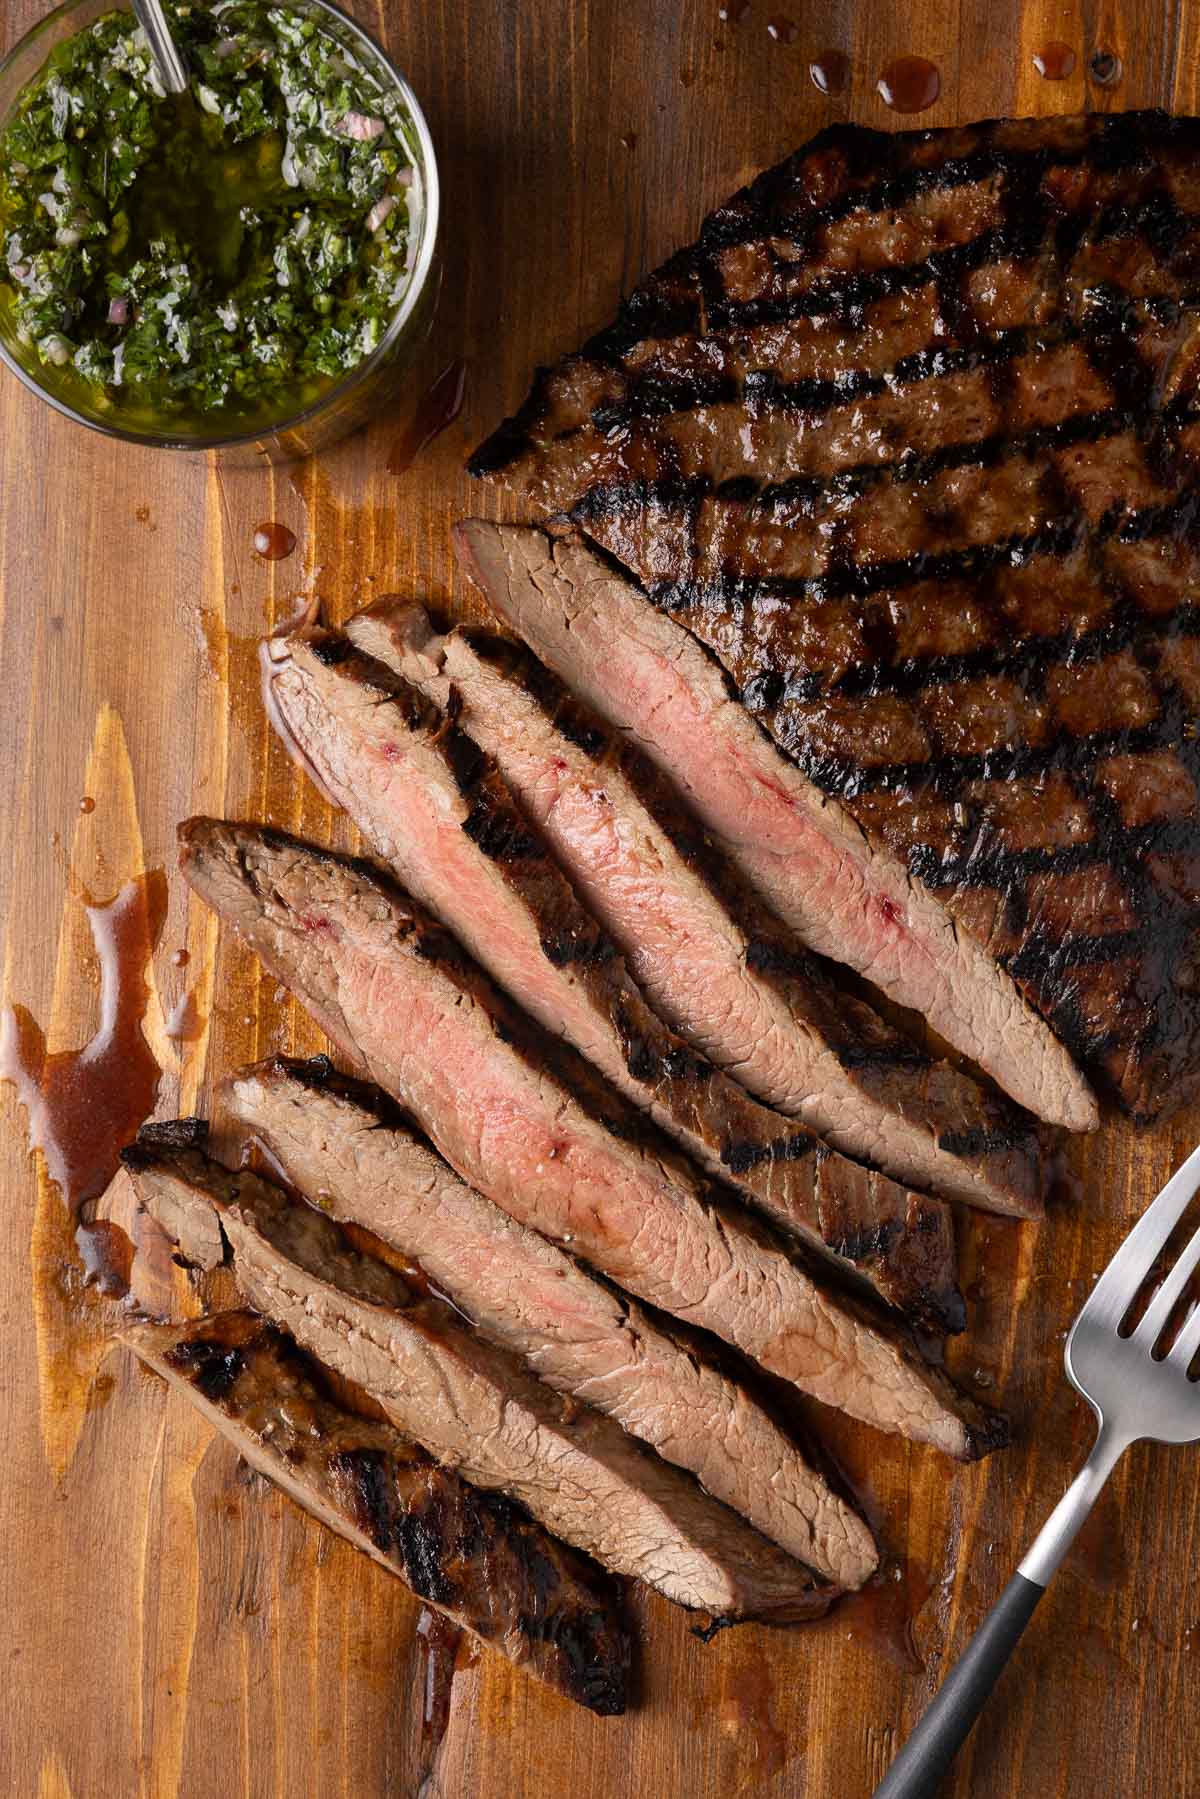
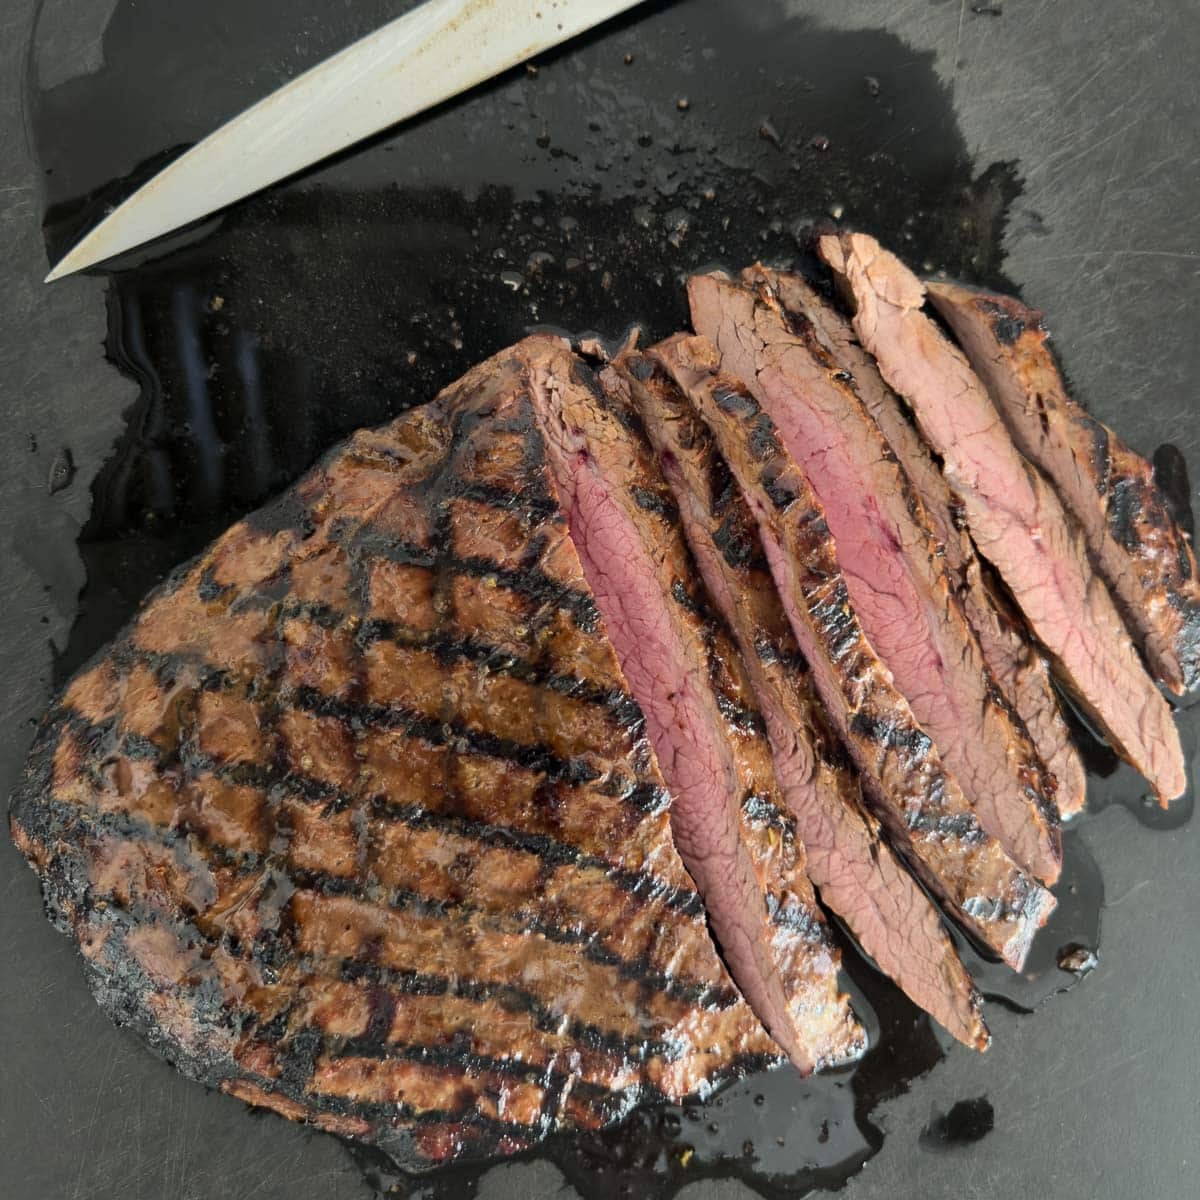
- Spoon it over smoked chicken breast, stovetop seared salmon, grilled shrimp, fish tacos, or grilled flank steak.
- Add it to rice bowls, tacos, or over cottage cheese for a quick high-protein snack.
Storage
Store leftover pineapple mango salsa in an airtight container in the refrigerator for up to 4-5 days, though it's best within 2-3 days.
Recipe FAQs
Yes. Make it at least 30 minutes before serving to allow the flavors to blend. For the best flavor and texture, enjoy it within 2-3 days. Store leftovers in an airtight container in the refrigerator.
Yes. Use pineapple packed in juice or water rather than syrup. Drain it thoroughly and pat it dry if needed before dicing so the salsa does not become watery. Fresh pineapple gives the best flavor and texture, but canned pineapple works well in a pinch.
Yes. Thaw it completely, drain it well, and pat it dry before dicing. Frozen pineapple releases more moisture than fresh, but it works well when properly dried. I've made this salsa with frozen, thawed pineapple before. If you use only half of a fresh pineapple for one batch, freeze the rest for a future batch.
More Salsa & Sauce Recipes
For more fresh summer flavor, try one of these easy recipes next, and check out the Best of Summer recipes index page.


Did You Make This Salsa?
If you make this pineapple mango salsa, please leave a comment and let me know what you served it with. I love hearing from you and your comments also help other readers.
📖 Recipe

Pineapple Mango Salsa
Equipment
Ingredients
- 1 cup finely chopped pineapple 8 ounces store-cut pineapple
- 1 cup chopped ripe fresh mango 8 ounces store-cut
- 2 tablespoons finely chopped red onion
- 1 small red bell pepper chopped small
- 1 jalapeno seeded and chopped fine
- 2 limes juiced
- 1-2 tablespooons fresh chopped cilantro, mint leaves, or flat leaf parsley or a mix of herbs
- 1 pinch sea salt
Would you like to save this recipe?
Instructions
If starting with whole pineapple
- For how to cut up a pineapple see photos in post. With a sharp, heavy knife, cut the top and bottom off of the pineapple. Stand it on the flat bottom end and cut in half vertically top to bottom. Use half for the salsa and save the other half for another use. Cut the half into long quarter wedges. Lay a wedge flat on its side and trim off the tough center core. Next, lay the wedge rind side down and run a thin knife close to the rind cutting away the flesh. Cut the long strips again into several long thin slices and dice small. Place in a medium bowl. See photos in post for visual help.
If starting with pre-cut pineapple
- Chop the pre-cut pineapple into small even cubes or pieces and add to a medium bowl.
How to cut up a mango
- Peel the mango with a sharp vegetable peeler. Cut two mango cheeks off of the wide oval sides with the most flesh, then trim off extra mango from the narrow sides. Chop into small cubes and add to the pineapple. Discard the large oval seed when done. Add to the pineapple in a bowl.Note - you can cut the mango the grid method (with the skin on the side pieces), but you'll get finer chopped mango doing it this way.
Finish the salsa
- Add the onion and red and green peppers to the bowl. Gently toss salsa and add lime juice, herbs and salt. Taste for flavor and make any personal adjustments preferred.