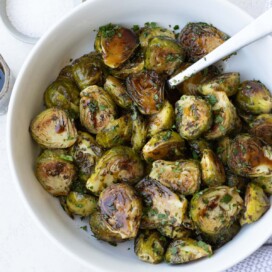
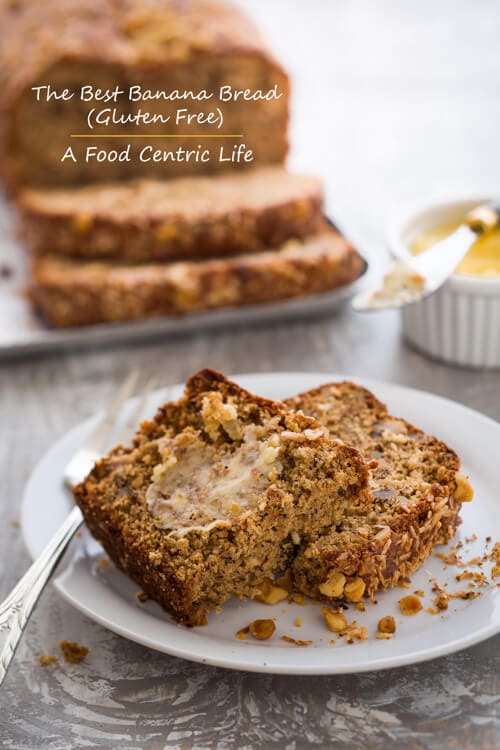
Crispy on the outside, tender on the inside, air fryer red potatoes with garlic and fresh herbs are irresistible comfort food. Make them in about 15 minutes. They are sure to become a go-to dinner side dish for weekdays and holidays. No airy fryer? No problem. I've included oven directions as well. Simple dishes are a great way to feed your family.

I've made these crispy potatoes a hundred times if I've made them once because it's such a tasty easy recipe. While they don't take long in the oven, they are even faster in an air fryer and destined to become a regular part of your side dish recipes collection.
[feast_advanced_jump_to]Why You'll Like This Recipe
- Crispy air fryer potatoes are so easy!
- Make them in about 15 minutes or a few minutes more for extra crispy.
- Versatile side dish with roasted and grilled meats or as a breakfast side dish with eggs.
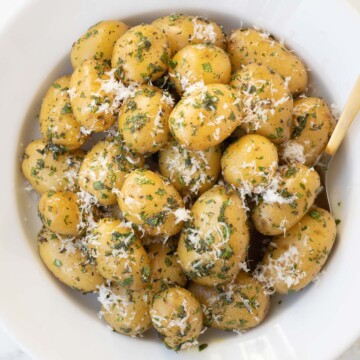
Love potatoes? Try this buttery baby dutch yellow potatoes recipe too.
Recipe Ingredients
What kind of potatoes are the best potatoes for air frying? All kinds of potatoes work in this terrific little device but for this recipe I'm using red baby potatoes.
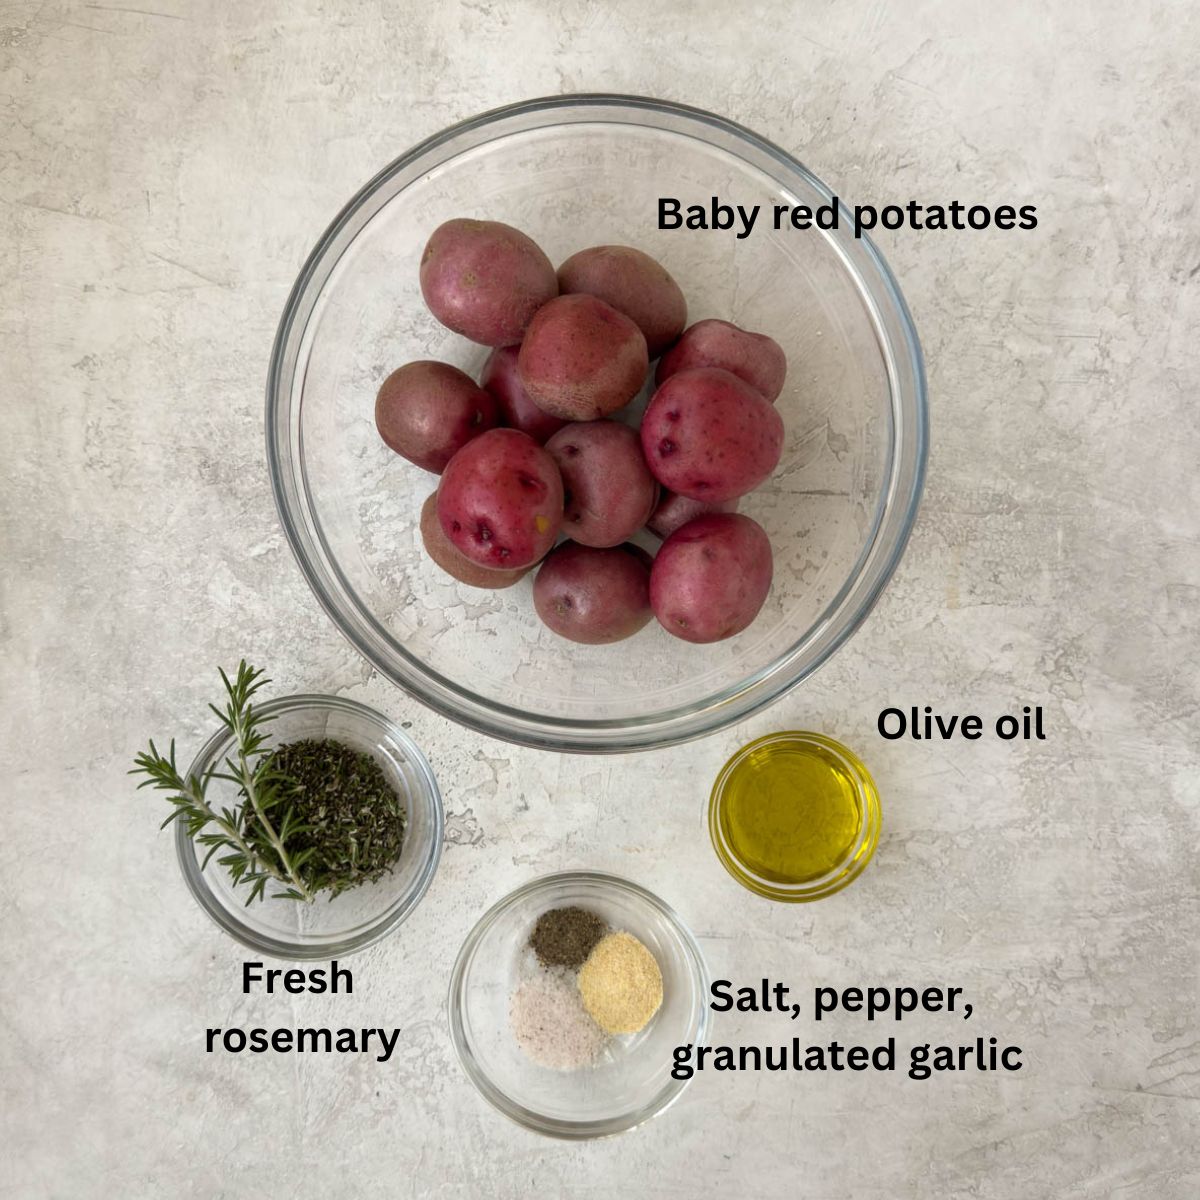
- Red potatoes: I prefer small red skinned potatoes called baby red potatoes. They are about the size of a golfball. They're about 1 ¼ ounces each and 1 ½" in diameter. Larger red potatoes work as long as you cut them in smaller pieces.
- Oil: Extra virgin olive oil for it's wonderful taste and healthy profile. Avocado oil works too.
- Herbs: Fresh rosemary is my first choice, but fresh thyme works too, and the combination is nice.
- Seasonings: Sea salt, ground black pepper, onion powder, and granulated garlic or garlic powder. Here is one time fresh garlic is not the best choice as it tends to burn in the air fryer.
Please see the recipe card for measurements.
Substitutions and Variations
Try these ideas to change up air fryer red potatoes:
- For more color toss with a little chopped fresh
- Toss with finely grated parmesan cheese before serving.
- Skip the herbs and garlic and use my Ultimate Dry Rub recipe for more of a barbecue-style or southwestern flavor.
- No fresh herbs? Try a dried Italian seasoning blend.
Chef's tip for bigger flavor: Toss the hot potatoes with a teaspoon of a flavored olive oil such as rosemary, basil, or lemon olive oil. This family owned business in California produce my favorite flavored olive oils (no affiliate links, just love their oils!).
Air Fryer Red Potato Instructions
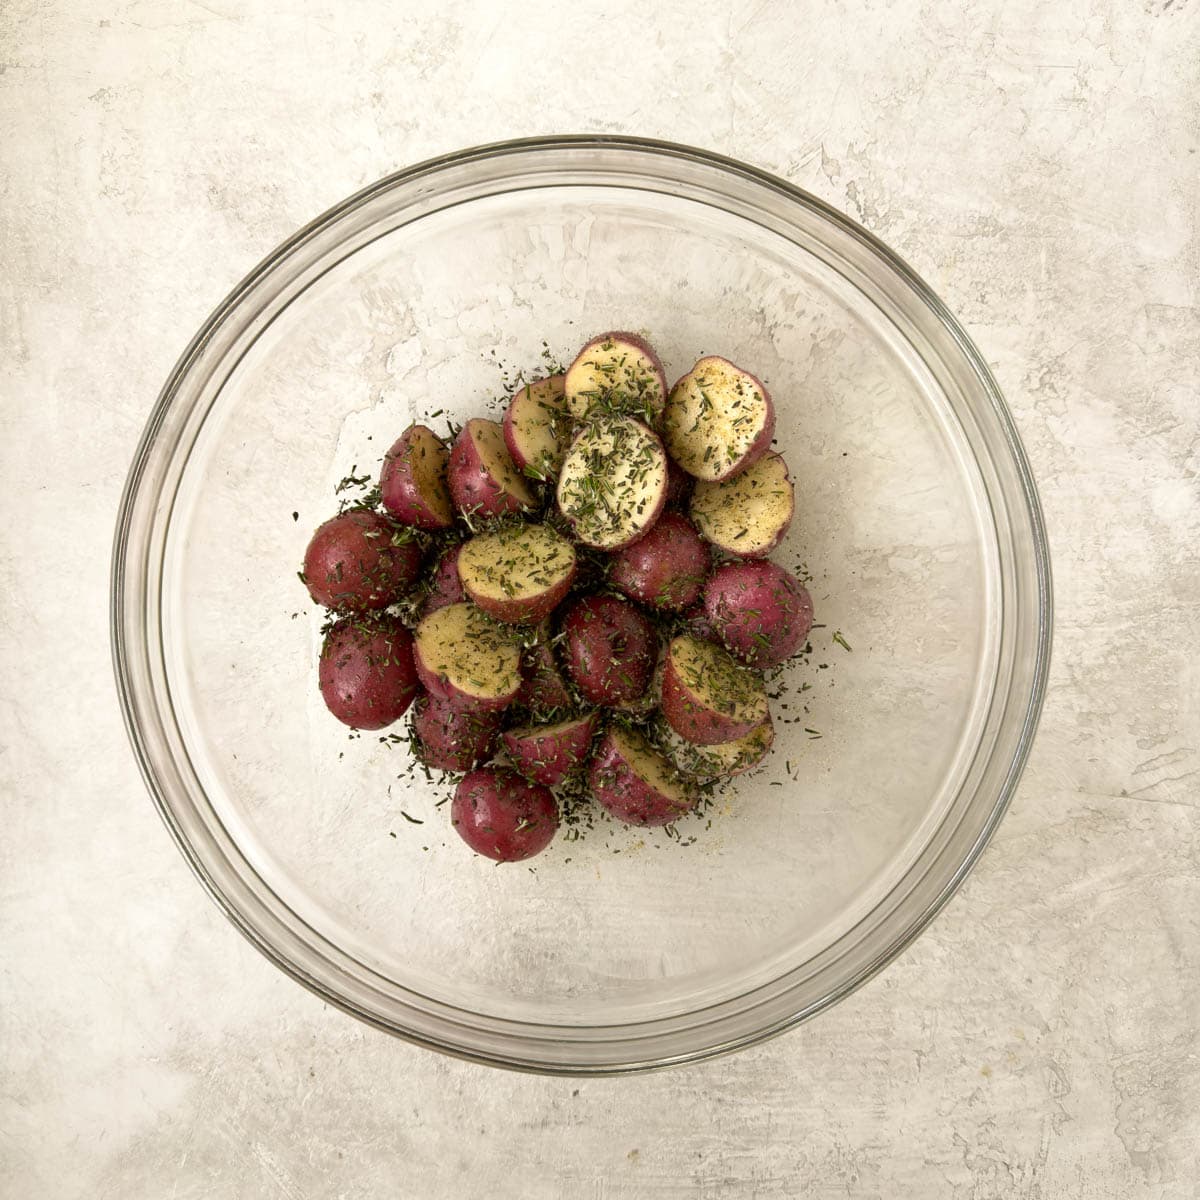
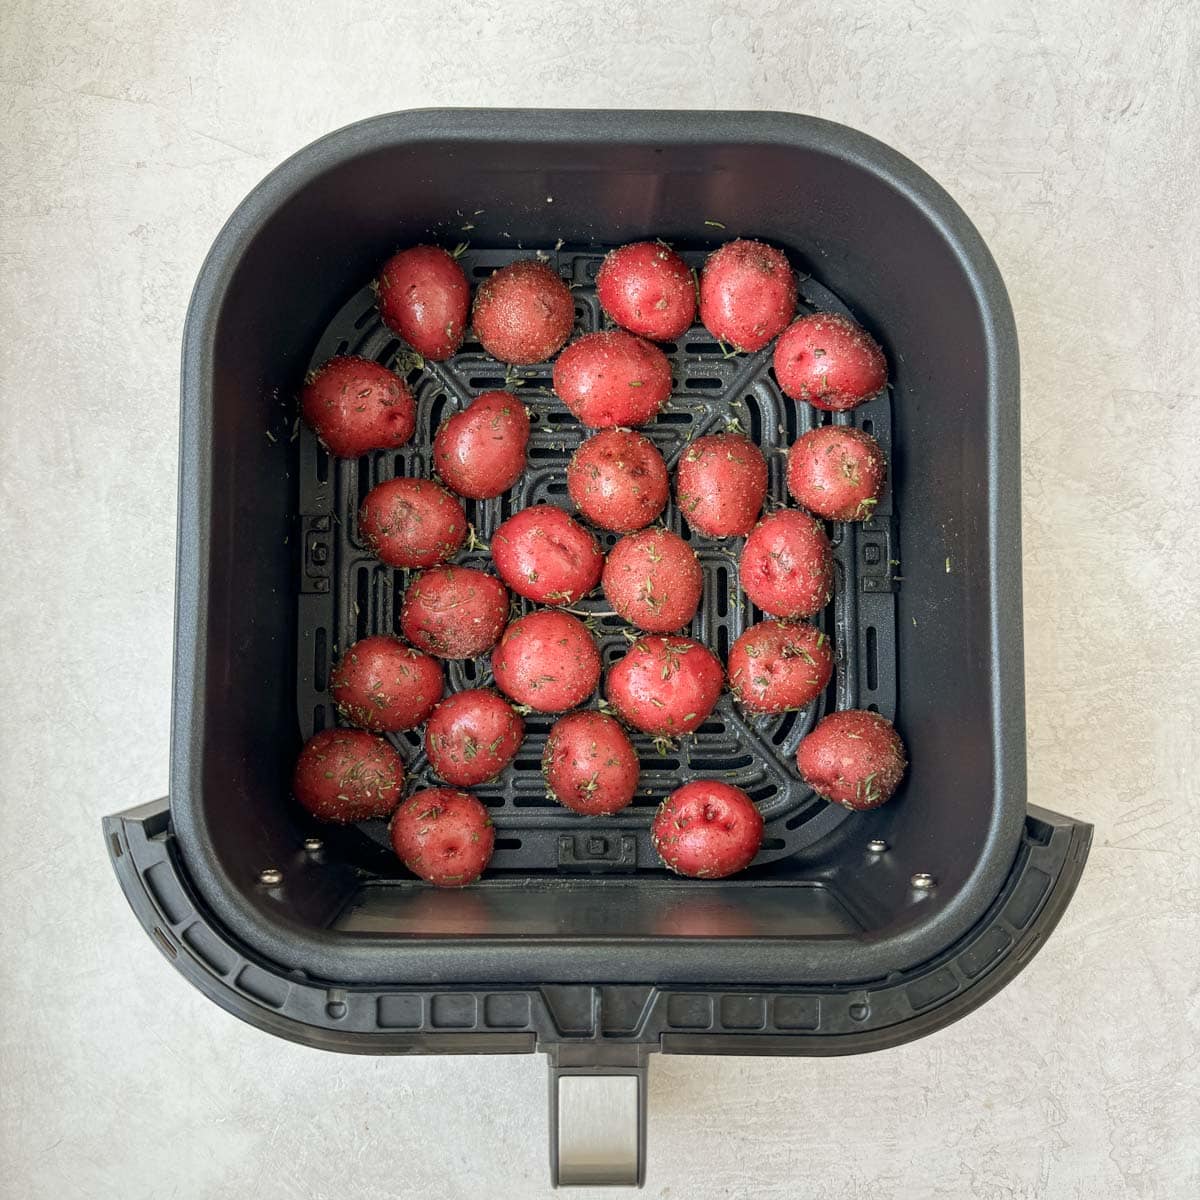
Start by scrubbing your potatoes clean and drying them well. Wet potatoes do not air fry well. For red potatoes there is no need to soak to reduce starch. Set up your air fryer for 400°F and timer for 12 minutes. Give the rack a quick spray of oil such as avocado oil.
Note: Different air fryers may have slightly different timing so on your first batch, watch your potatoes and test them at the end.
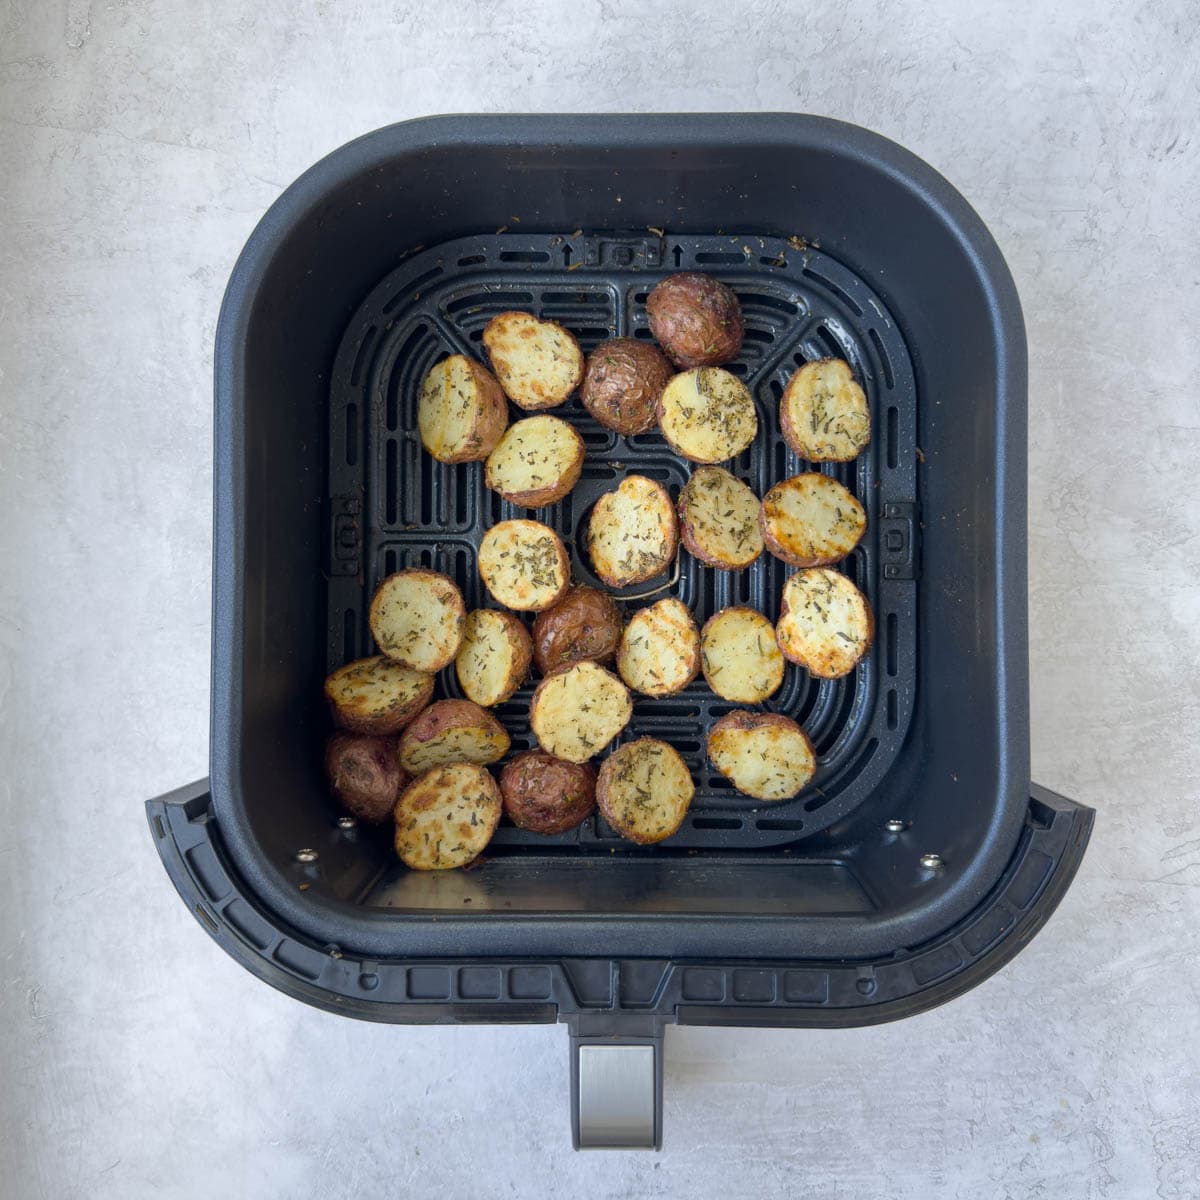
Step 4: Finish the potatoes. When the air fryer cycle is complete, potatoes are ready to serve. If you don't need them immediately, turn off the air fryer and allow them to hold warm for a few minutes. Potatoes will continue to crisp and brown a bit.
Chef's tip for air fryers: When you have to open the air fryer to stir or turn ingredients, do it as quickly as possible as every moment the air fryer is open you're losing heat. Same for larger, standard ovens, except with ovens you have a door to close to preserve the heat and temperature.
Roasted Red Potatoes in an Oven

No air fryer? No problem. Make oven roasted red potatoes instead. This is how I originally made them until I got my air fryer. Follow the same directions as if prepping potatoes for the air fryer.
Place potatoes cut side down on a rimmed baking sheet and roast at 400°F for approximately 25-30 minutes or until they are crusty, crisp and golden on the outside and tender on the inside when pierced with the tip of a paring knife.

Chef's tip on doubling the recipe for a crowd: How many red potatoes you can air fry at once depends on the size and capacity of your air fryer. My 6-quart air fryer holds 1 to 1 ½ pounds at once. The good thing is as red potatoes air fry so quickly it's easy to do multiple batches back to back in a short amount of time. Keep batches hot in a warm (200°F) oven or warming drawer.
Serving Suggestions
Air fryer red potatoes are a perfect side dish with roast chicken breasts, grilled lemon chicken breasts, sour cream pork chops, or roast classic roast beef tenderloin.
They are also terrific served for a hearty breakfast or brunch with scrambled eggs or omelets. Another nice addition is a seasonal fresh fruit salad to round out the menu.
Leftover air fryer red potatoes keep up to 4 days in the refrigerator in an airtight container. Be sure to label and date.
Looking for more air fryer recipes? I'm working on a bunch of new recipes for an air fryer dedicated category so please stay tuned! Please subscribe in the box above to get them in your inbox along with a free welcome-book recipe series.
Air Fryer Red Potato FAQs
Red potatoes can be part of a healthy, nutritious diet. They contain an impressive amount of vitamins and minerals with vitamin C, more potassium than a banana, and fiber when you keep the skin on. And since you eat red potatoes with the skin on, the answer is yes!
Depending on what food you are air frying, it's a good idea to shake the basket half way through or turn (flip) the food for even roasting or air frying. It helps food brown and cook more evenly. But do so quickly as the longer you have the air fryer open, the more heat you are losing. If you lose a lot of heat, you may need to add a couple of minutes to the cooking time.
It depends on the size of the potatoes. For baby red potatoes that are approximately the size of a golf ball, simply cutting them in half is perfect. For medium red potatoes, try quartering them. For larger red potatoes, you may need to cut them in eighths. The goal is red potato pieces that are about the same size for even air frying or roasting.
More Potato Recipes!
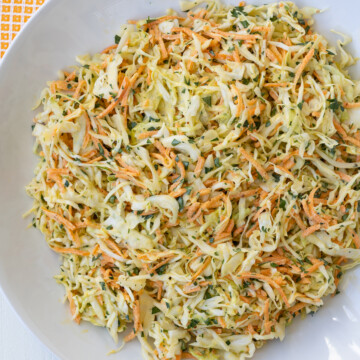
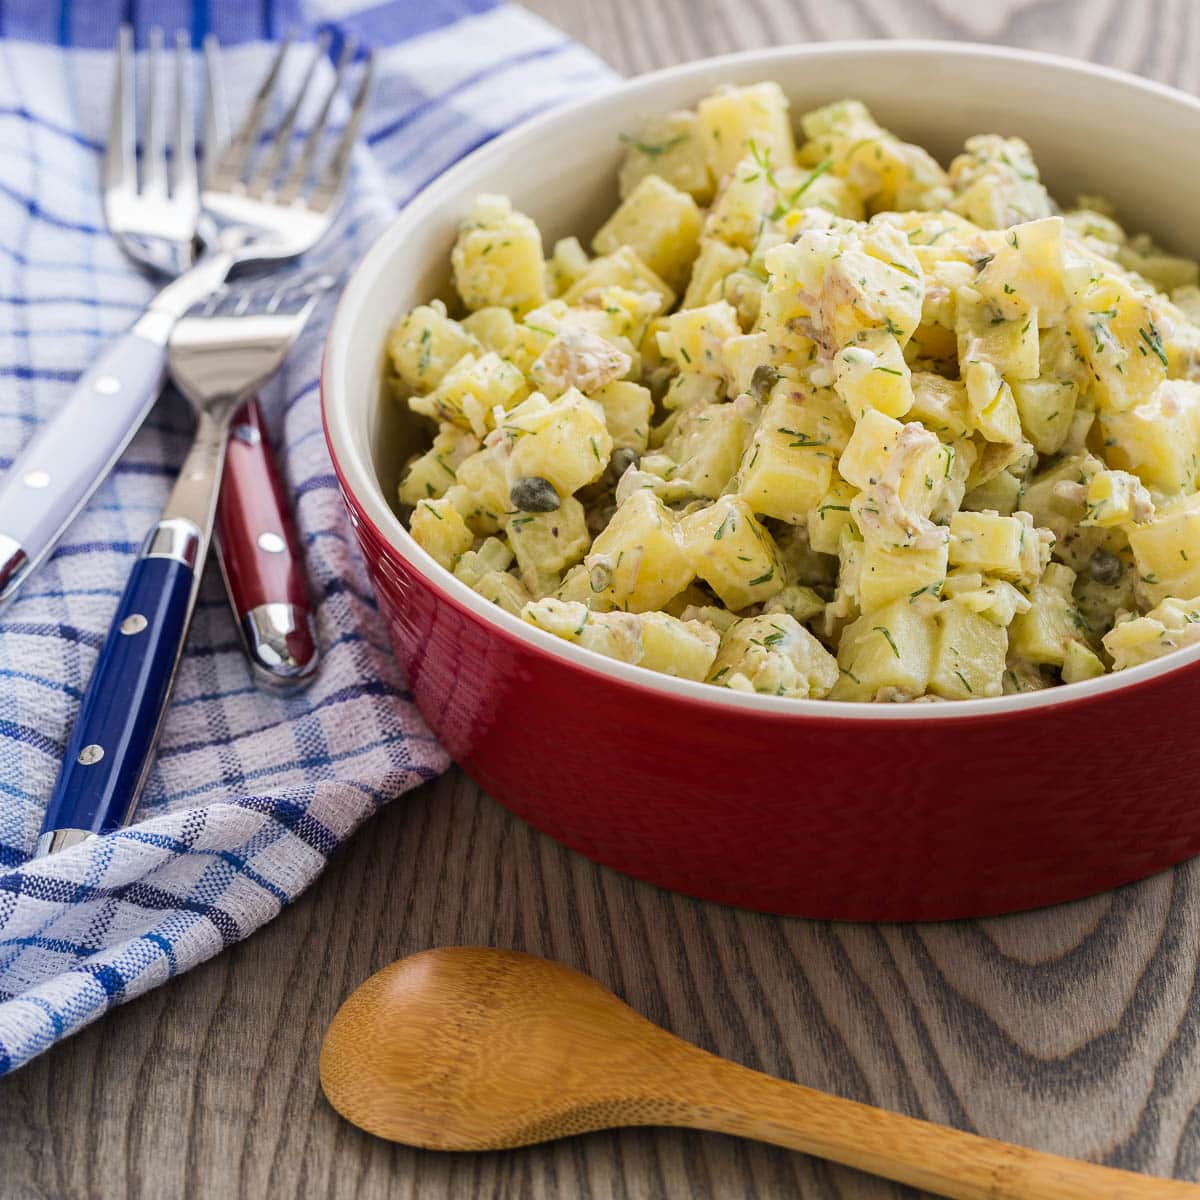
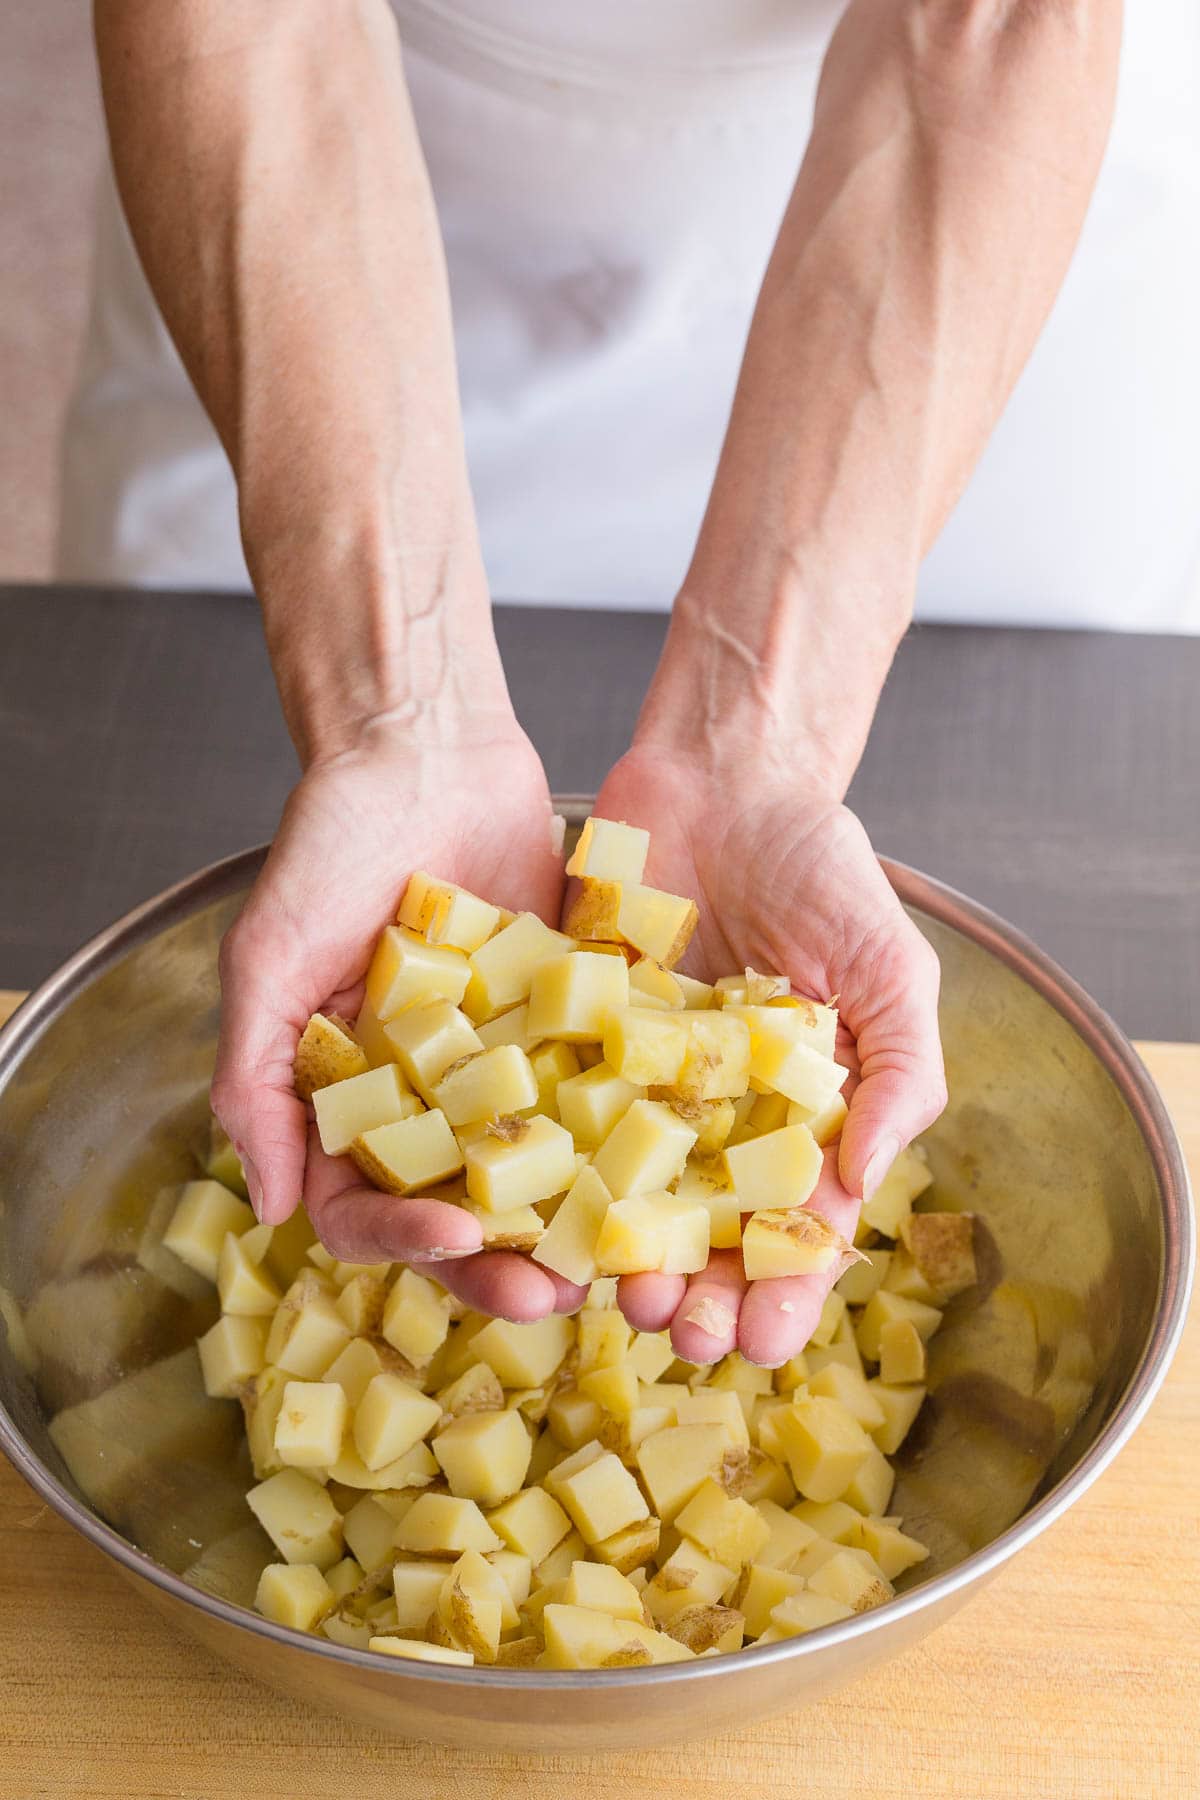
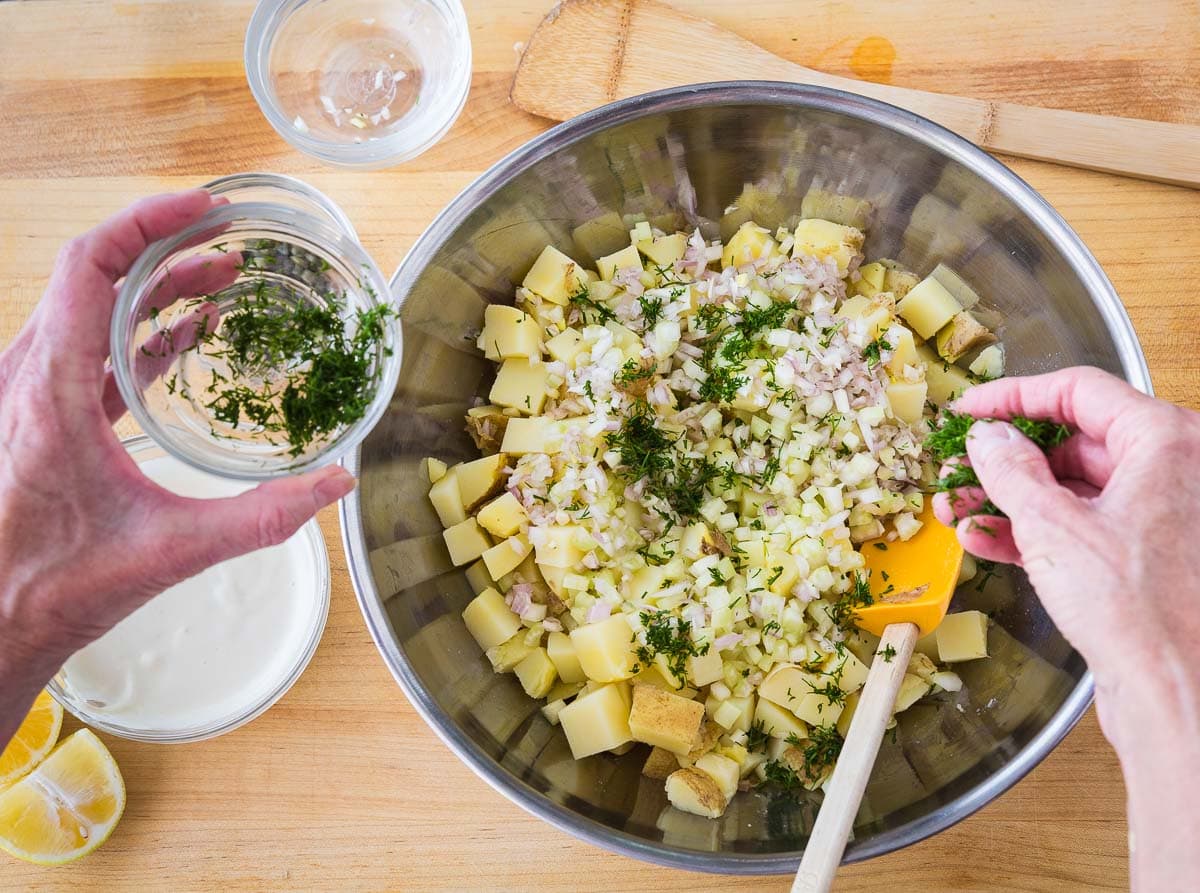
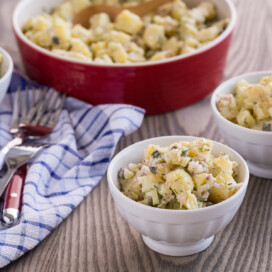
Whether red potatoes, yukon gold potatoes, russet potatoes, or sweet potatoes, there are many delicious ways of preparing them. Try this herbed potato salad with Mediterranean flavors, a summer favorite.


⭐️Did You Make This?
If you make these air fryer red potatoes, please comment and let me know. I enjoy hearing from you. If you loved it, please give it a 5 star rating! They really help other readers.
This recipe was originally posted as Roasted Red Potatoes with Rosemary on 7/31/2012, now updated for the air fryer.
📖 Recipe

Air Fryer Red Potatoes
Equipment
Ingredients
- 1 pounds baby red potatoes, scrubbed clean or small to medium size red potatoes
- 1 tablespoon olive oil divided use
- 1 tablespoon finely chopped fresh rosemary or fresh chopped thyme leaves
- ¼ teaspoon sea salt
- ¼ teaspoon ground black pepper
- ¼ teaspoon granulated garlic powder
- ¼ teaspoon onion powder
Would you like to save this recipe?
Instructions
- Pre-heat the air fryer to 400°F and set to 12 minutes. Give the rack a small spray of non-stick such as avocado oil.
- Halve the baby red potatoes. For medium red potatoes, quarter them. In a medium bowl, toss potatoes with the olive oil, herbs, salt, pepper, and garlic until well coated. Add the potatoes cut side down and air fry set. At the 6 minute mark, shake the basket well or stir potatoes with a wooden spoon. Complete the air fryer cycle.
- At the end of the cycle, remove one potato and test. They should be lightly crisped and browned, and tender when pierced with the tip of a paring knife. if you want them crisper and more browned, add 2-3 minutes to the air fryer cycle. When done, serve hot or warm.For extra flavor, toss the hot potatoes in the same bowl you started with that had the oil and herbs in it, and add the extra 1 teaspoon of olive oil for more flavor. For more color, add some fresh chopped parsley. A little finely grated parmesan cheese is good too if you enjoy it.


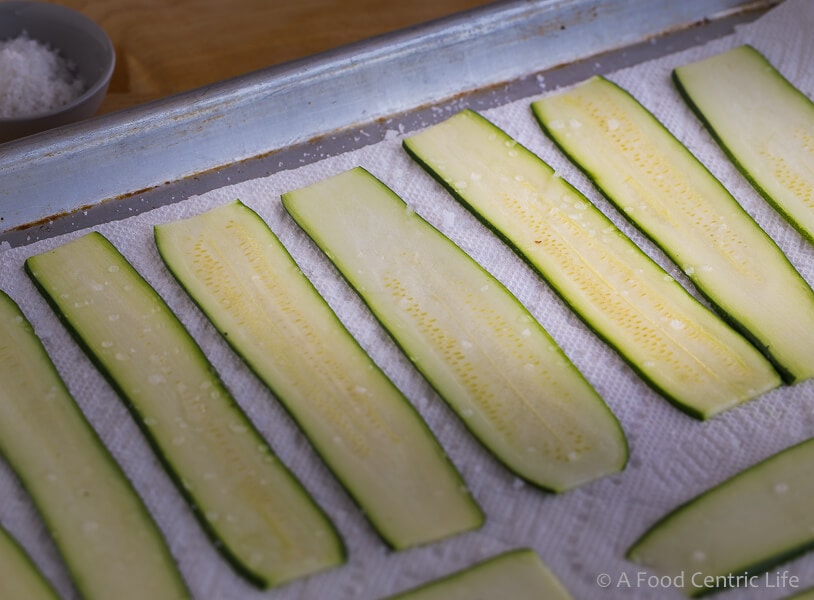 Salting the Zucchini Slices
 How to Assemble the Zucchini Appetizer Rolls