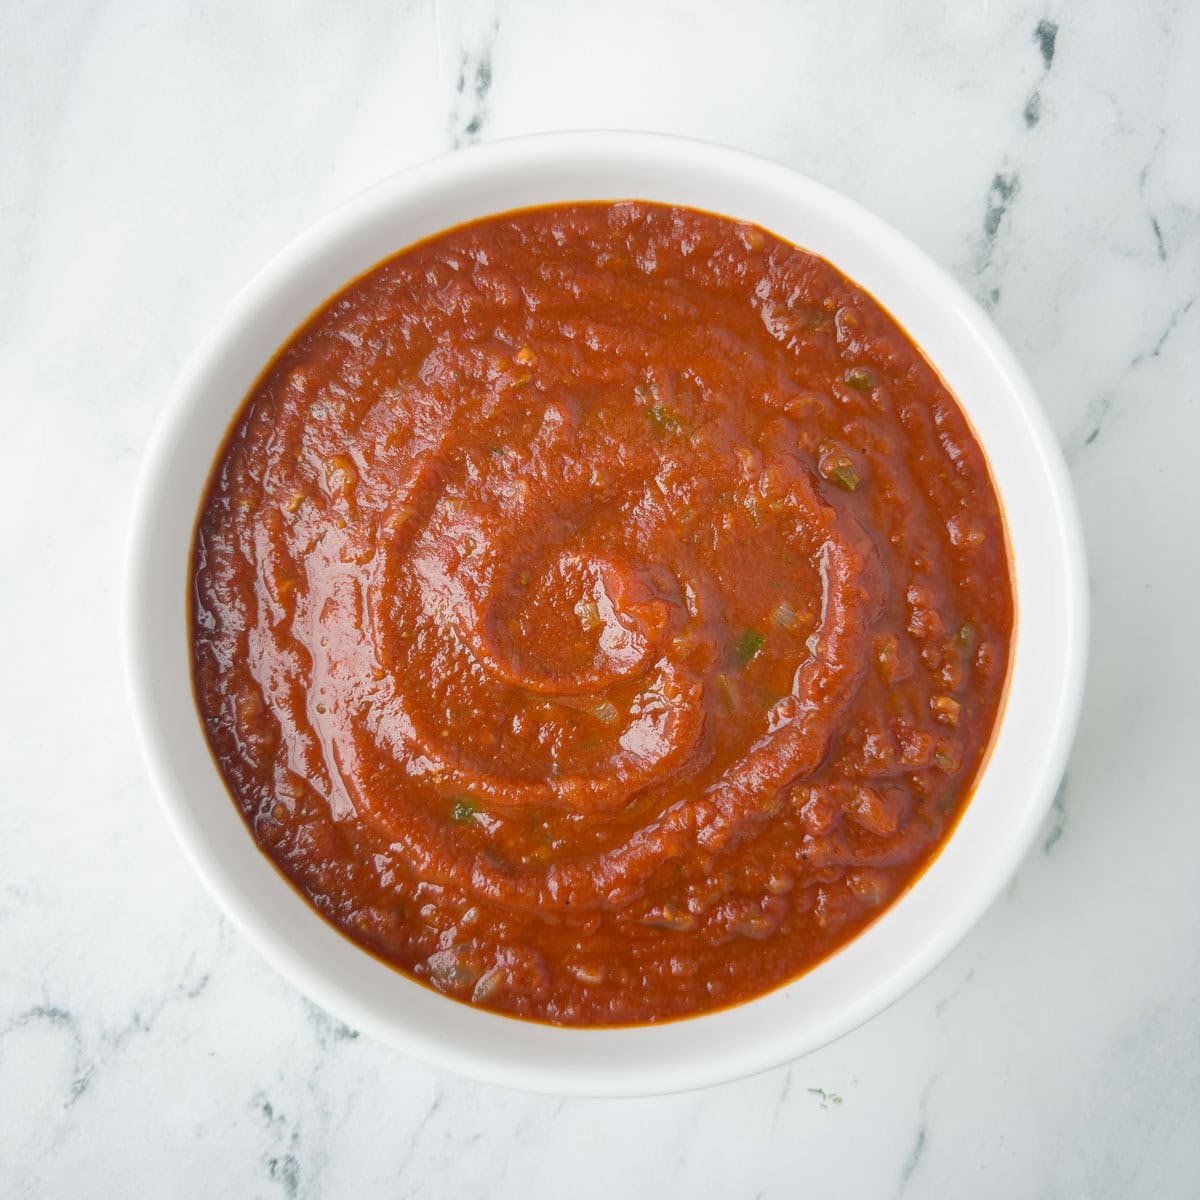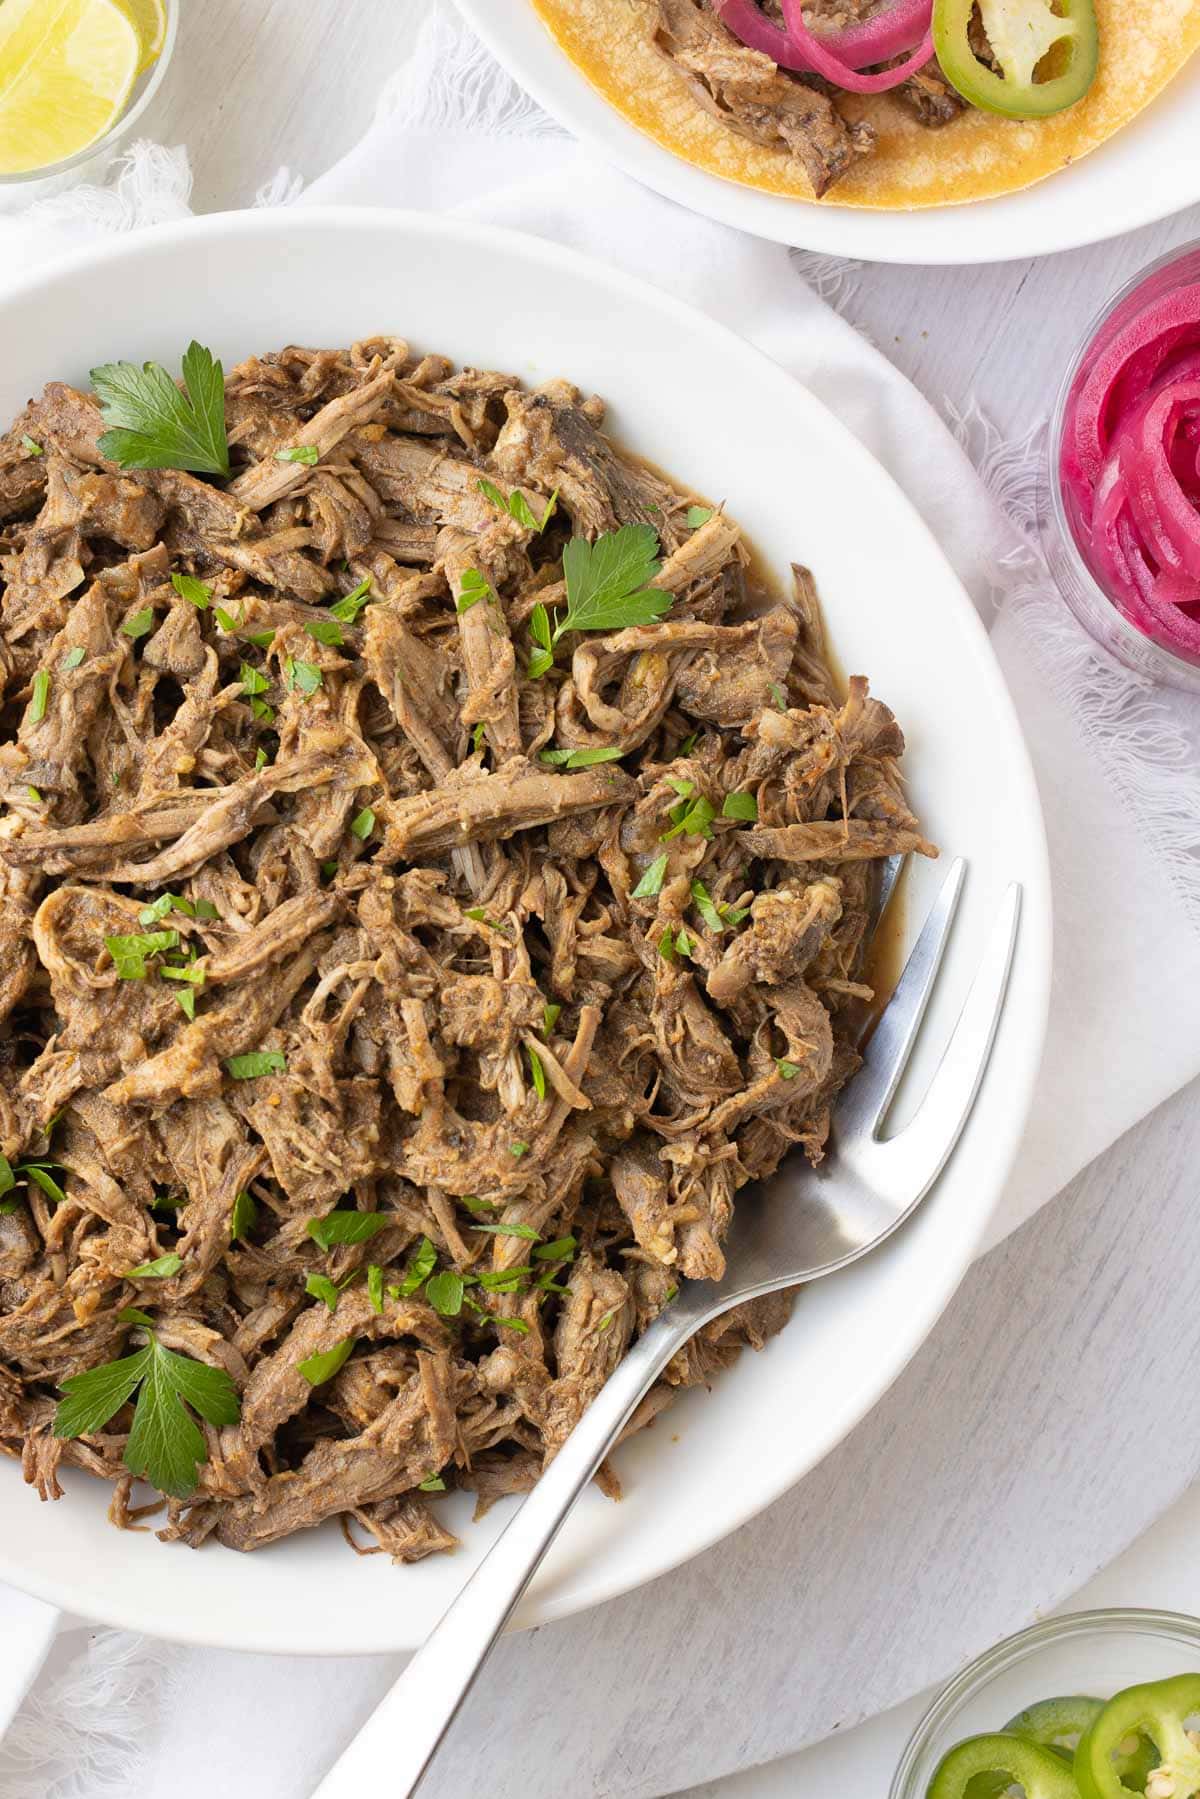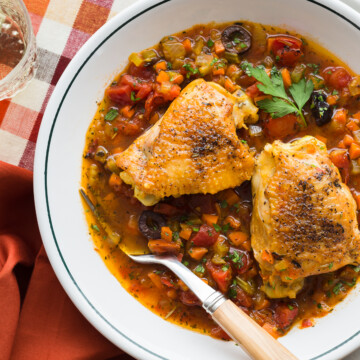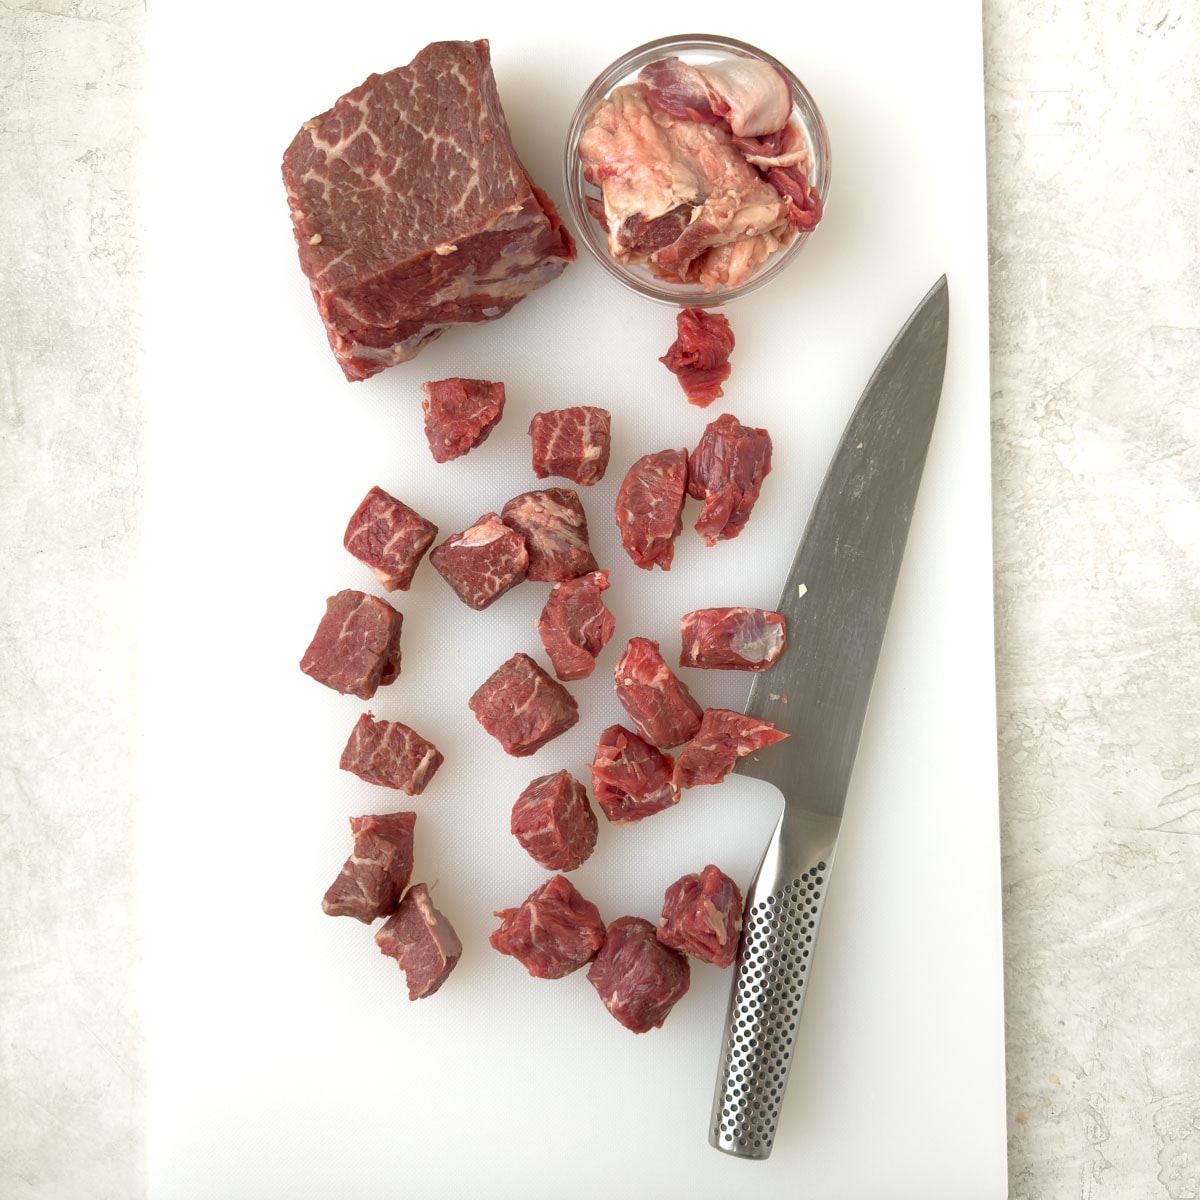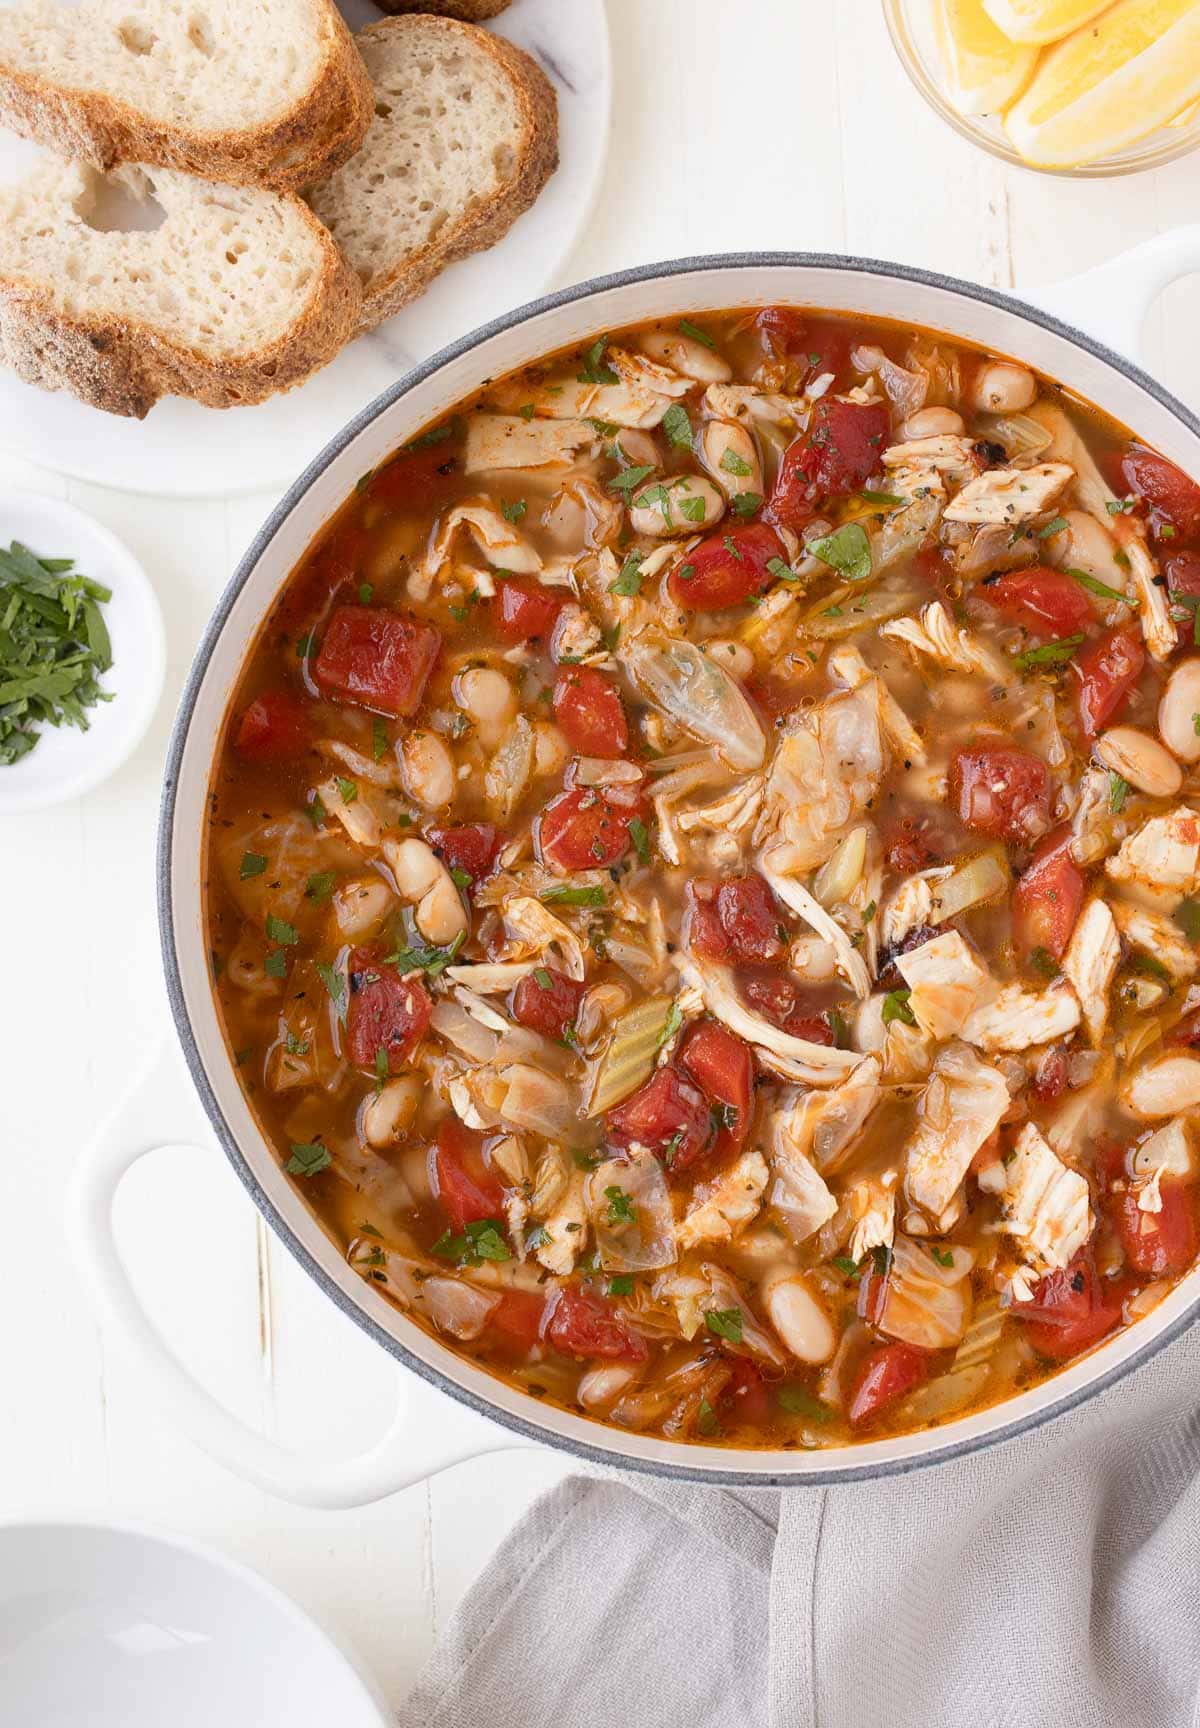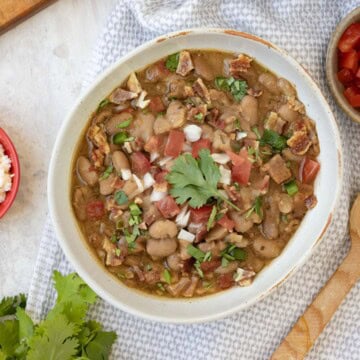
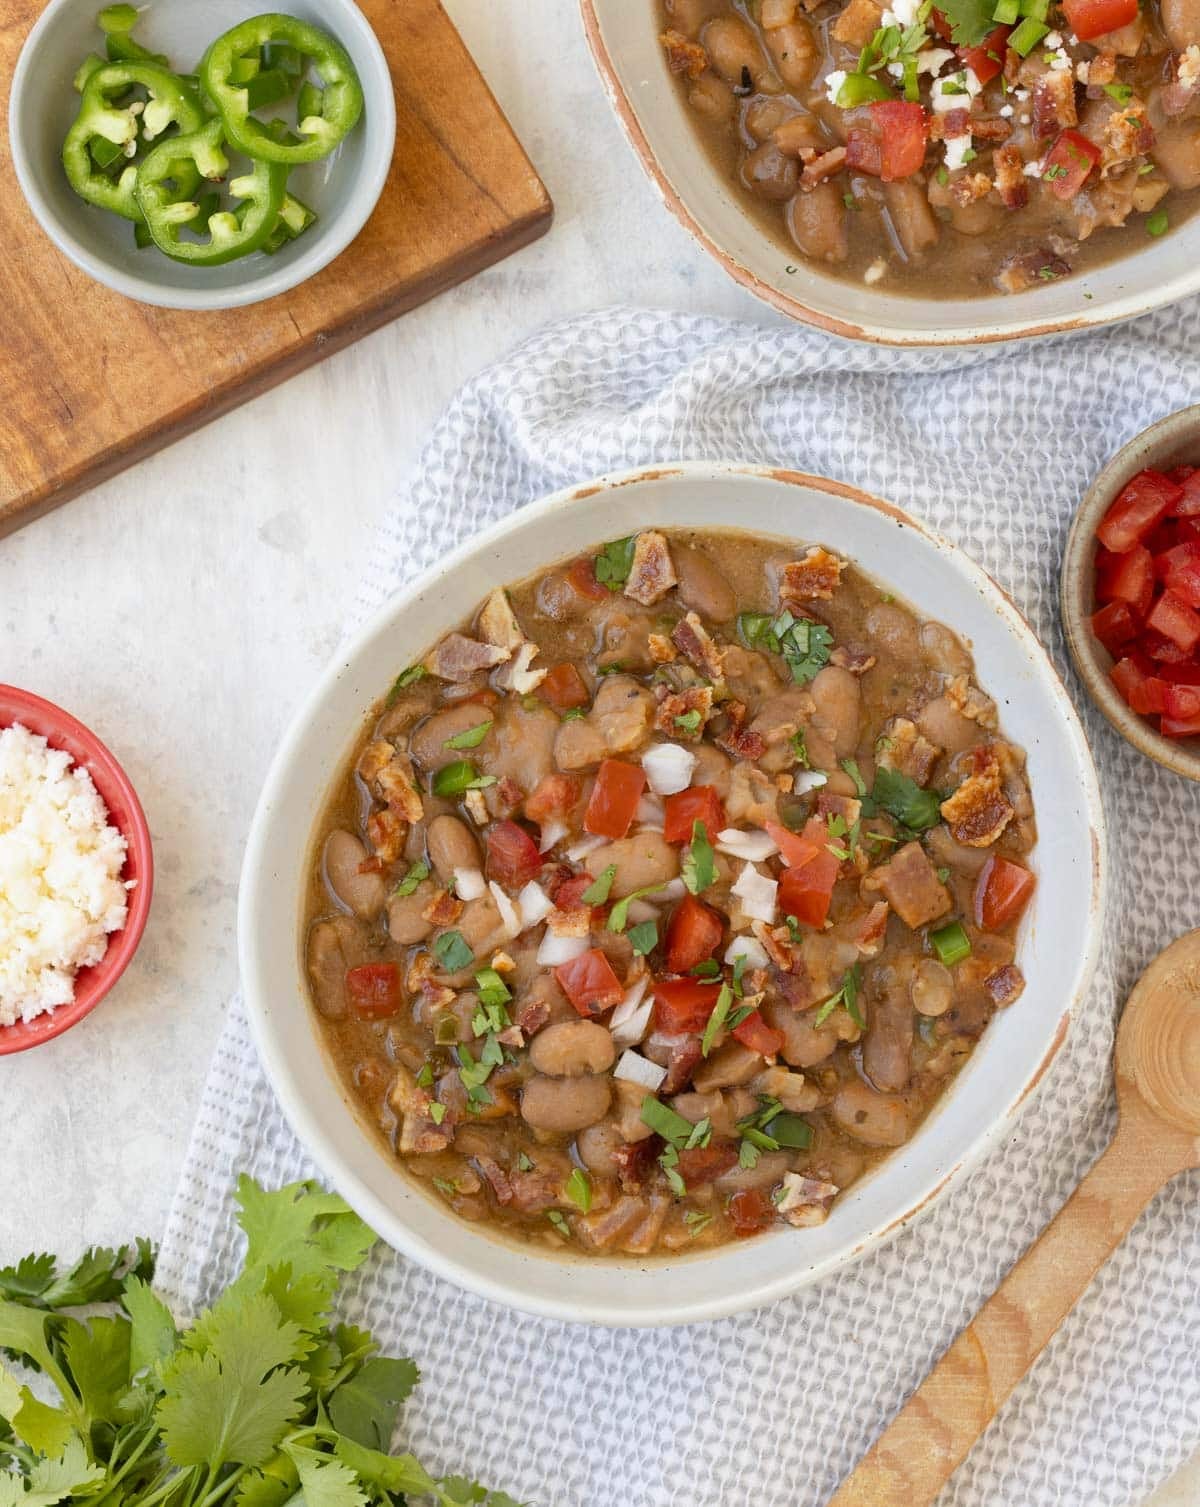
Charro beans, or frijoles charros, are brothy Mexican pinto beans cooked with bacon, onion, garlic, tomato, jalapeño, and warm spices. They're hearty and flavorful, but simple enough to serve as a side dish with grilled meats, tacos, enchiladas, or rice. Fast and easy, use homemade pinto beans and bean broth if you have them, or take the shortcut with canned pinto beans and broth.
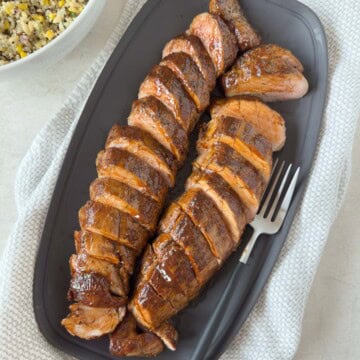
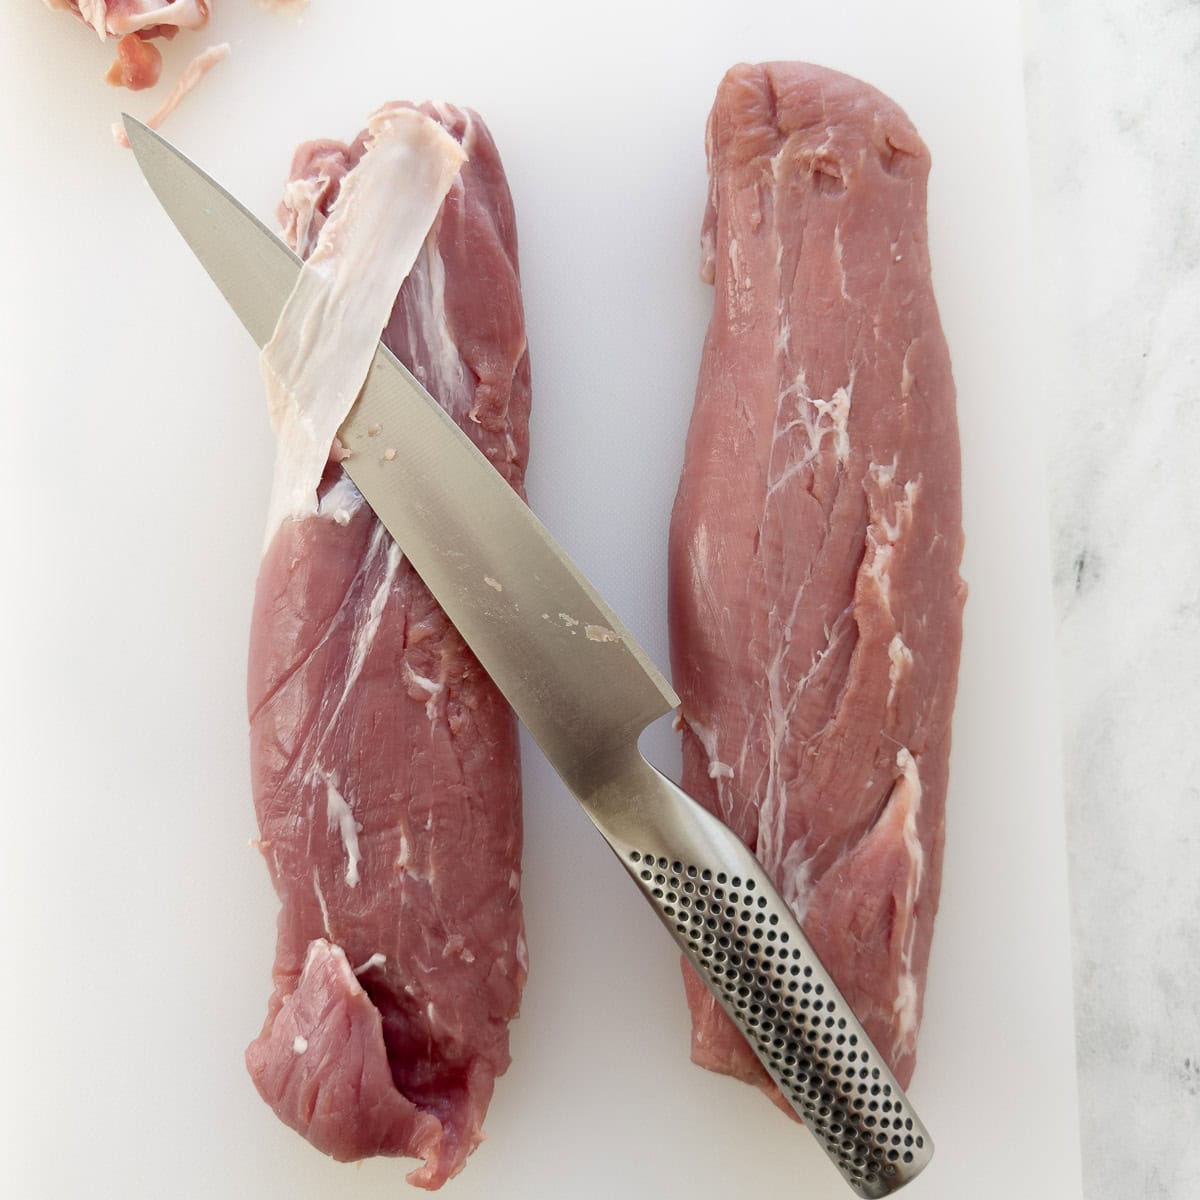
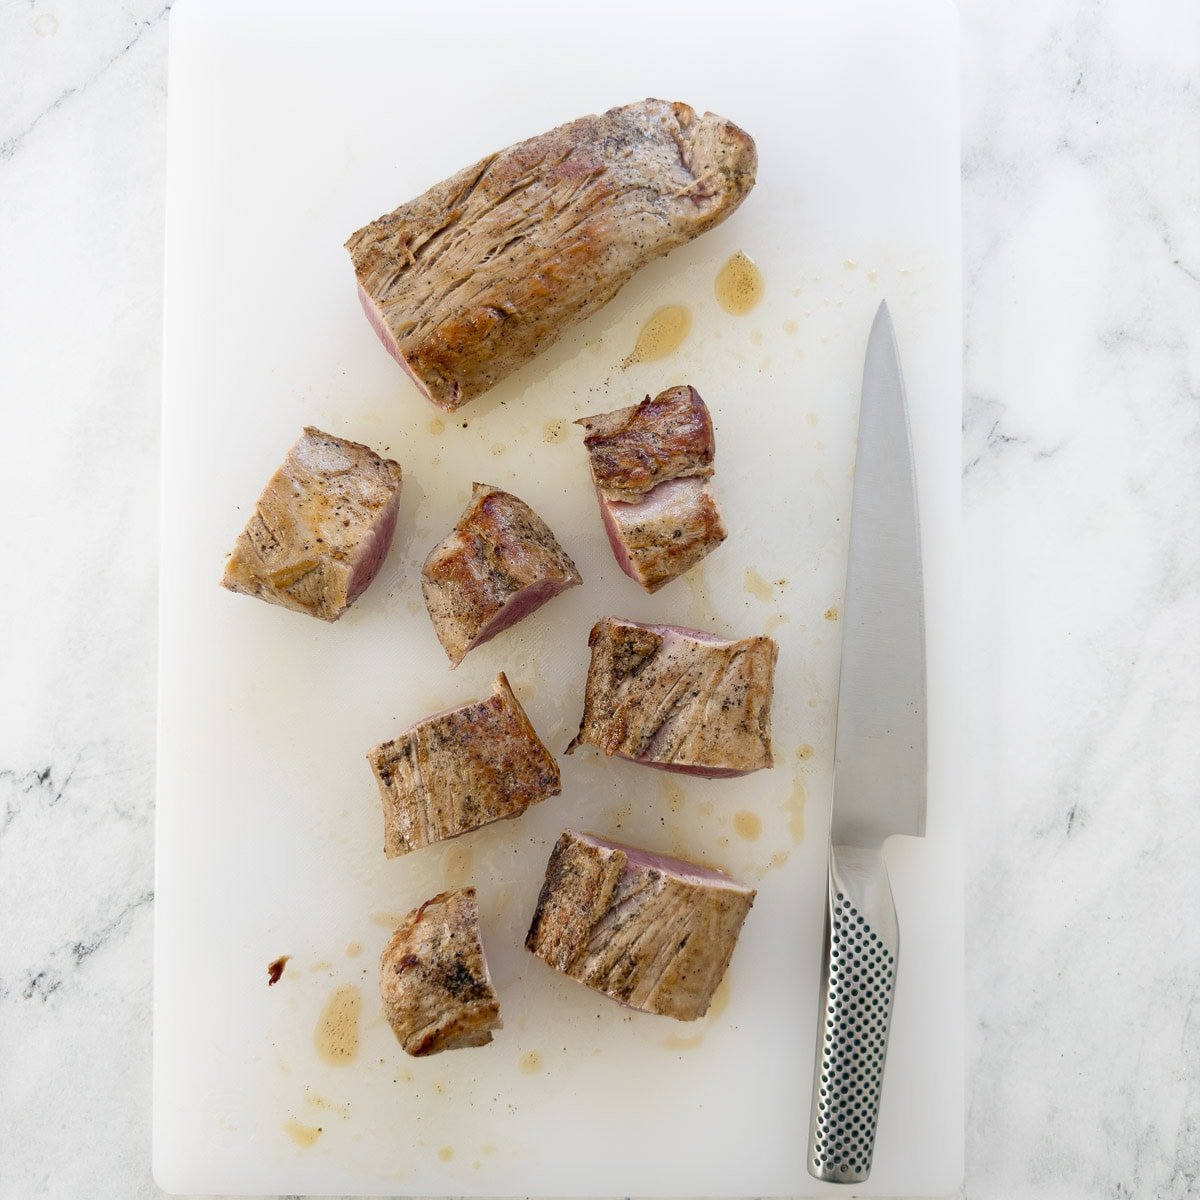
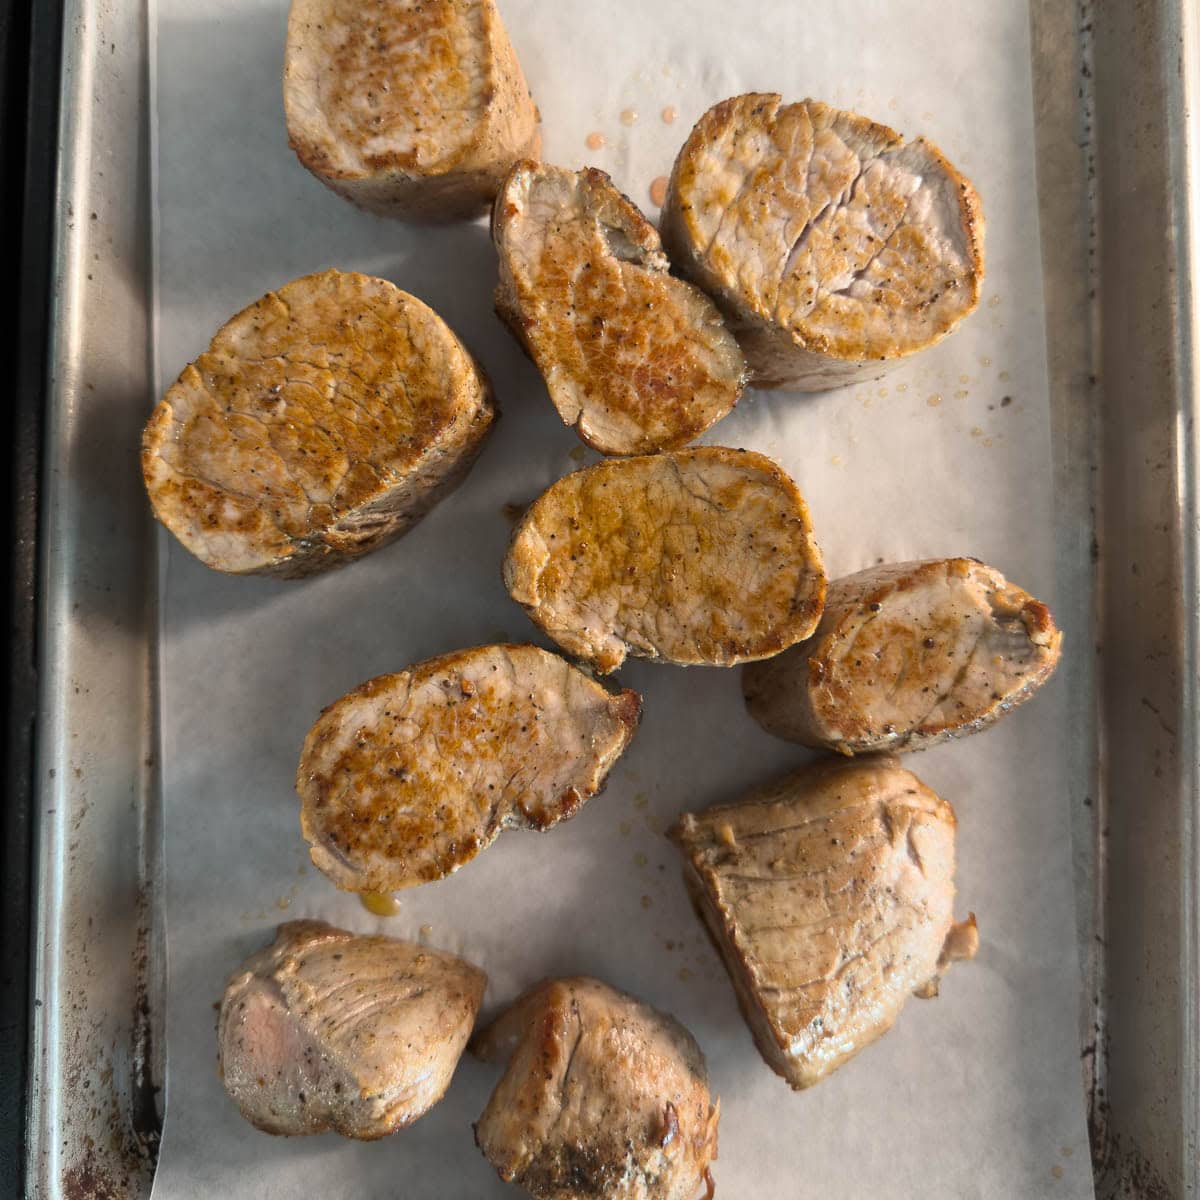
After making a few batches of my crock pot pinto beans, I had plenty of tender beans to play with, and these charro beans were an instant hit. I served them with smoked pork tenderloin brushed with my homemade BBQ sauce and a crisp salad with bright cilantro-lime dressing-a simple dinner that disappeared fast.
[feast_advanced_jump_to]Charro Beans Recipe Highlights
- Fast and easy - Ready in minutes with cooked pinto beans.
- Homemade or canned - Use crock pot pinto beans or canned beans.
- Easy to scale - Double or triple for BBQs, potlucks, or taco night.
- Great side dish - Serve with grilled meats, tacos, enchiladas, eggs, or rice.
- Make-ahead friendly - Reheat well and taste even better the next day.
Ingredients You'll Need
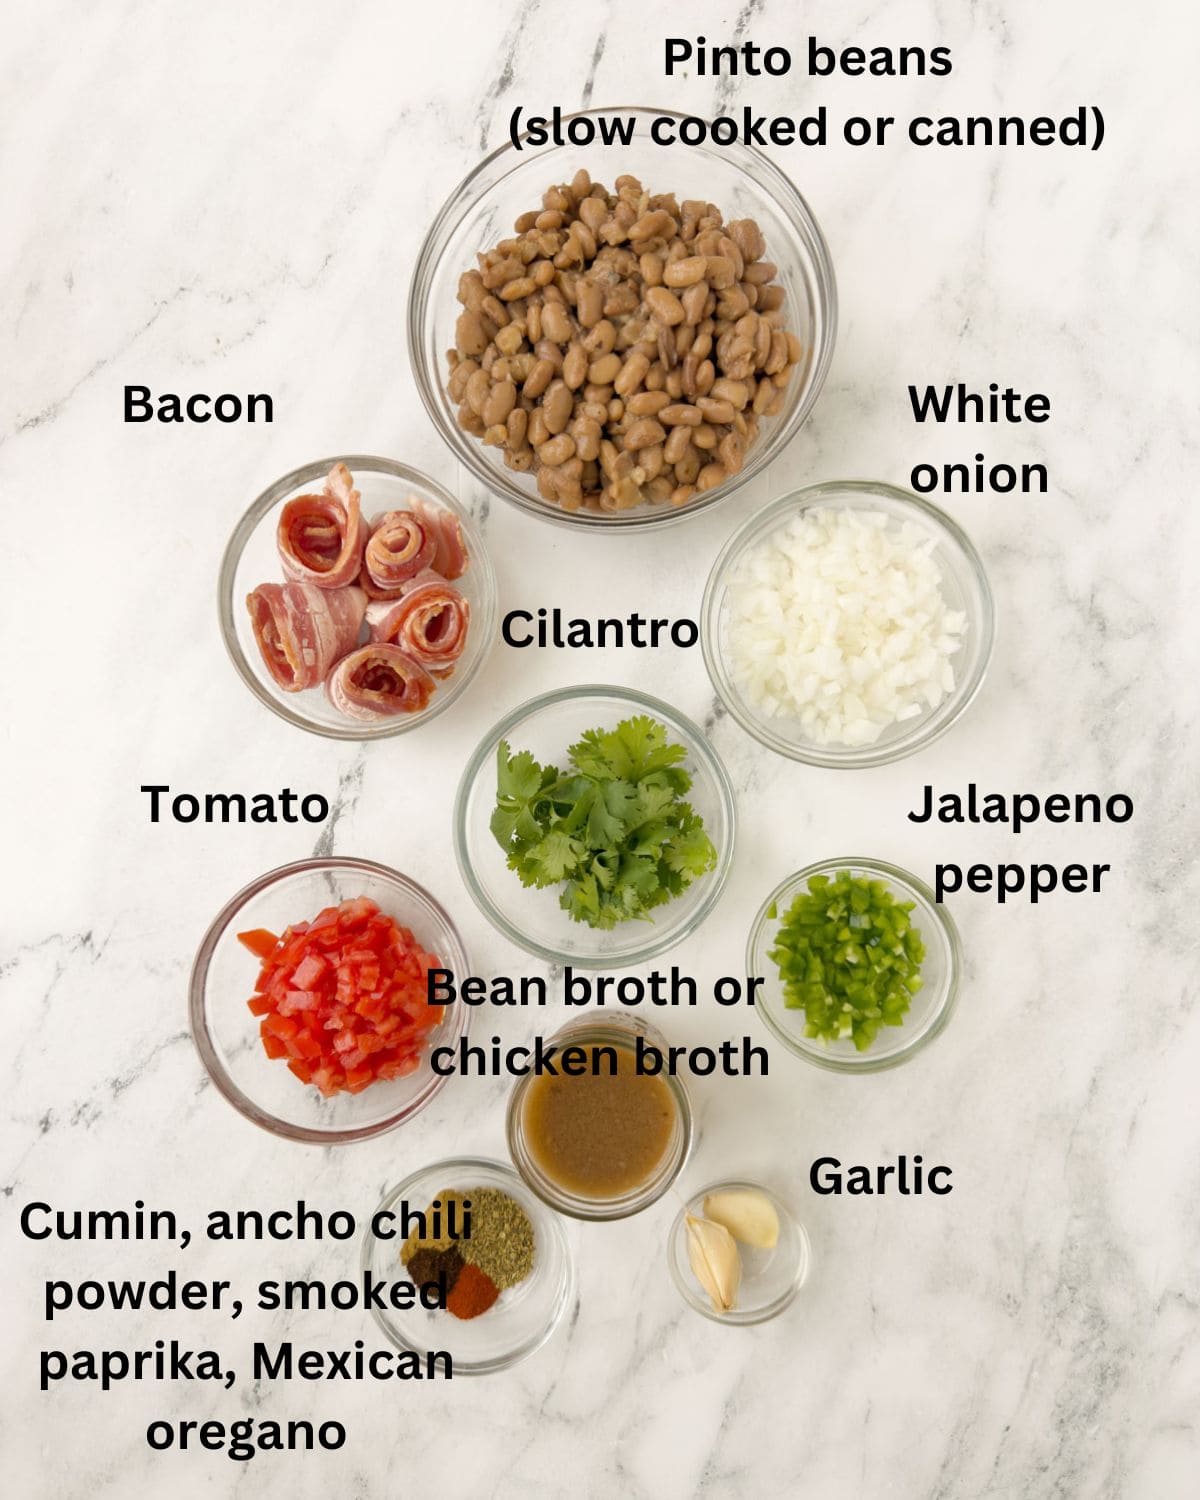
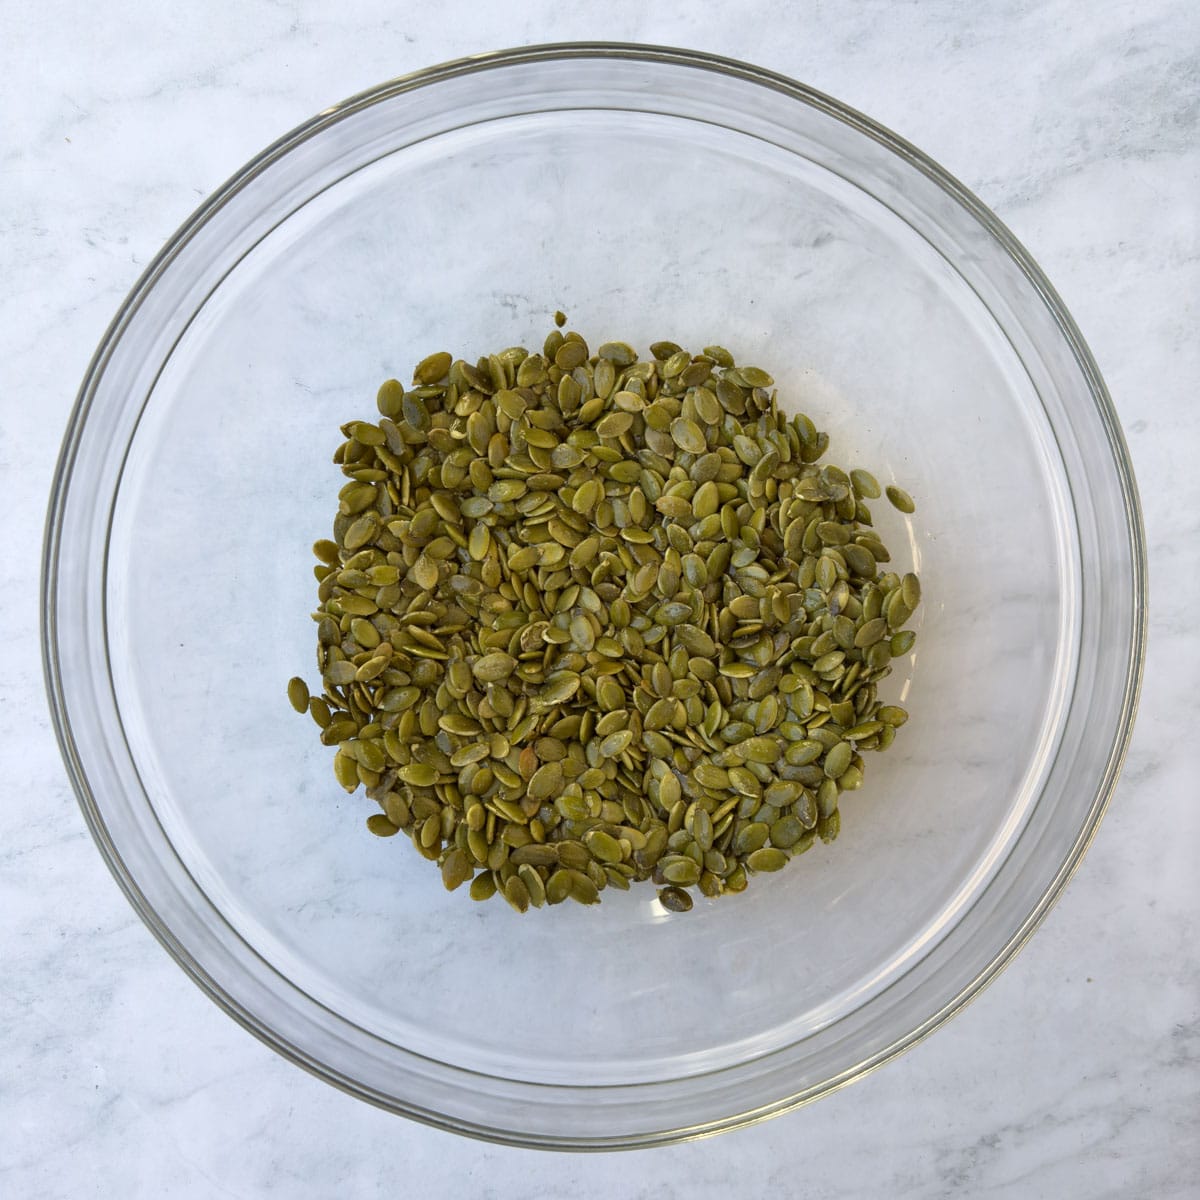
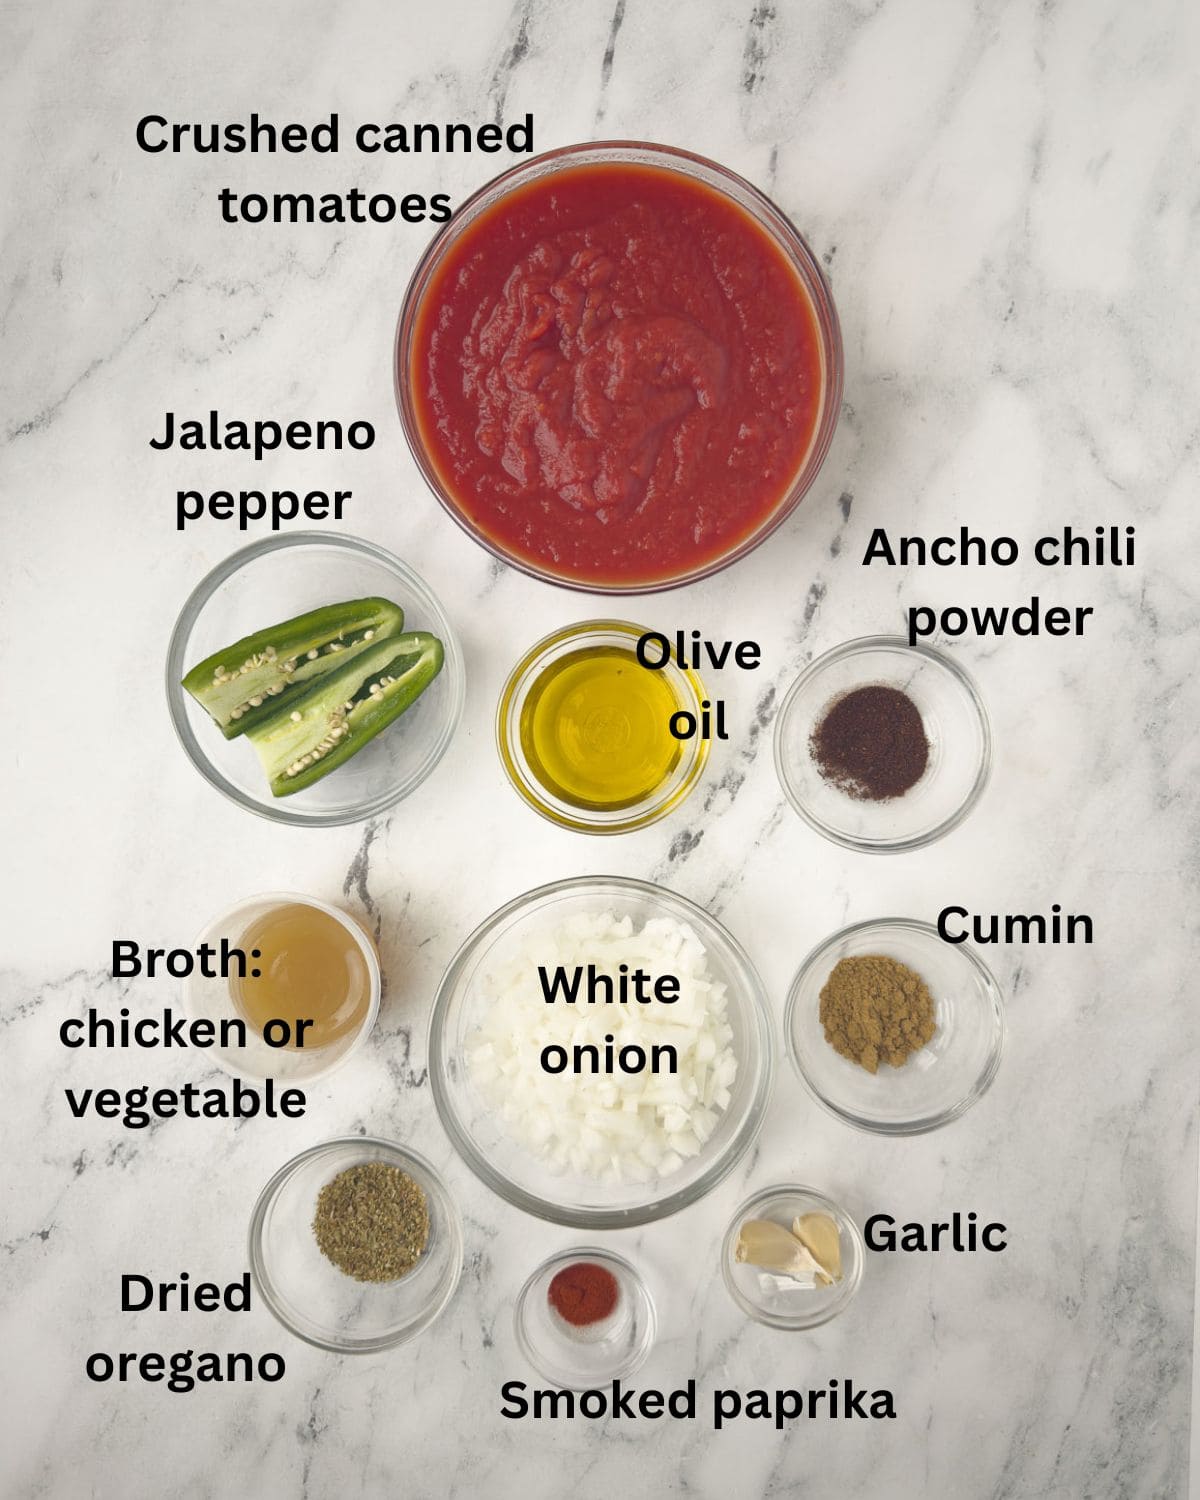
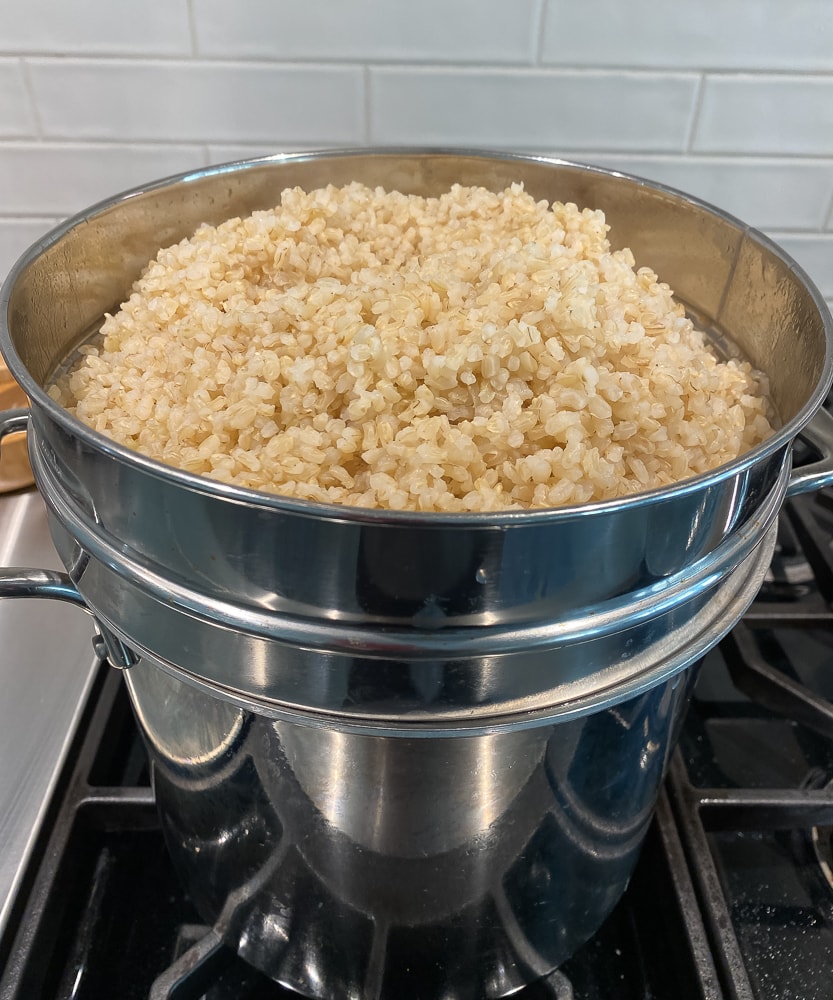
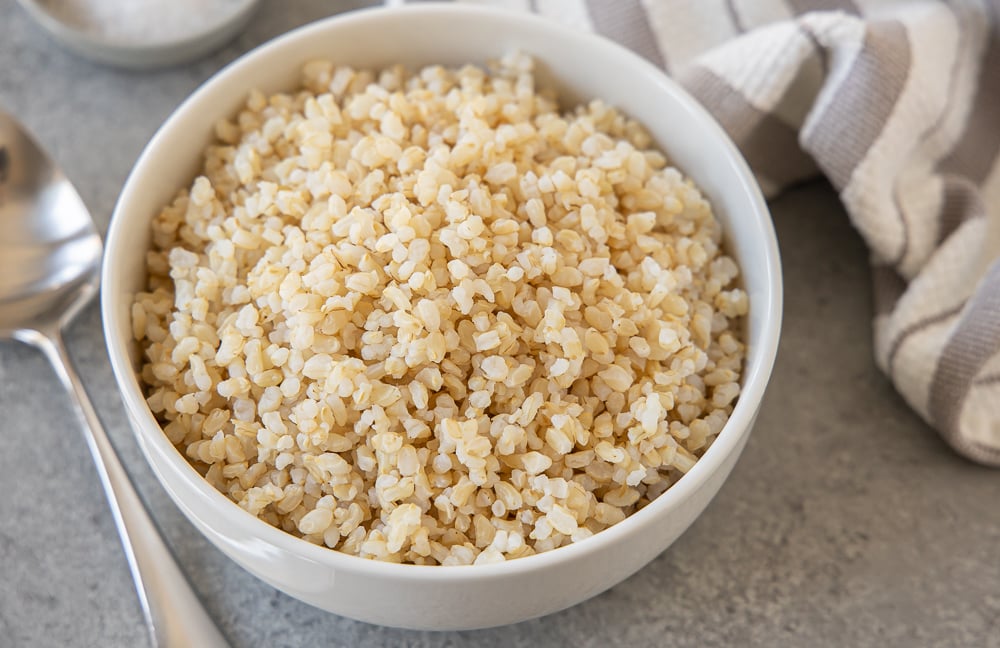
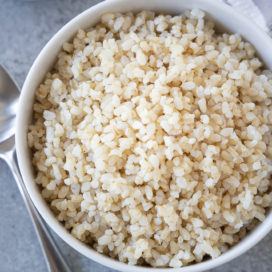
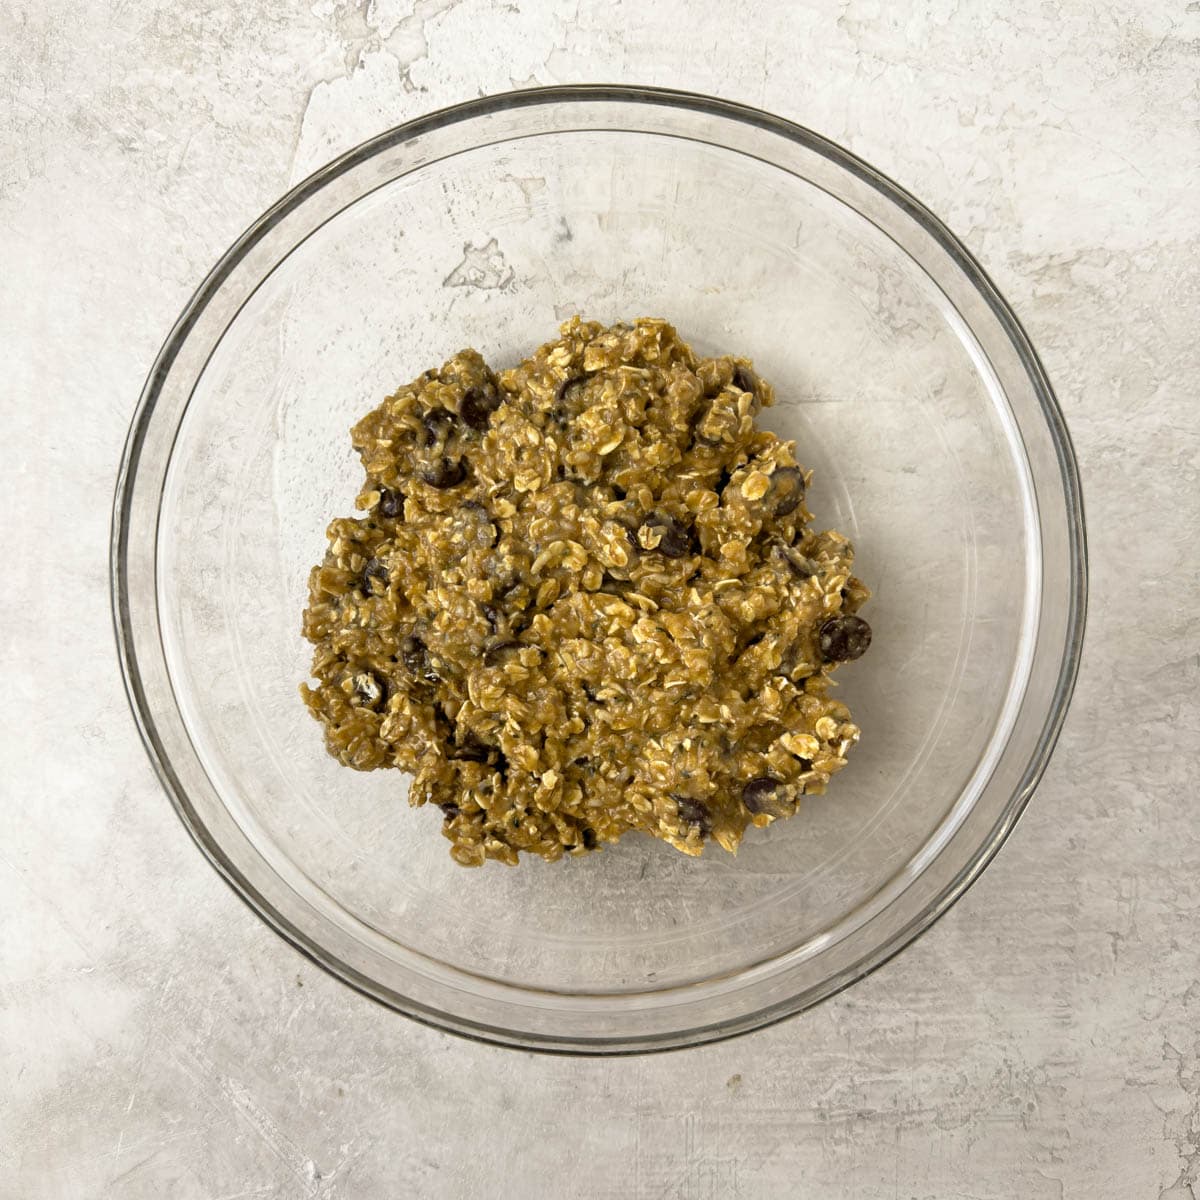
- Pinto beans - Use cooked crock pot pinto beans or canned pinto beans.
- Bacon - Adds smoky, savory flavor without making the beans too heavy.
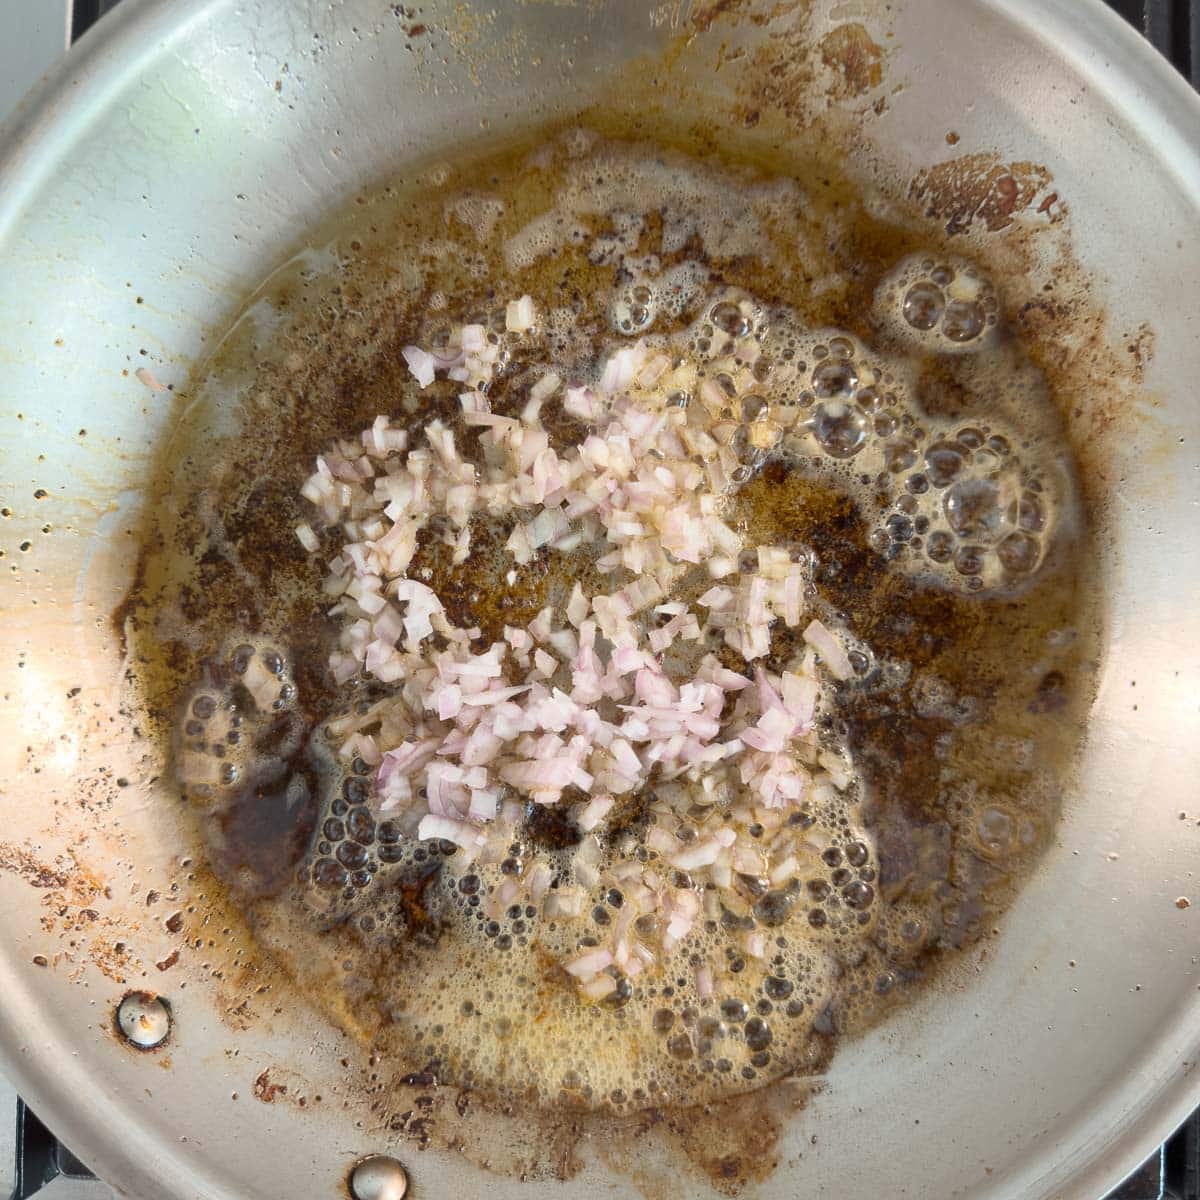
- Onion - Builds a flavorful base, white onion is traditional, or yellow.
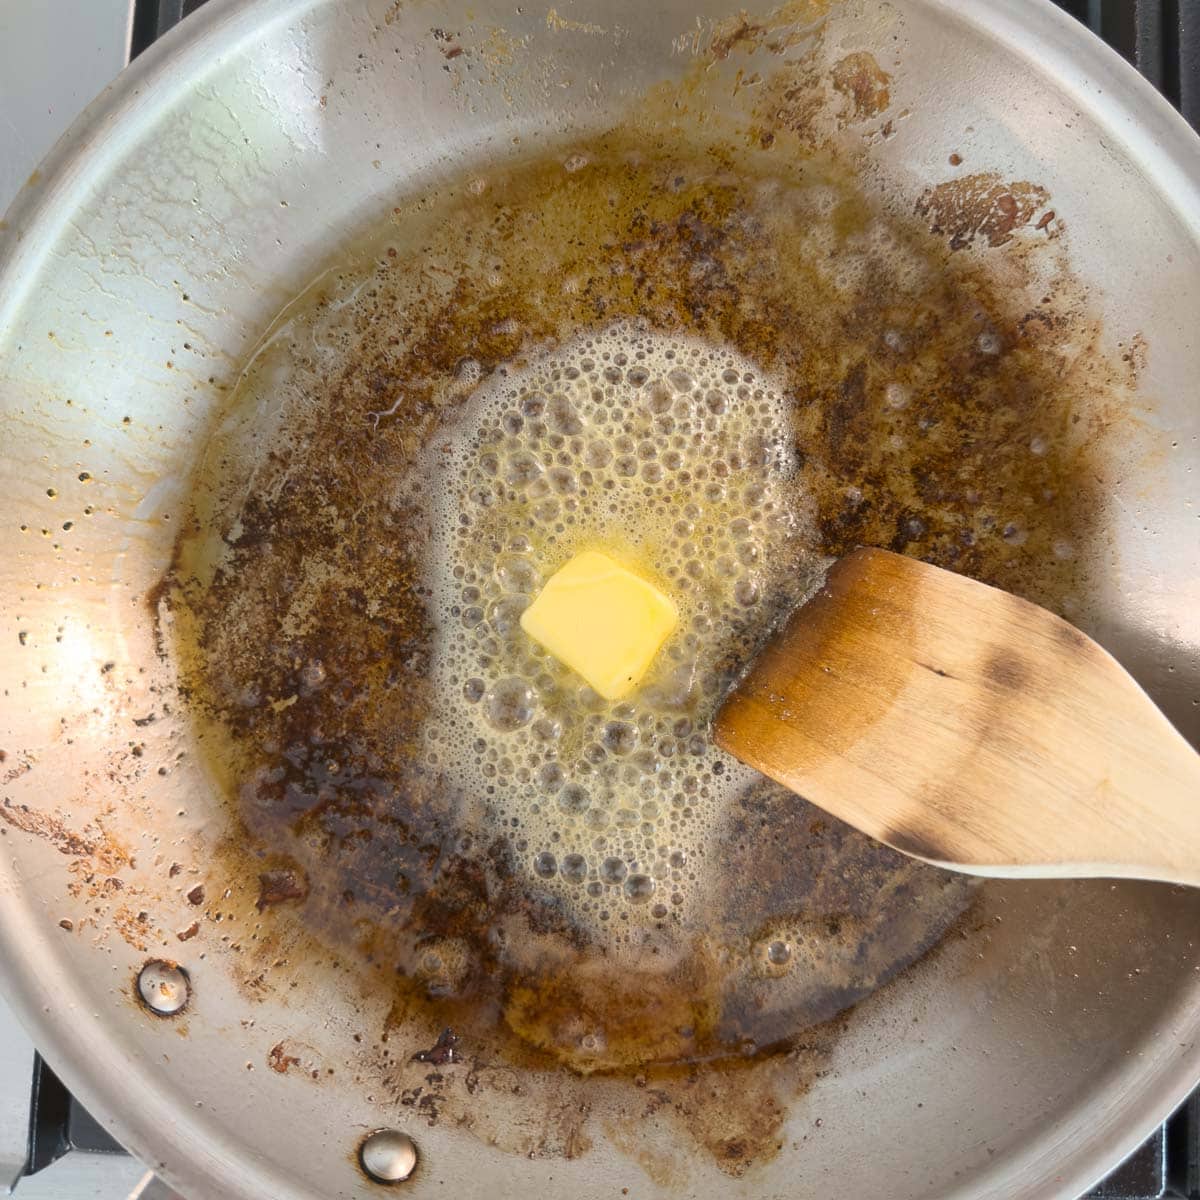
- Cooking fat - Use the bacon fat if you cook bacon on the stovetop, or use olive oil or avocado oil. If you cook bacon in the oven, use the rendered fat.
- Garlic - Adds depth and classic savory flavor.
- Broth - Use bean broth from slow cooker pinto beans, or chicken broth if using canned beans.
- Tomato - Adds freshness, color, and a little acidity.
- Jalapeño - Adds mild heat and fresh chile flavor. Remove the seeds for less spice.
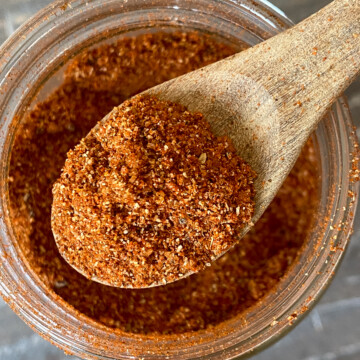
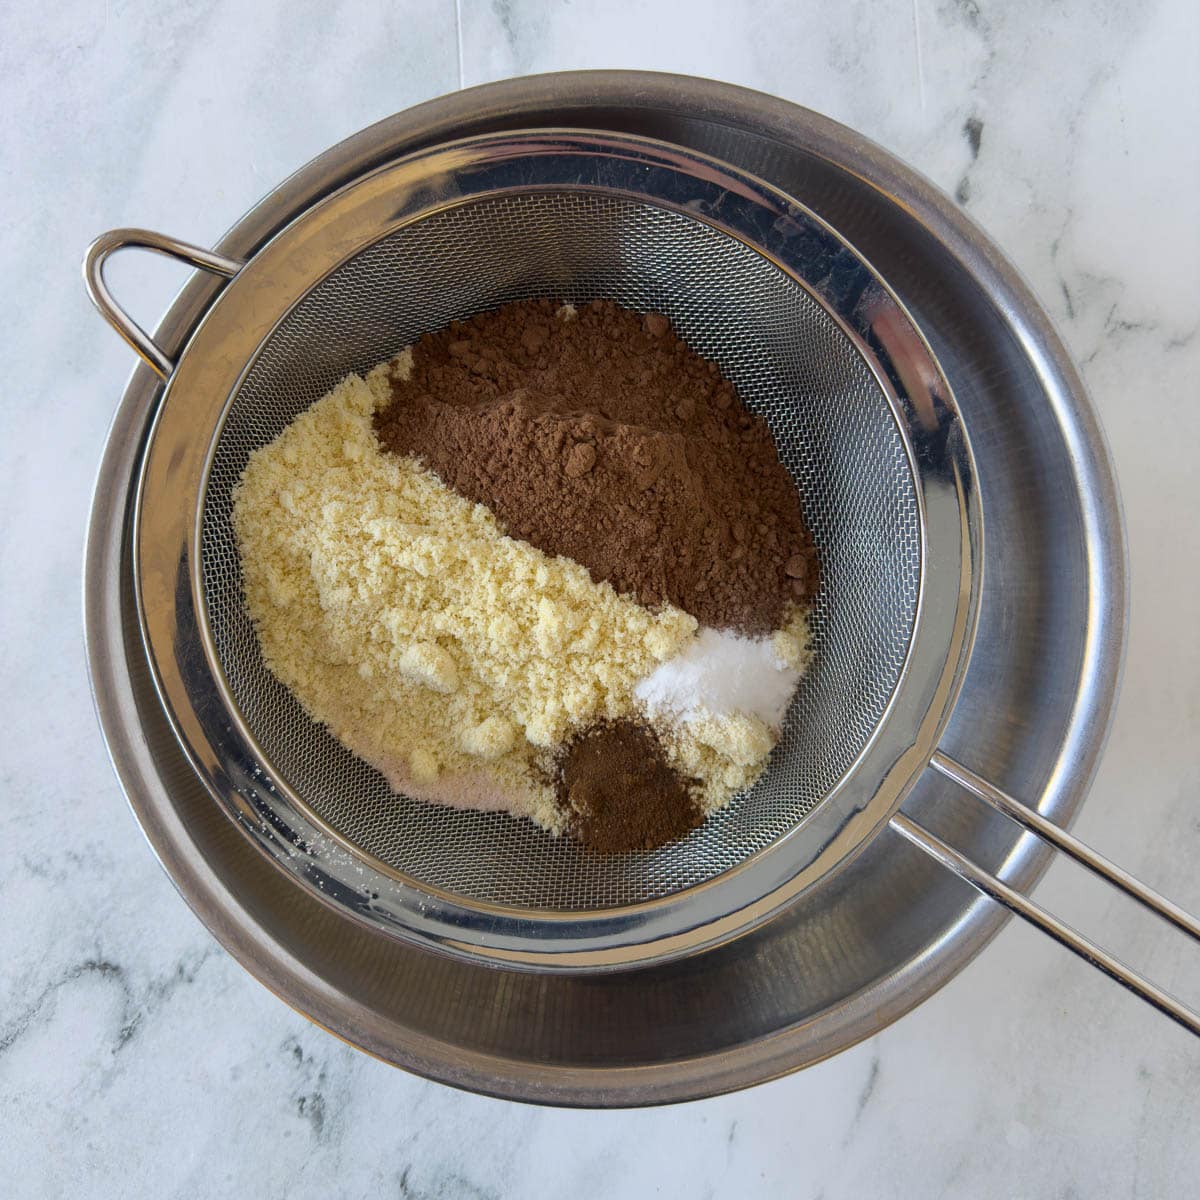
- Spices - Cumin, smoked paprika, and optional ancho chili powder add warmth.
- Herbs - Dried oregano cooks into the beans; fresh cilantro finishes them with brightness.
- Optional garnishes - More fresh tomato, crumbled cotija or queso fresco cheese, extra cilantro, or sliced jalapeño.
Chef Sally's Tip: Charro Beans vs. Cowboy Beans vs. Borracho Beans
Charro beans, or frijoles charros, are Mexican pinto beans named after the charros, Mexico's traditional horsemen. They're usually brothy and cooked with bacon, onion, garlic, tomato, chiles, and cilantro. Cowboy beans are more Southwestern or Tex-Mex in style and are often heavier, sweeter, or meatier with additions like sausage, chorizo, ground beef, or barbecue flavors. Borracho beans are a variation of charro beans made with beer in the broth. You may also see similar recipes called ranchero beans.
Substitutions and Variations
- Meatless charro beans - Skip the bacon and sauté the onion in olive oil. Use vegetable broth if needed.
- More heat - Use a serrano pepper instead of jalapeño, or add a little chipotle chili powder.
- Heartier beans - Add cooked chorizo, sausage, ham, or shredded meat to make the beans more of a meal. Leftover smoked pork tenderloin is good!
- Smokier flavor - Add a small spoonful of chopped chipotle in adobo and more smoked paprika. A drop or two of liquid smoke is an option.
How to Make Charro Beans
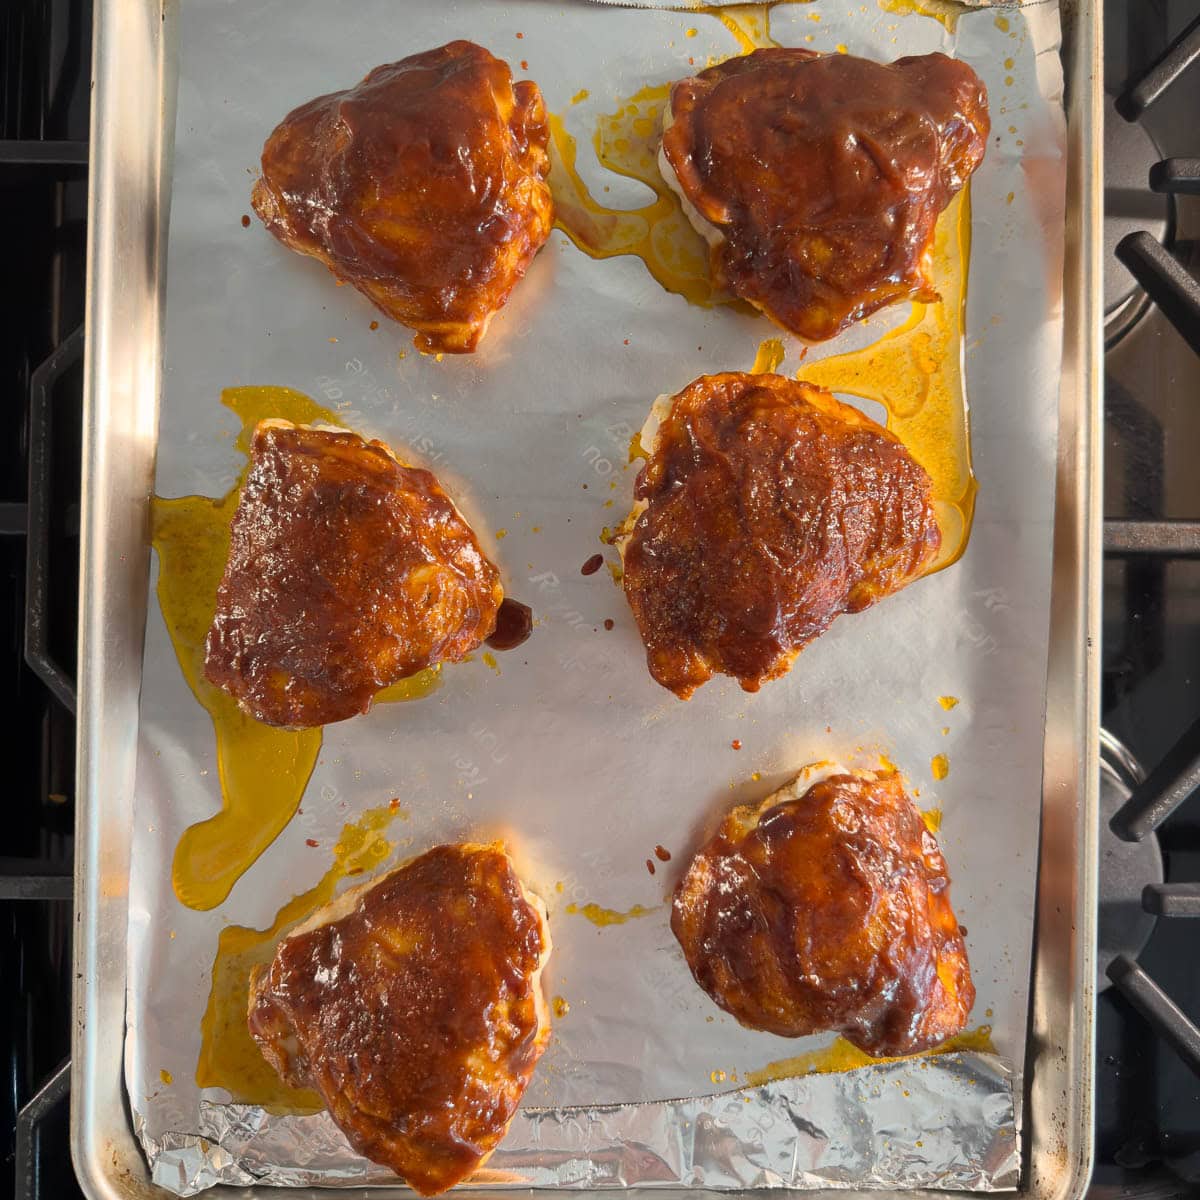
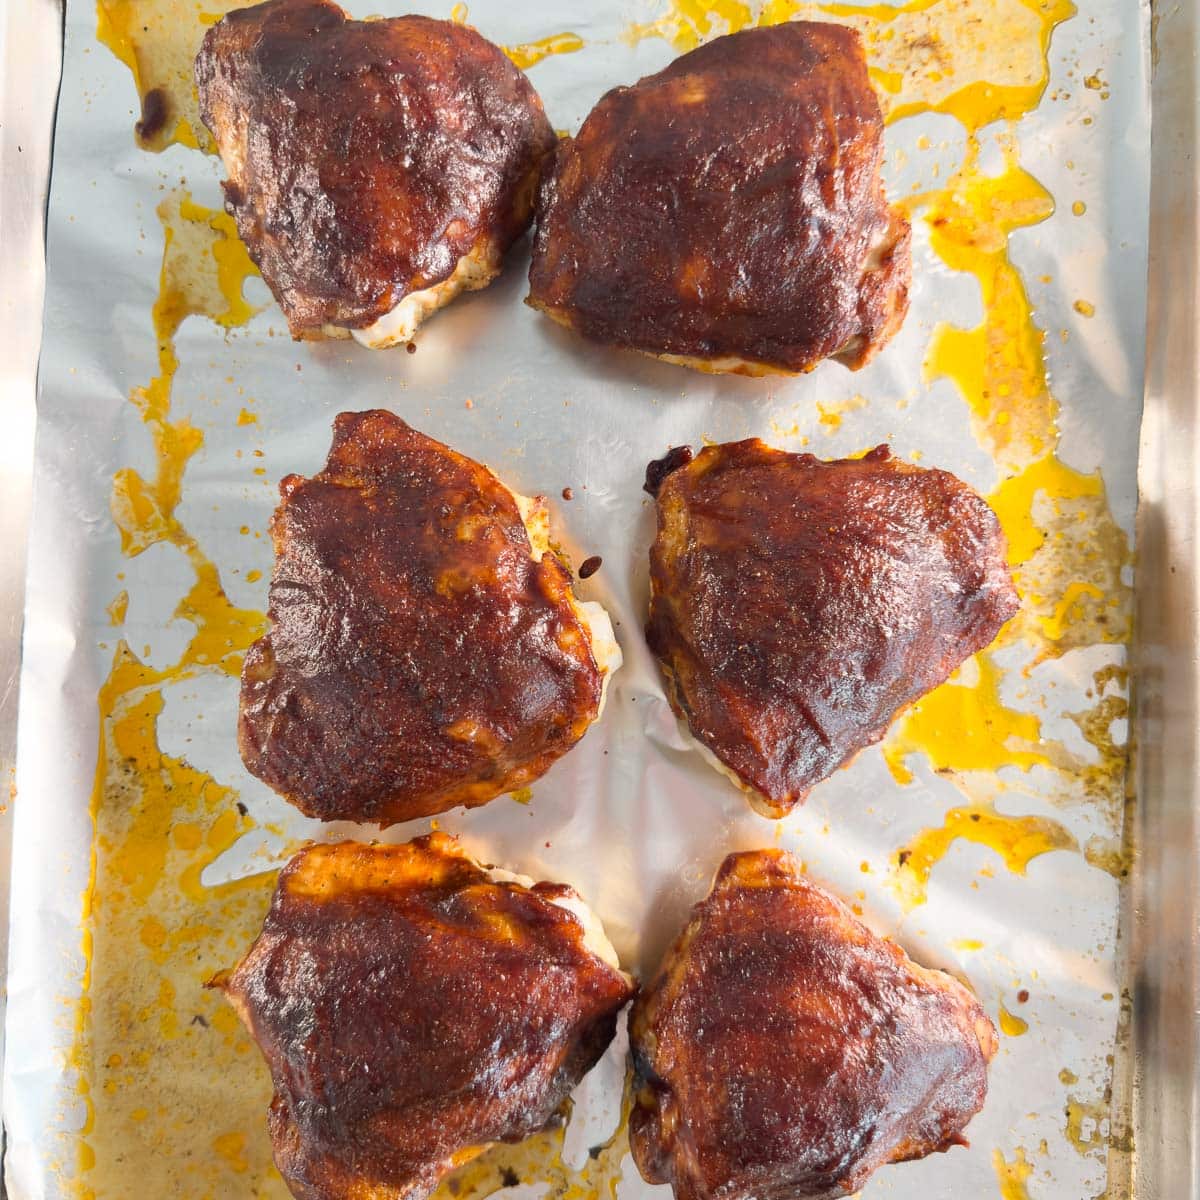
Get your bacon cooking, either in the oven or on the stovetop. While it's cooking you can work on the charro beans. For oven cooking bacon, line a sheet pan with parchment, top with a wire rack, oven at 400F. Lay bacon strips on the rack and bake for 20-25 minutes until crisp.
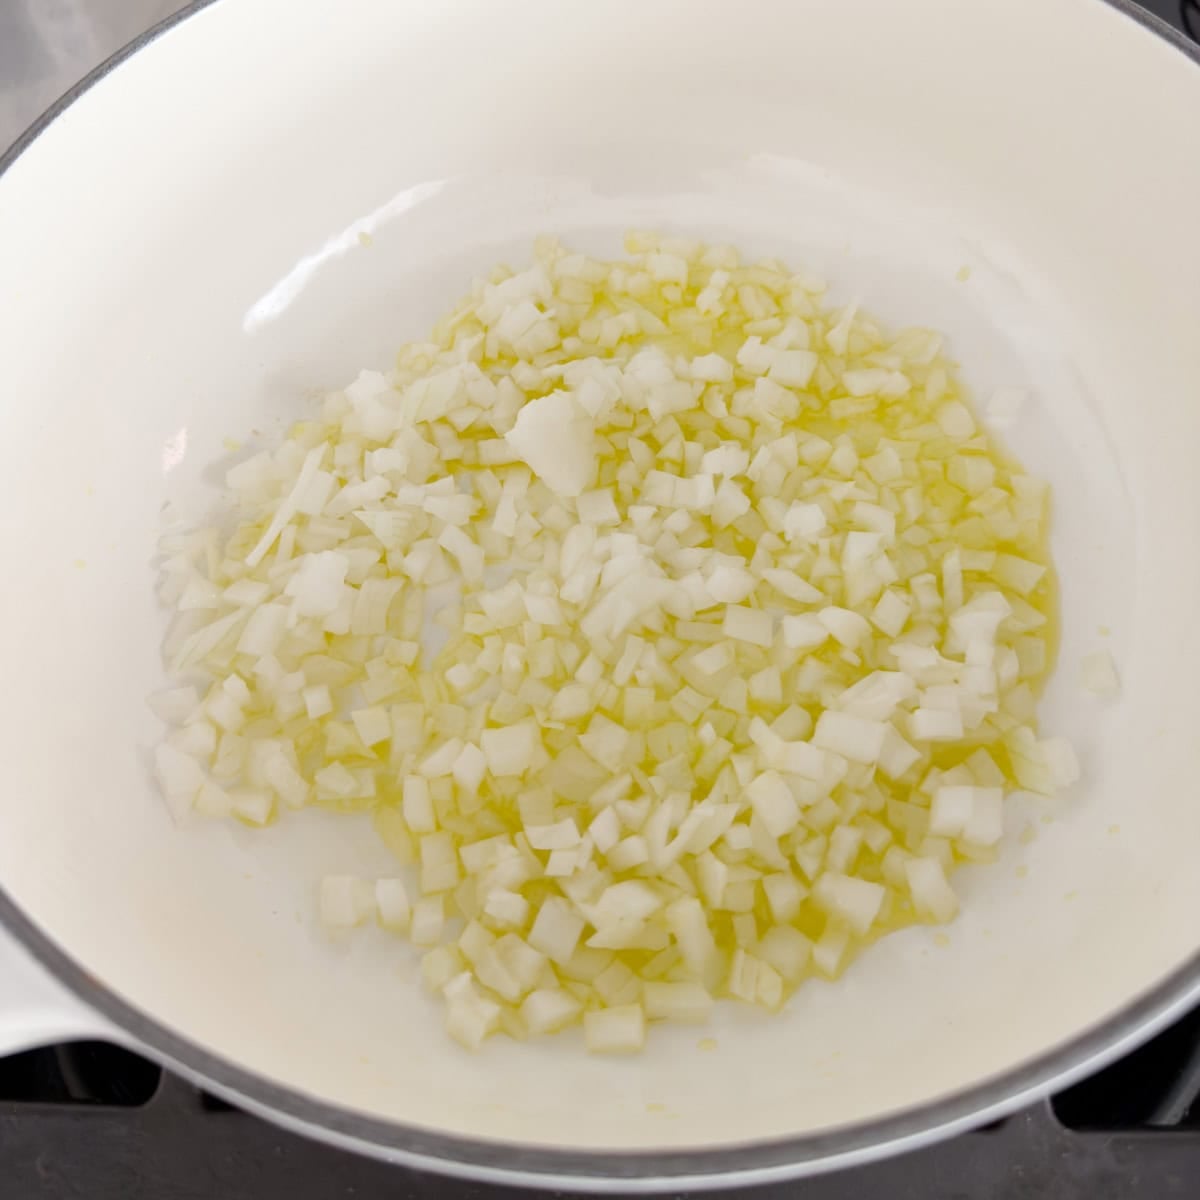
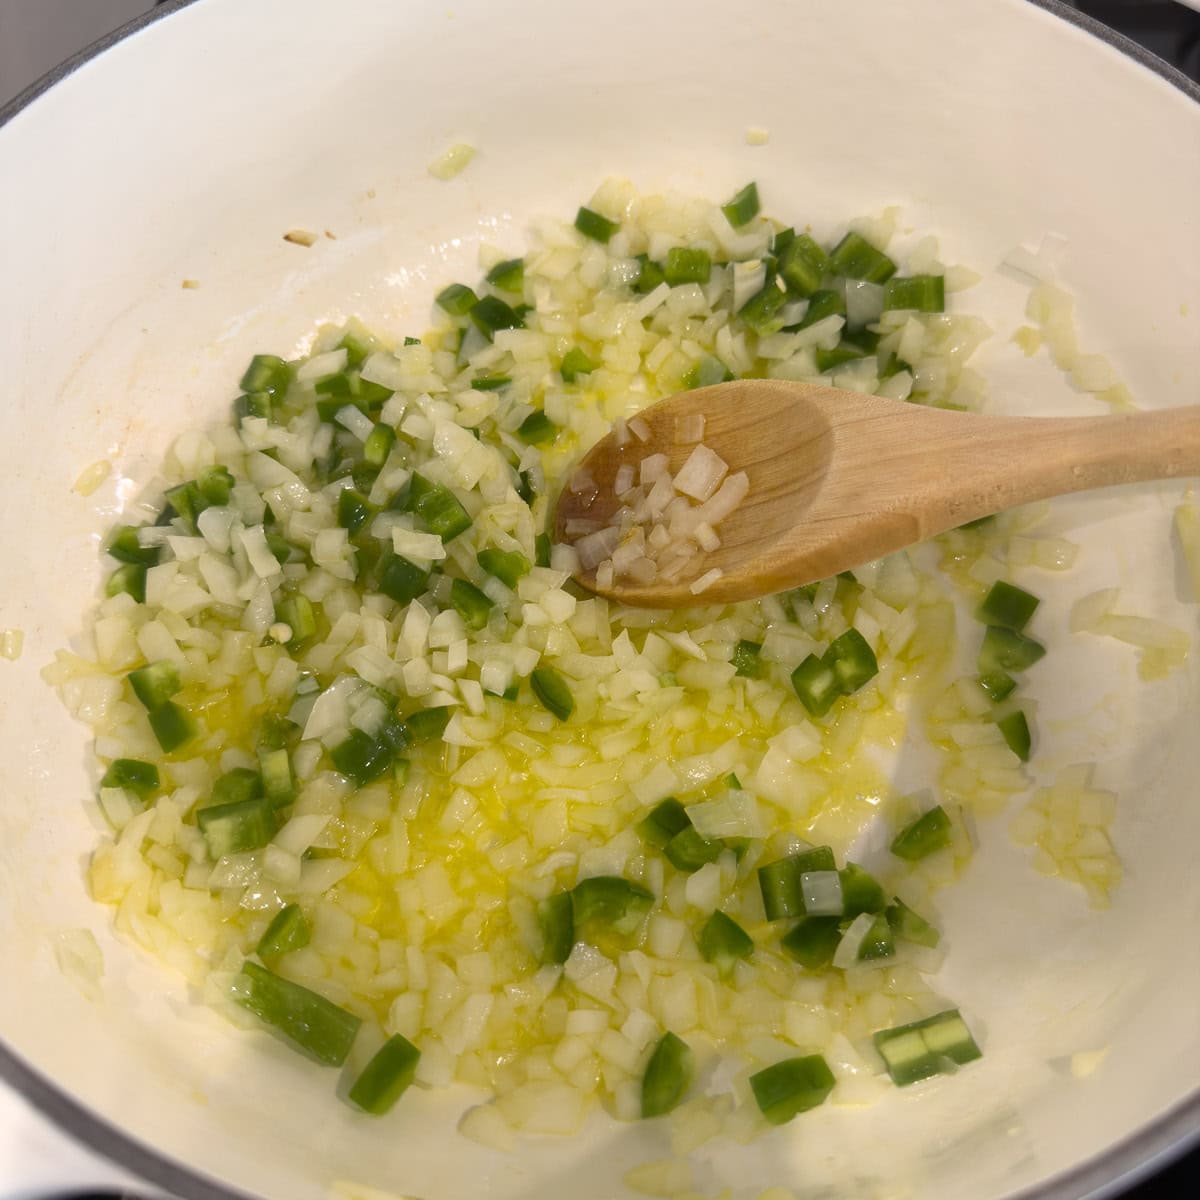
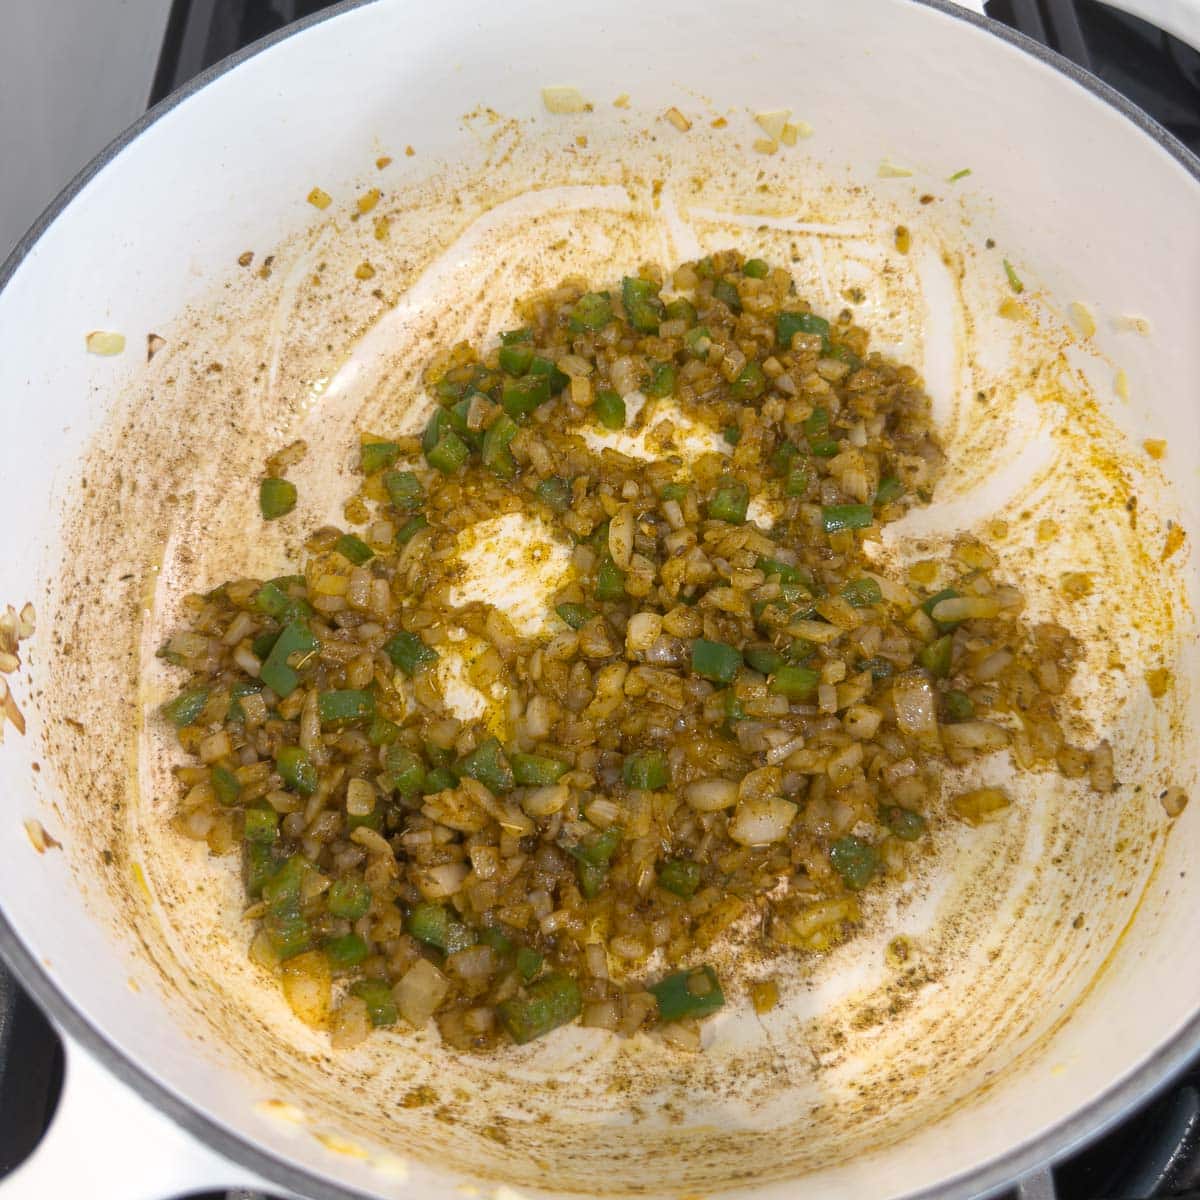
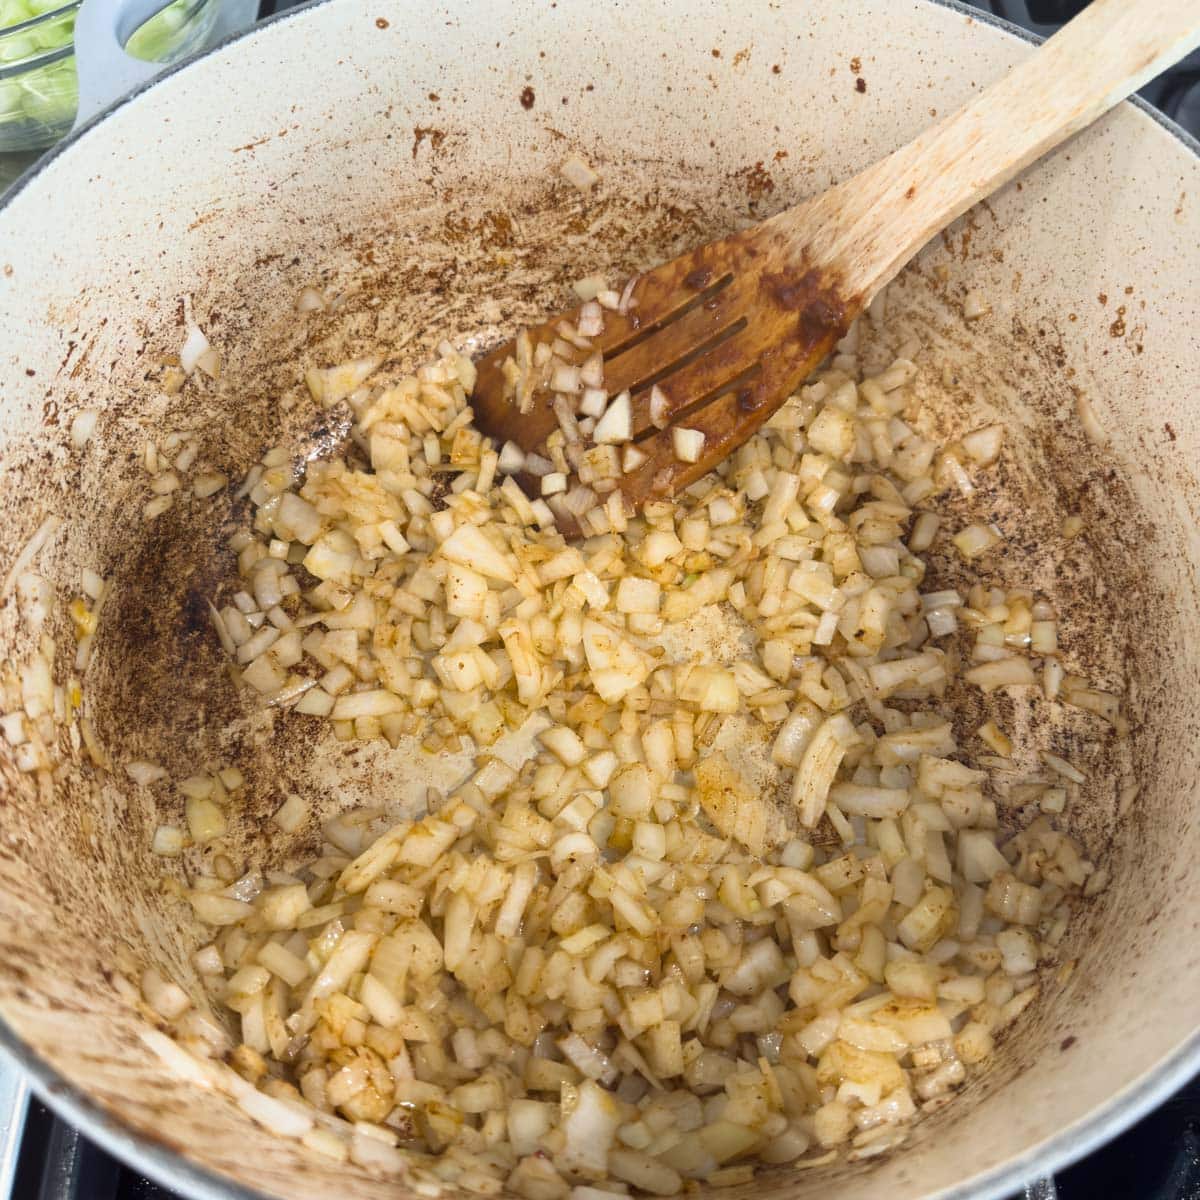
- Saute chopped onion in olive oil (or bacon fat) until soft, about 3 minutes.
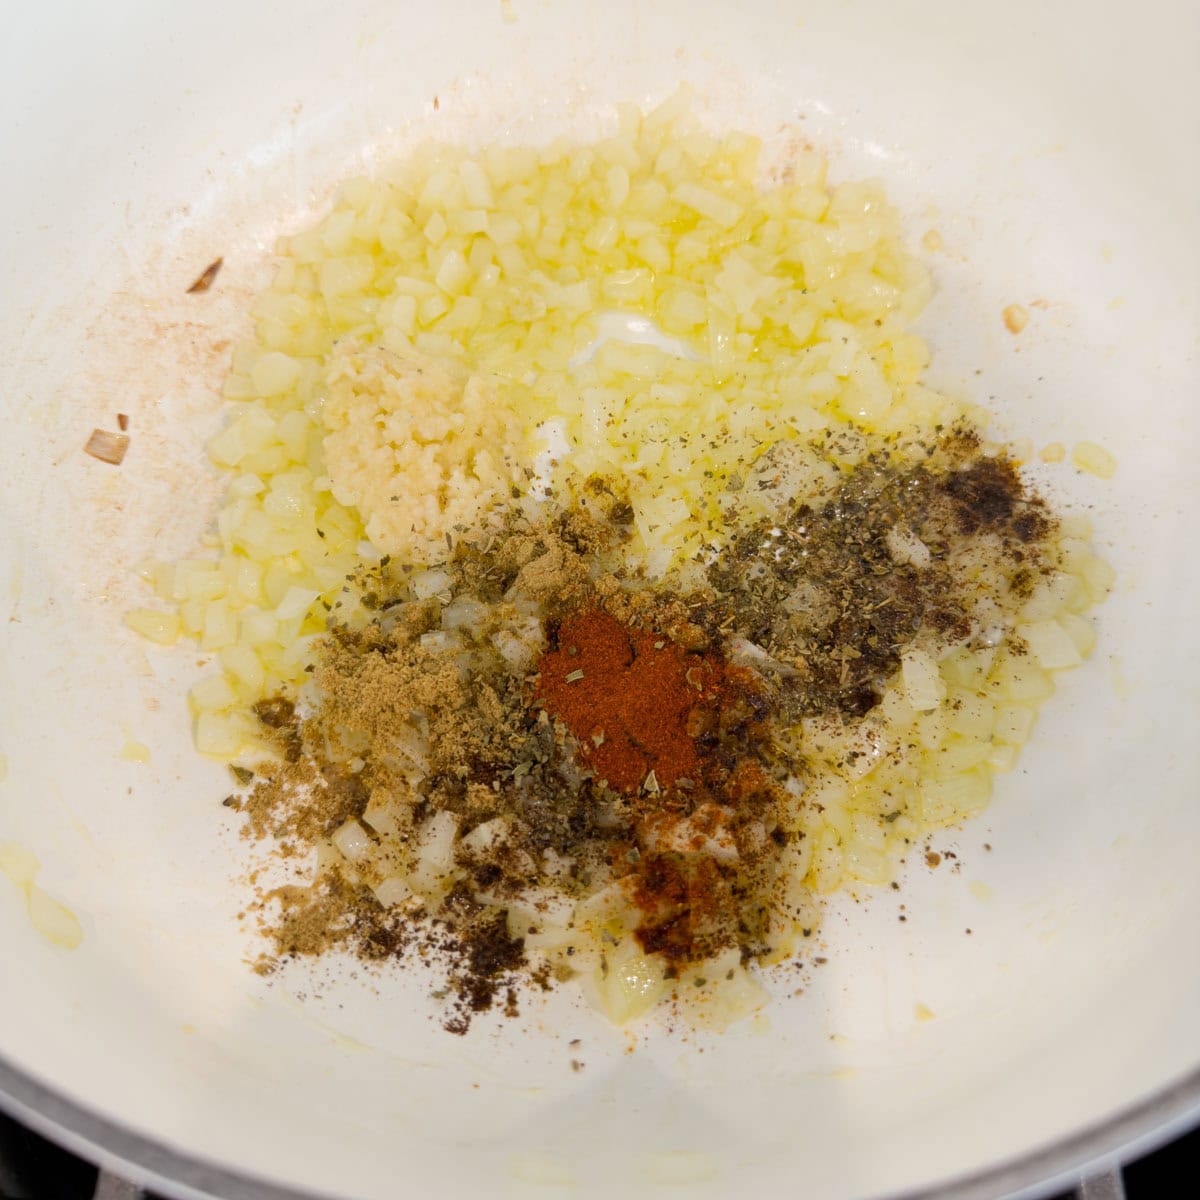
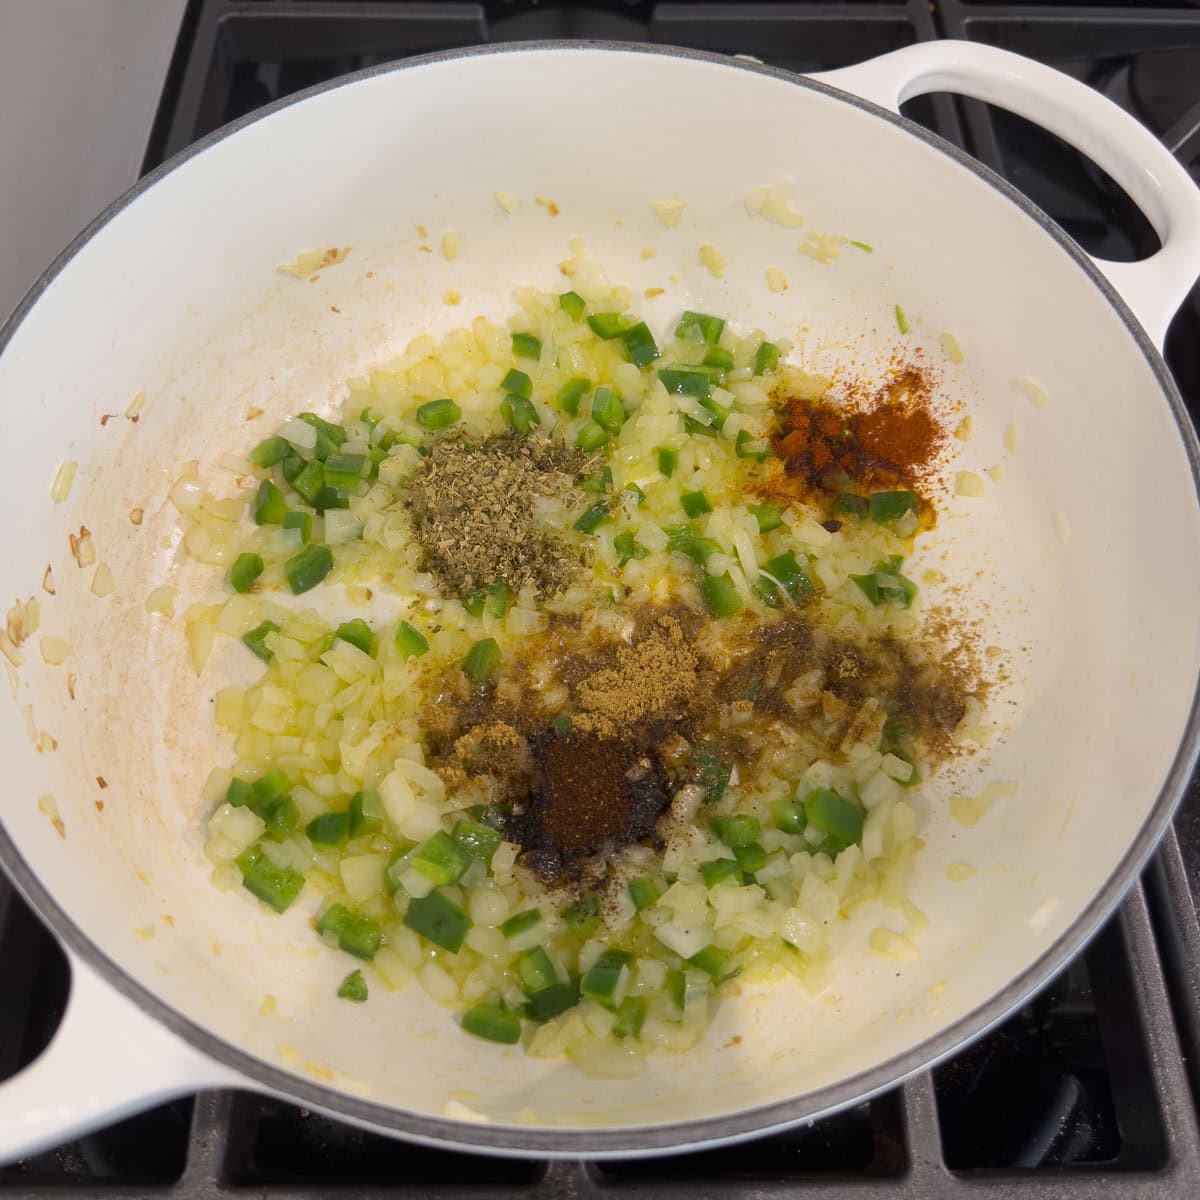
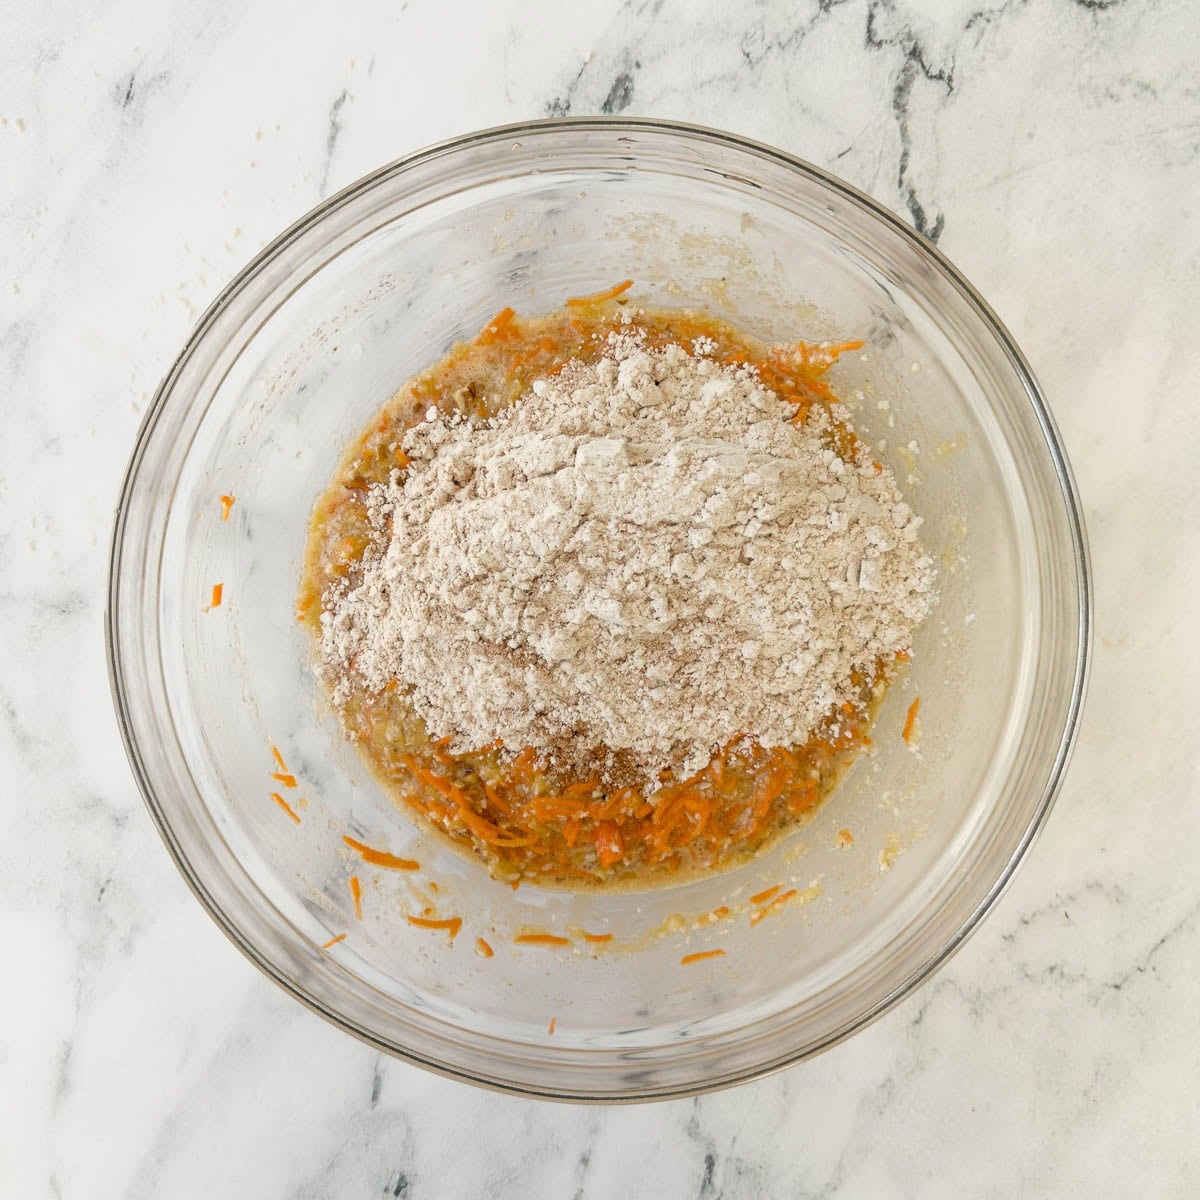
- Add the garlic, spices, and oregano, and cook until fragrant and spices have bloomed, another 1-2 minutes.
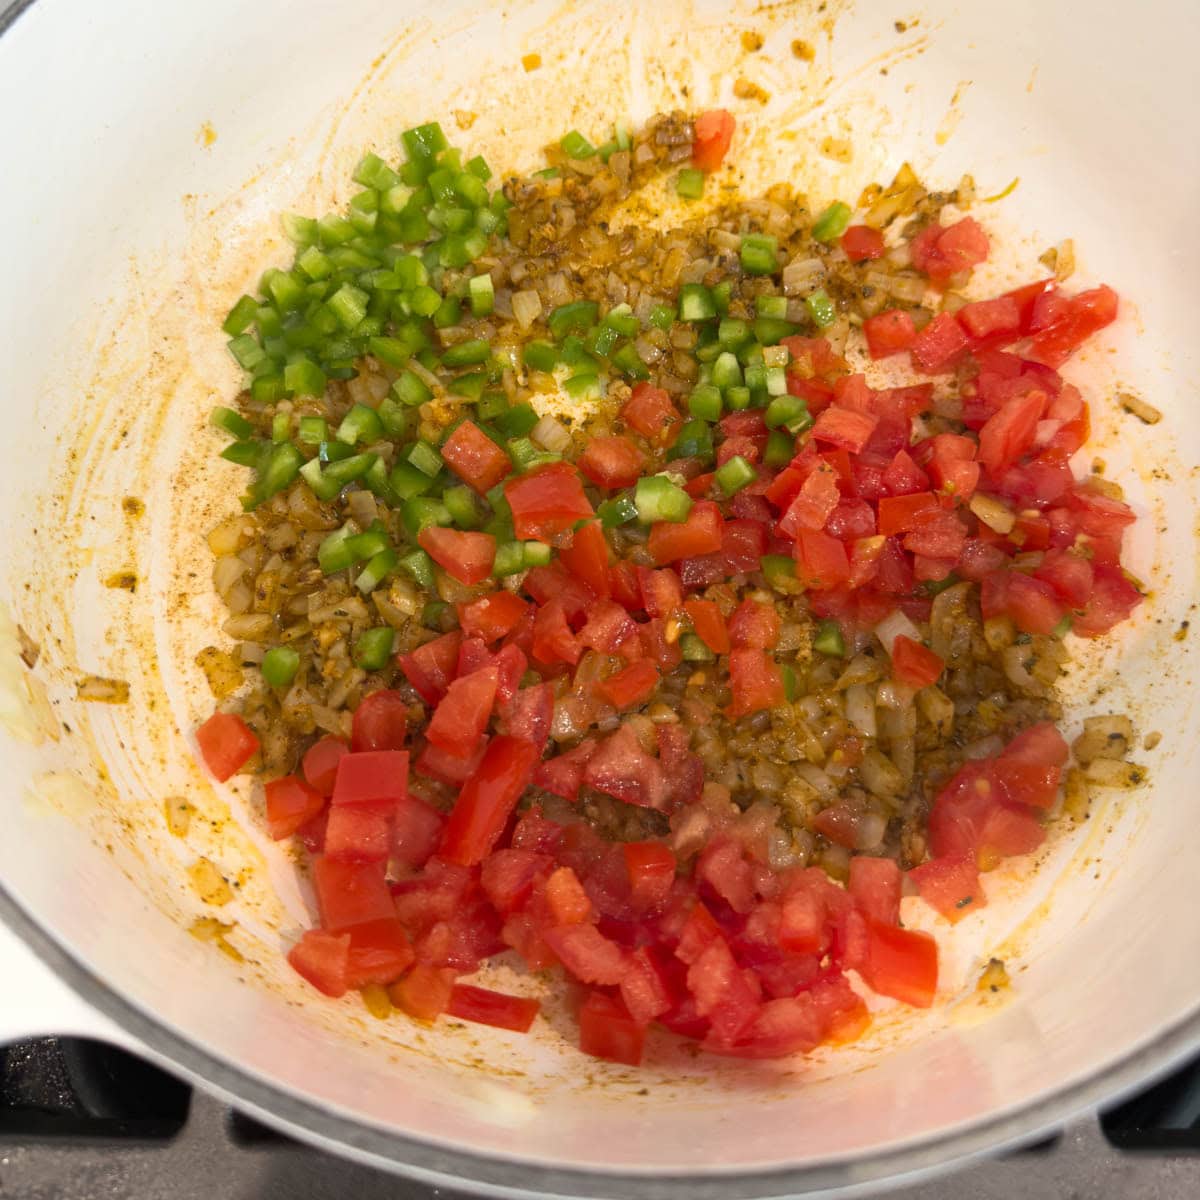
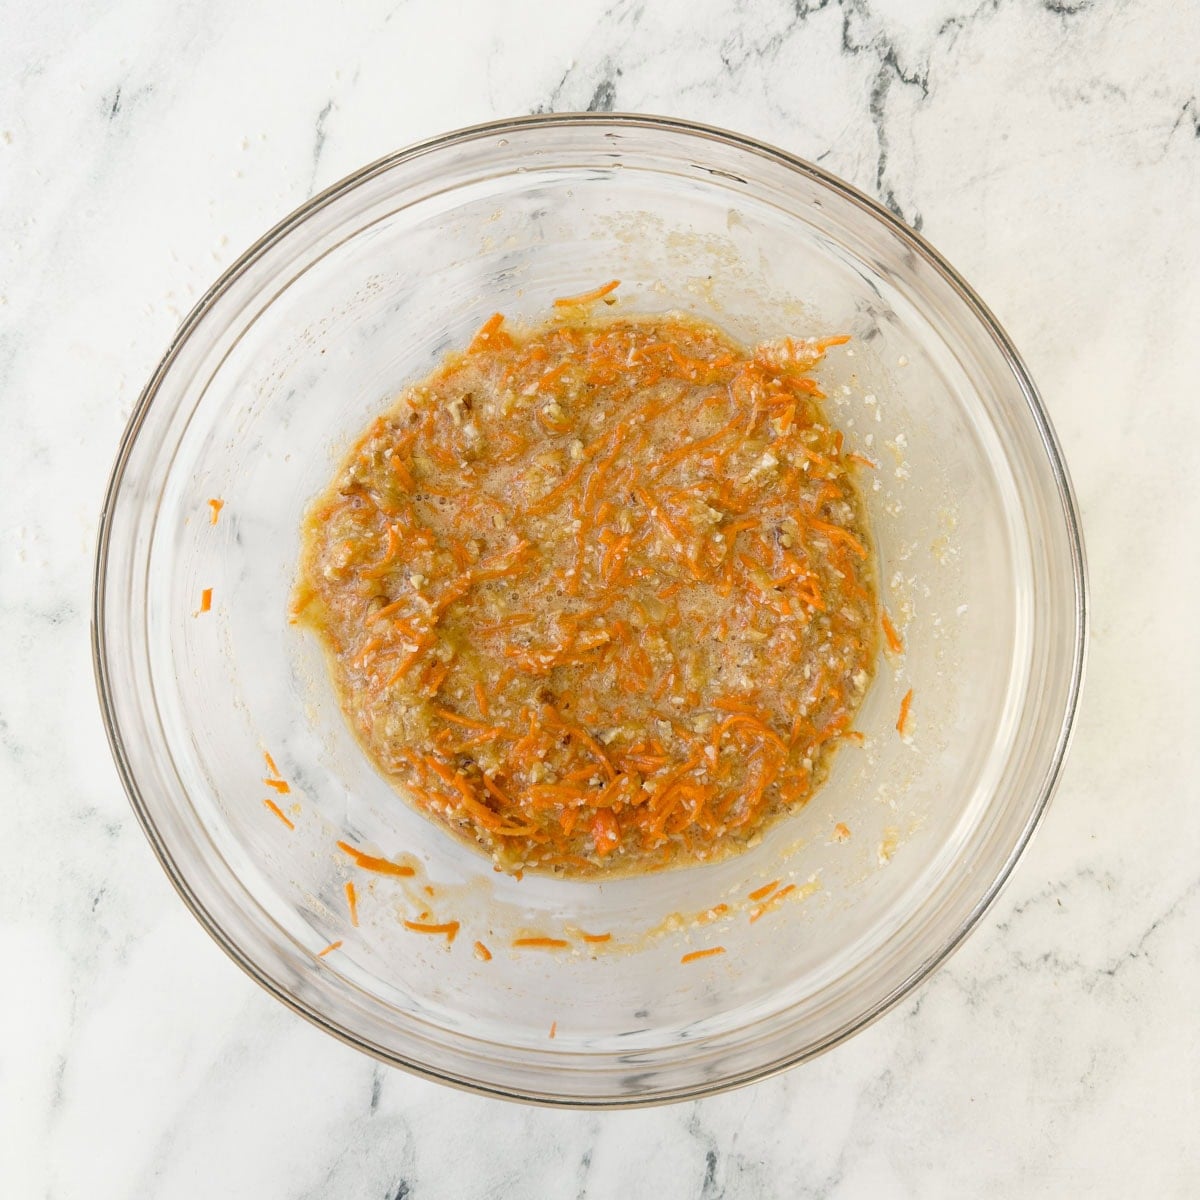
- Add the tomatoes and jalapeno, and cook until soft, 3-4 minutes.
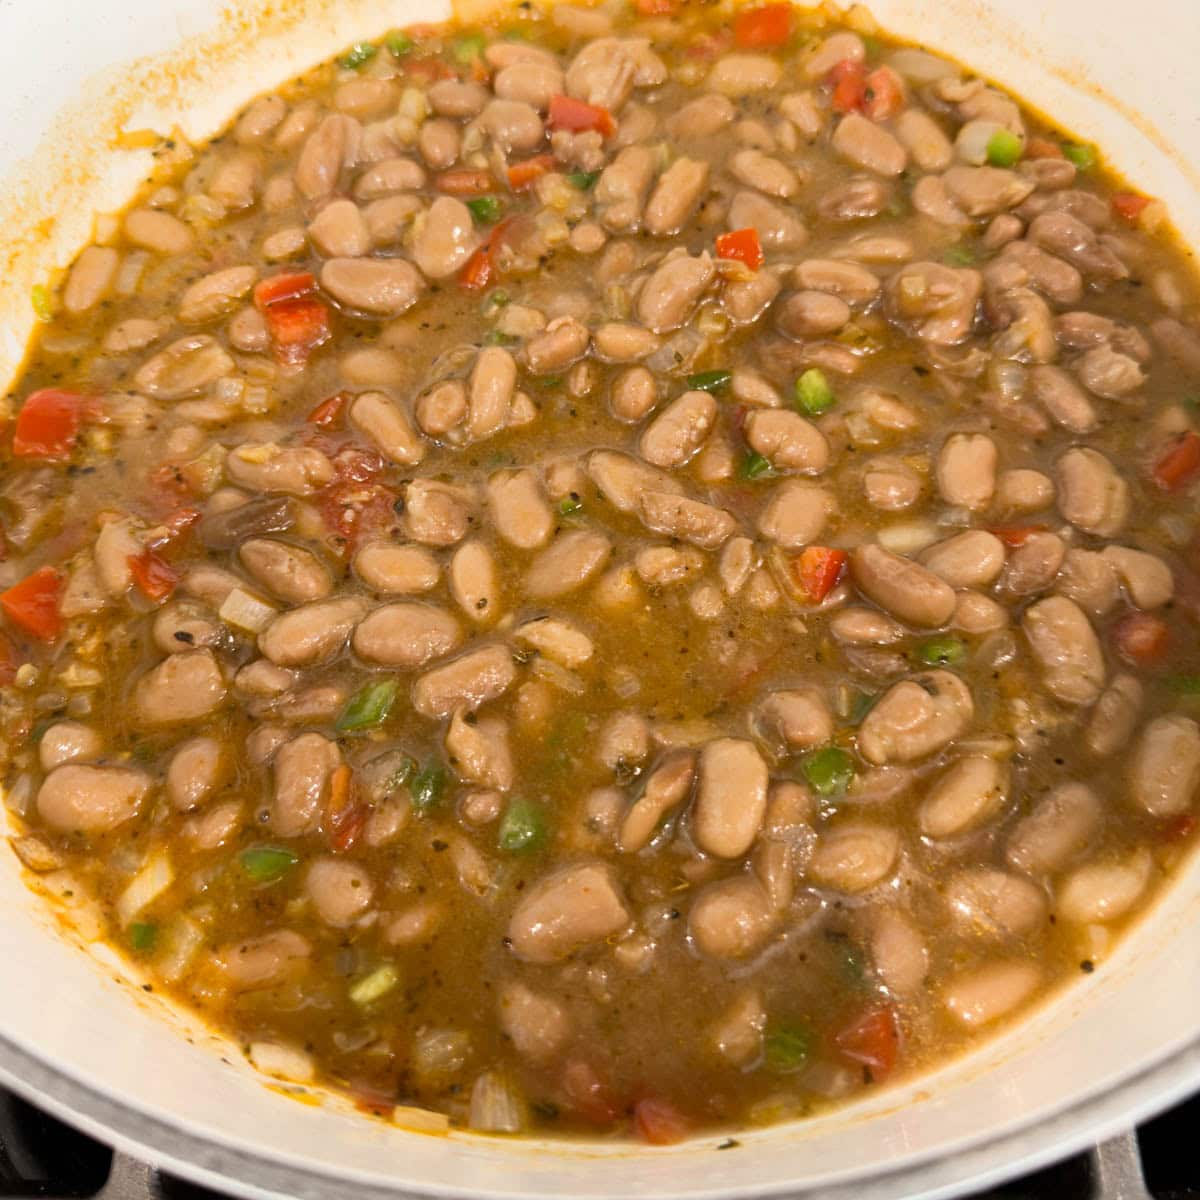
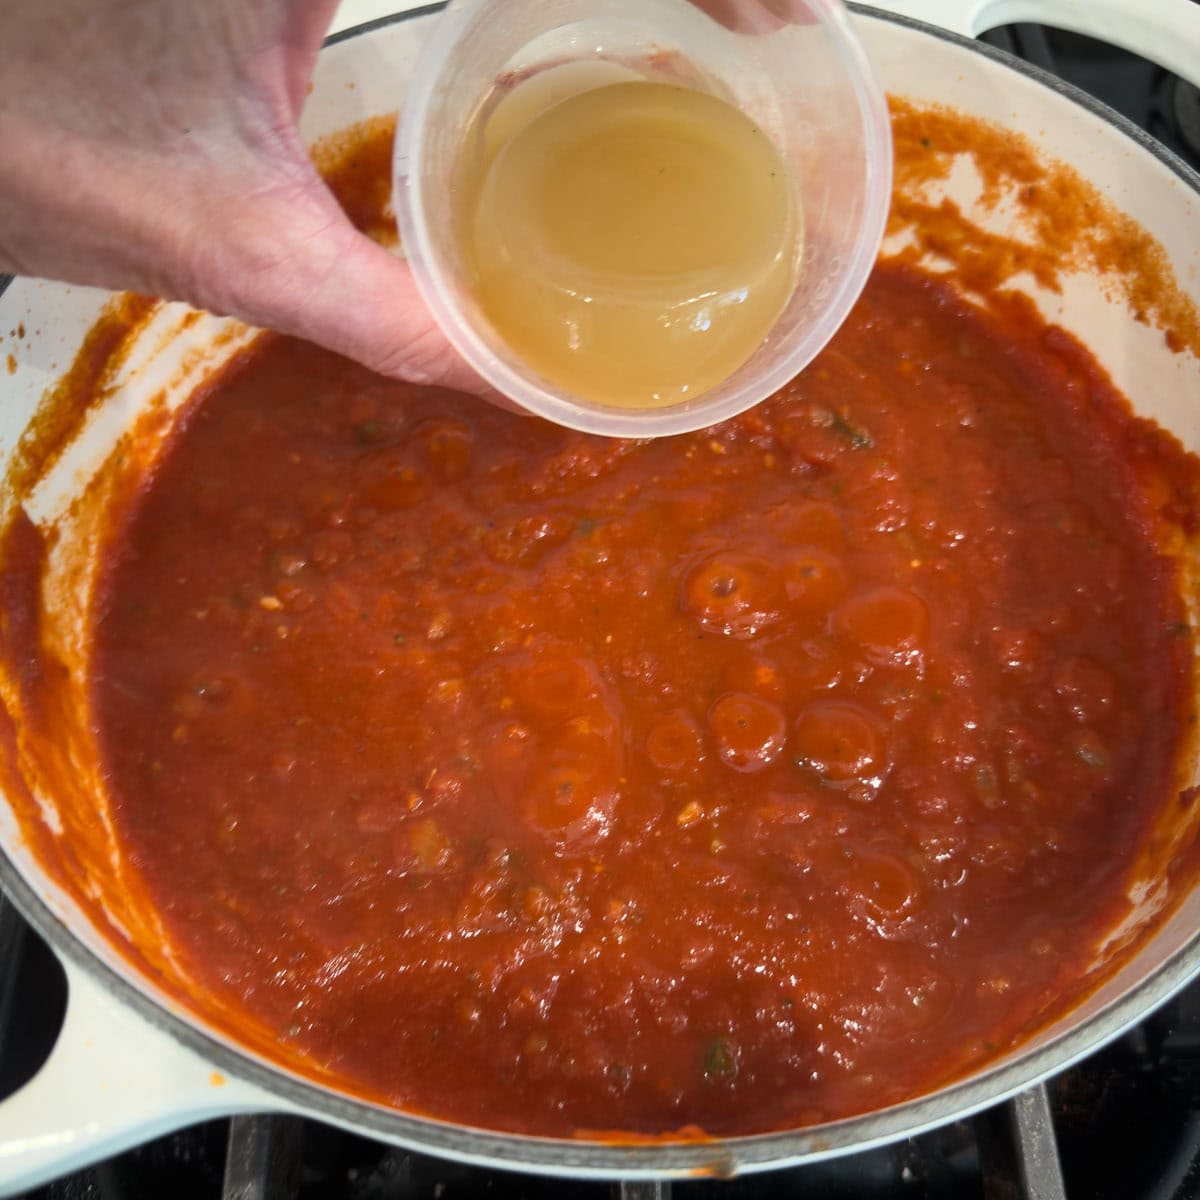
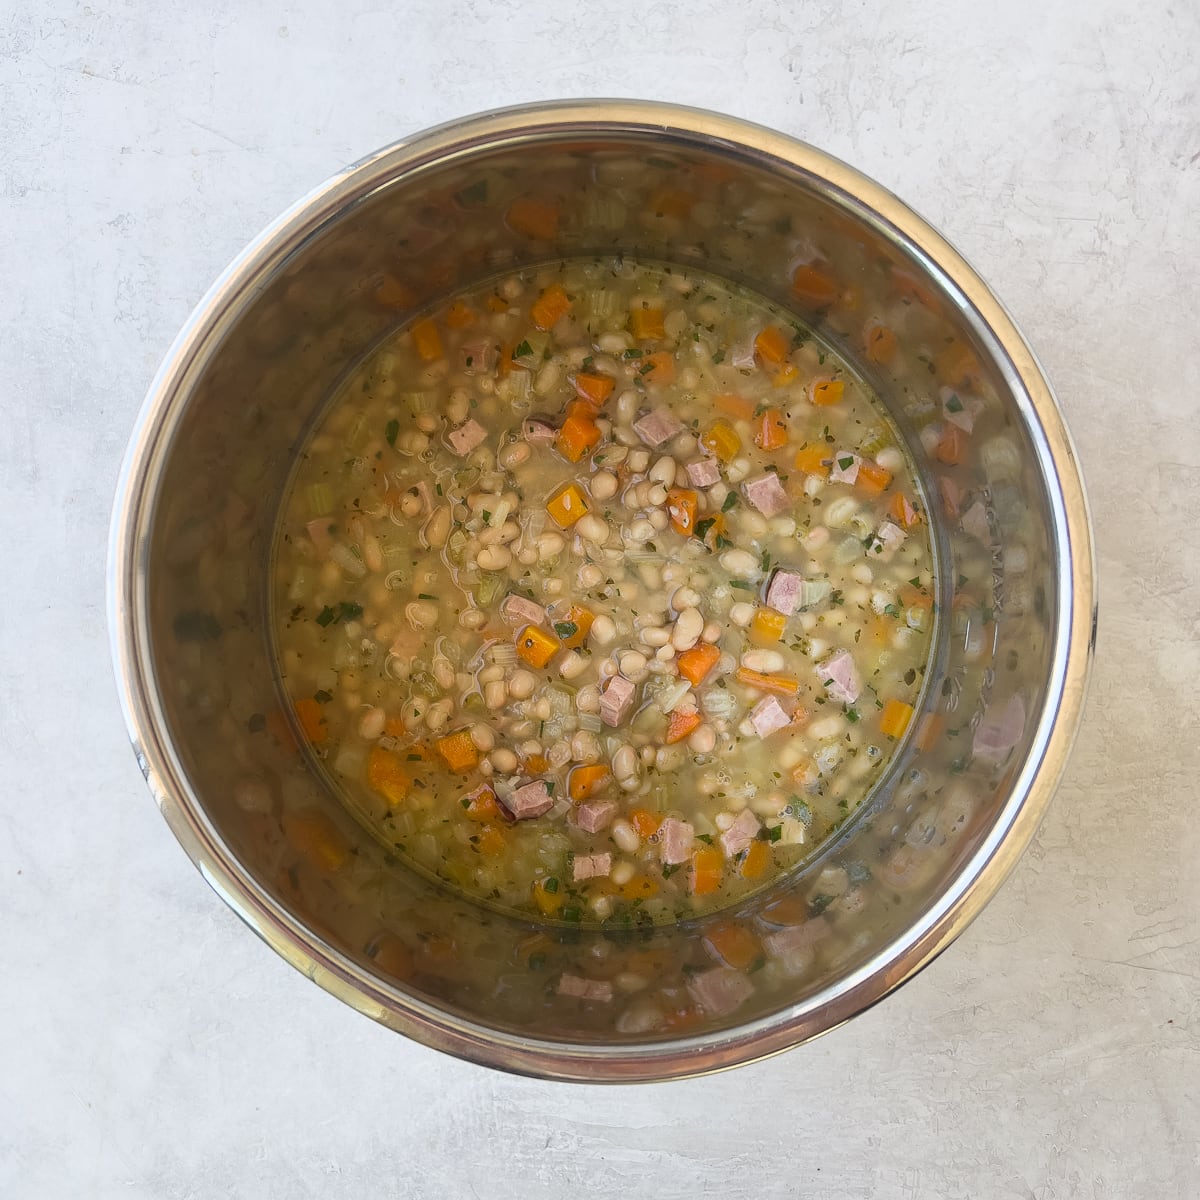
- Add the beans and broth, and cook until bubbly and heated through, 5 minutes.
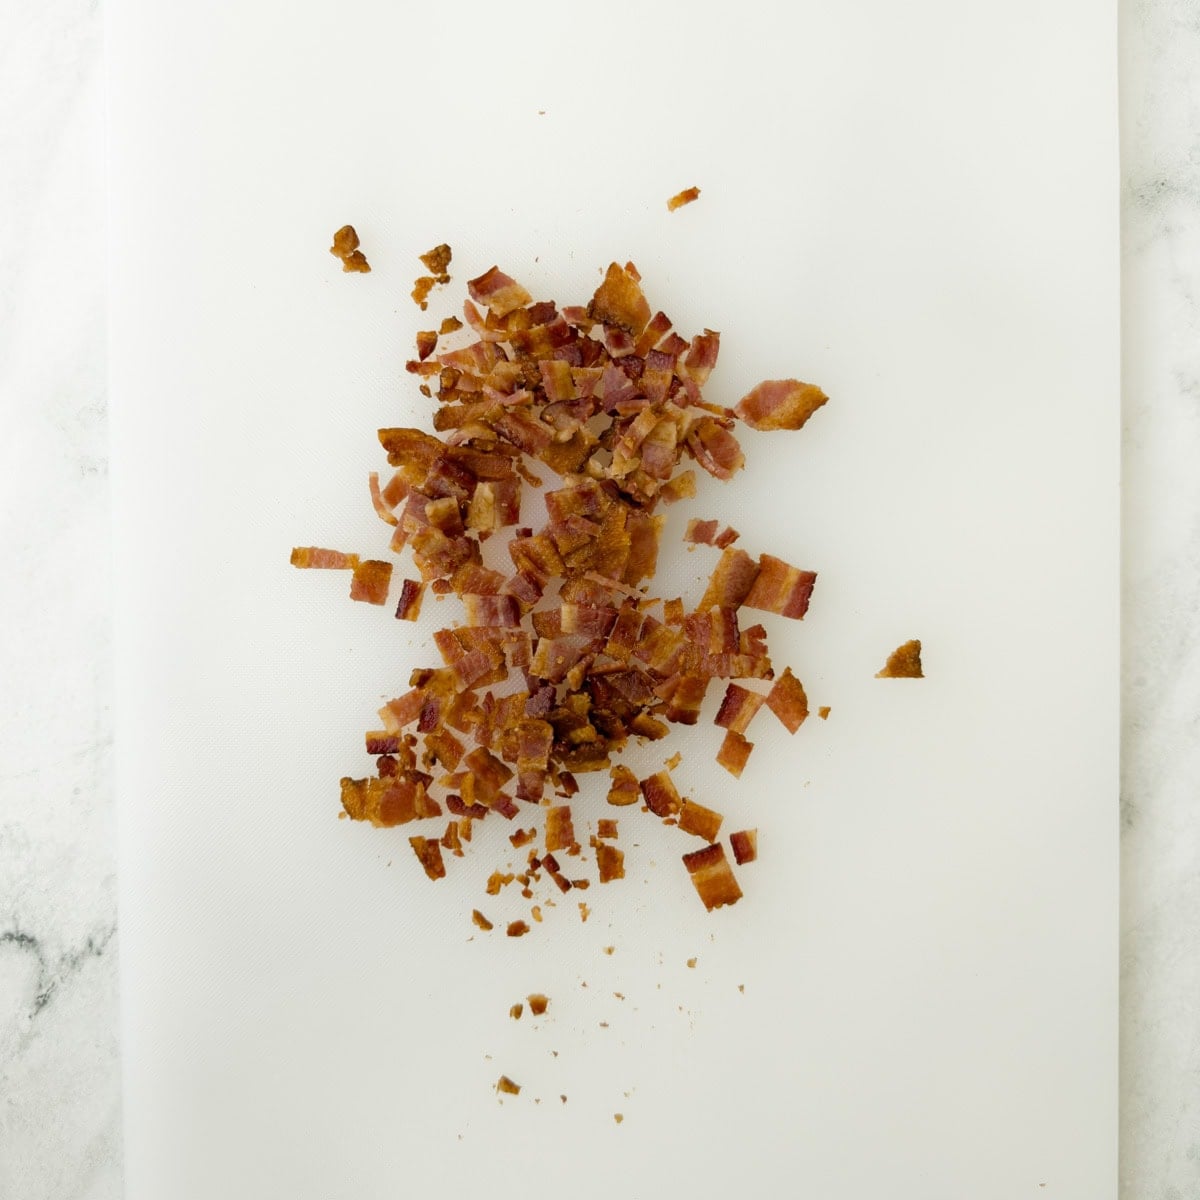
- Chop the drained bacon into small pieces.
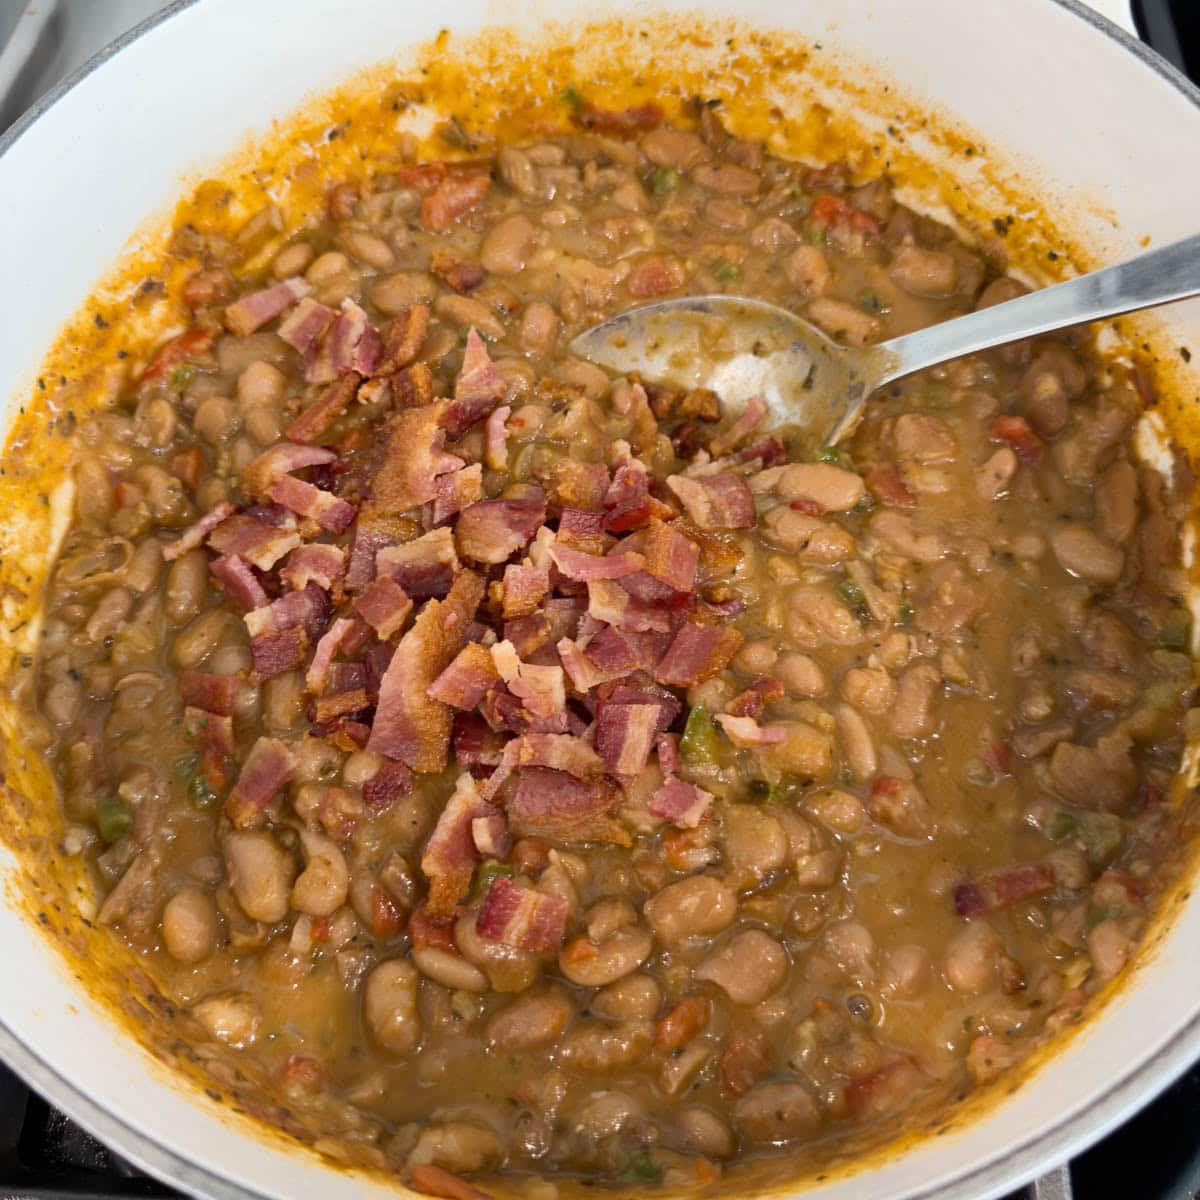
- Stir the bacon into the charro beans and they are ready to serve. Adjust the brothiness by adding a bit more broth or cooking down a few more minutes.
Serving Suggestions
Serve charro beans hot and brothy, spooned into bowls. Add fresh cilantro, chopped tomato, sliced jalapeño, or crumbled cotija or queso fresco on top. They're excellent as a side dish with grilled meats, tacos, enchiladas, rice, eggs, or warm tortillas.
Storing and Freezing
Store beans in an airtight container for up to 5 days in the refrigerator. Cool completely and freeze with some of the broth for up to 3 months. Thaw and reheat gently, adding a little broth if needed.
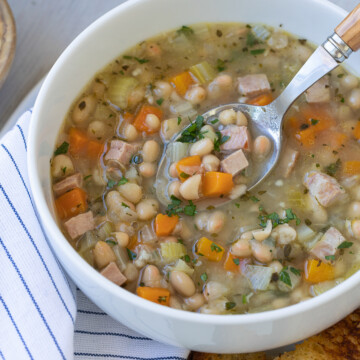
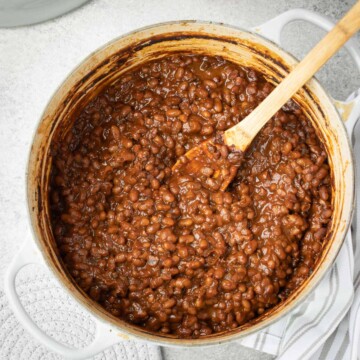
More Recipes With Beans
If you enjoyed this charro beans recipe, here are more tasty bean recipes to try next, from easy salads, to soup, to from-scratch baked beans. And there are many more recipes with beans in the recipe index.

If You Make Charro Beans
Please leave your comment and let me know how you enjoyed them! I love to hear from you and your comments help other readers.
📖 Recipe

Charro Beans (Frijoles Charros)
Equipment
- Medium pot about 3 quarts
Ingredients
- 4-5 slices bacon
- 1 tablespoon olive oil, avocado oil, or bacon fat
- ¾ cup chopped white onion
- 2 garlic cloves chopped fine or microplaned
- ½ teaspoon sea salt
- ½ teaspoon cumin
- ½ teaspoon smoked paprika optional
- ½ teaspoon Mexican oregano
- ¼ teaspoon ancho chili powder optional
- ½ cup chopped tomato 1 medium
- 1 large jalapeno pepper seeded and chopped fine
- 3 cups slow cooked pinto beans or 2 15-ounce cans drained and rinsed
- 1 cup bean broth or chicken broth or vegetable broth
Optionals garnishes
- 2 tablespoons chopped fresh cilantro
- ¼ cup crumbled queso freso or cotija cheese
Would you like to save this recipe?
Instructions
Start bacon
- Cook the bacon until crisp, either on the stovetop or in the oven. For the oven method, preheat the oven to 400°F. Line a half sheet pan with parchment, set a wire rack on top, and place the bacon strips on the rack. Bake for 20-25 minutes, or until crisp. Drain on paper towels, then chop. Start the beans while the bacon cooks.
Saute onion and spices
- Heat the oil in a pot over medium heat. Add the onion and sauté until softened, about 3 minutes. Add the garlic, salt, cumin, smoked paprika, ancho chili powder, and oregano. Cook for 1-2 minutes, stirring, until fragrant.
Add Tomatoes and jalapeno
- Add the tomato and jalapeño and cook until softened, about 3 minutes.
Add the beans and bacon
- Chop the bacon, Add the pinto beans, broth, and chopped bacon. Simmer for a few minutes until hot and slightly brothy.
Finish and serve
- Taste and adjust the salt and add black pepper if preferred. Add more broth if you want looser beans, or simmer a few minutes longer to thicken. Serve hot, topped with cilantro and cheese if desired.