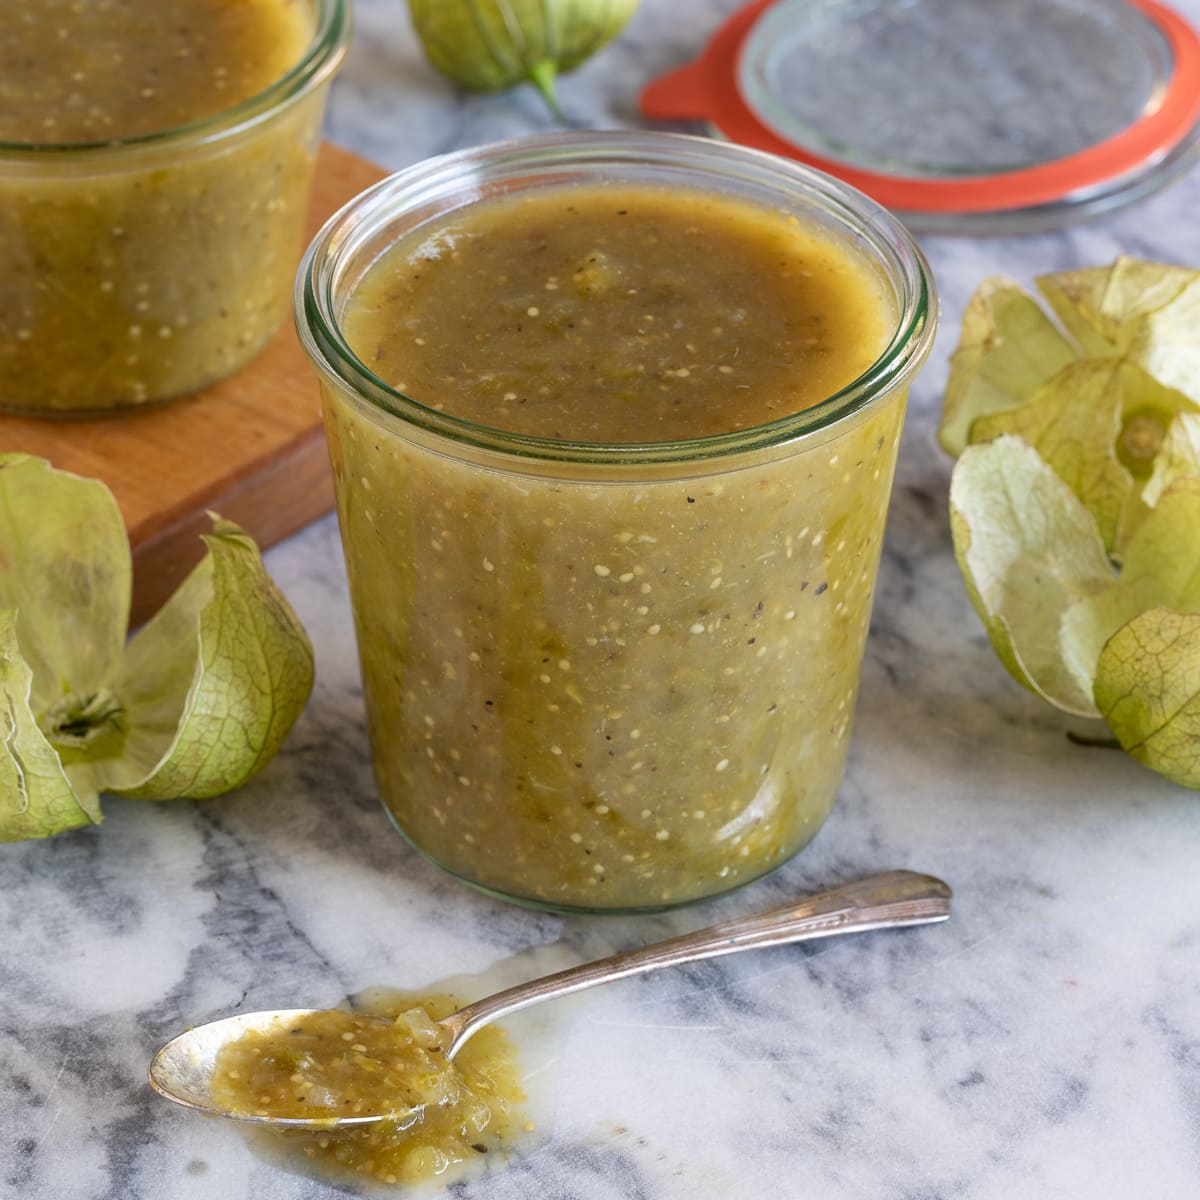
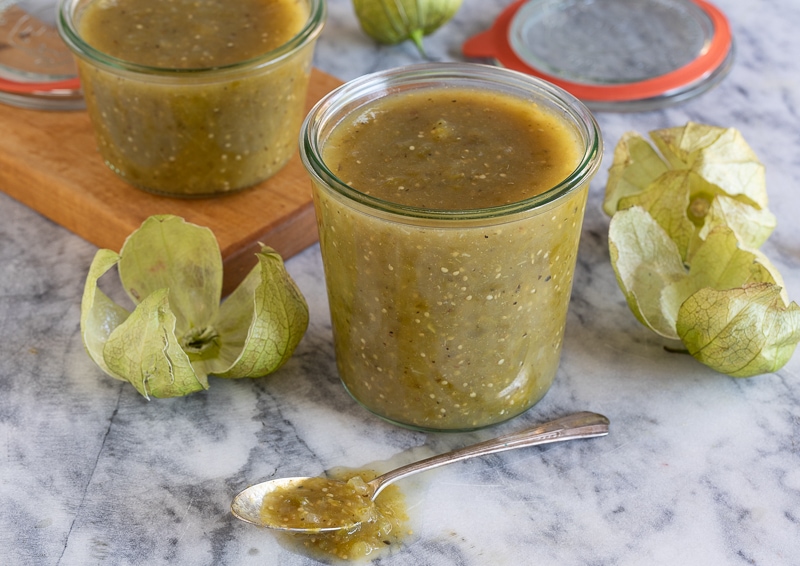
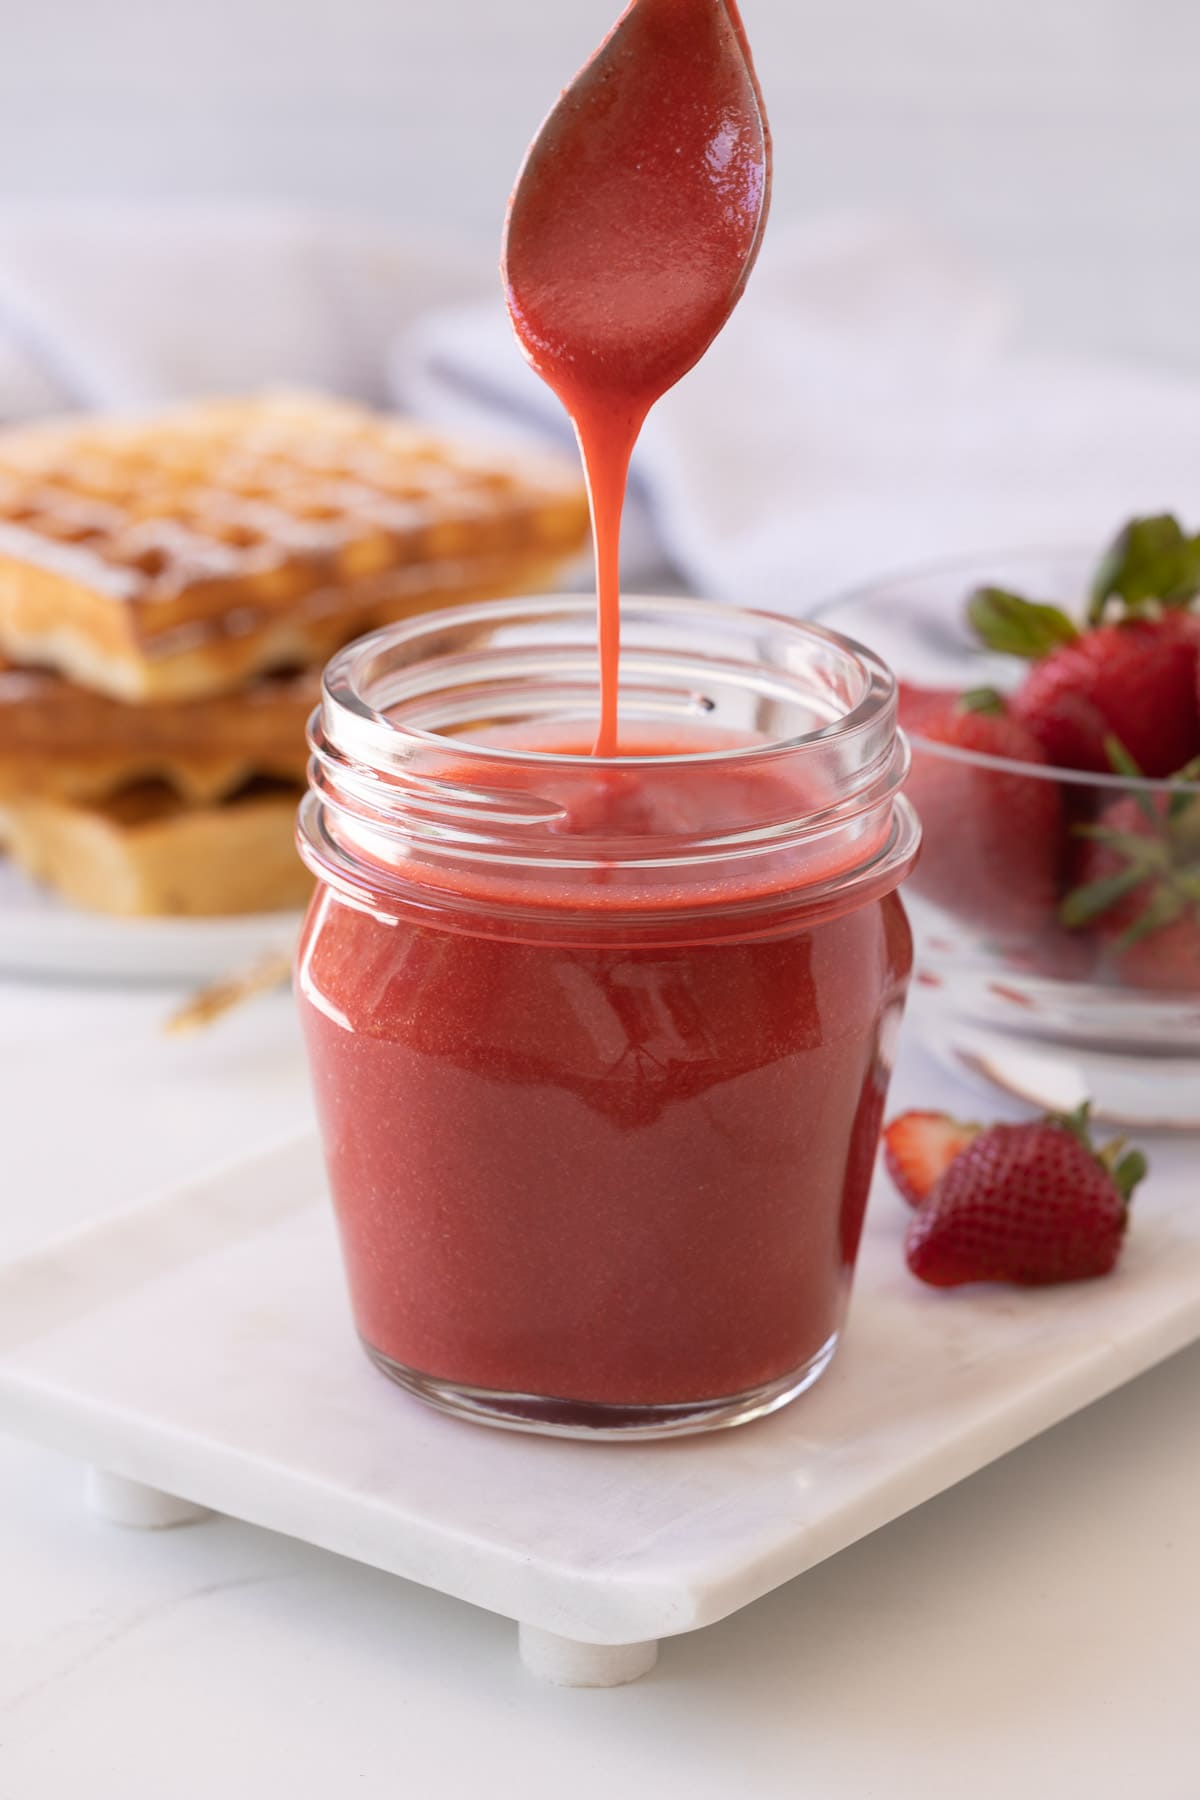
Homemade green enchilada sauce made with fresh tomatillos is bright, tangy, and so much better than anything from a jar. This easy tomatillo enchilada sauce comes together in about 30 minutes-just chop, simmer, and blend. It's the classic sauce for enchiladas verdes, but it's just as good spooned over tacos, chicken, eggs, and roasted vegetables. Make a batch and freeze it in portions so you always have a stash of green enchilada sauce ready to go.

Yes, you can grab tomatillo enchilada sauce off the shelf, but homemade is a different story-brighter, fresher, and done in about 30 minutes. A quick chop, a gentle simmer, and a spin in the blender, and you've got a sauce you can freeze in portions and use anytime you want enchiladas verdes. But don't stop at chicken enchiladas, it's good on so many things!
[feast_advanced_jump_to]Why You'll Love Green Enchilada Sauce
- Fast and easy - A quick chop, simmer, and blend and it's ready in about 30 minutes.
- Fresh, bright flavor - Tomatillos bring a tangy, zesty kick you don't get from a jar.
- Customizable heat - Keep it mild or turn it up with your favorite chiles.
- So many uses - Perfect for enchiladas verdes, tacos, eggs, this easy chicken recipe, bowls, over omelets, and more (see the list below).
- Freezer-friendly - Make a batch now and freeze portions for fast meals later.
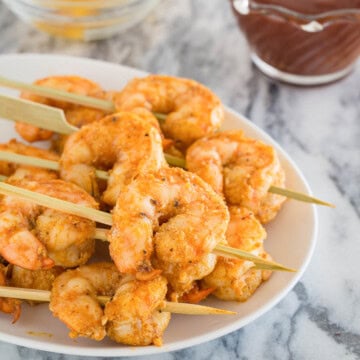
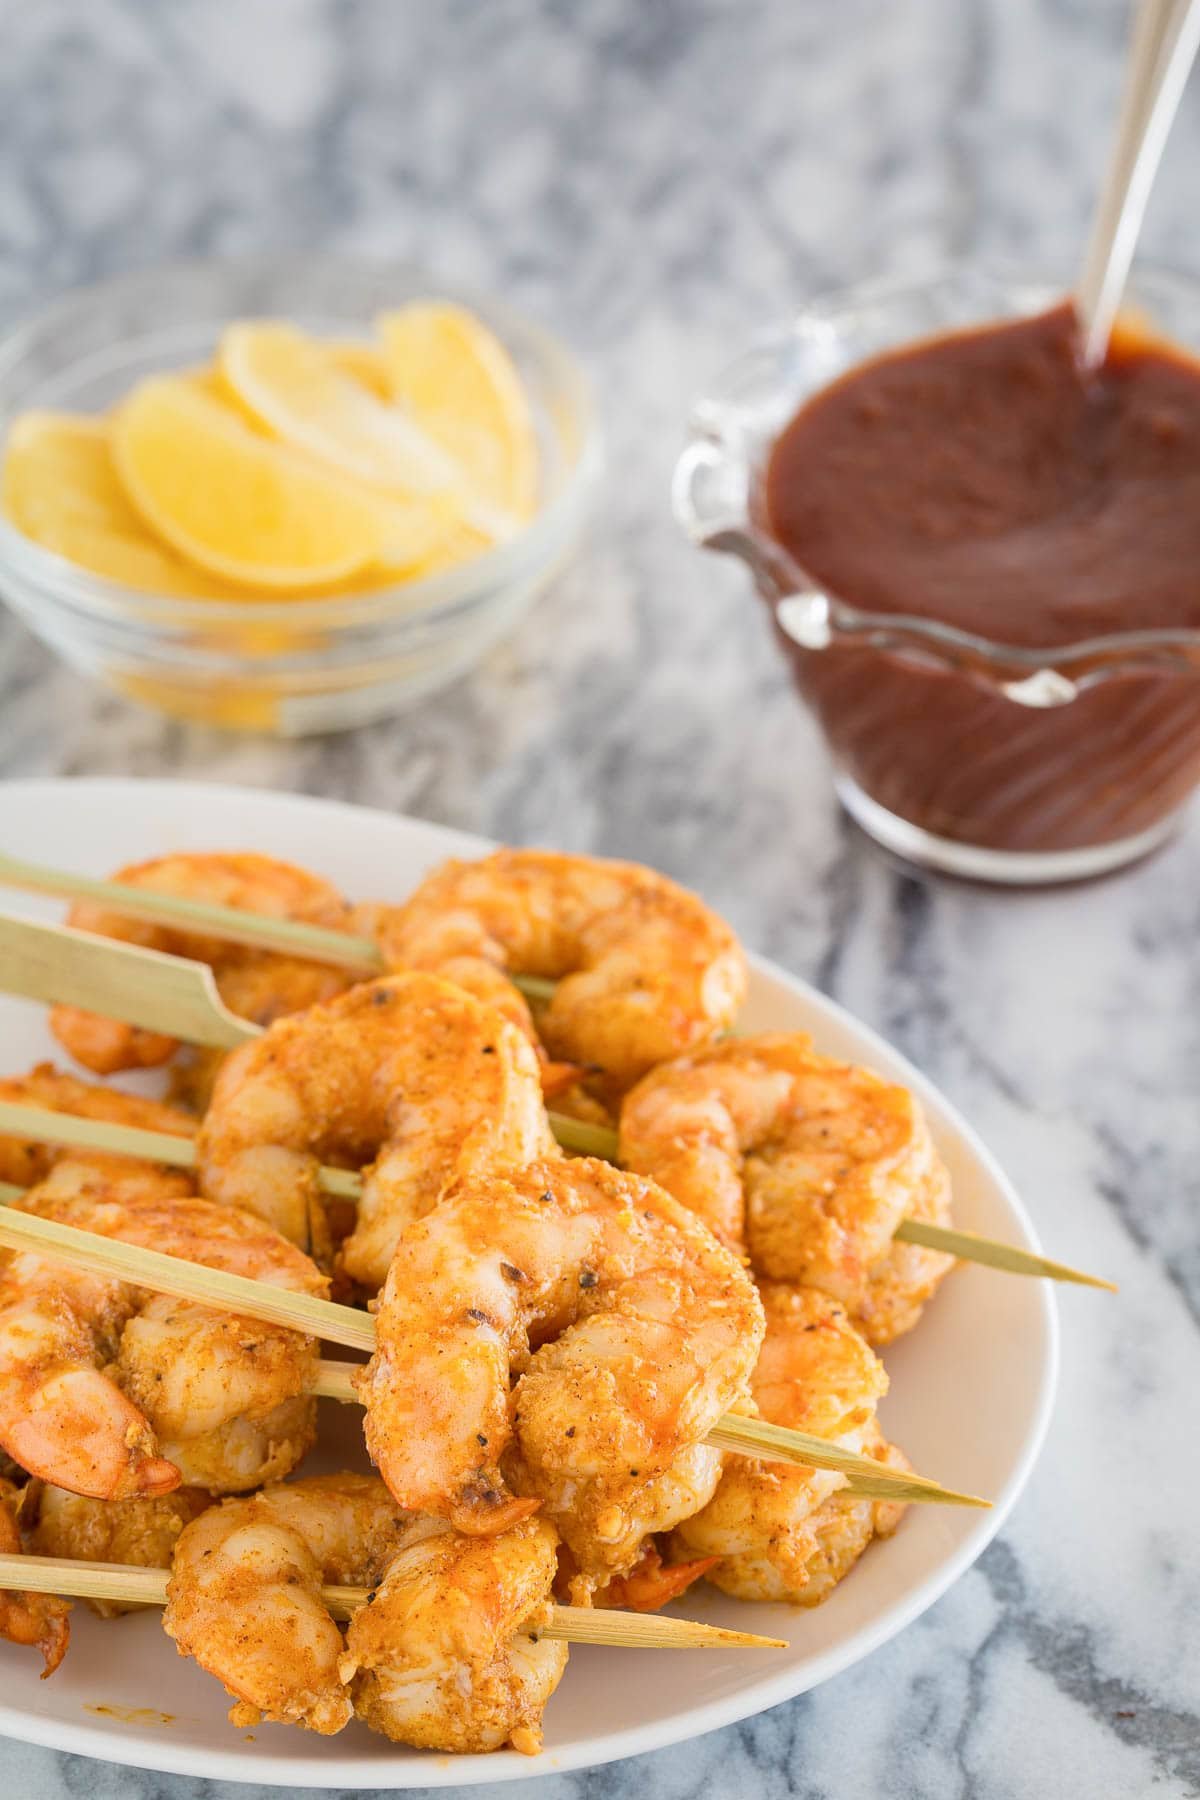
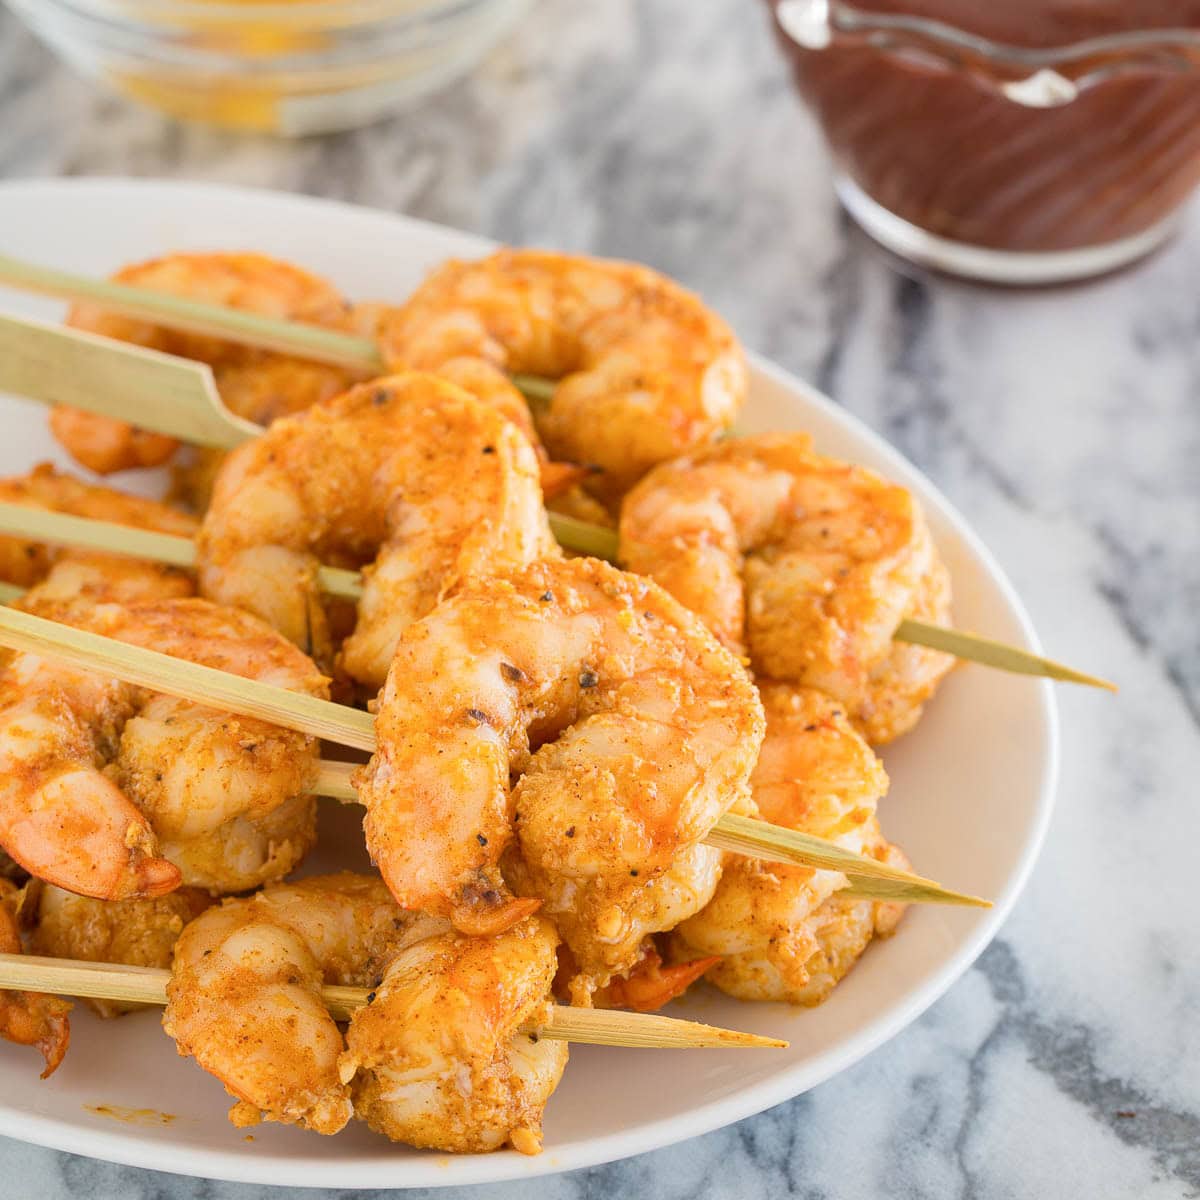
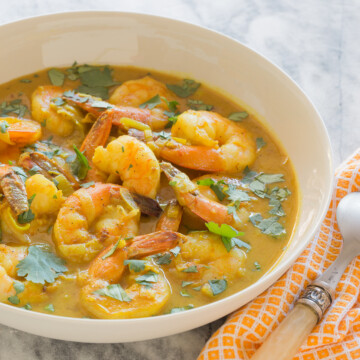
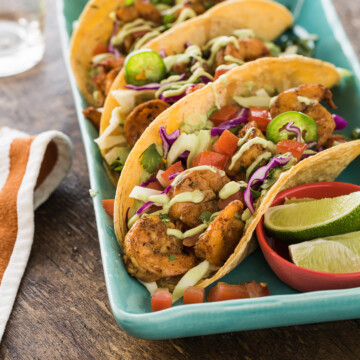
Use this tomatillo sauce over these grilled shrimp tacos. Skip takeout tacos and make these!
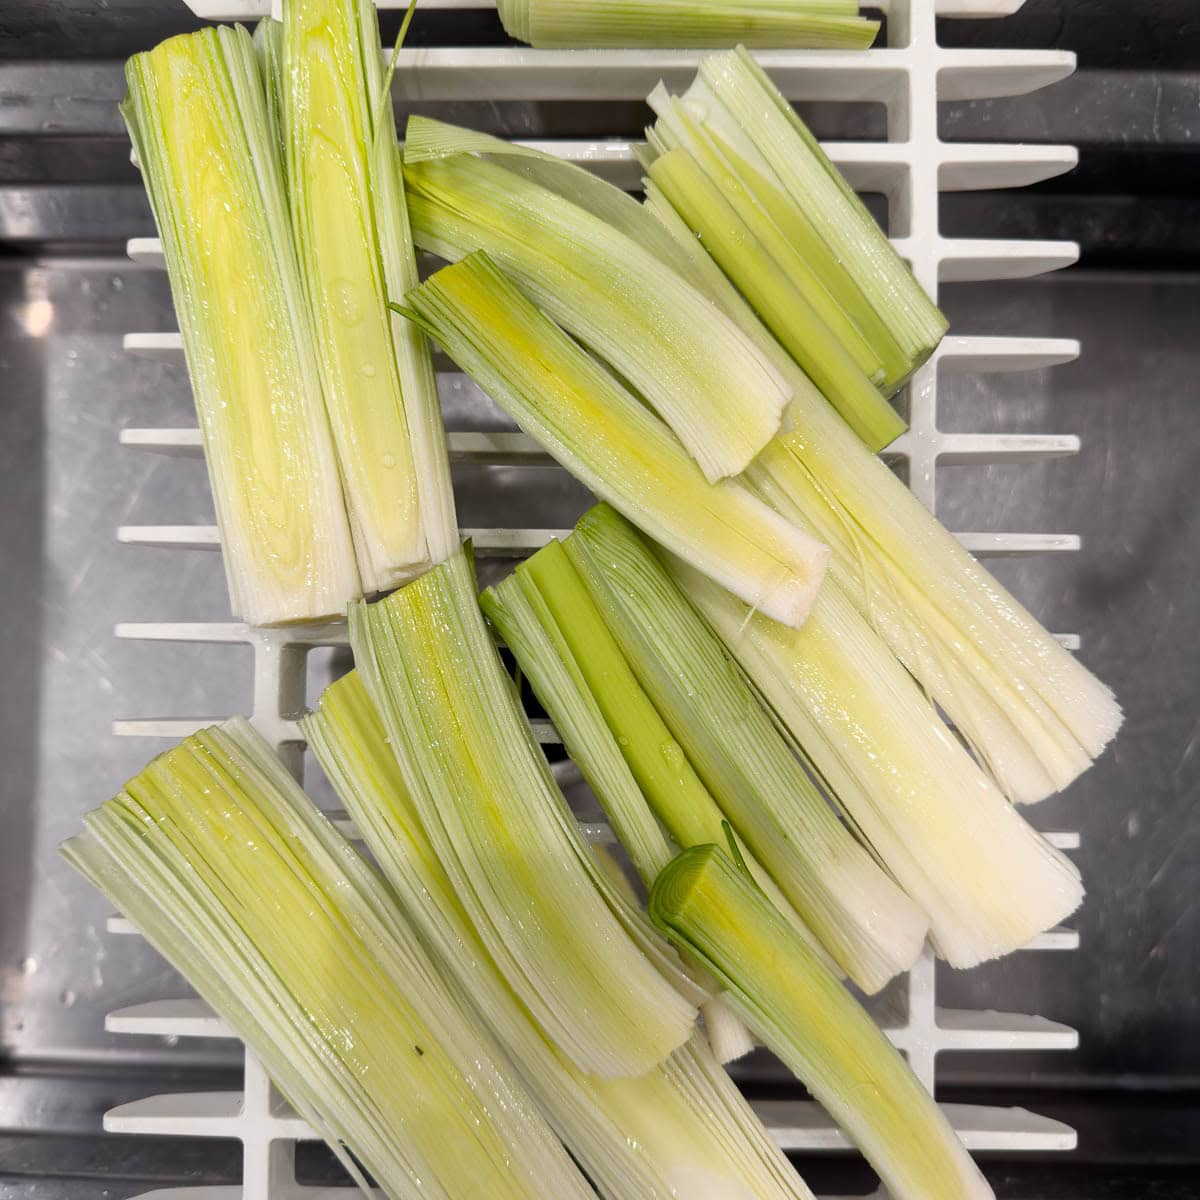
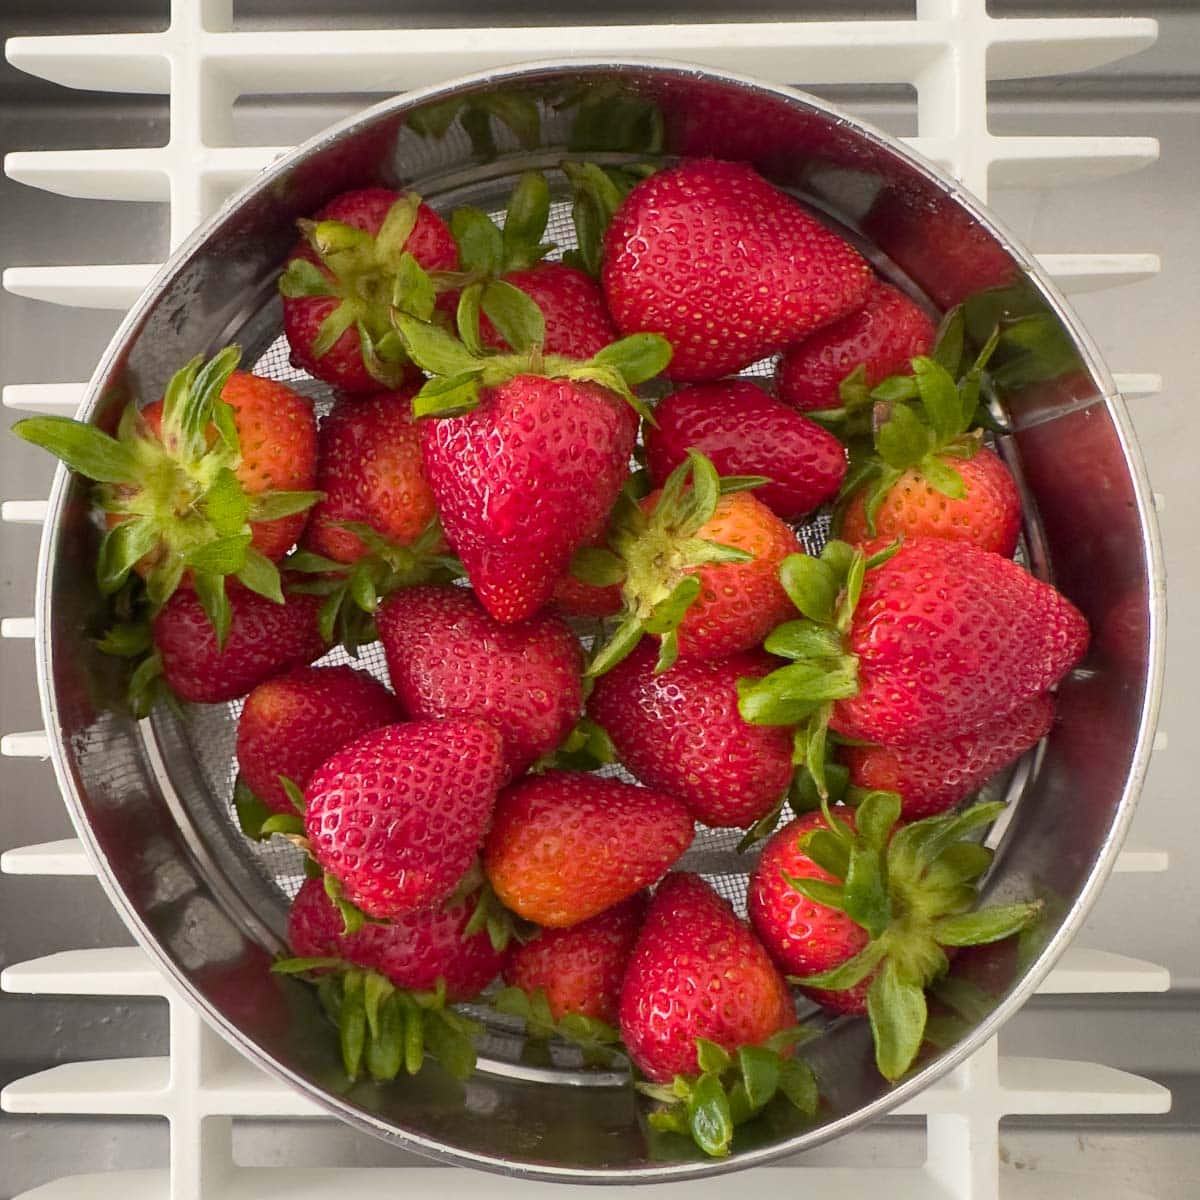
Chef's tip: Buying tomatillos. When buying tomatillos, peel back a bit of the paper and look for a smooth flesh and bright green color. Don't buy any with black spots or shriveled areas. While they look like green tomatoes, they are a different fruit (they are fruit not vegetable).
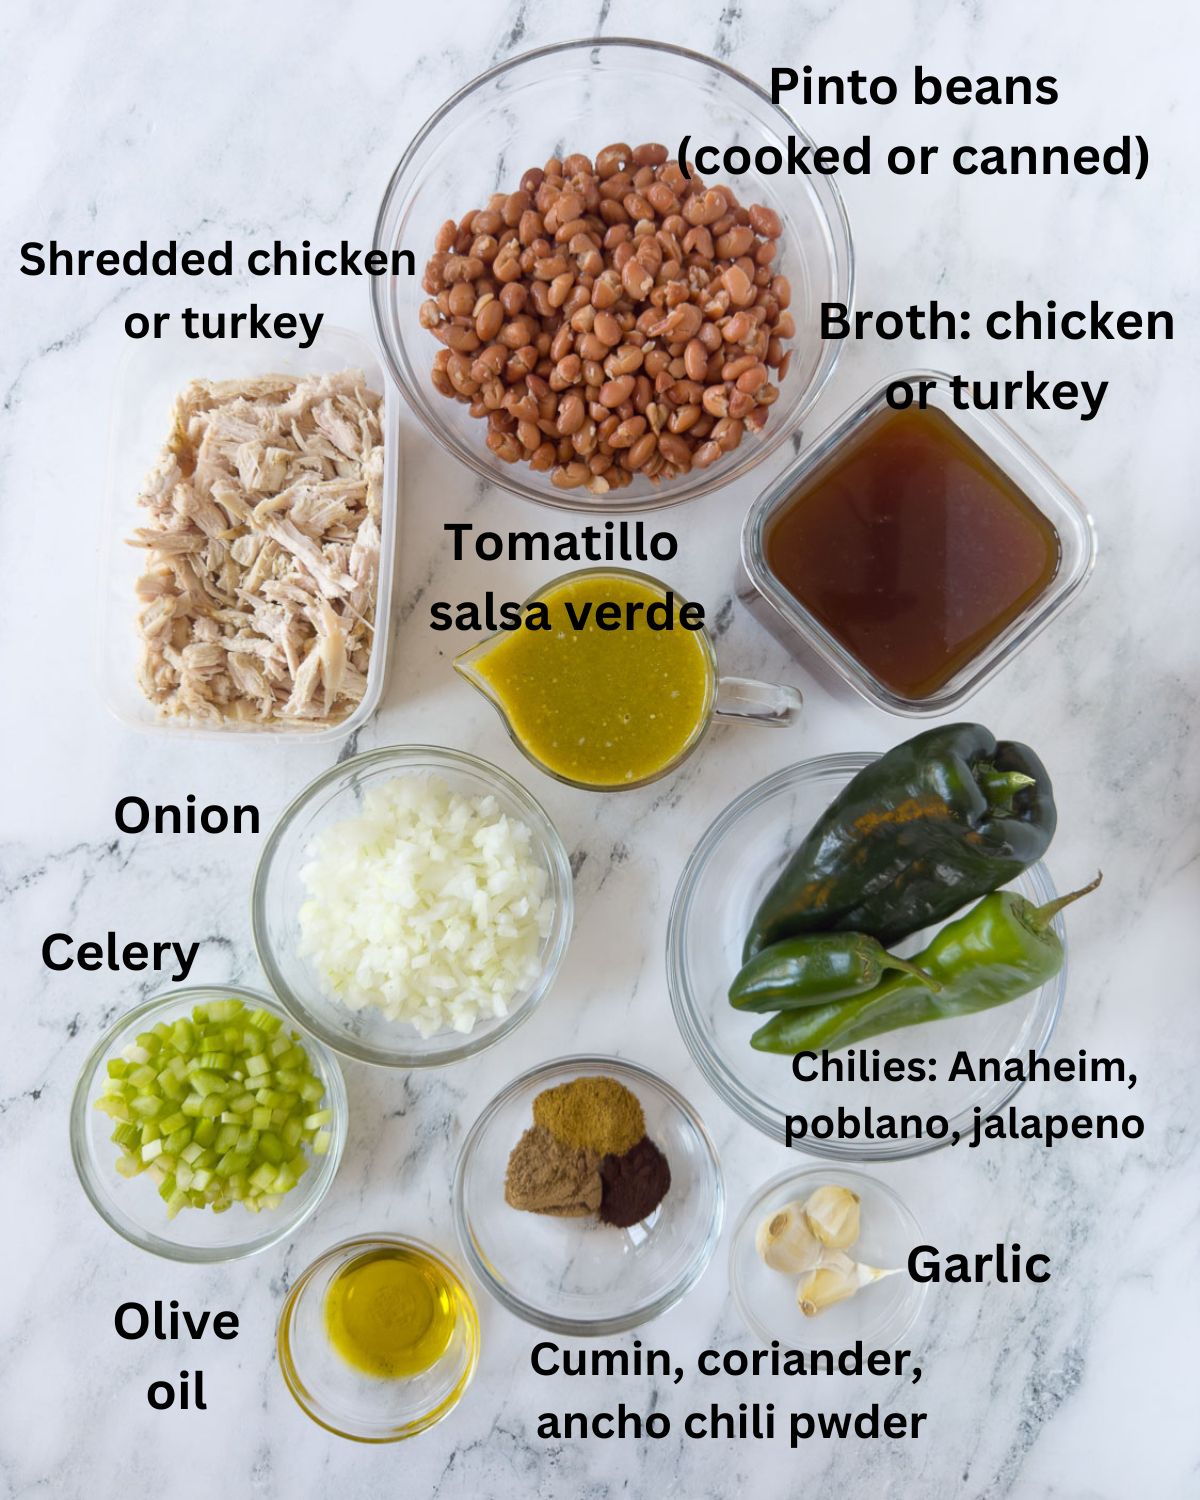
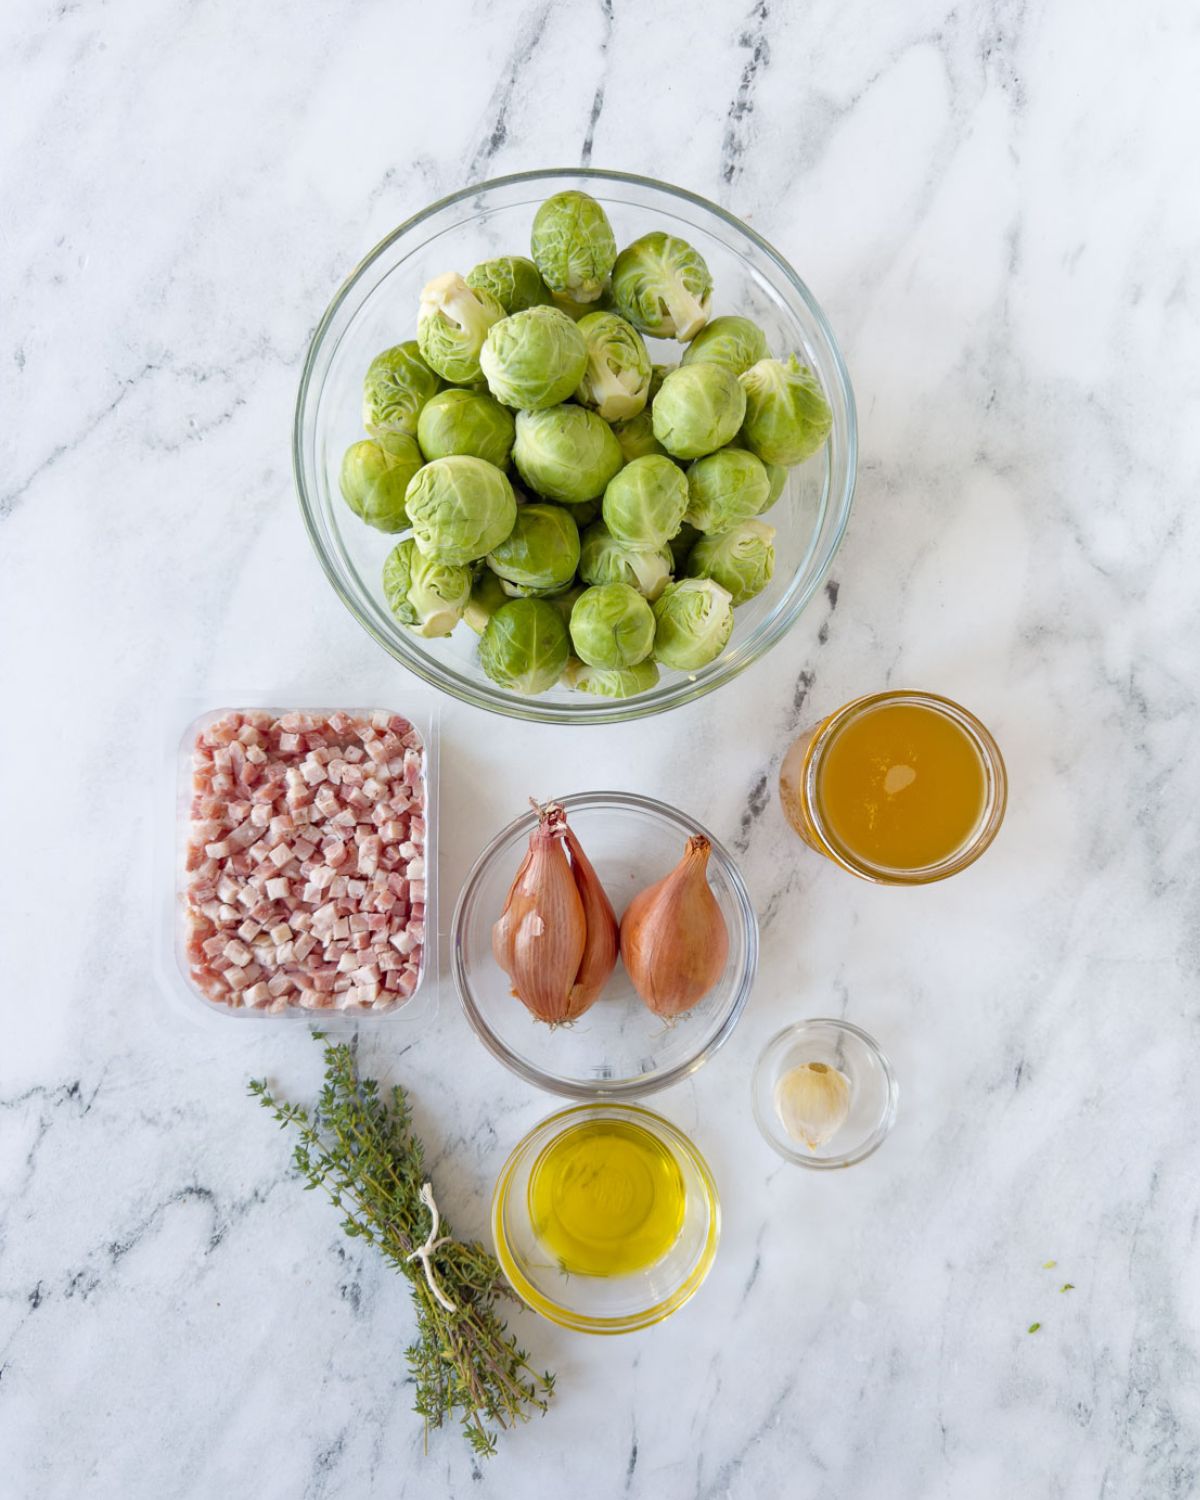
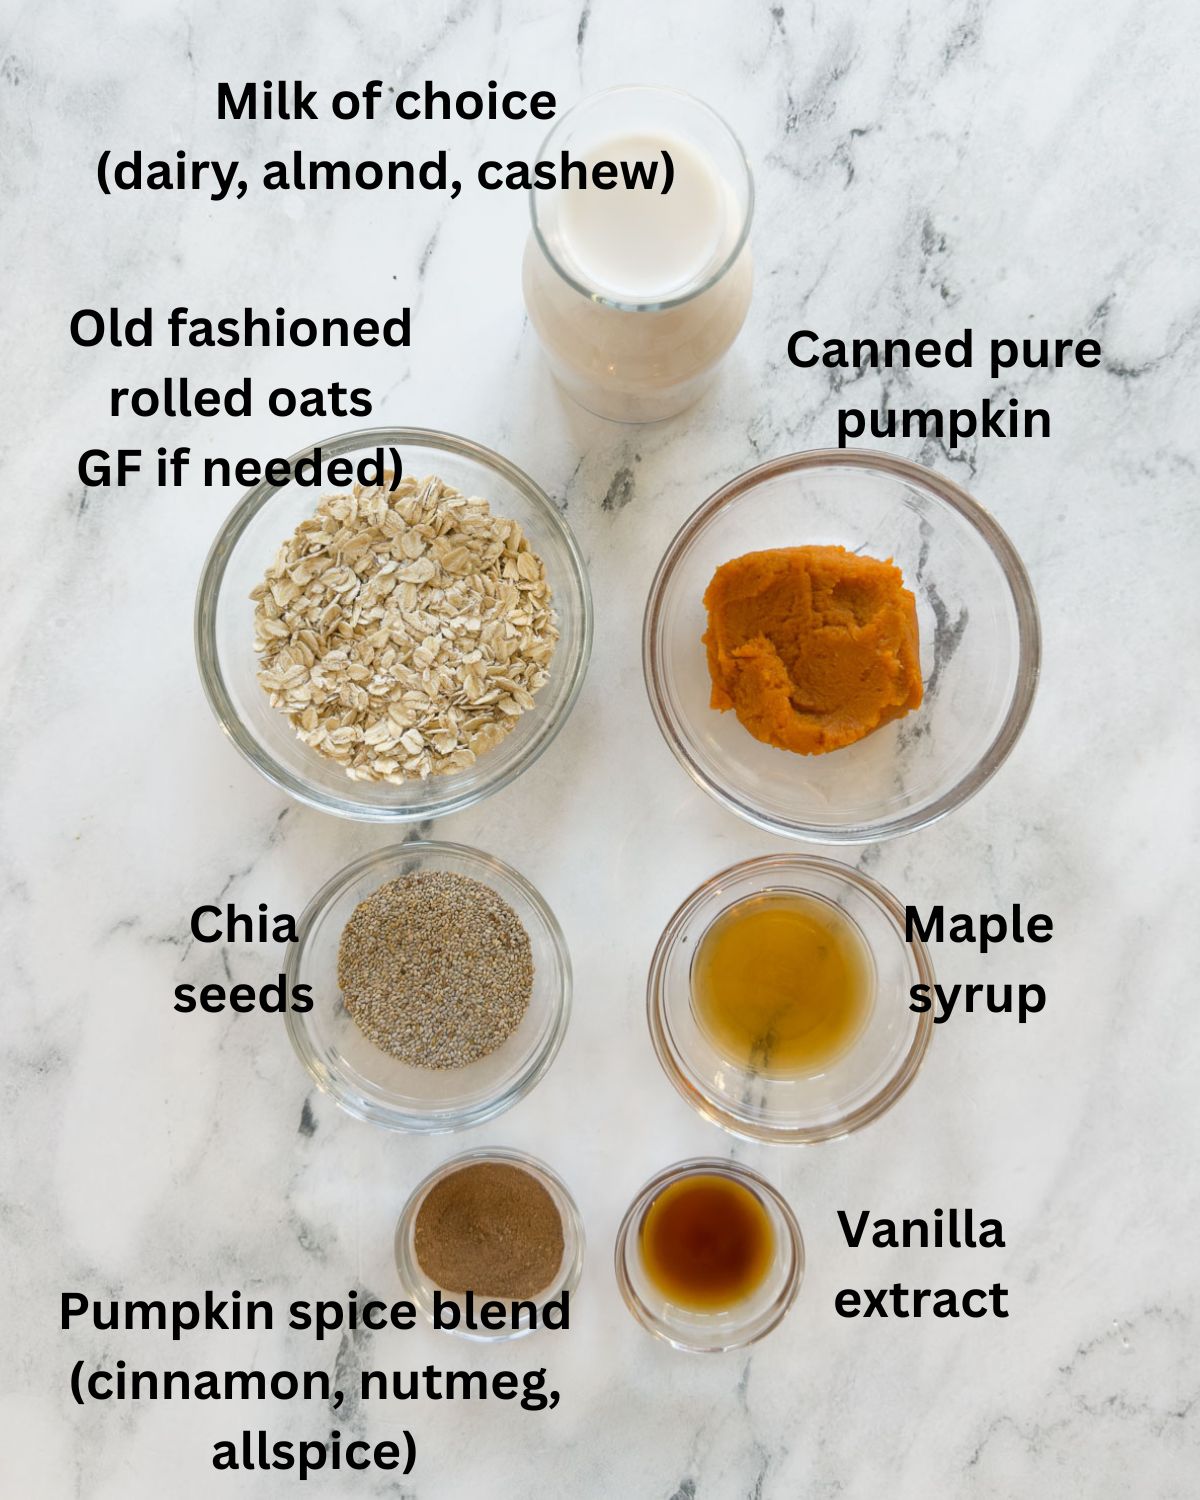
Ingredients You'll Need
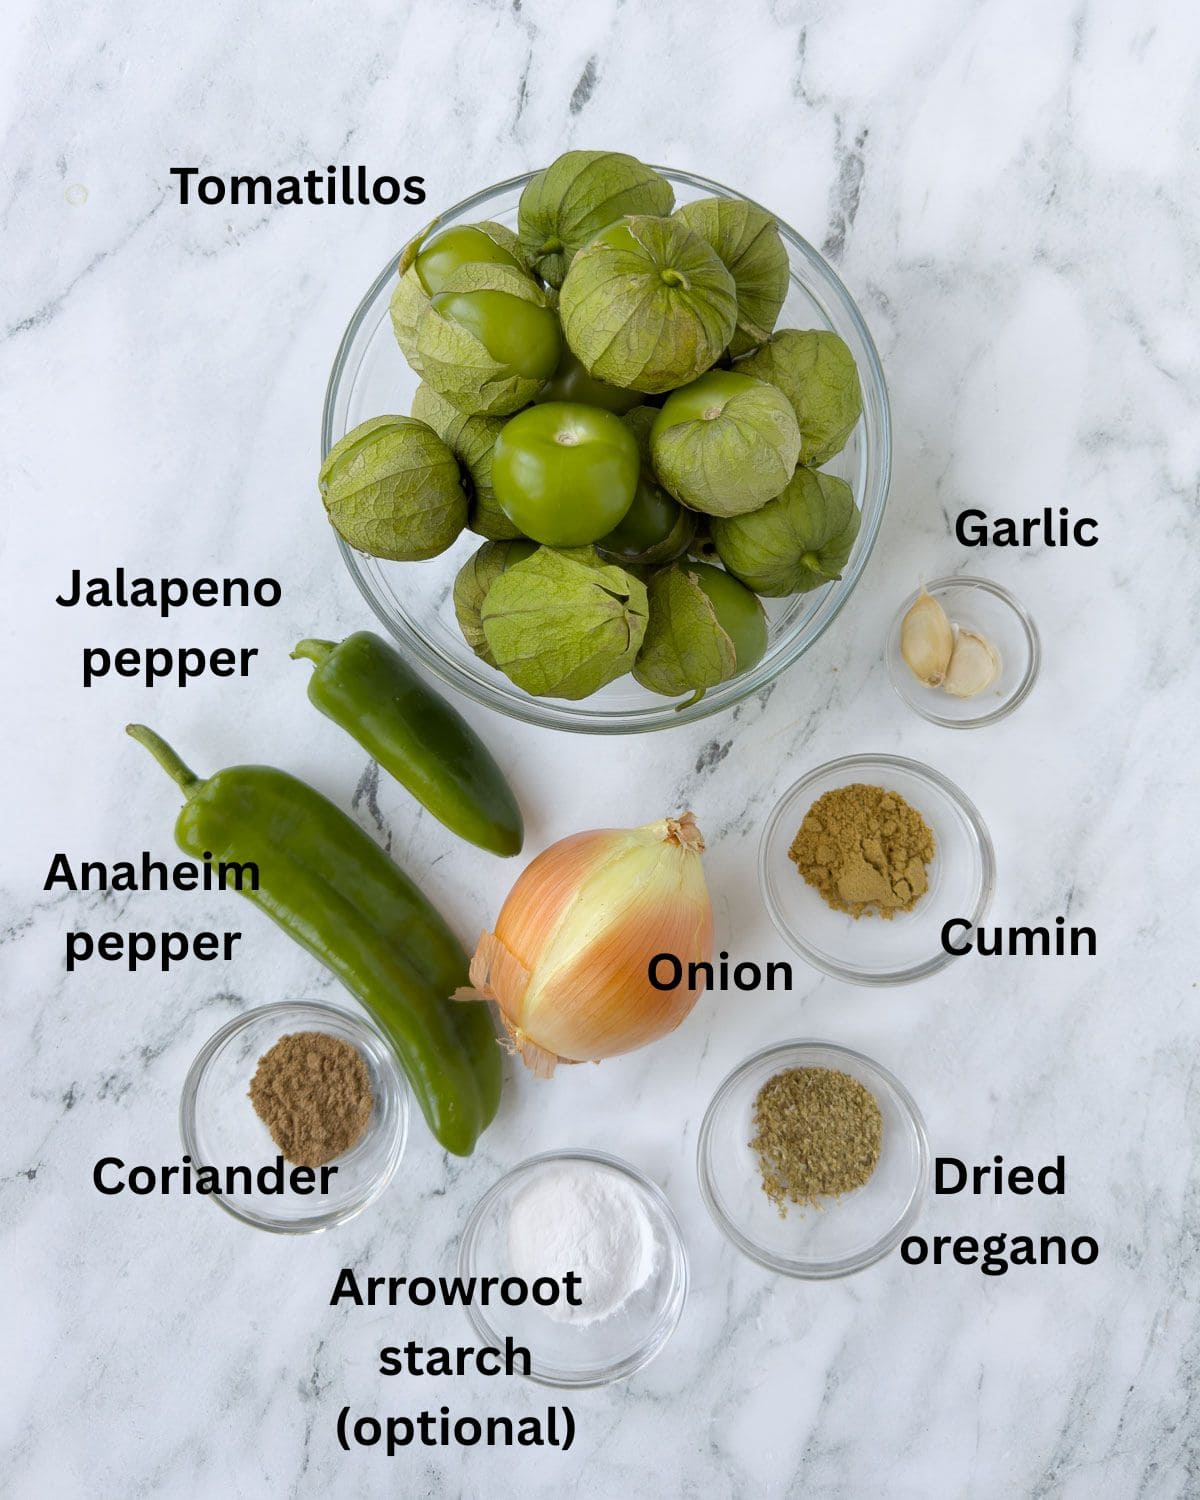
- Tomatillos - They come in green, yellow, and even purple. I use green tomatillos with their papery husks for the classic, bright flavor and color.
- Chiles - Anaheim adds mild, green flavor; jalapeño adds mild-to-medium heat. Adjust the jalapeño to taste.
- Onion - Adds savory depth and a little natural sweetness as it simmers.
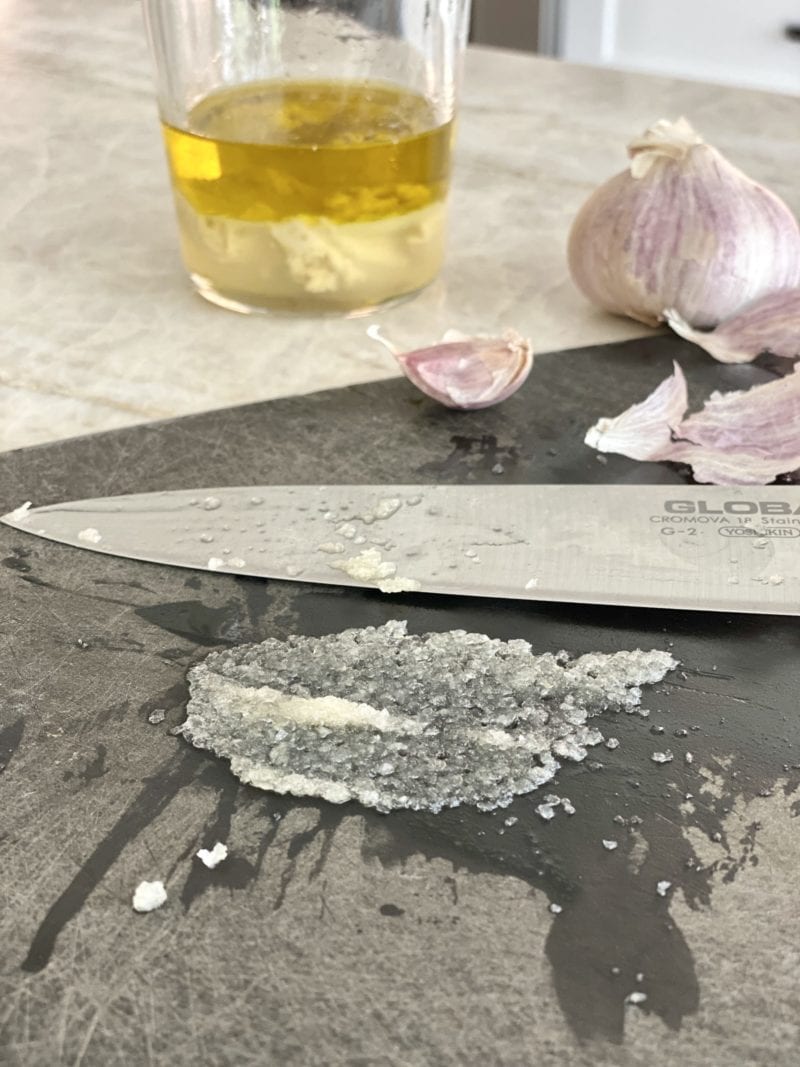
- Garlic - Fresh cloves give the cleanest, best flavor.
- Liquid - I use water for a fresh, pure tomatillo flavor, but chicken broth or vegetable broth works too for a slightly richer sauce.
- Spices - Ground cumin adds warmth; ground coriander is optional for a subtle citrusy note.
- Oregano - Use dried oregano for convenience, or Mexican oregano if you have it for a more authentic flavor.
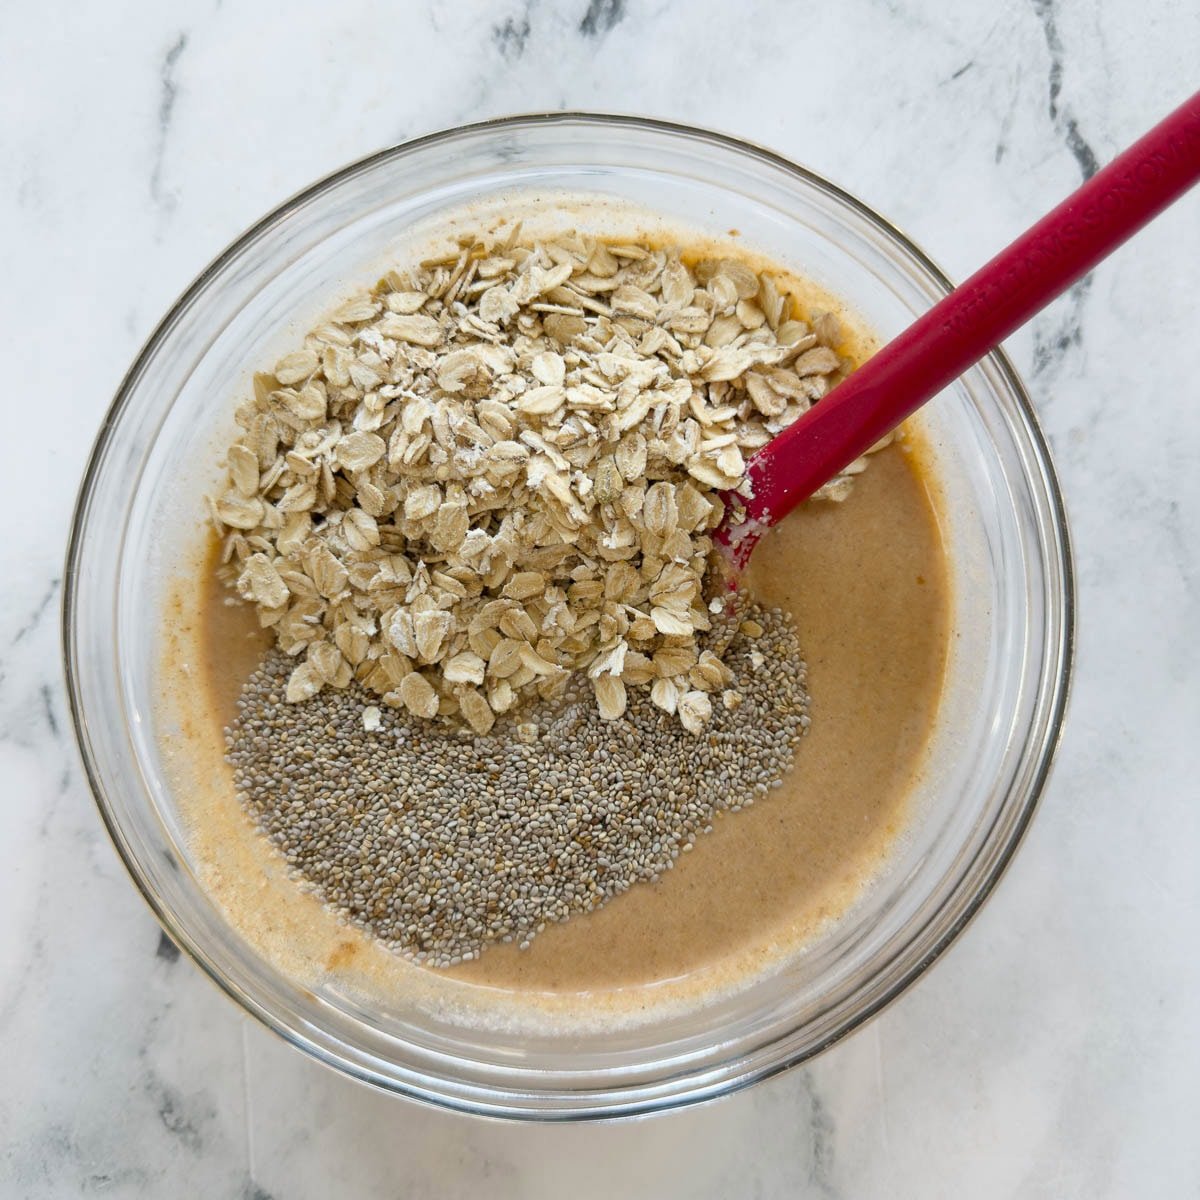
- Arrowroot starch - Optional thickener at the end if you want a more sauce-like consistency. (Cornstarch works too, but arrowroot stays a bit silkier.)
Please see the recipe card for measurements, salt, and pepper.
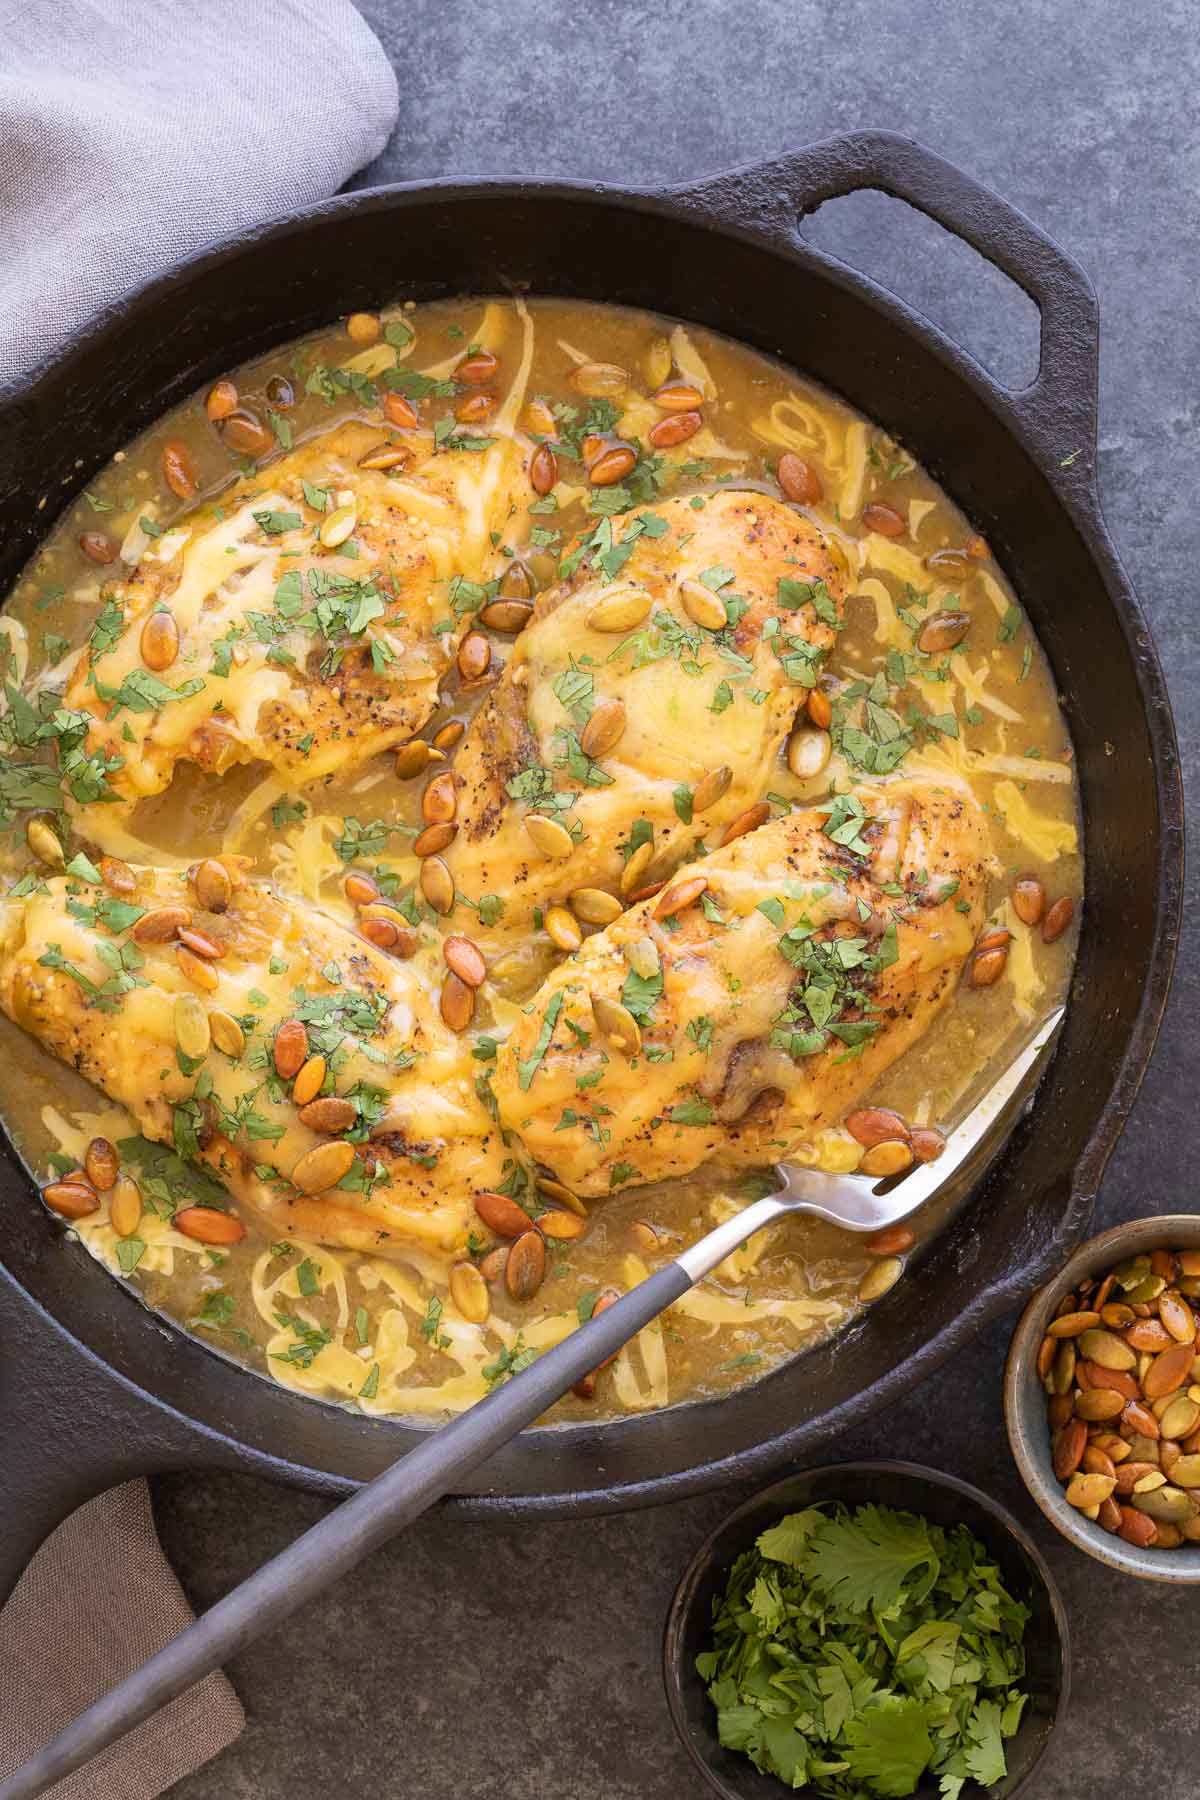
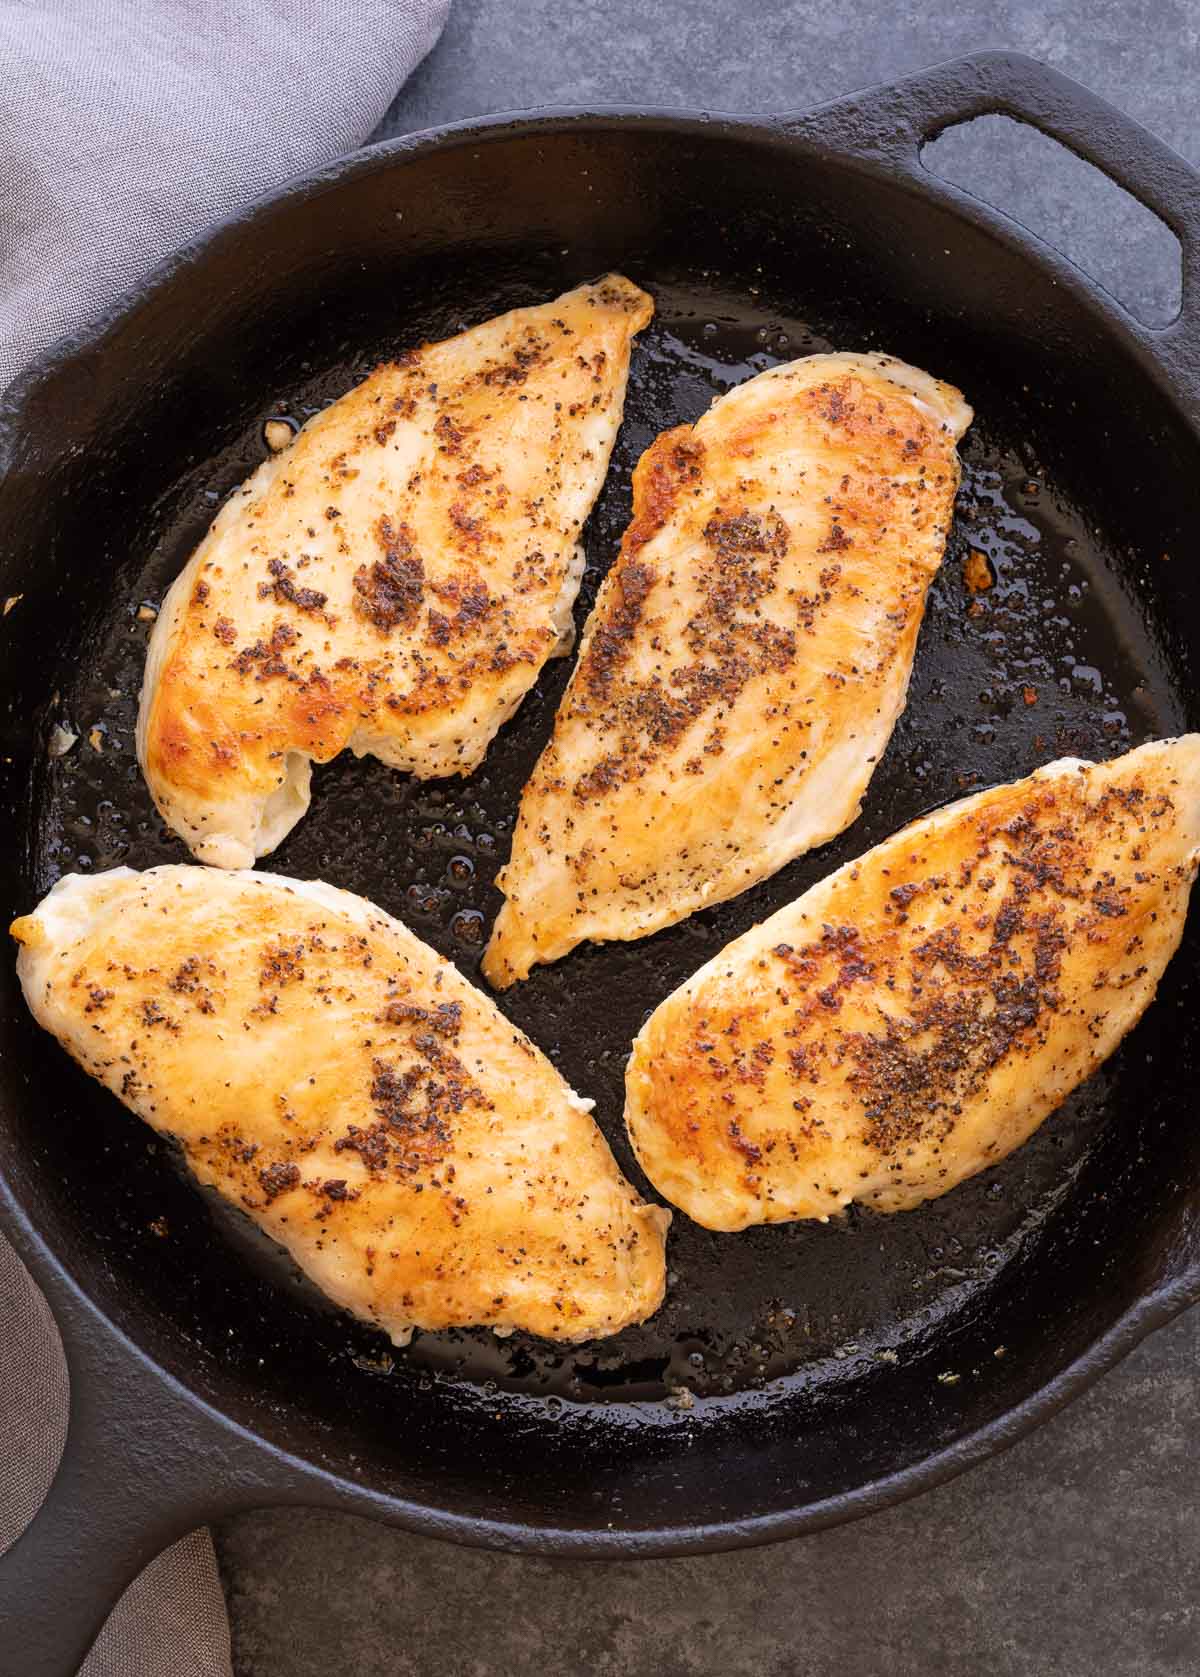
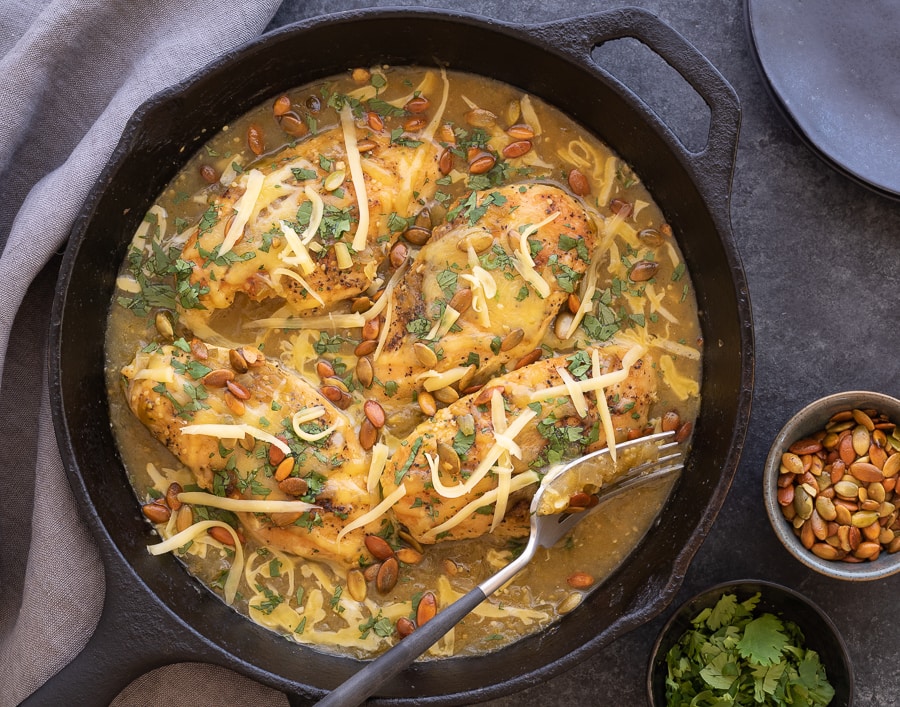
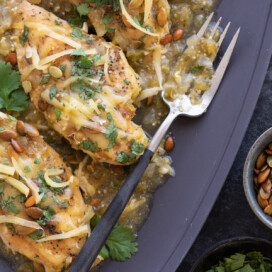
My favorite thing to do with this tomatillo enchilada sauce is make this easy Salsa Verde Chicken with boneless, skinless breasts. Dinner in under 30 minutes! Add rice and you're ready.
Substitutions and Variations
- Try different tomatillos - Green is classic, but yellow or purple tomatillos work too (color and flavor will vary slightly).
- Make it hotter - Swap the jalapeño for a serrano pepper (or use two jalapeños).
- Pepper swap - If you can't find Anaheim, use a poblano (or other mild green pepper). Both are mild; poblano is a little deeper and more earthy.
- Make it creamy - Blend in a little sour cream/Greek yogurt/crema after cooling slightly (for enchiladas verdes).
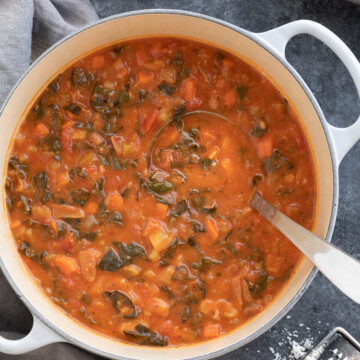
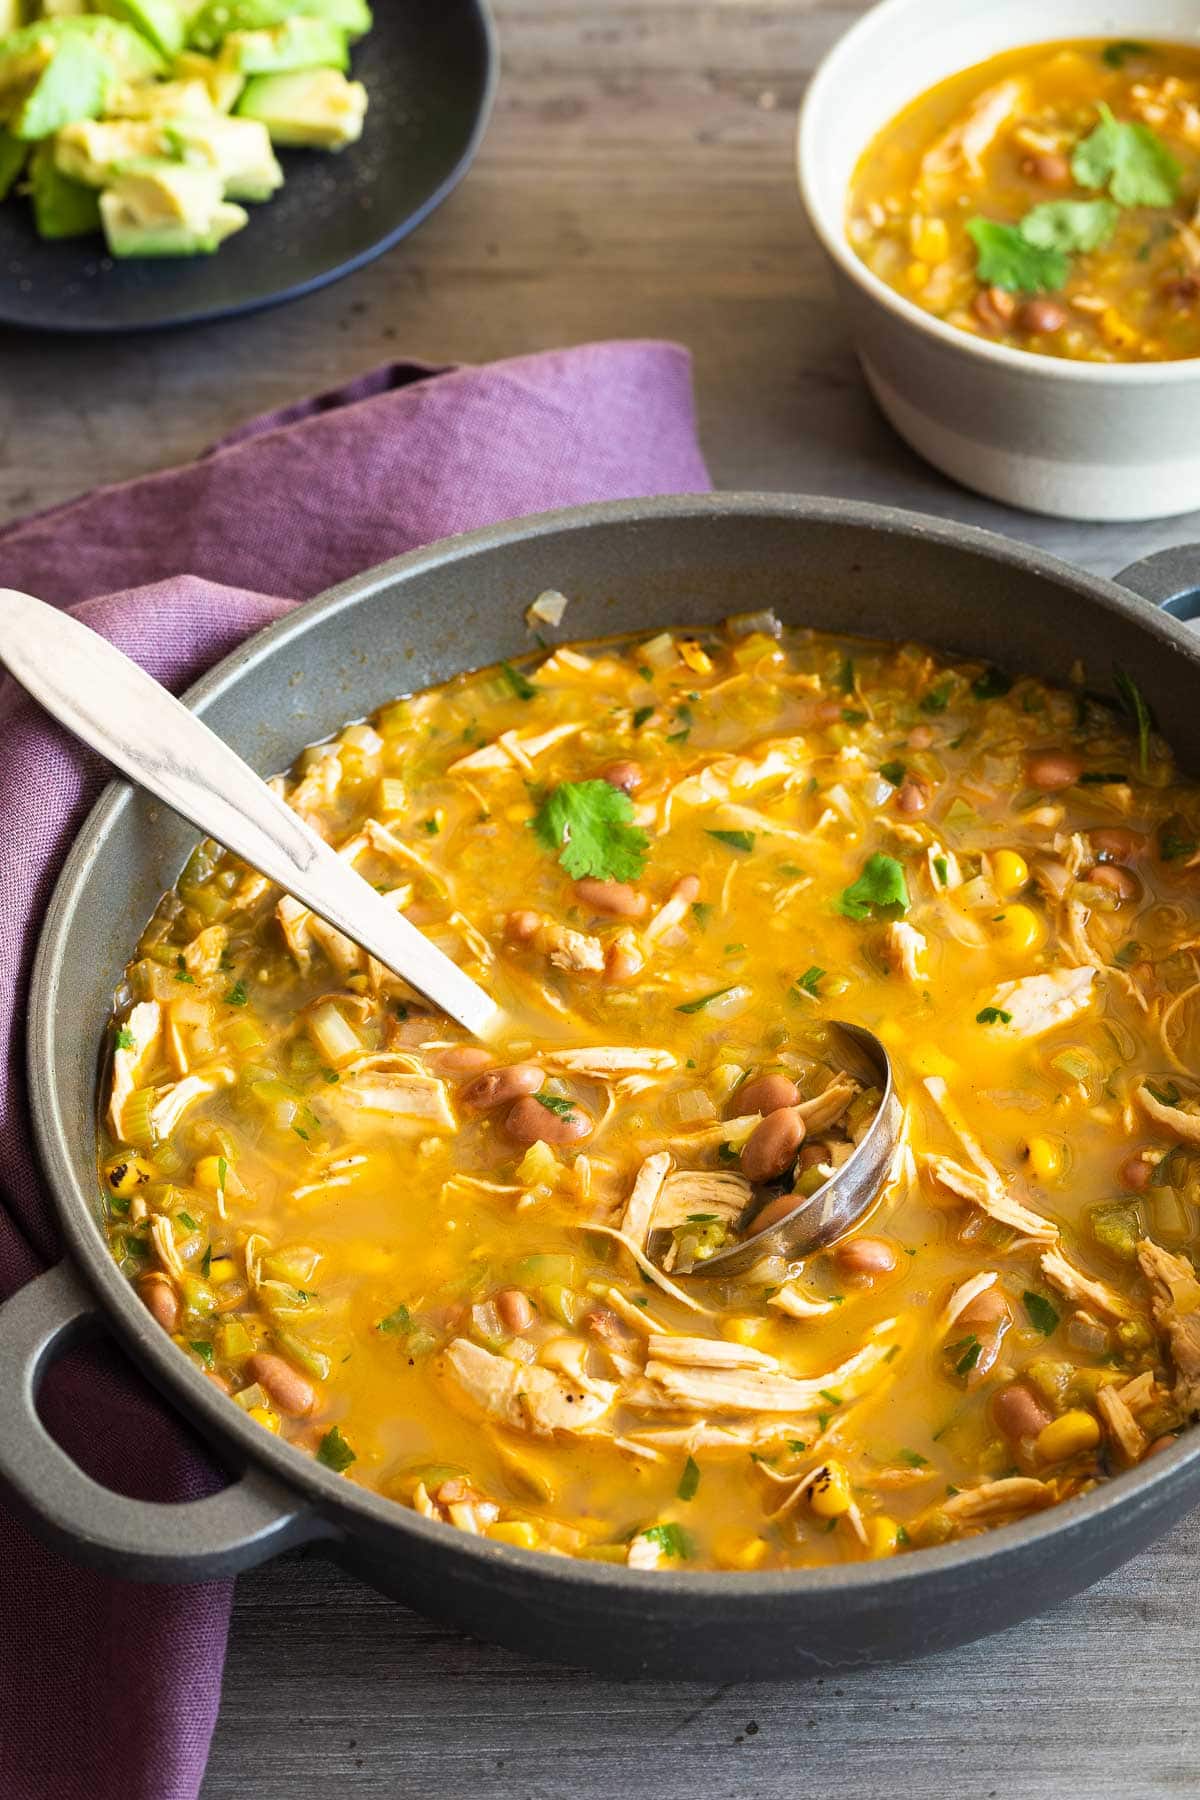
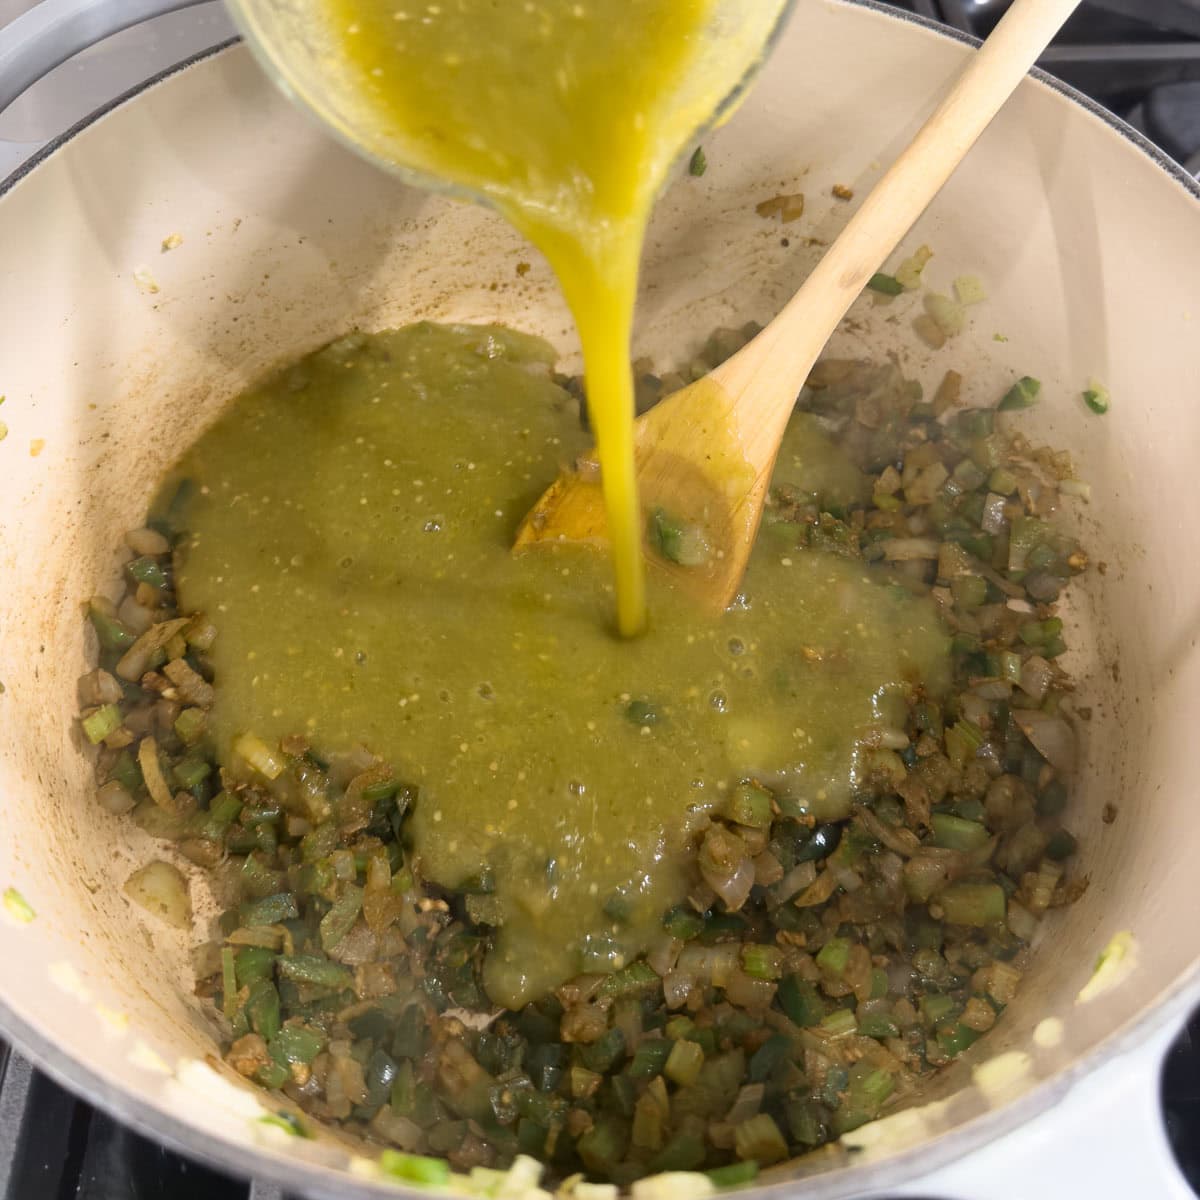
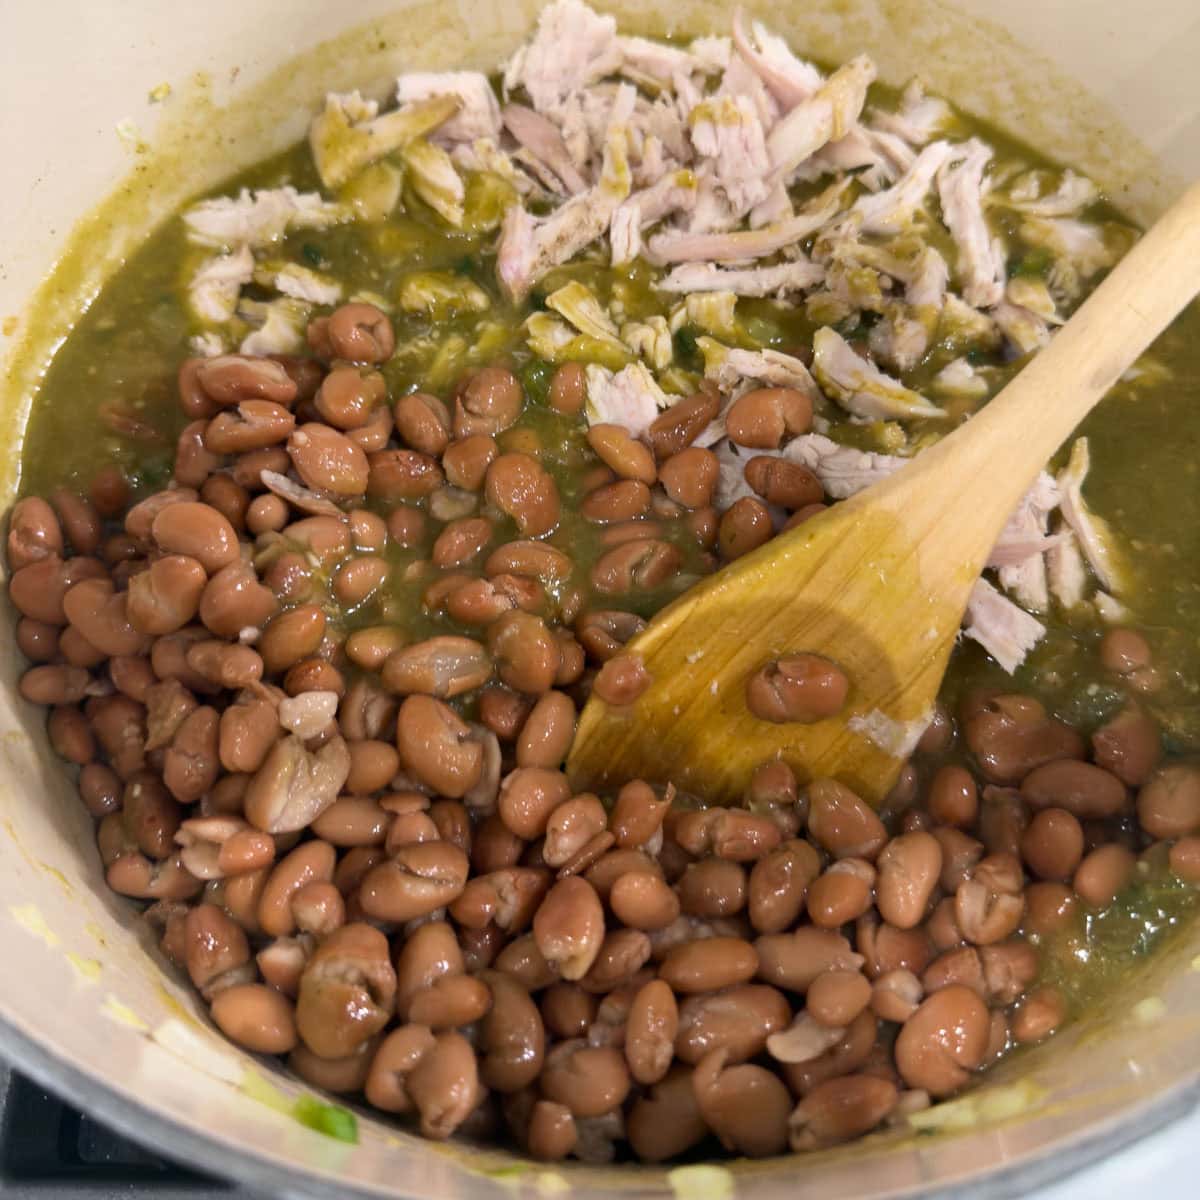
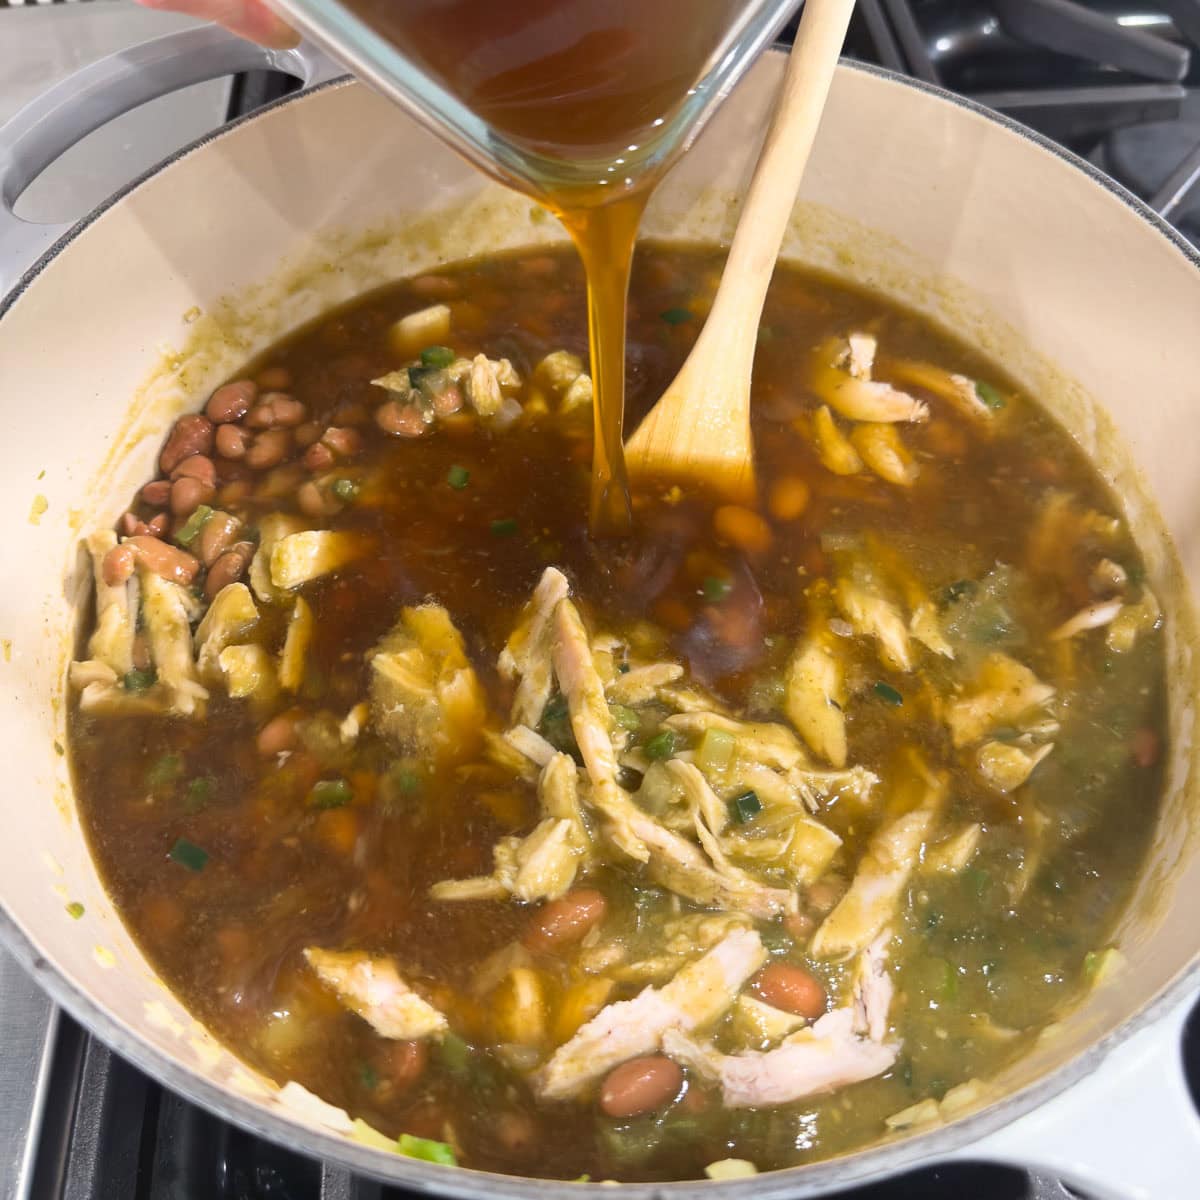
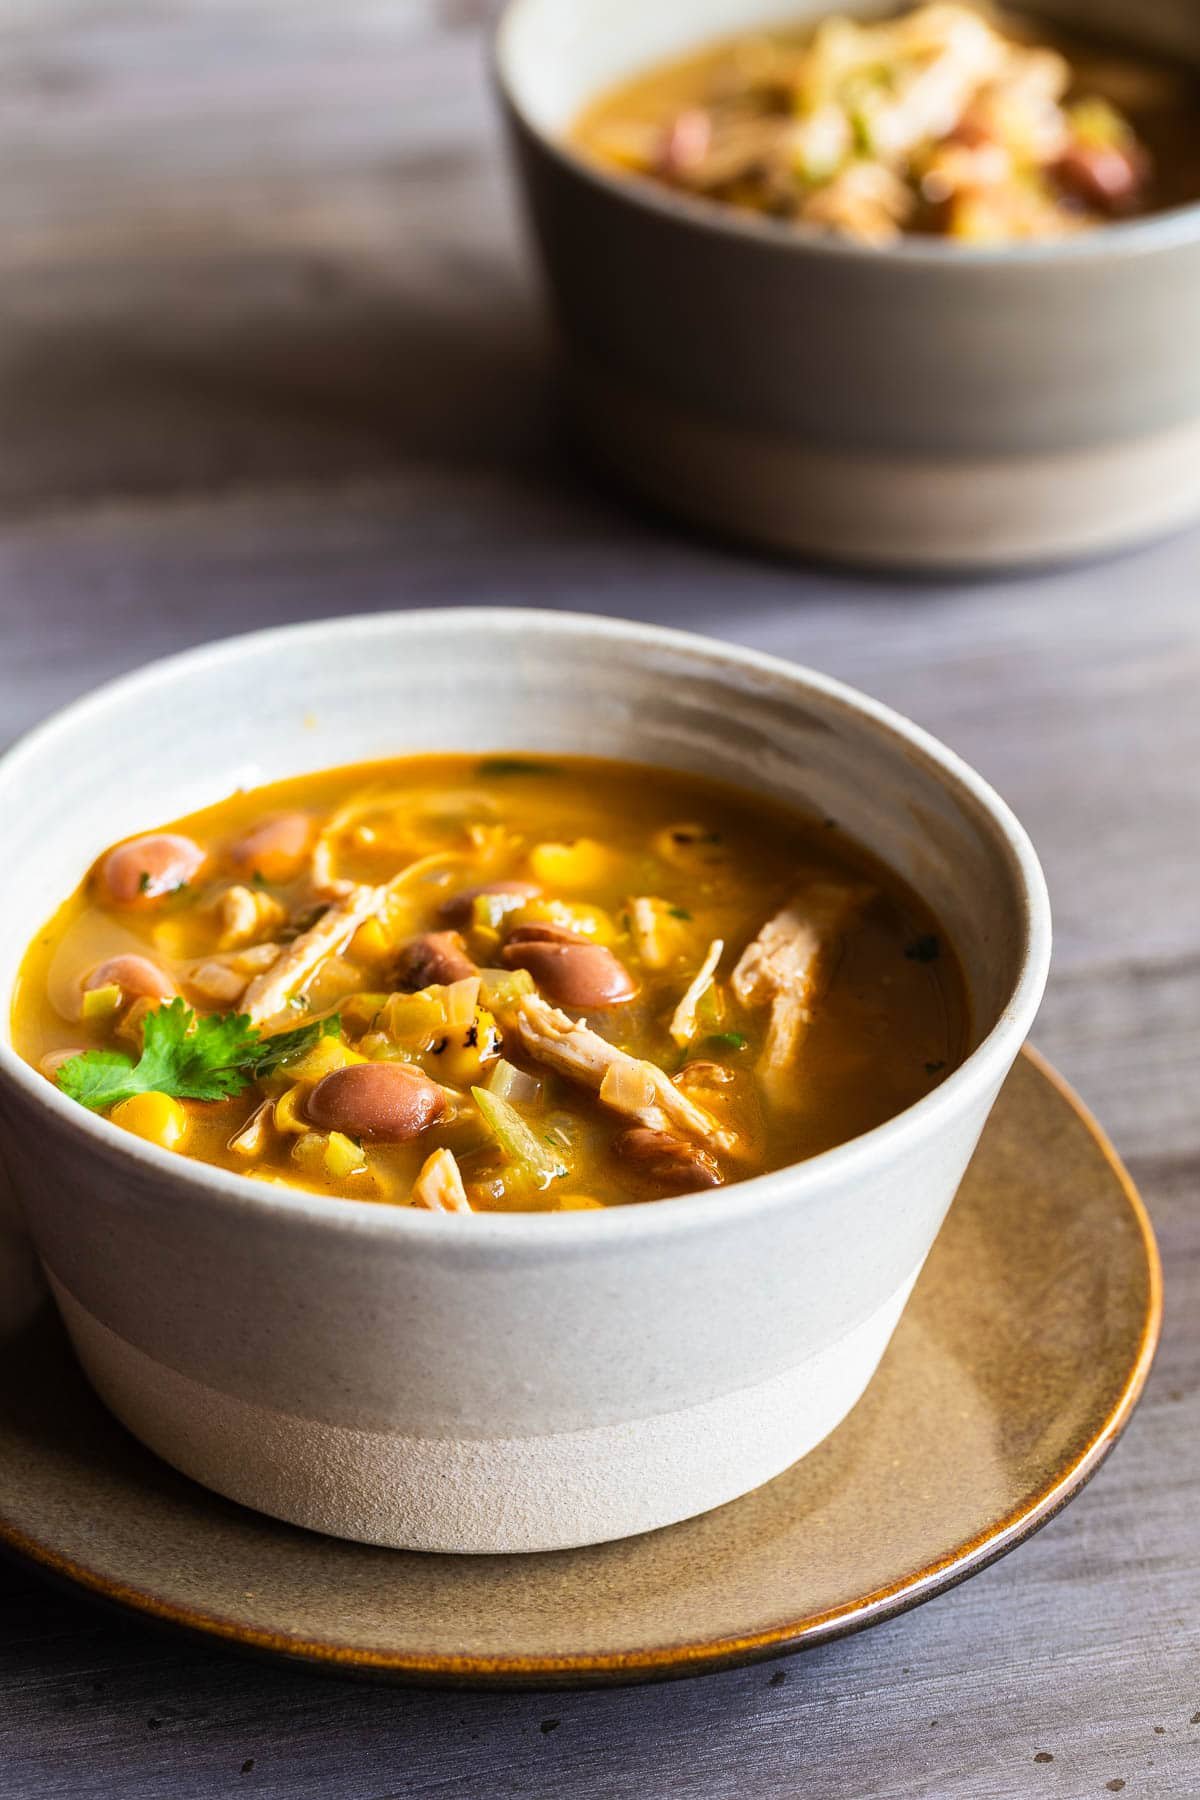
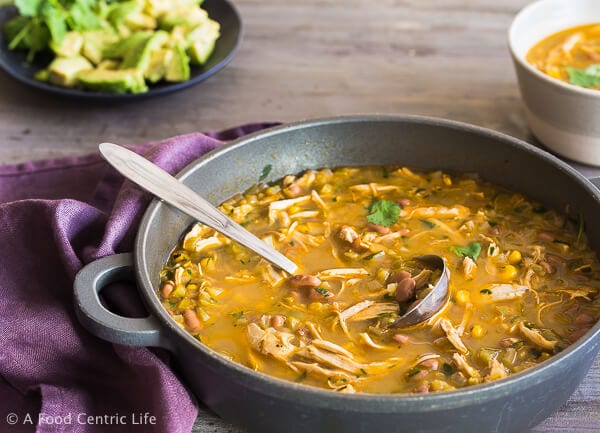
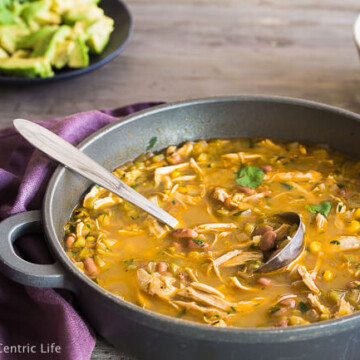
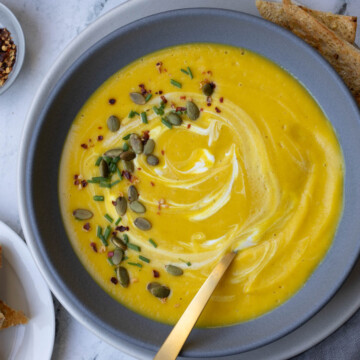
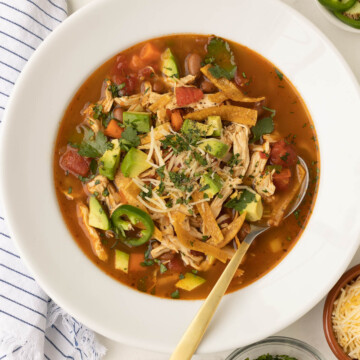
Use this green enchilada sauce to make a terrific tomatillo soup with either leftover chicken or turkey, and pinto beans. Fast and hearty!
How to Make Green Enchilada Sauce

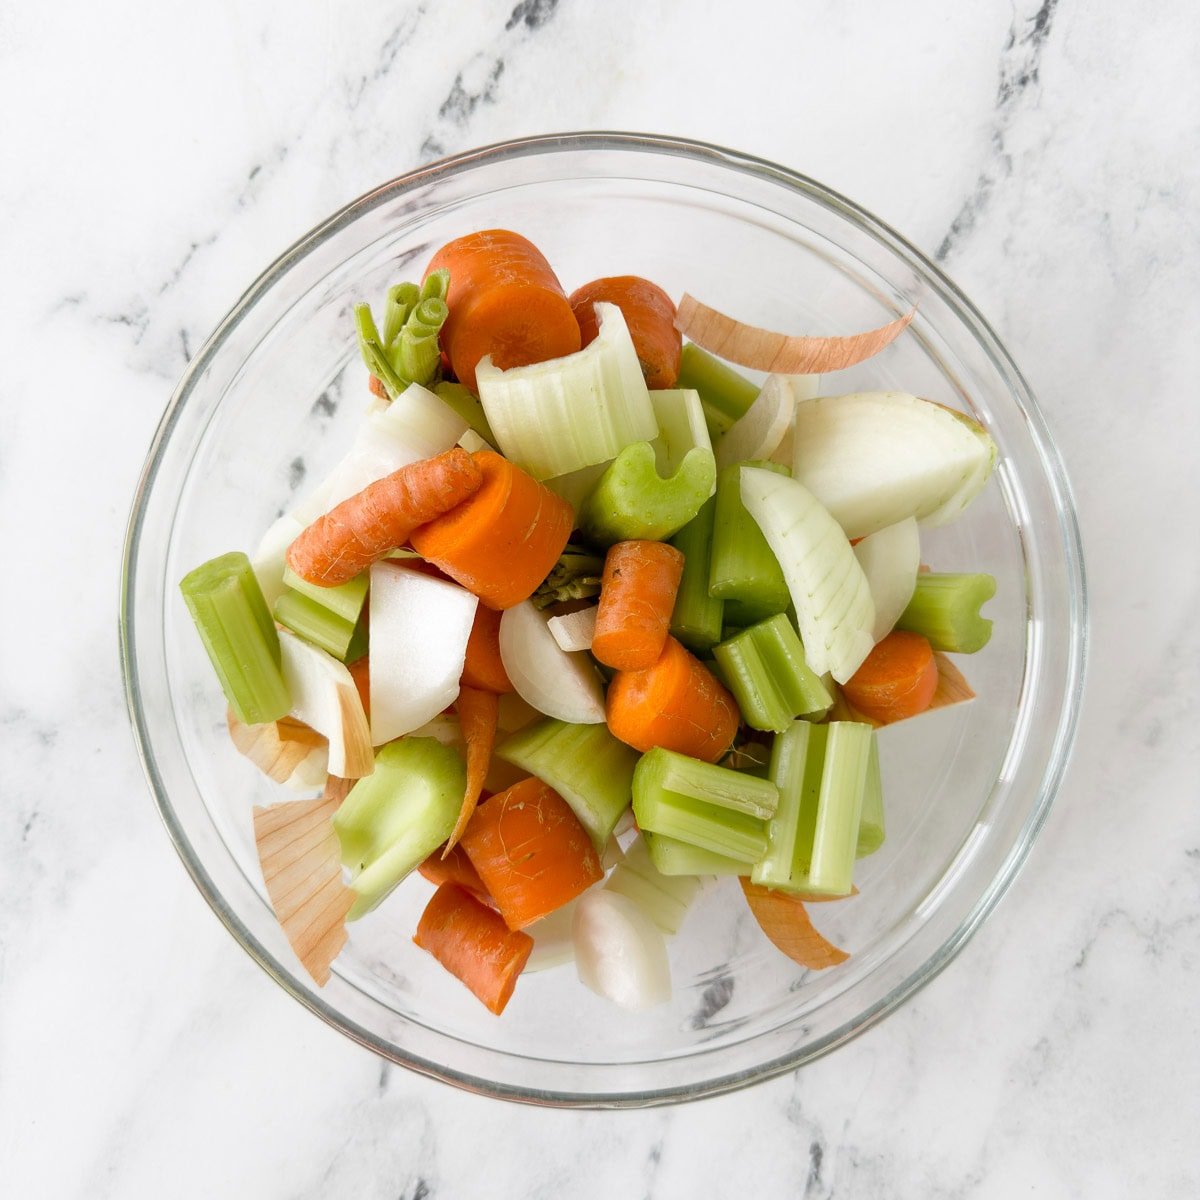
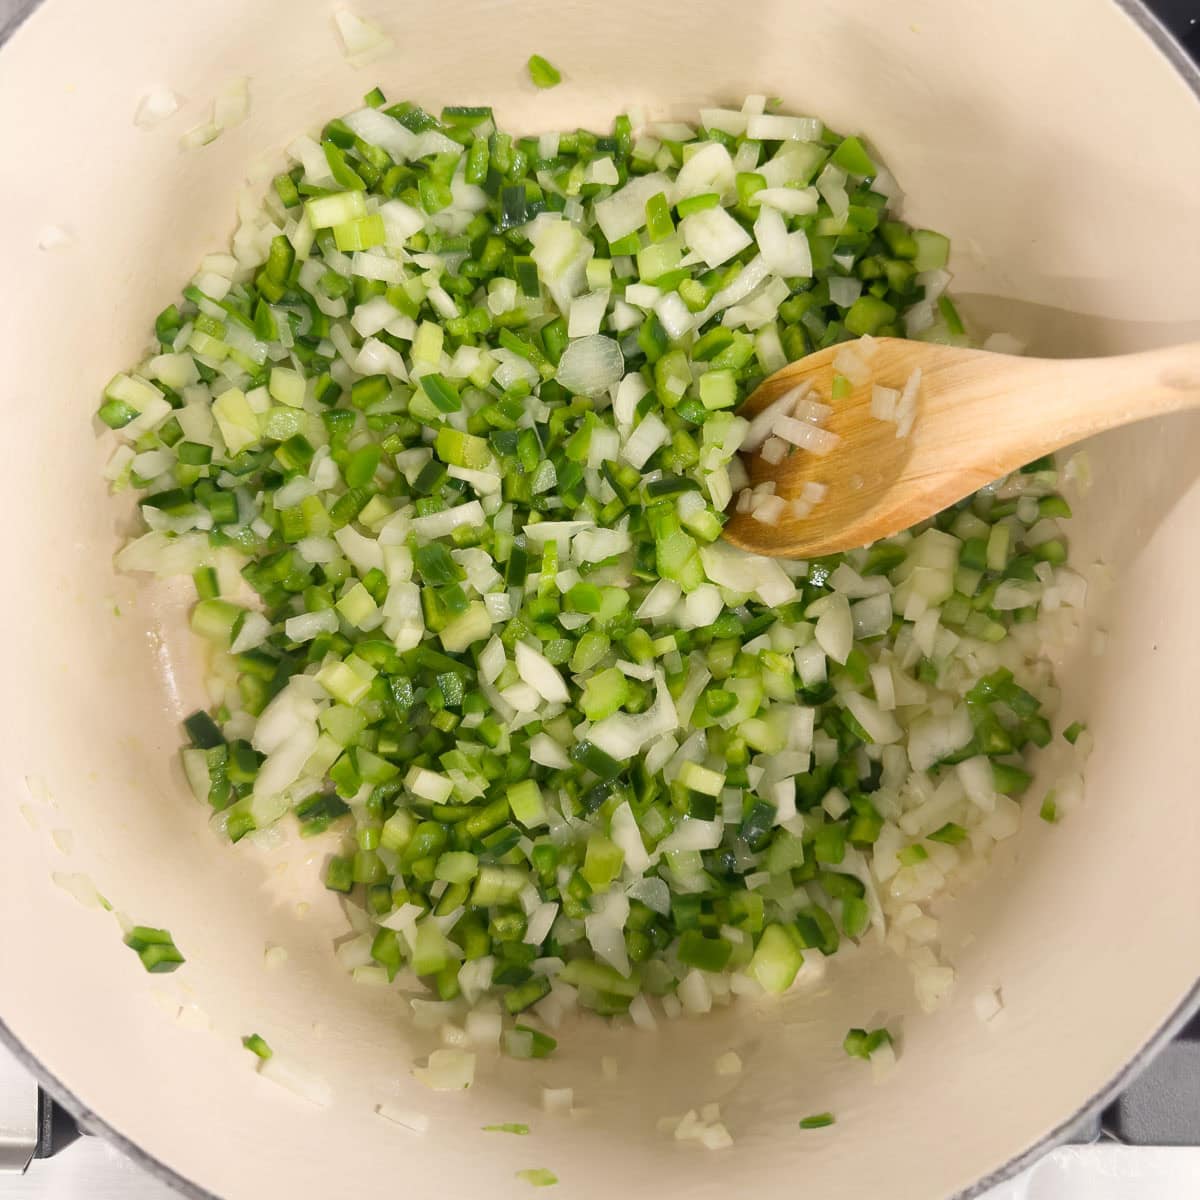
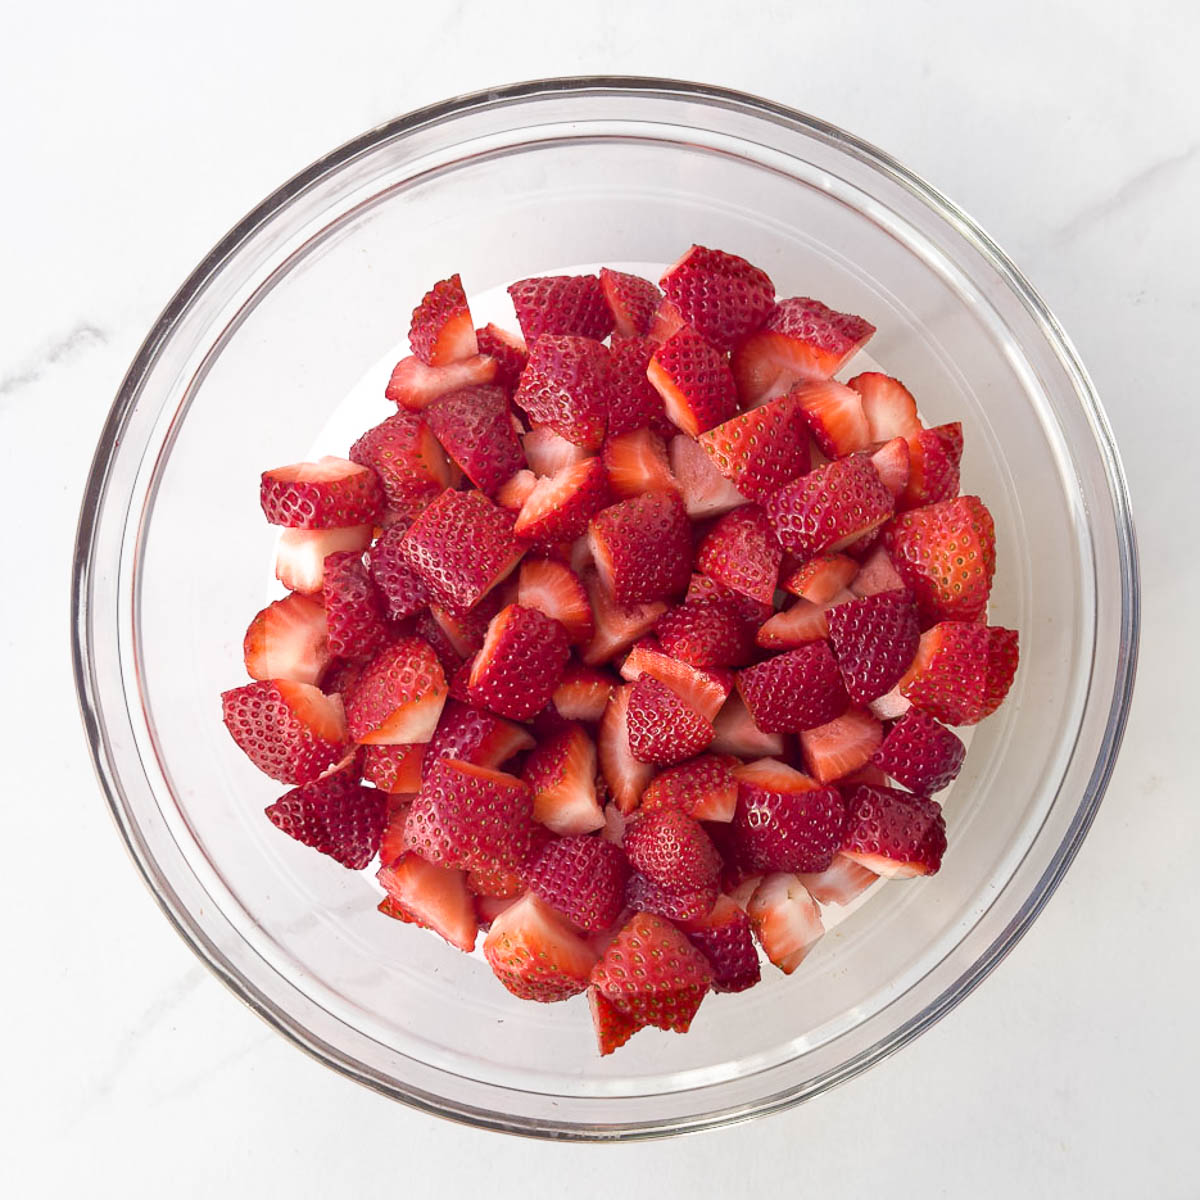
- Peel tomatillos and wash off the sticky coating. Discard the husks.

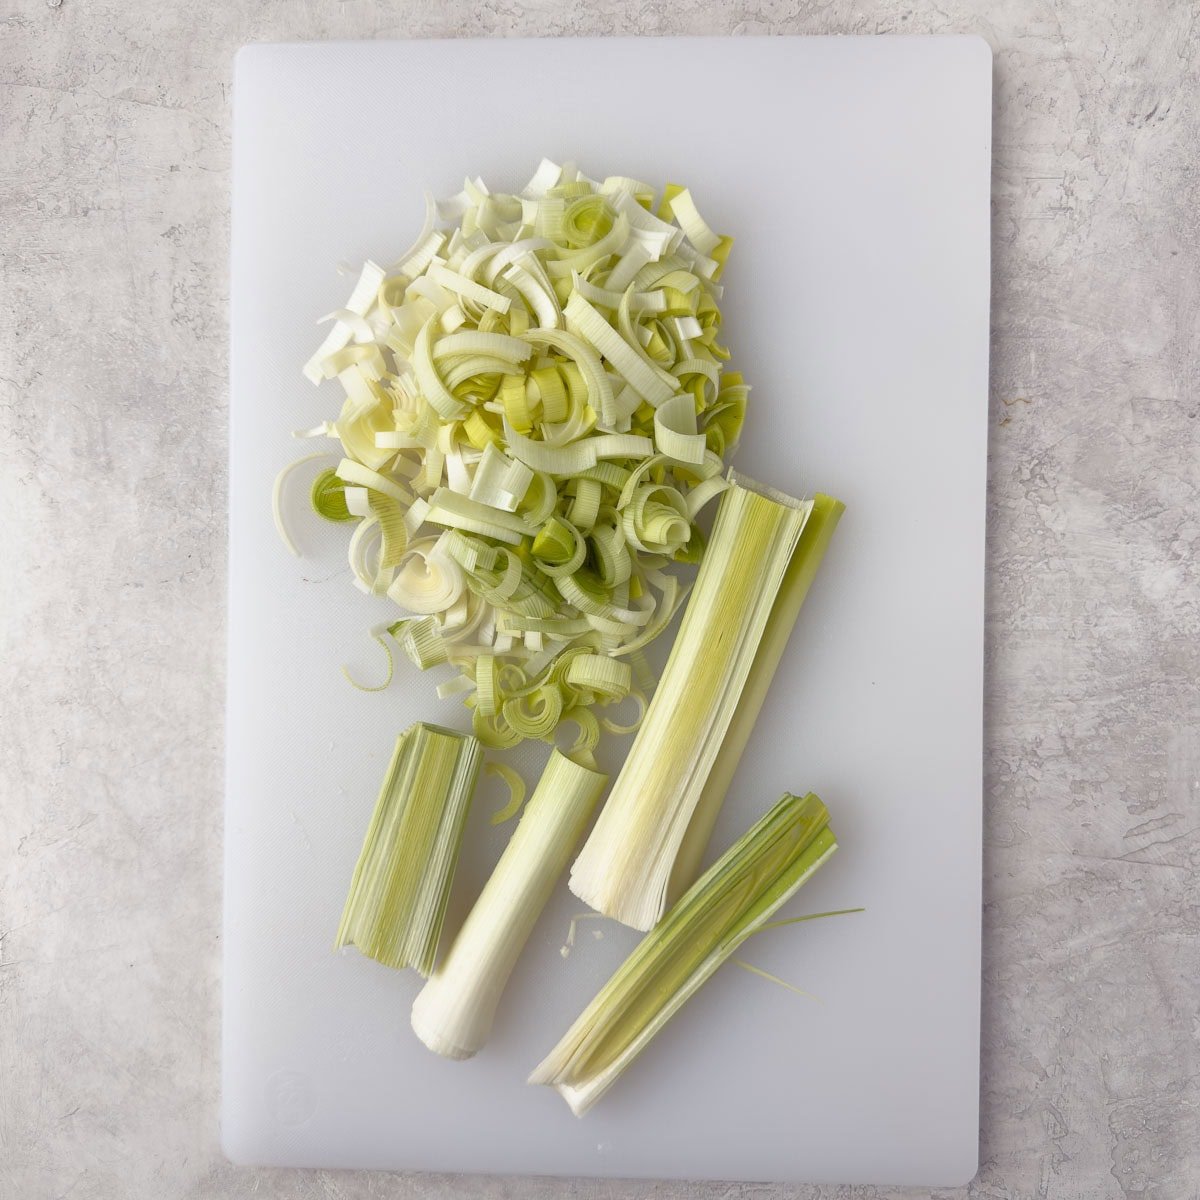
- Roughly chop the tomatillos into quarters or sixths.

- Slice chili peppers lengthwise, de-seed, remove white membrane, and chop.

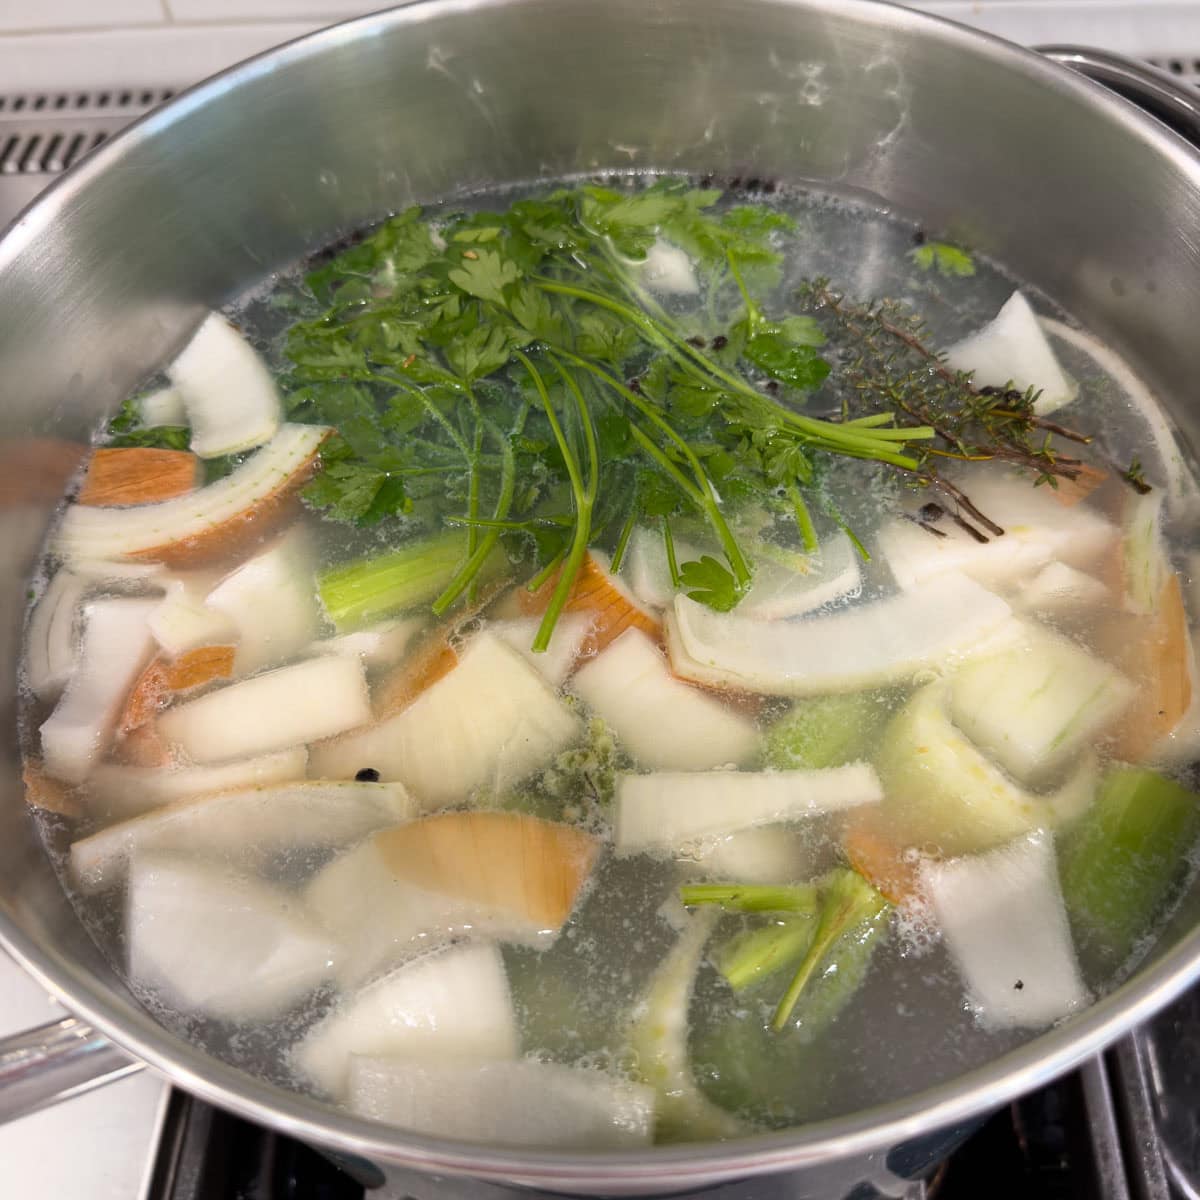
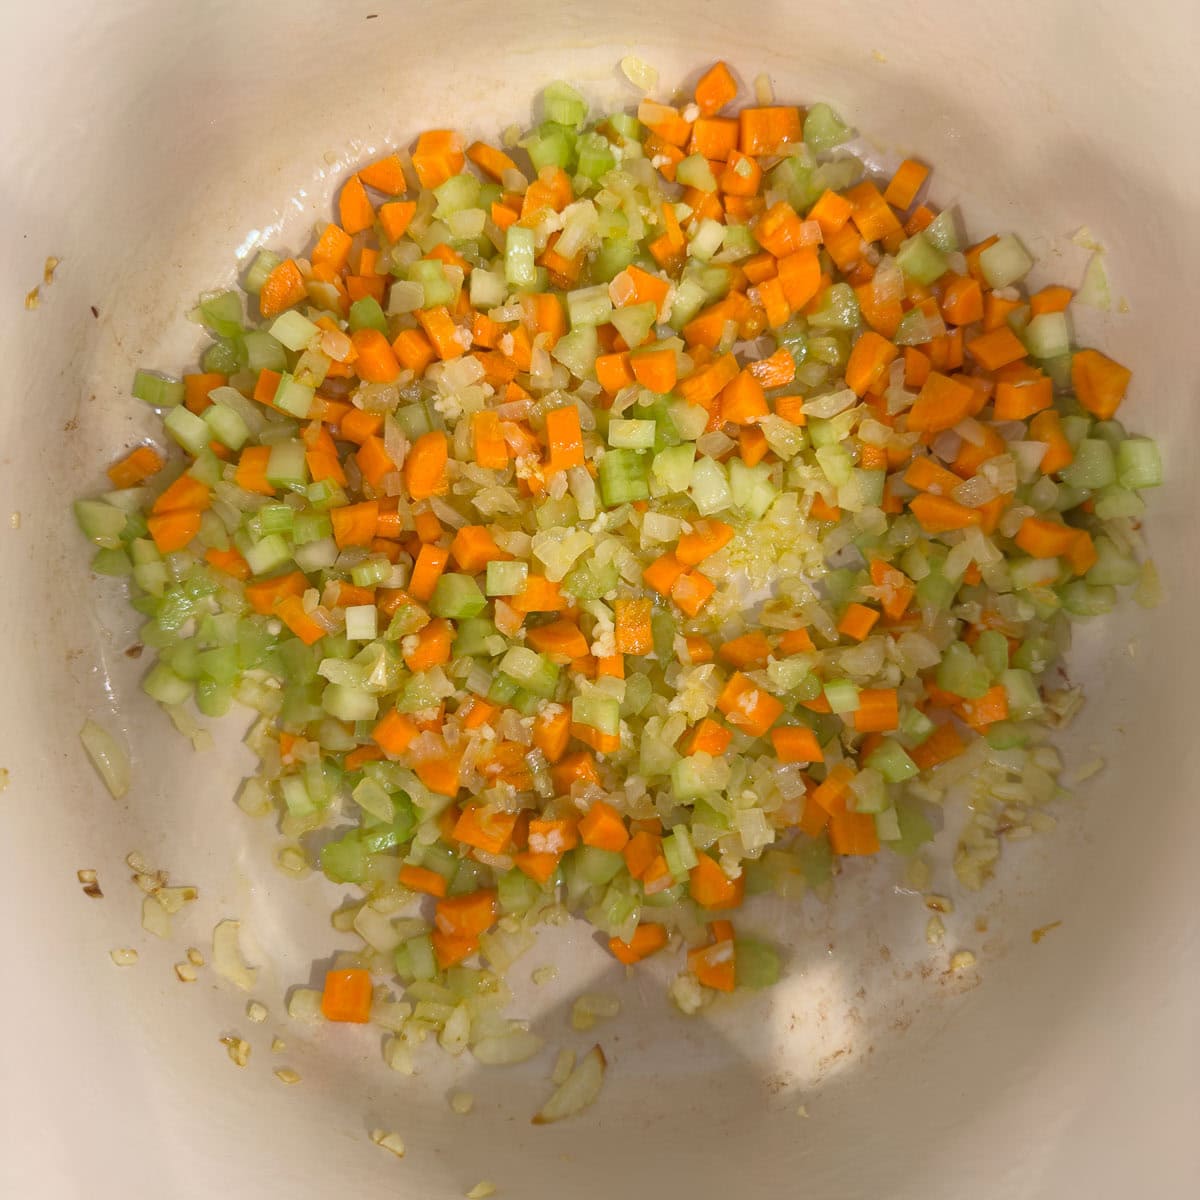
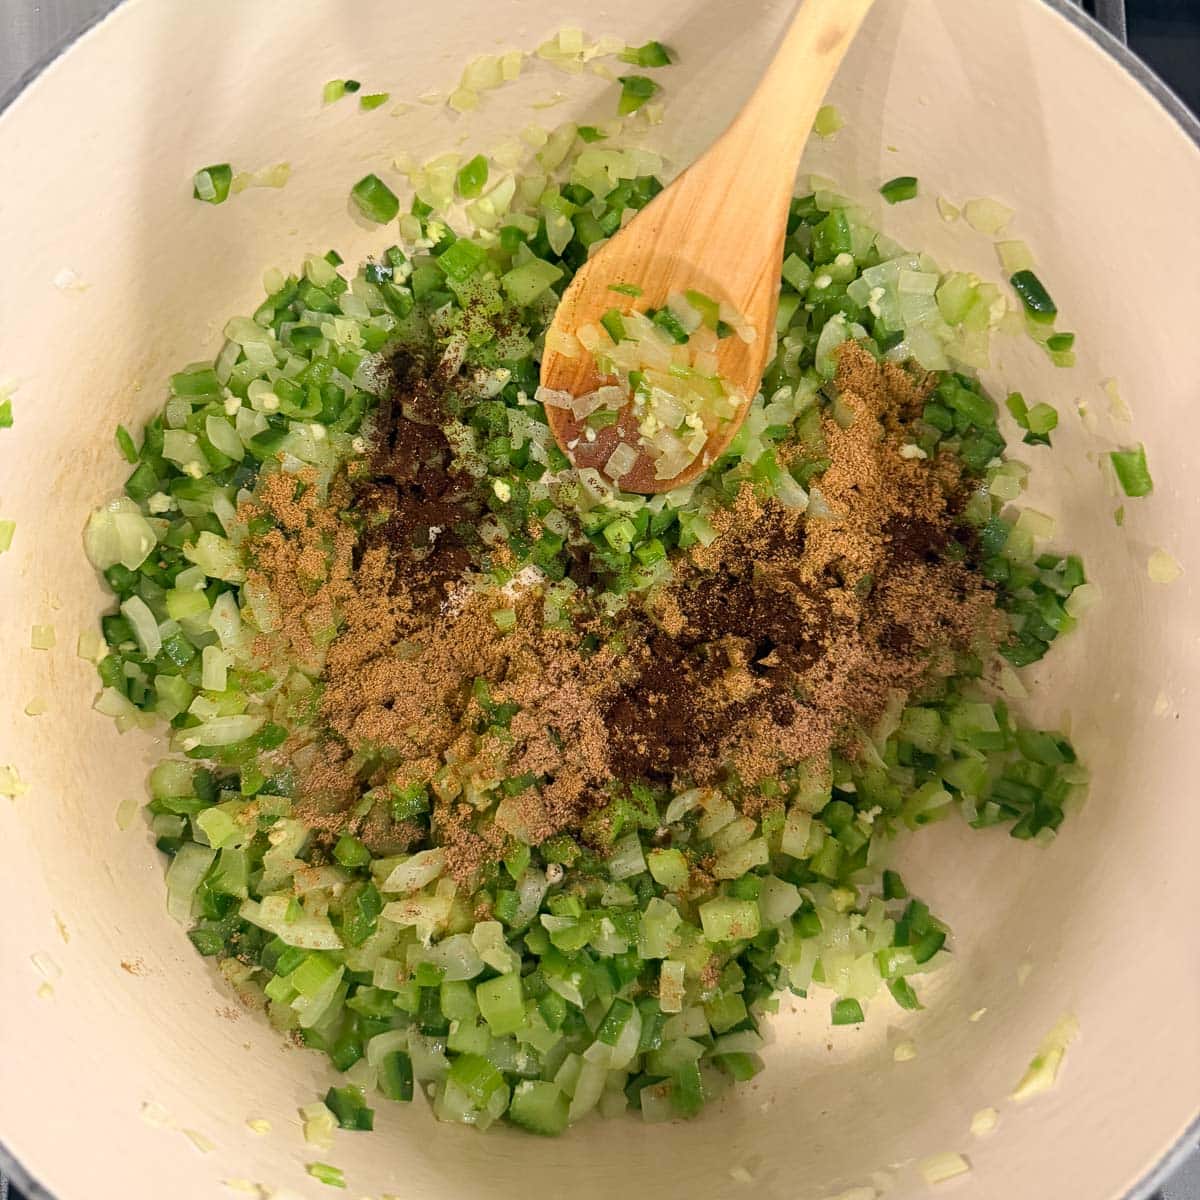
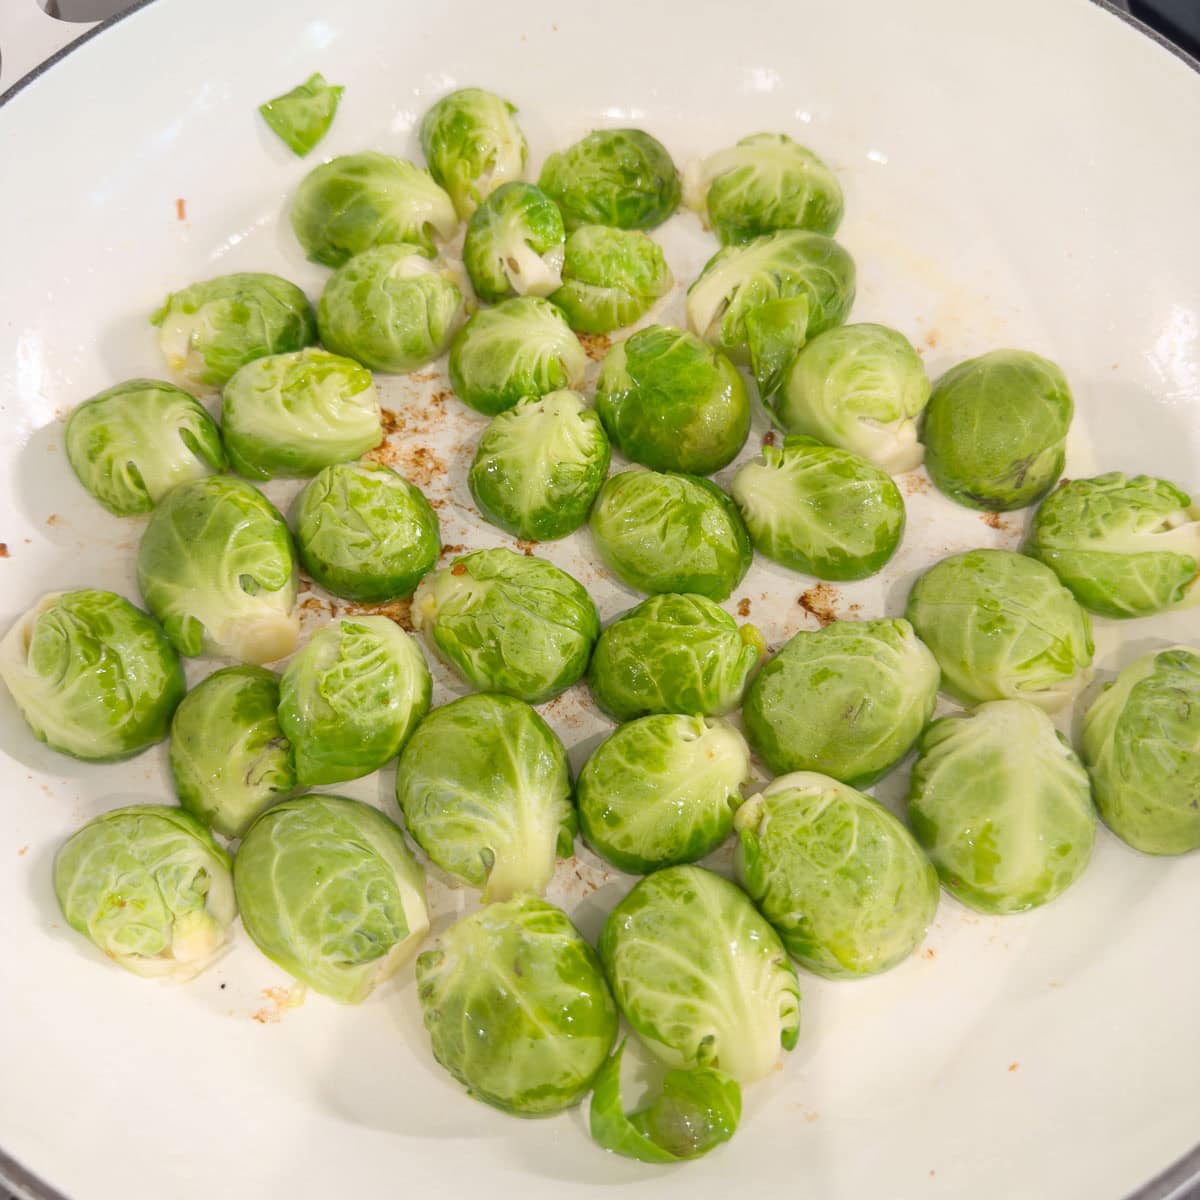
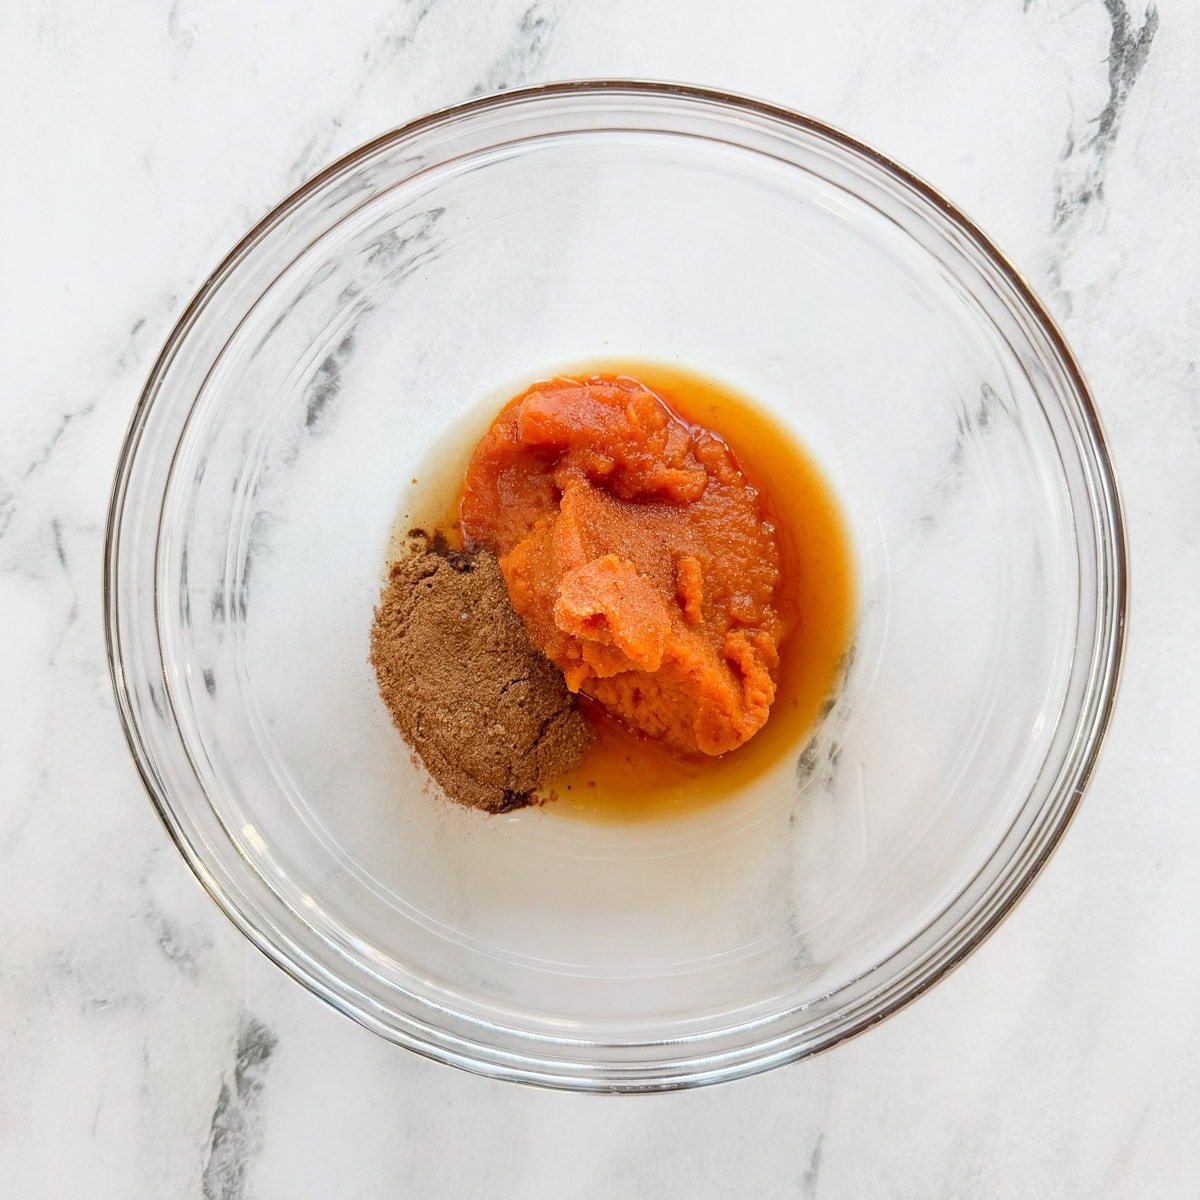
- Add tomatillos, onions, spices, salt, chili peppers, and garlic to the pot.

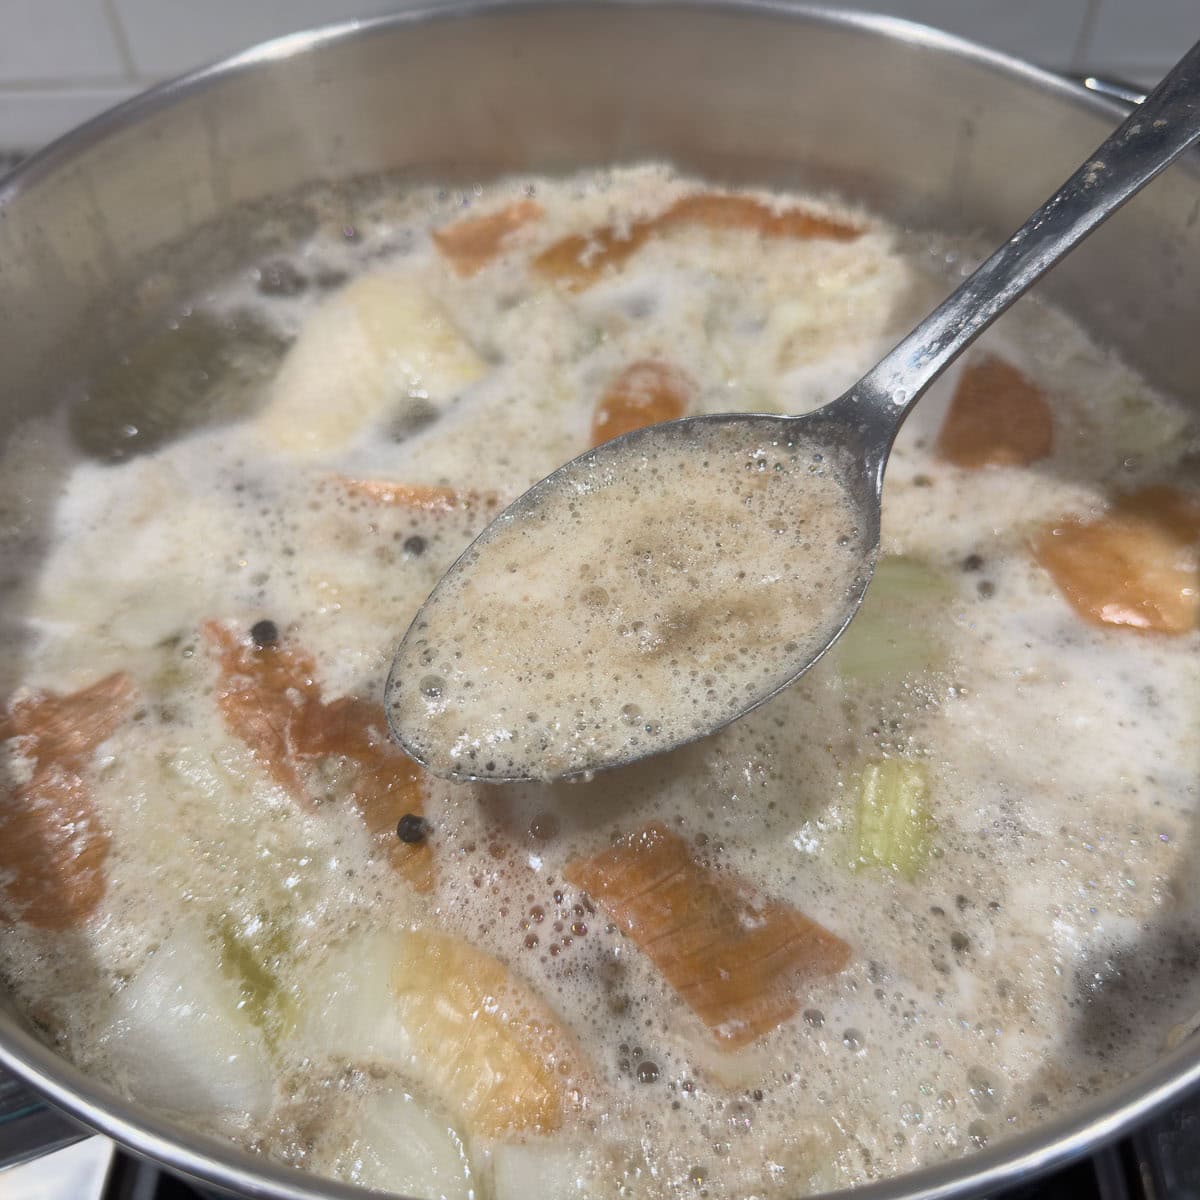
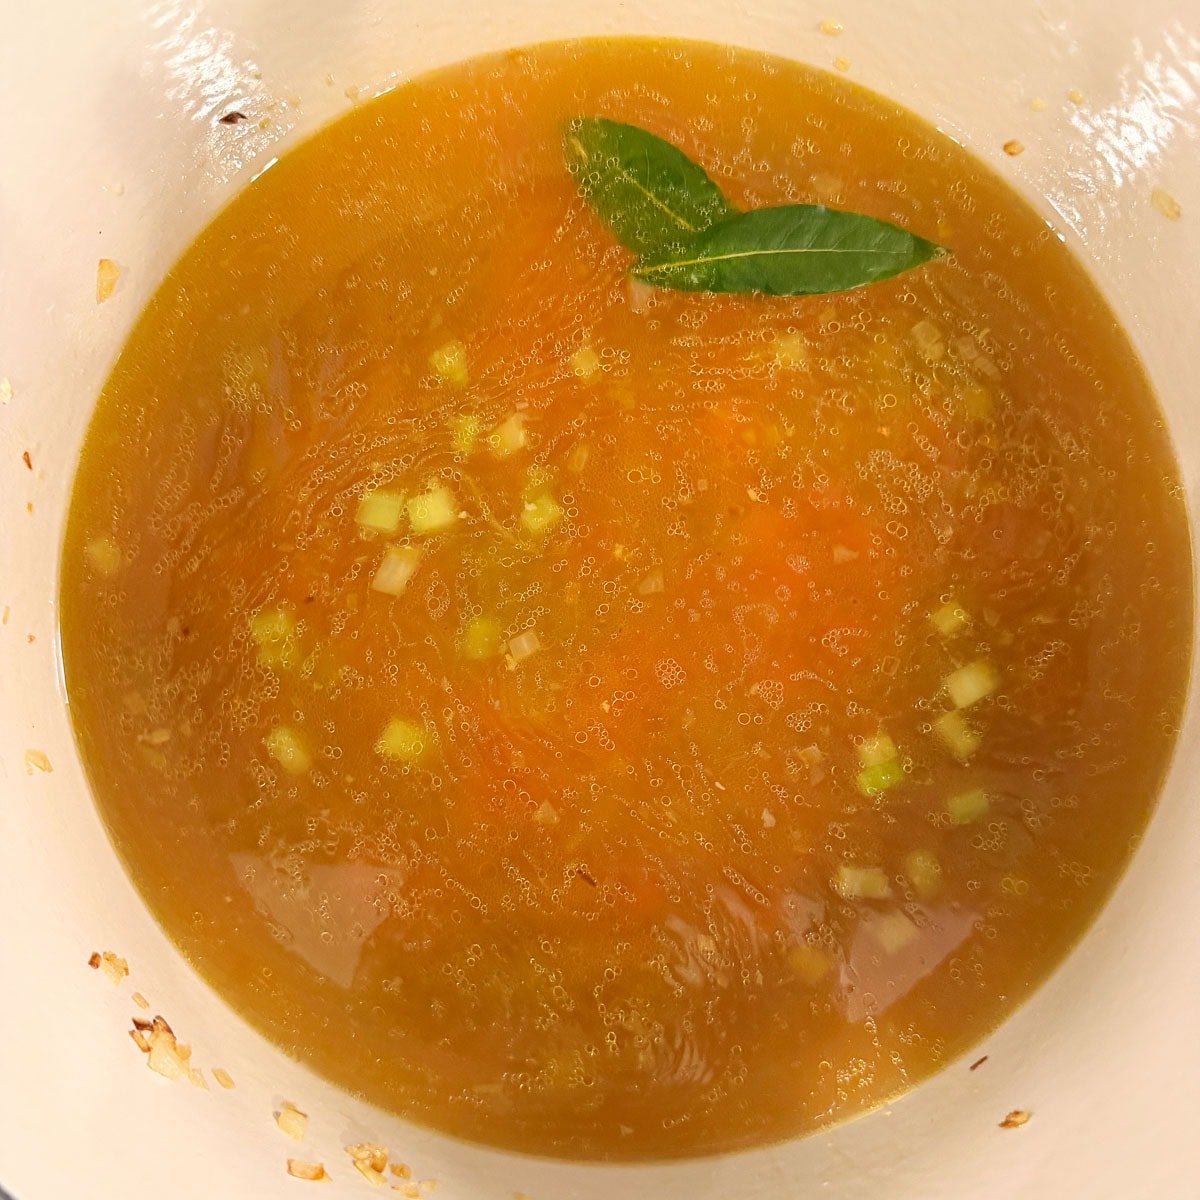
- Bring almost to a boil, turn down to low, cover with a lid, simmer on low for 15-20 minutes until falling apart.

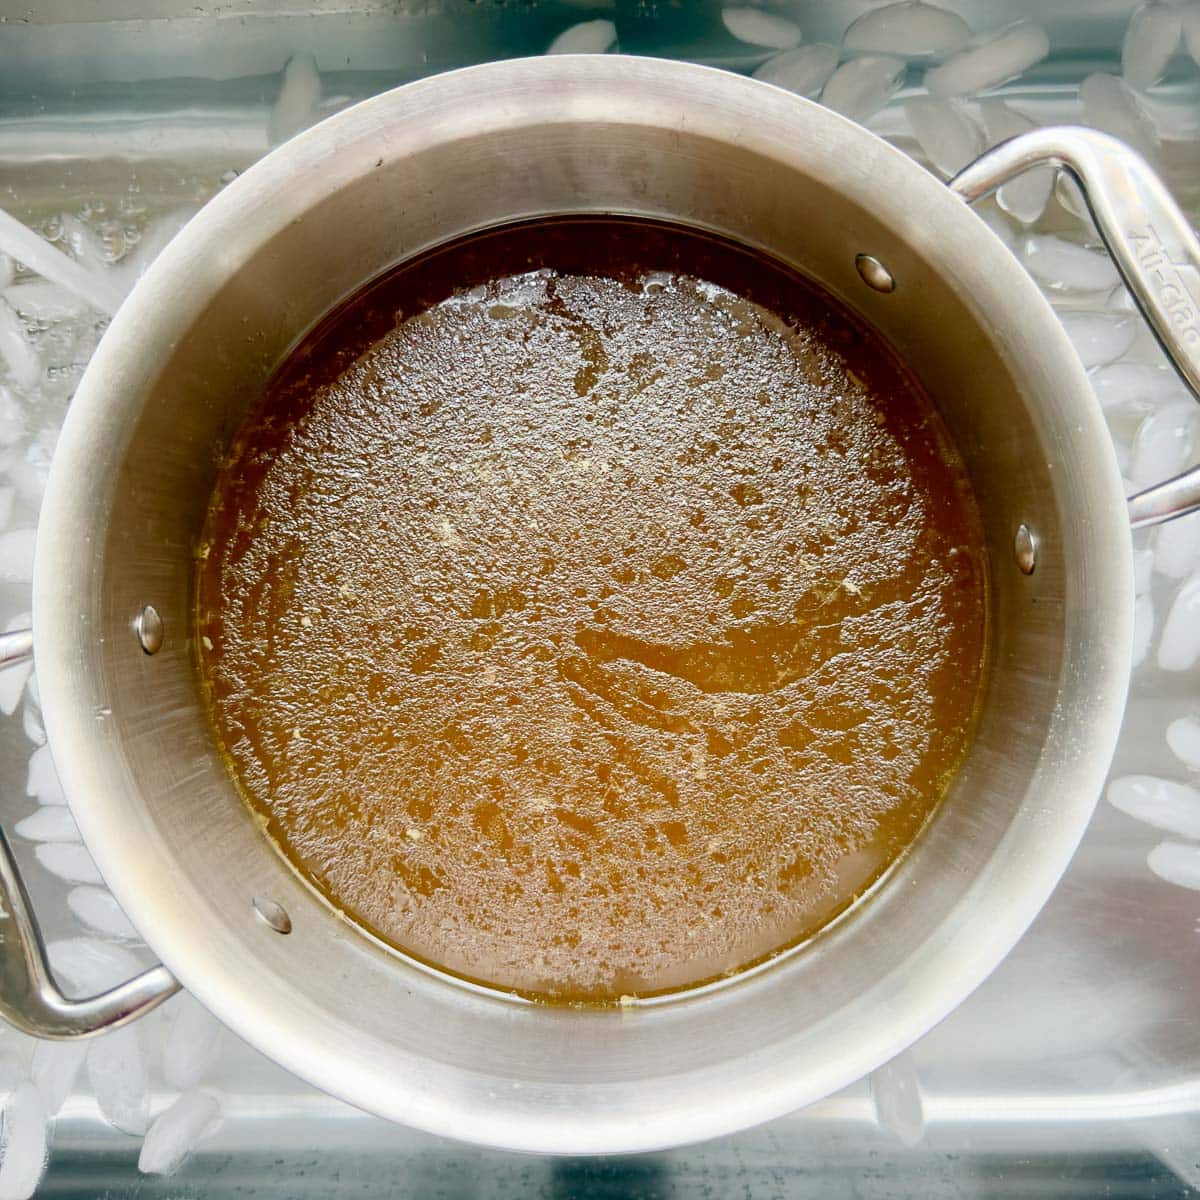
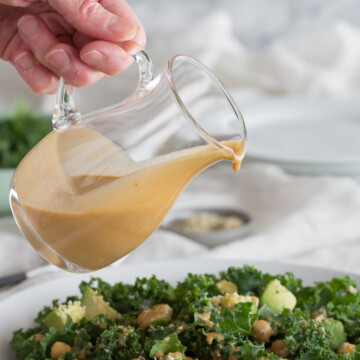
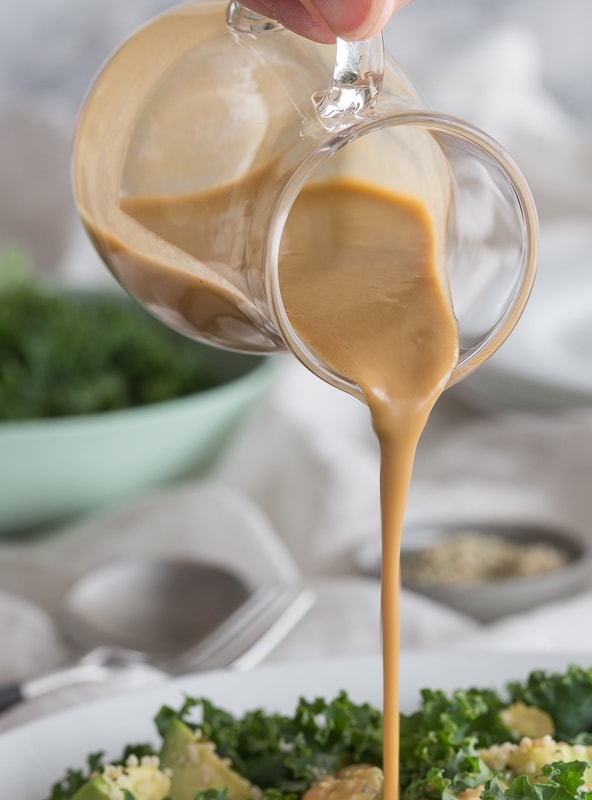
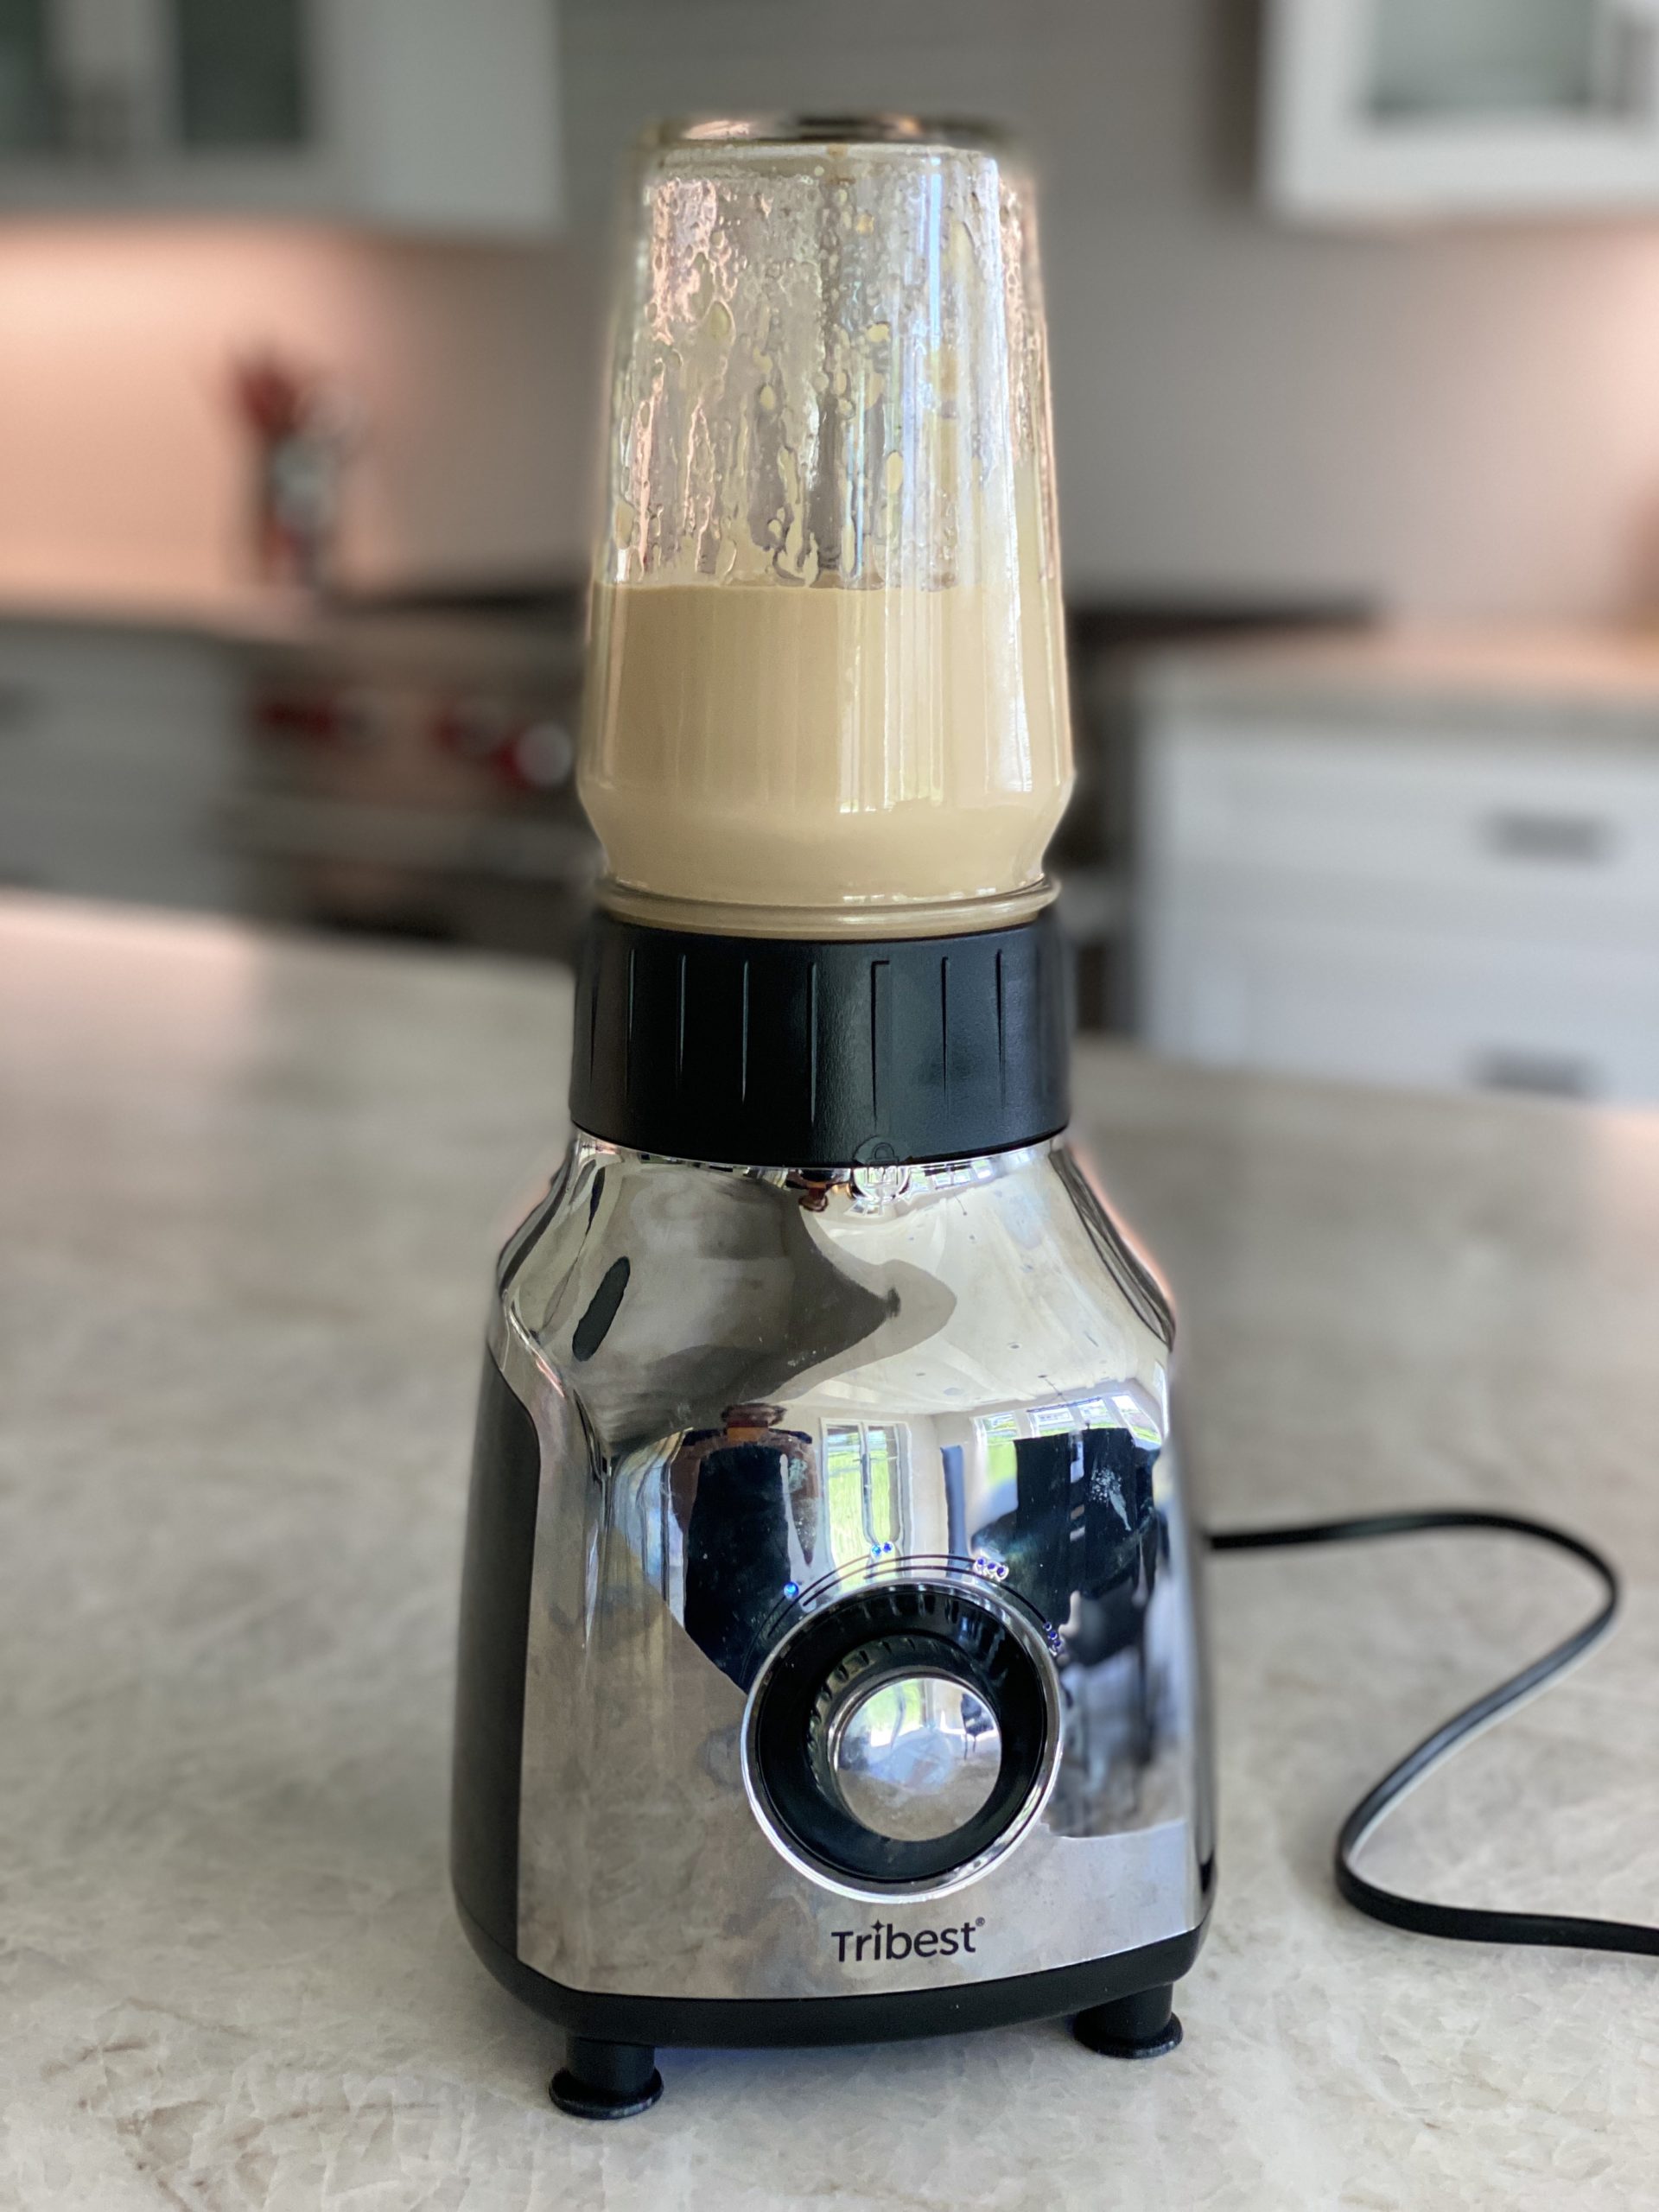
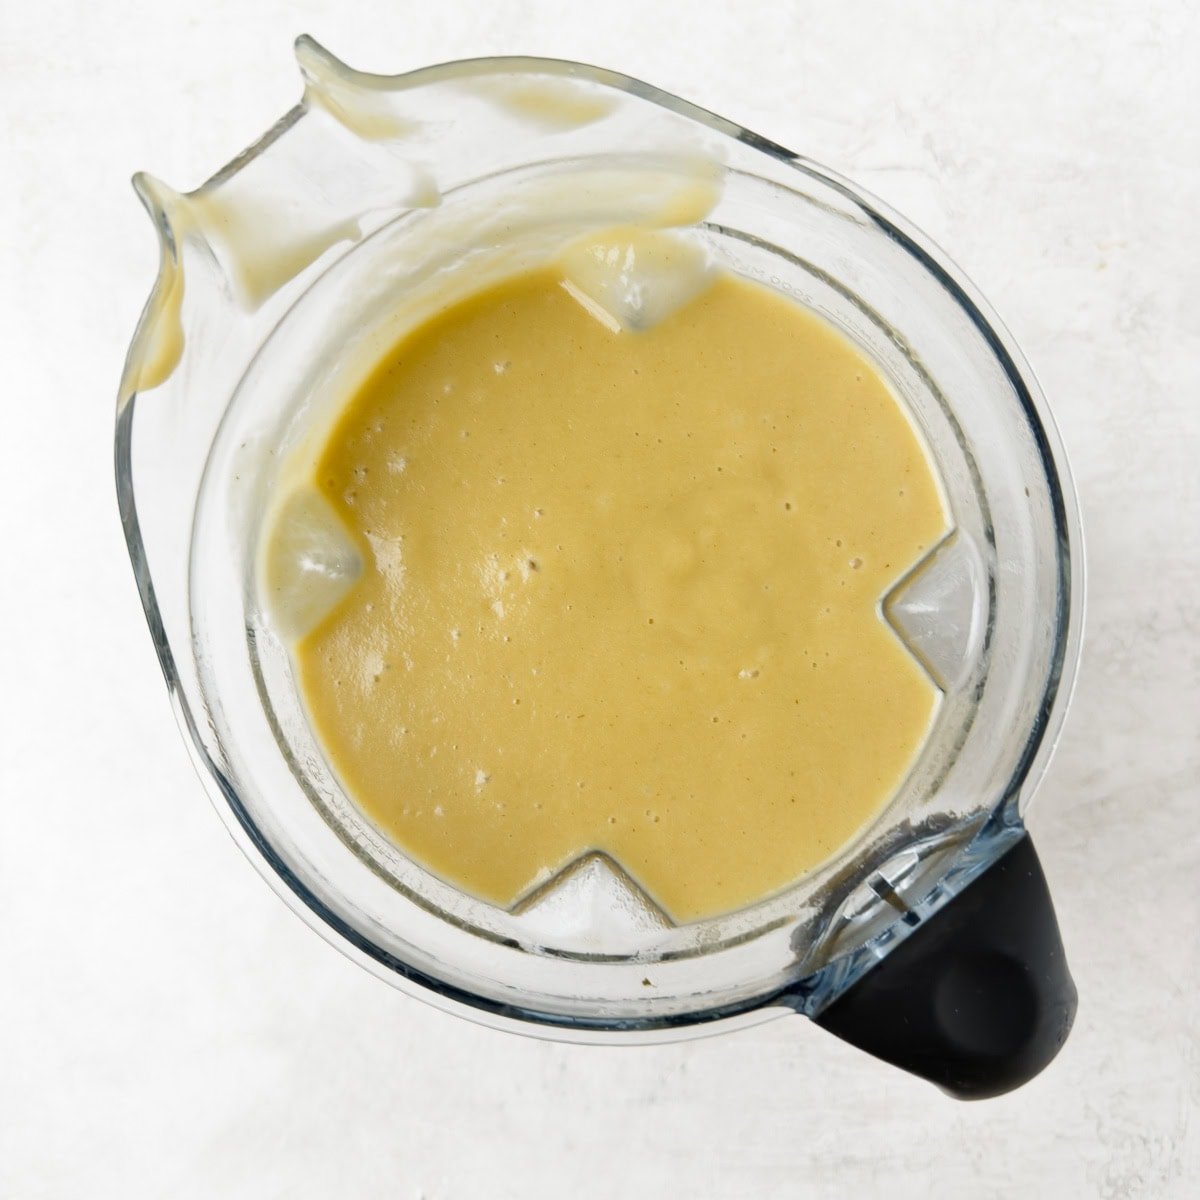
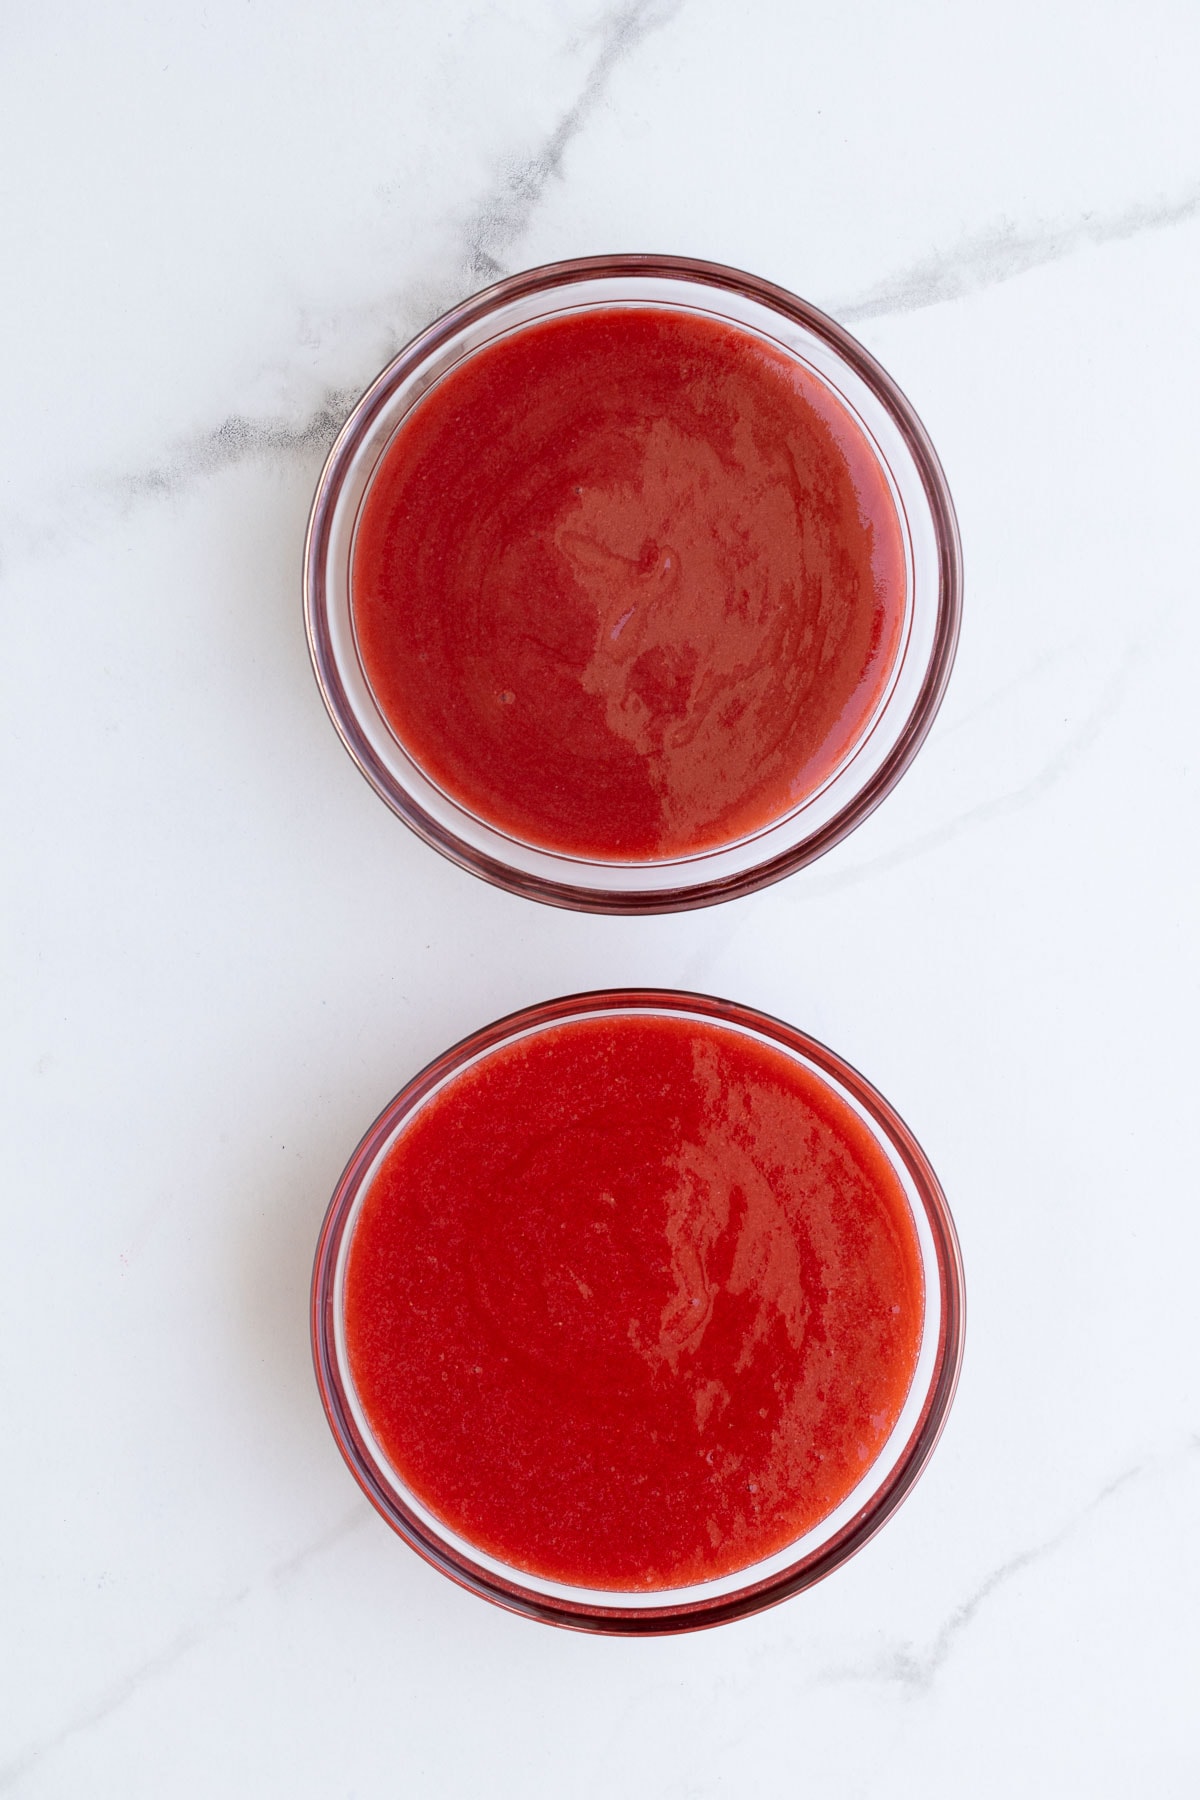
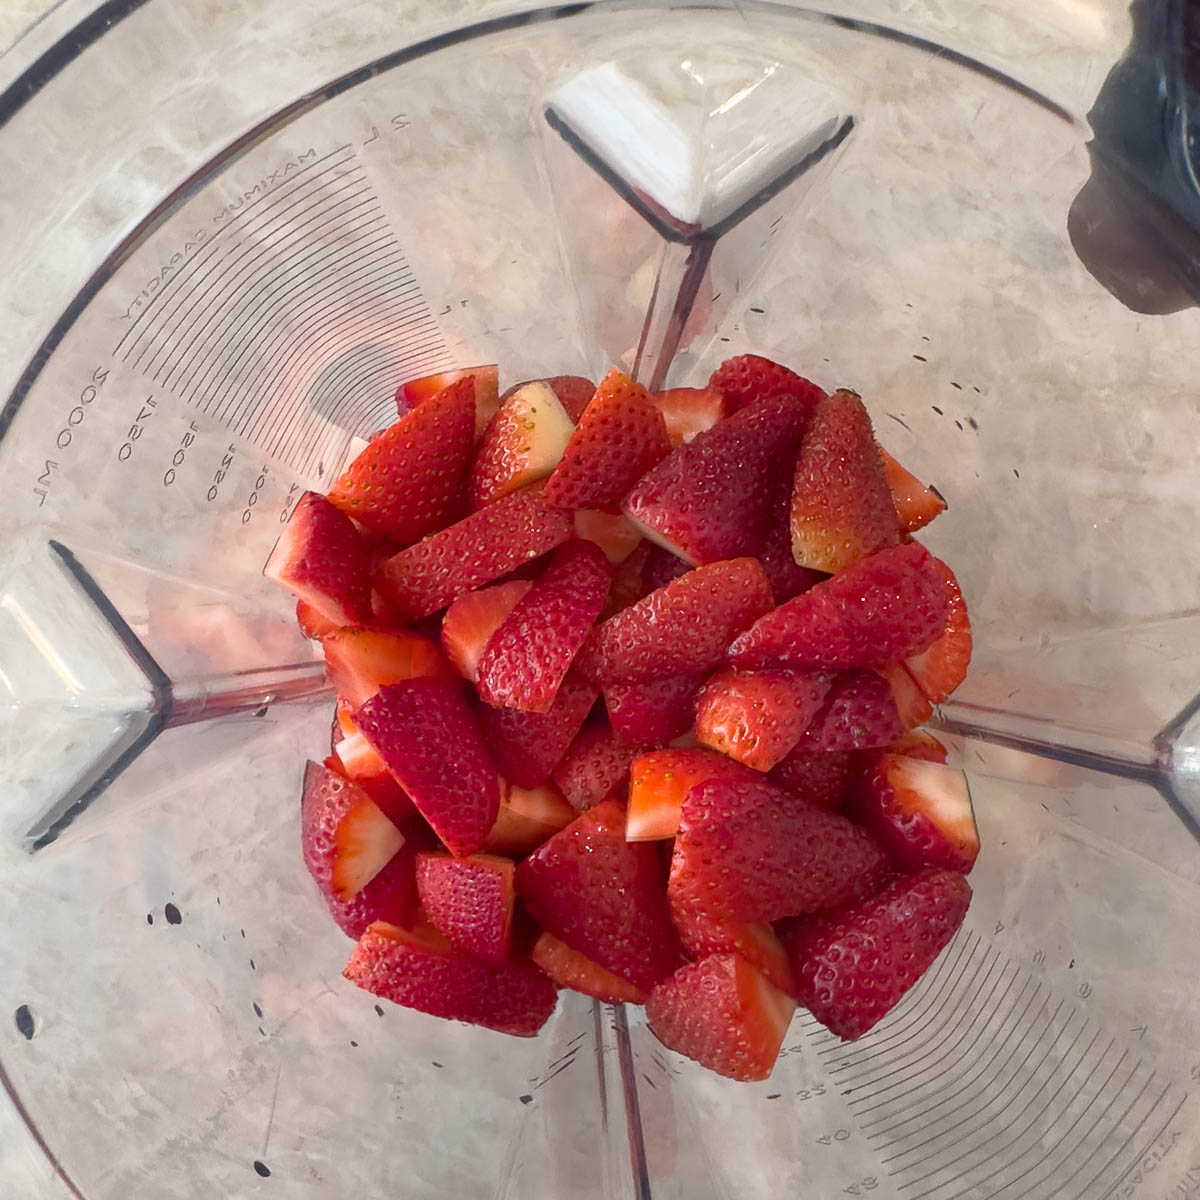
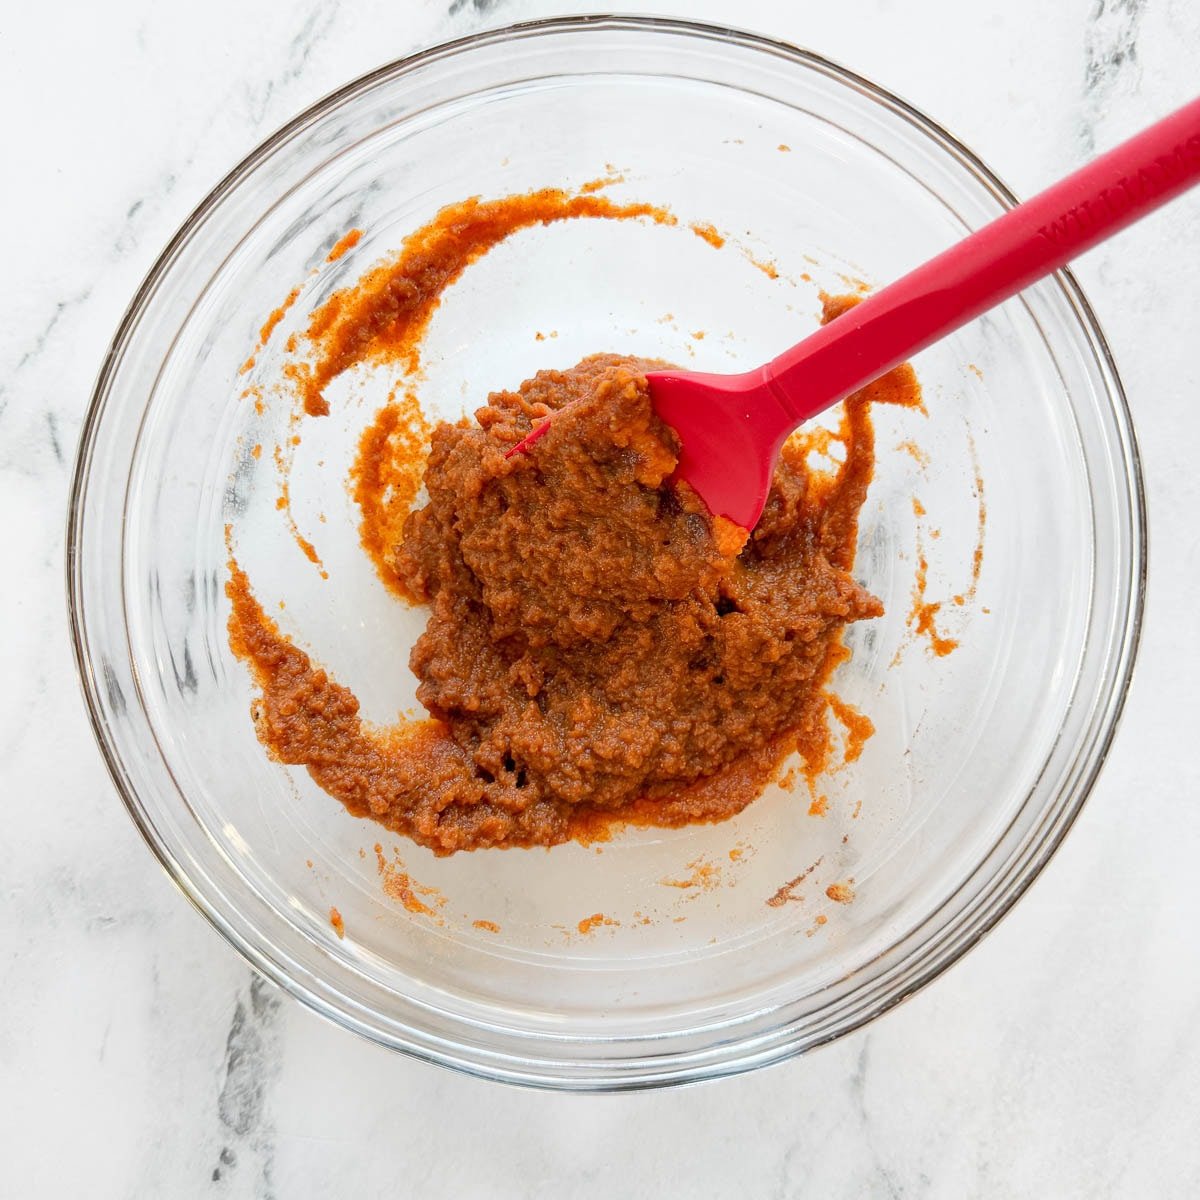
- Carefully add hot enchilada sauce to a blender container, tight lid on, pulse to refine, chunky or smooth. Do in two batches with a smaller blender.
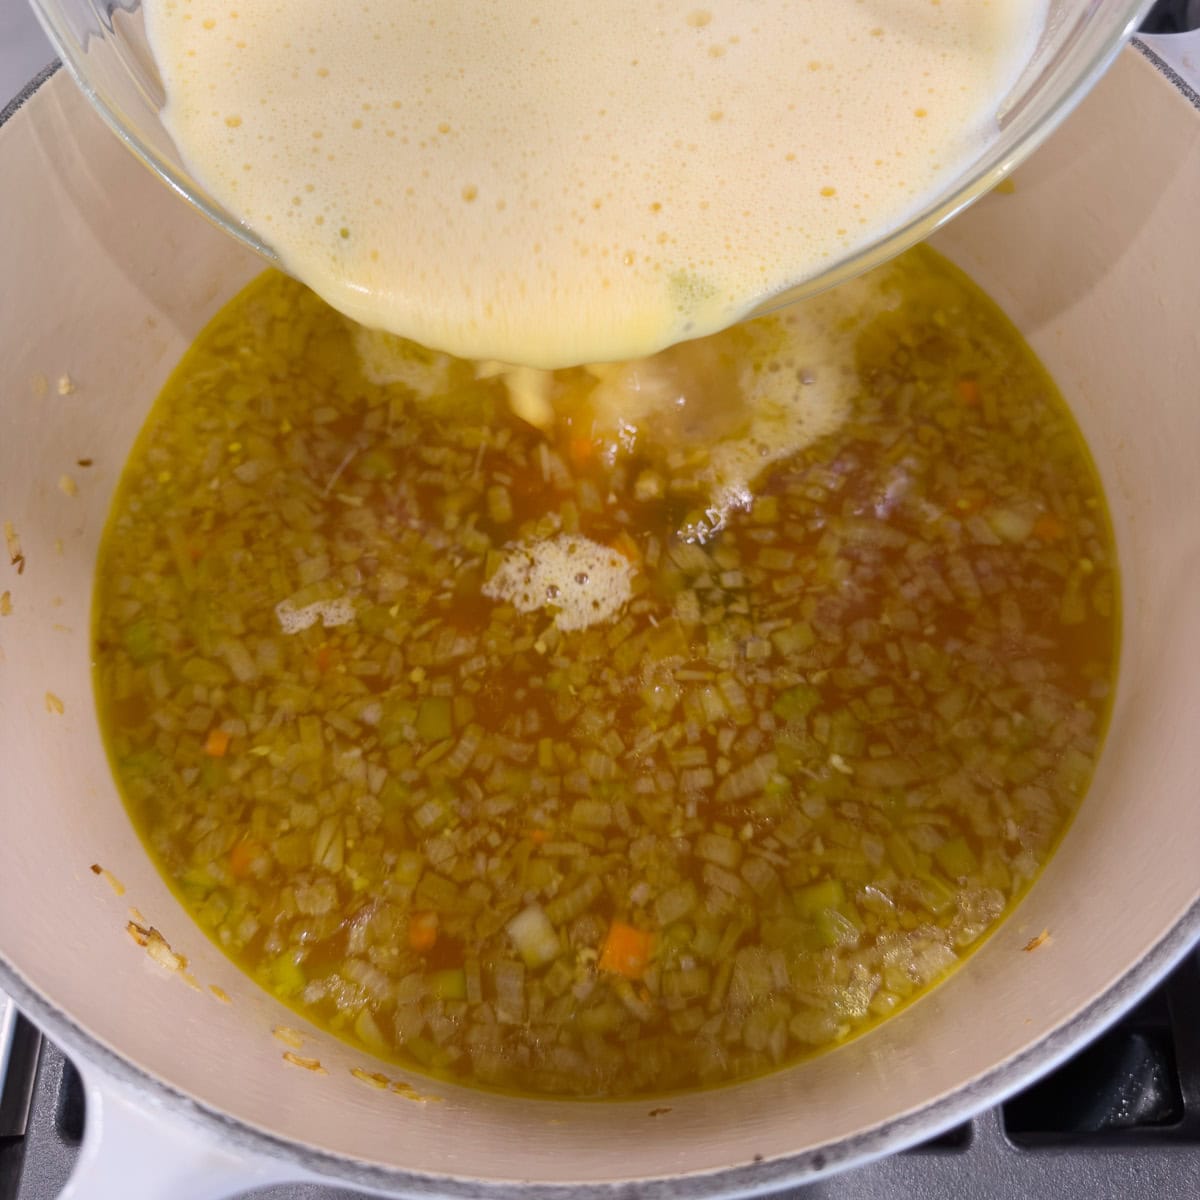
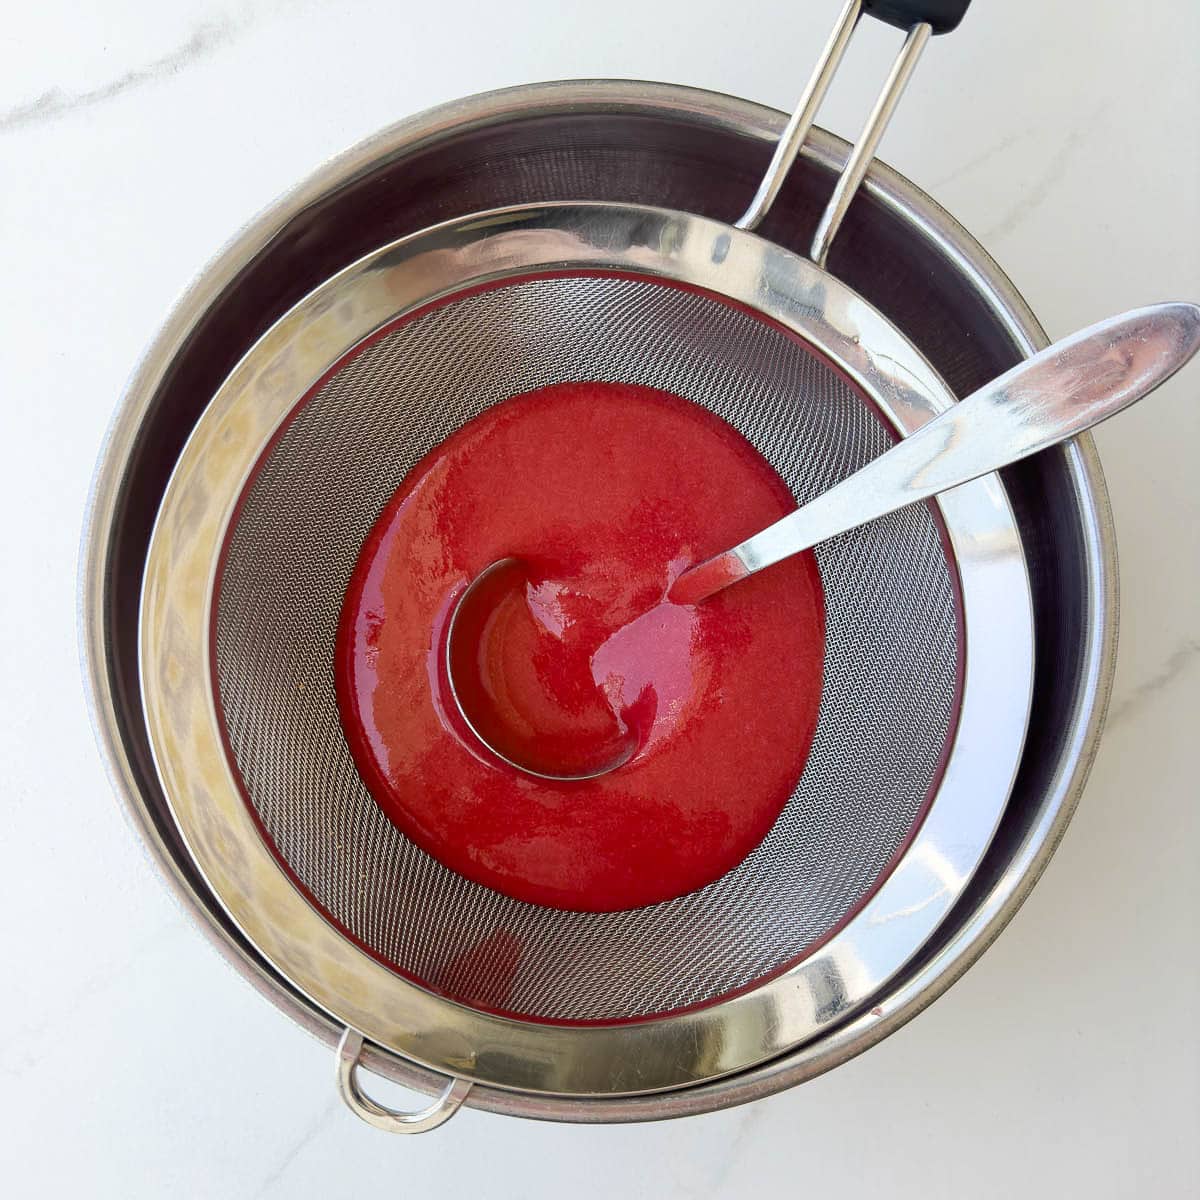
Chef's Tip: Thicken Green Enchilada Sauce Right in the Blender: For a green enchilada sauce with a little more body, I thicken it right in the blender. With the sauce still hot, add 1 tablespoon arrowroot starch directly to the blended sauce and pulse until smooth. It thickens almost immediately and evenly-no slurry needed. This gives the sauce enough body to cling to tortillas and fillings without tasting heavy or starchy.

Chef's Tip: Safely Handling Chili Peppers - If you're heat sensitive or want to protect your hands, wear disposable kitchen gloves while trimming and deseeding chili peppers. Once you're done, discard the gloves and wash your hands thoroughly before touching anything else. This is especially important if working with hotter chili peppers. Hotter chiles contain higher concentrations of capsaicin and related compounds, responsible for chili pepper heat and that lingering "burning" sensation on skin and eyes. For chili pepper heat ratings, go to go to the source, Scoville.org
Serving Suggestions
12 Ways to Use Tomatillo Sauce
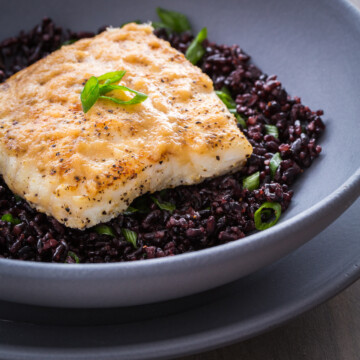
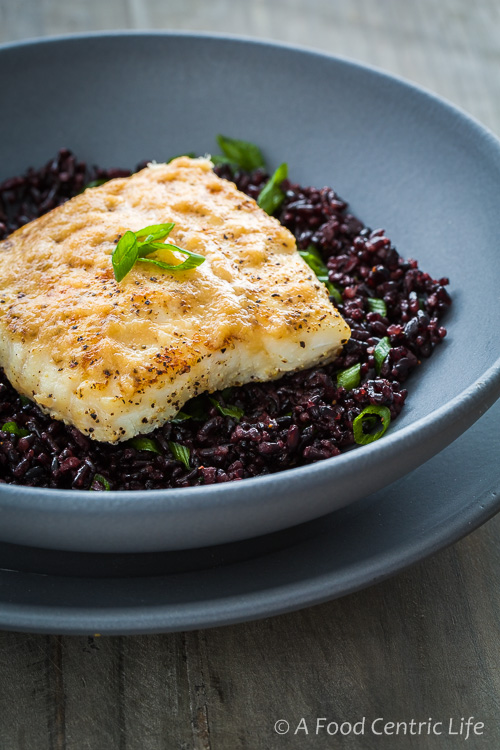
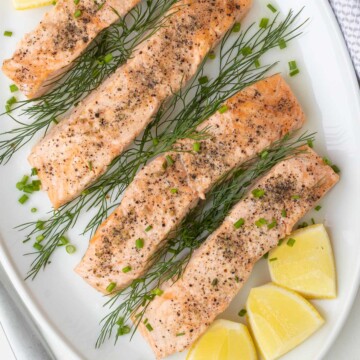
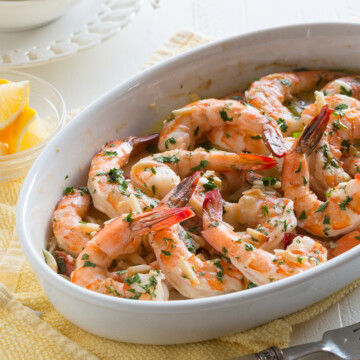
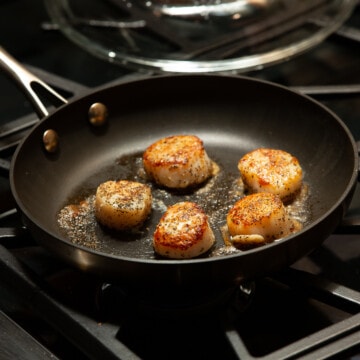
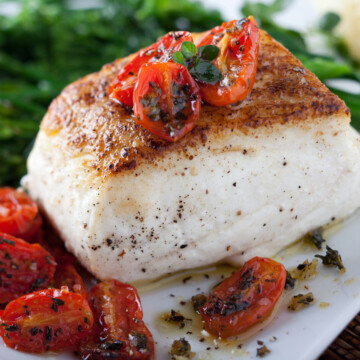
- As a sauce: Over grilled or baked fish like cod, halibut, or salmon, shrimp or scallops.
- Use it as a marinade: Use tomatillo sauce as a marinade for chicken, pork, or fish to infuse them with a bright, tangy flavor before grilling or roasting.
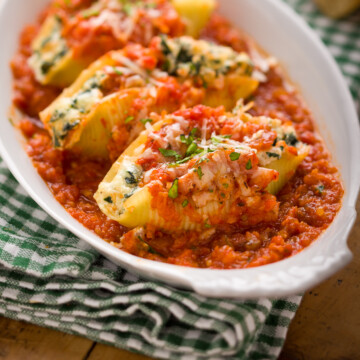
- Make green chicken enchiladas (Enchiladas Suizas).
- Chips and salsa! My great weakness.
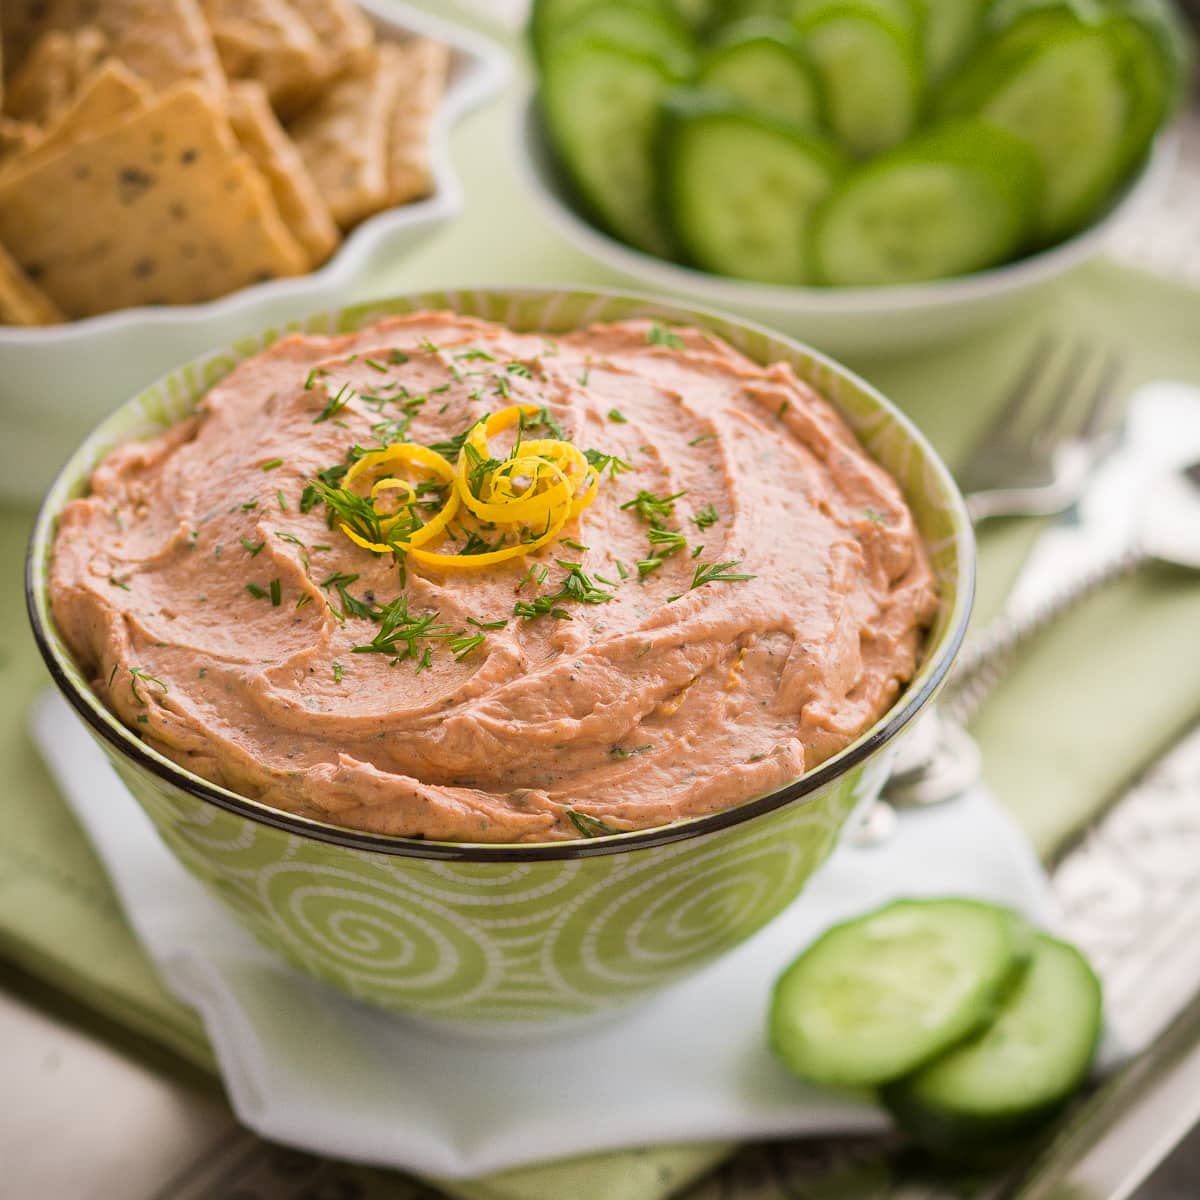
- Make dips: Combine the tomatillo sauce with cream cheese or Greek yogurt to create a creamy dip for chips, crackers, or fresh vegetables.
- Add a spoonful to top a bowl of chili.
- Rice and grain bowls: Stir the sauce into cooked rice, quinoa, or couscous to add moisture and flavor.
- Use it with Huevos Rancheros instead of the more traditional red enchilada sauce.
- Pour it with eggs - poached, scrambled eggs, or over omelets for a lift of flavor.
- Use it with any kind of tacos as the sauce.
- Alongside baked nachos with cheese.
- Serve aside grilled flank steak for a Mexican style dinner.
Storing and Freezing
Tomatillo sauce is good for 4-5 days. If you're not going to use it up, freeze it in jars labeled with the date and volume (like 8 ounces or 1 cup portions). Souper Cubes work terrific for freezing sauces.

Green Enchilada Sauce Recipe FAQs
The terms are often used interchangeably as they are both green Mexican-style sauces made from tomatillos and chilies. It can be prepared either raw or cooked, each method offering distinct flavors and textures.
The spiciness of tomatillo sauce can be customized by using different types and amounts of chili peppers. For a milder sauce, use fewer peppers and remove their seeds and membranes, which contain most of the heat. For a spicier version, include more peppers or choose hotter varieties like serrano or jalapeño peppers.
Not really. Green tomatoes and tomatillos are different fruits with different flavors. Tomatillos have a tart, citrusy taste, whereas green tomatoes are more acidic and less fruity.
More Mexican Inspired Recipes
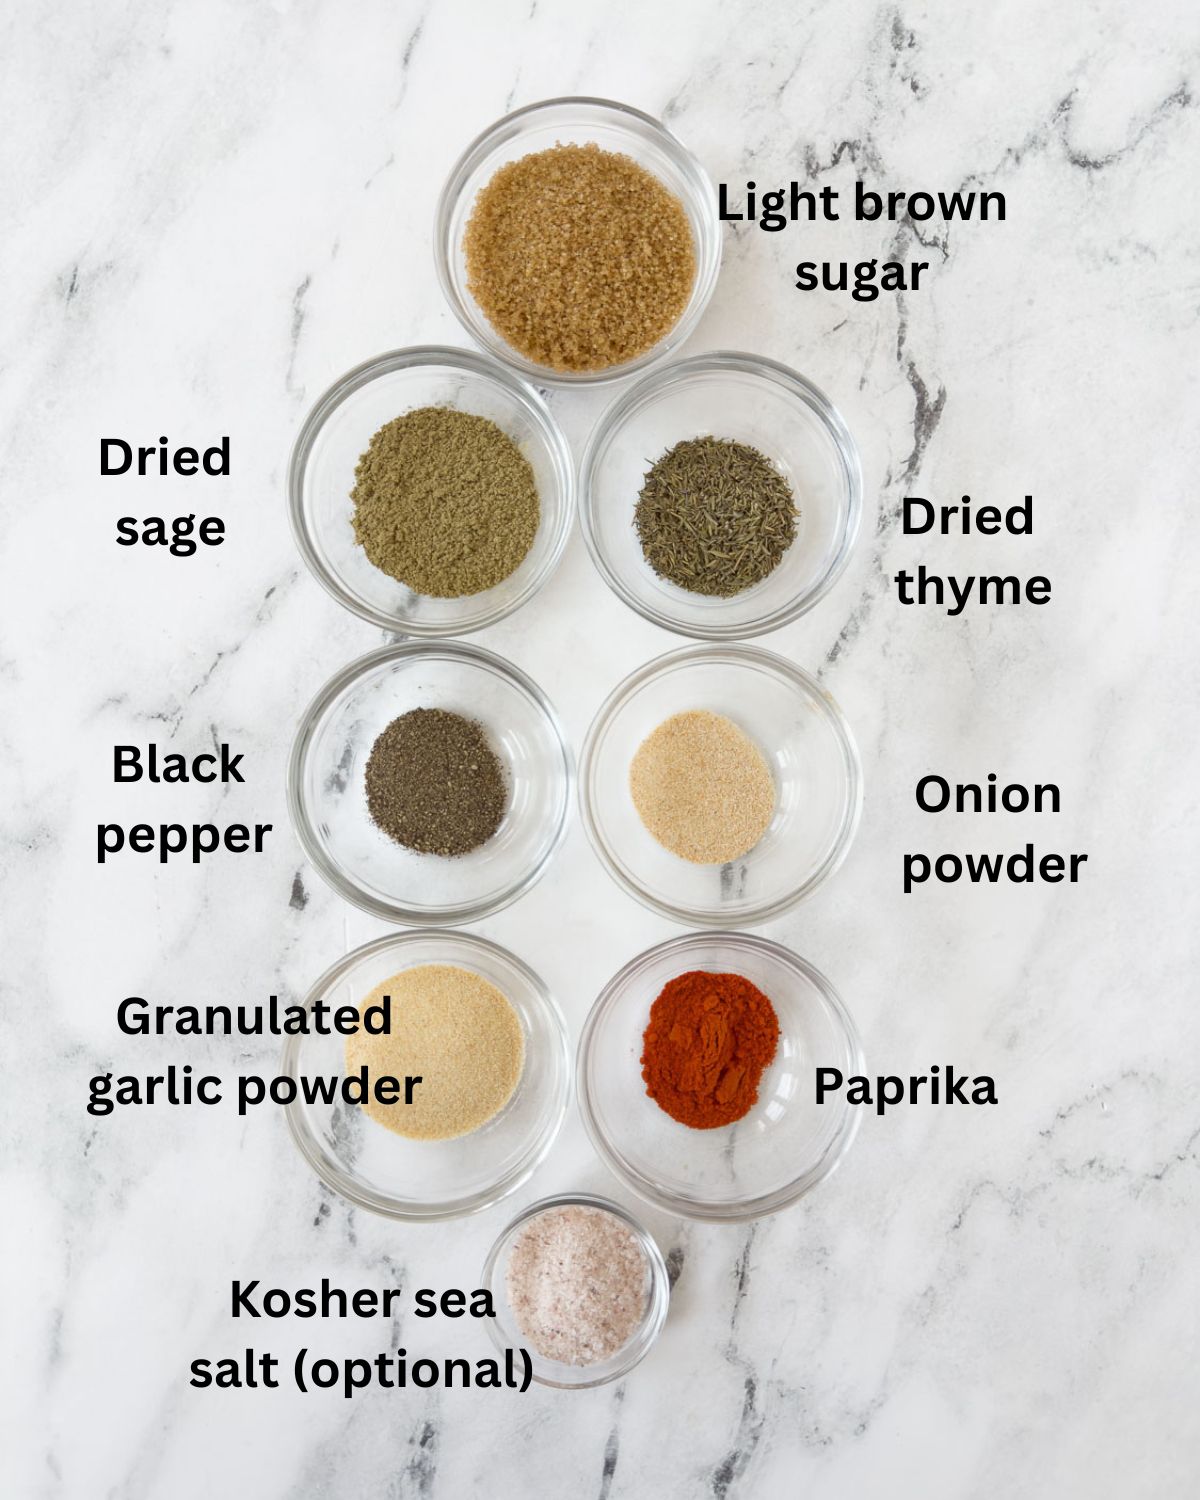
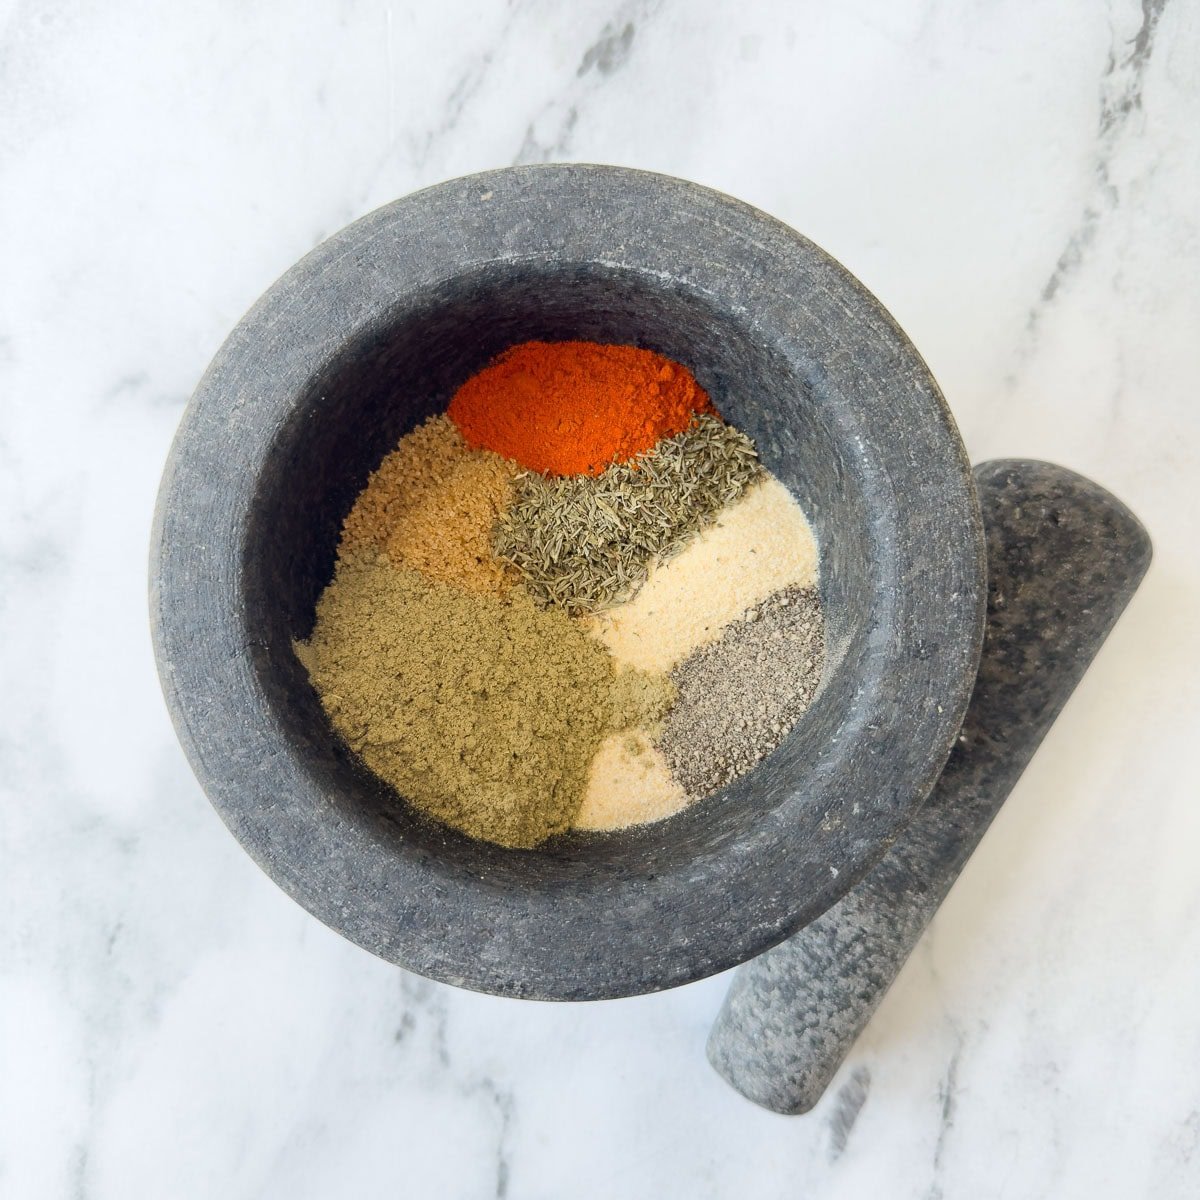
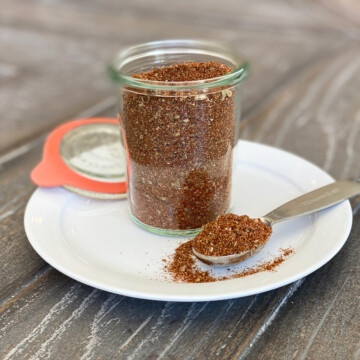
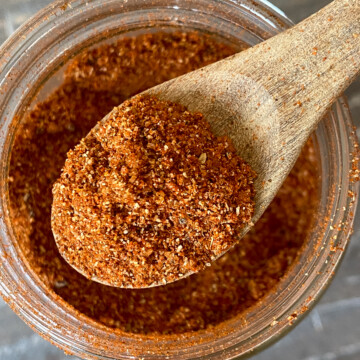
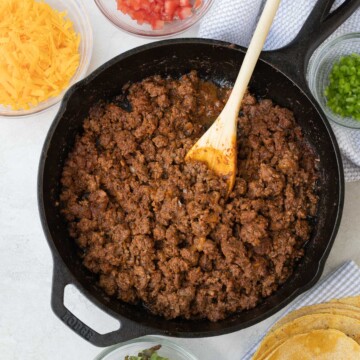
If you're making tacos, skip the packaged seasoning with crazy high sodium and make your own with my homemade taco seasoning blend.

⭐️Did You Make This Recipe?
If you make this green enchilada sauce sauce, please add your comment. I appreciate your feedback and enjoy hearing from you. If you loved it, please give it a 5-star rating! They really help other readers. Thanks for supporting my site!
📖 Recipe

Green Enchilada Sauce (Tomatillo Sauce)
Equipment
Ingredients
- 2 ½-3 pounds green tomatillos
- 1 medium onion
- 1 large Anaheim chili pepper
- 1 large jalapeno chili pepper
- 2 large garlic cloves chopped
- 1 cup water
- 2 teaspoons ground cumin
- 1 ½ teaspoons dried oregano
- 1 teaspoon ground coriander
- ½ teaspoon sea salt
- 1 tablespoon arrowroot starch optional
Would you like to save this recipe?
Instructions
Prep tomatillos, onions, chilies
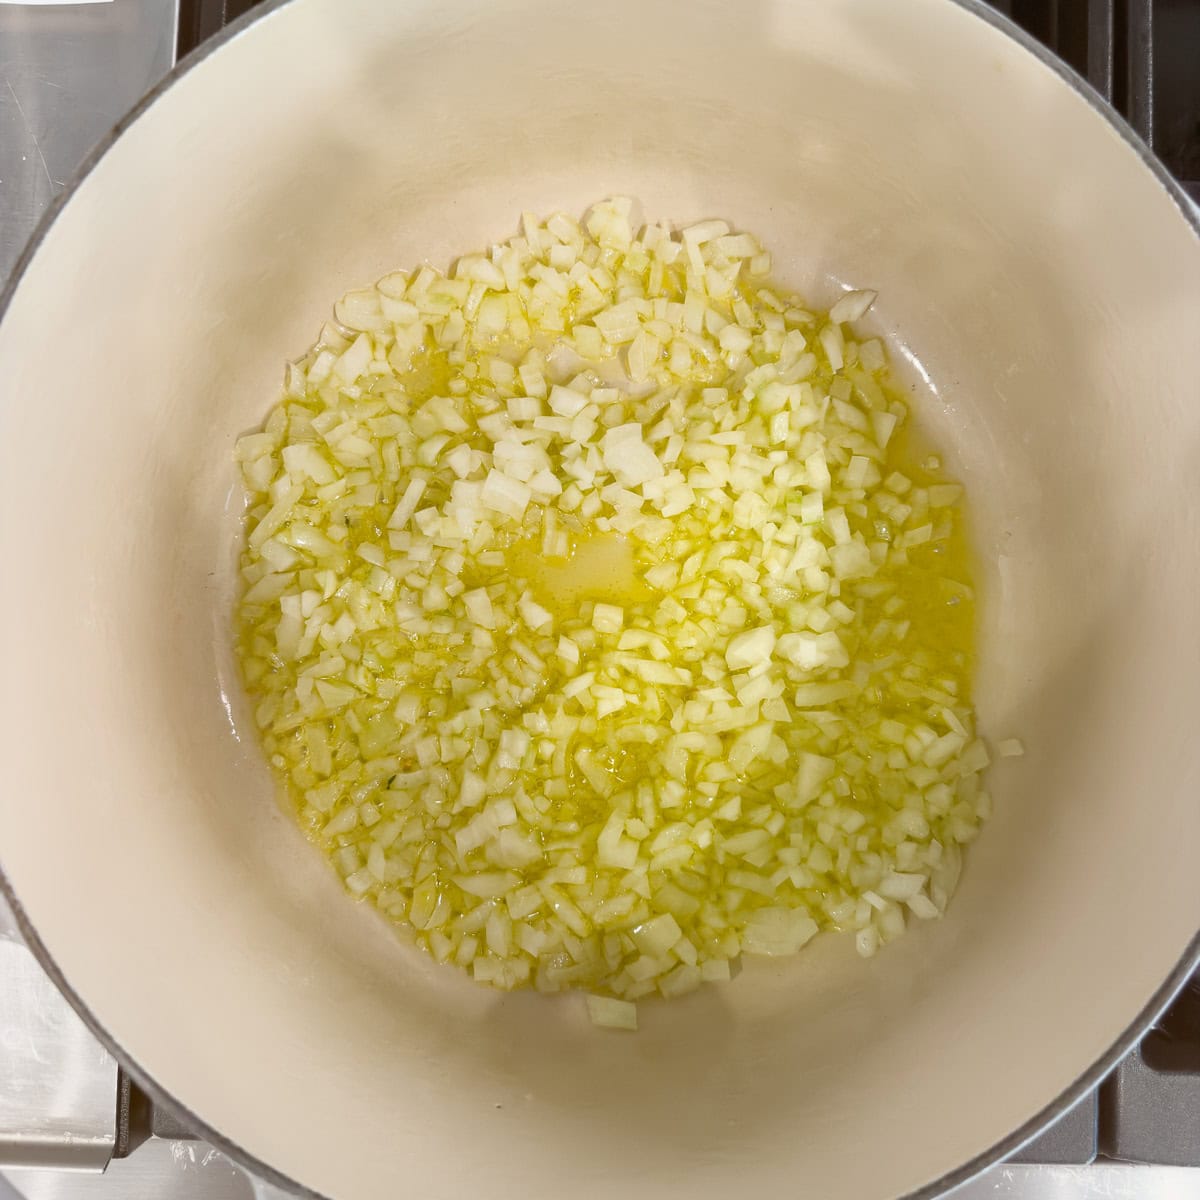
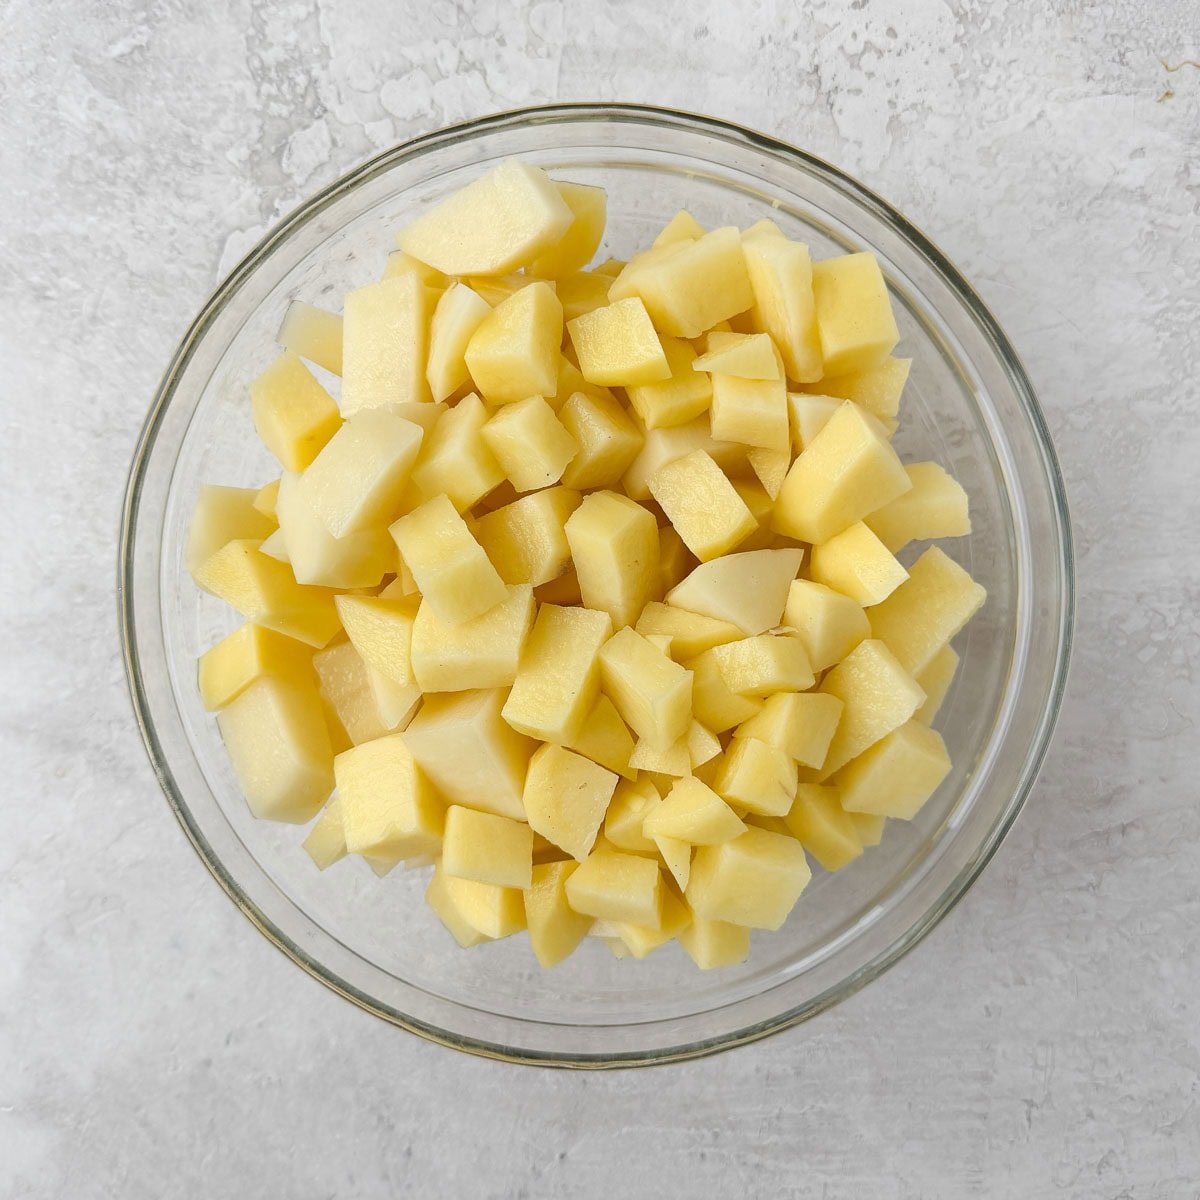
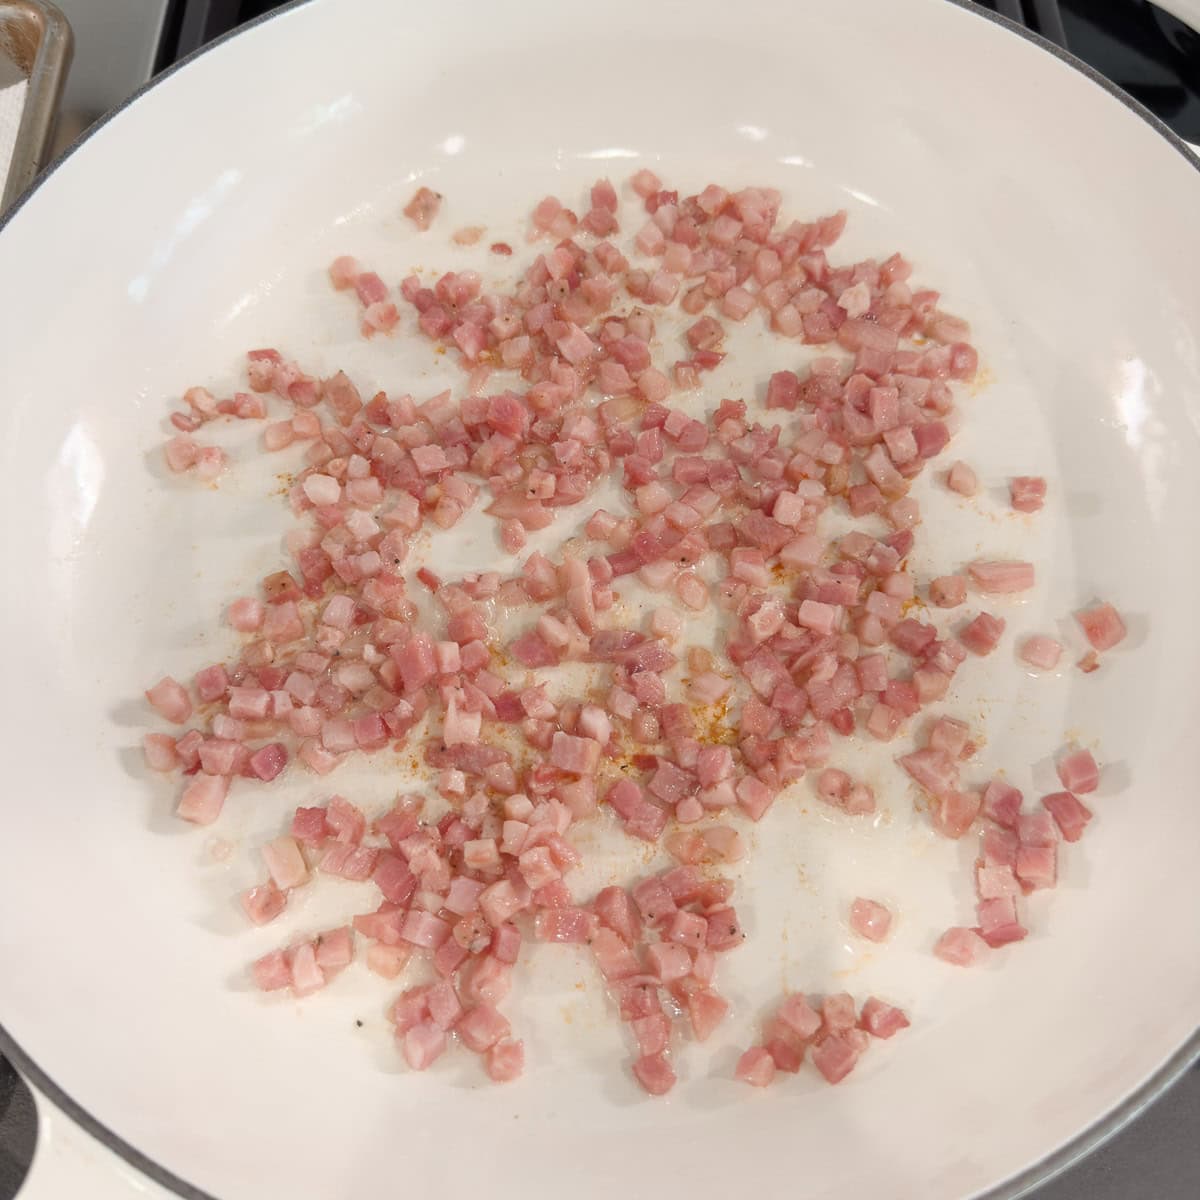
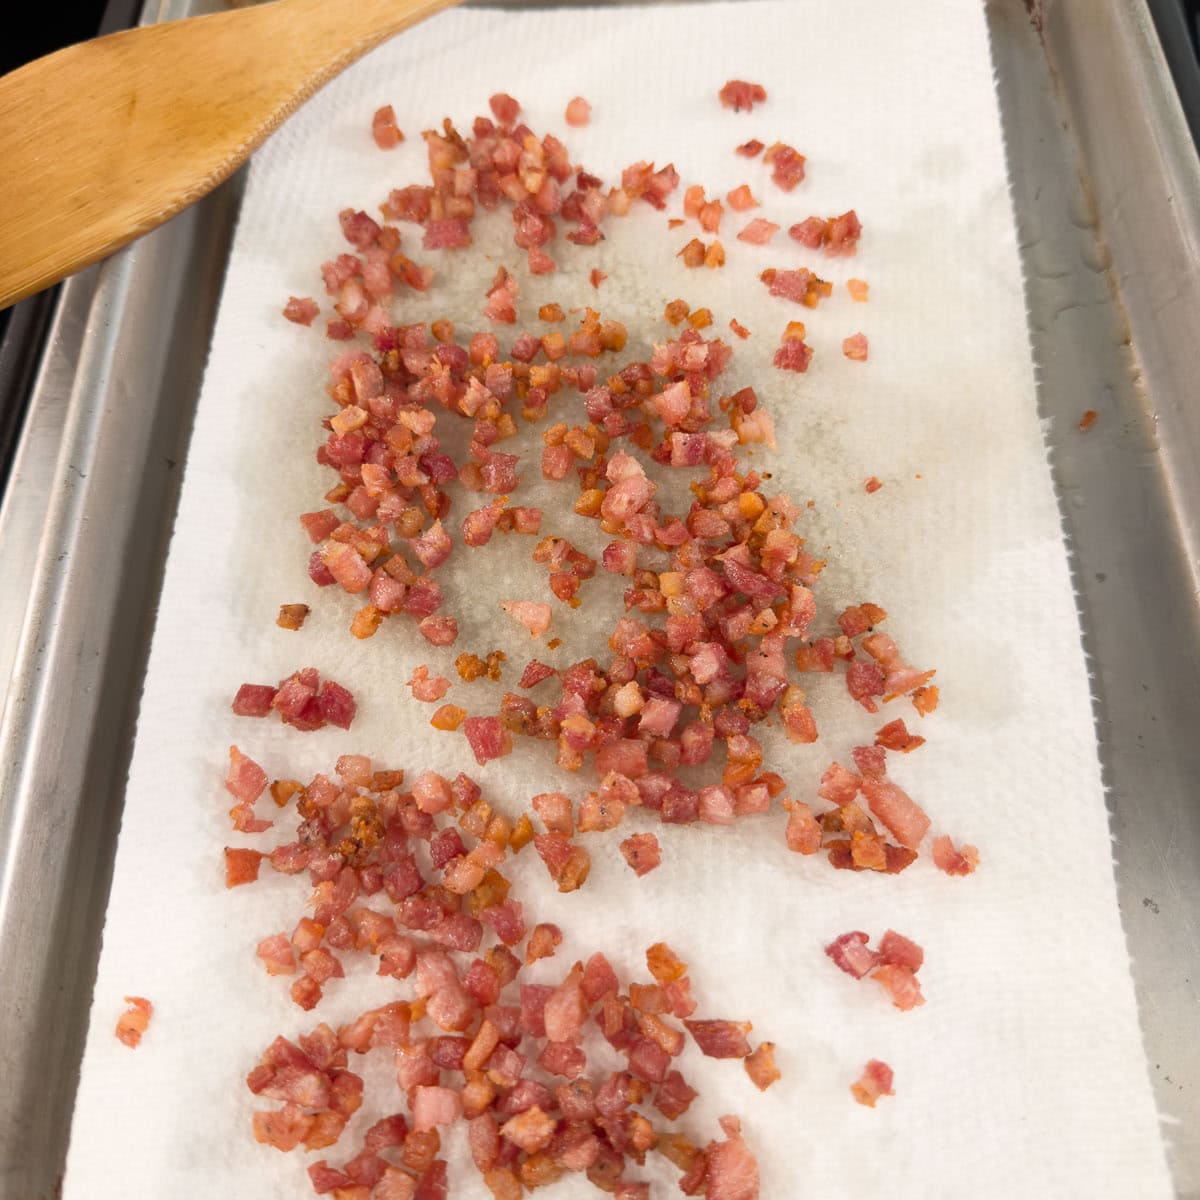
- Remove paper husks from the tomatillos, wash and chop them. Roughly chop the onion. Split the chiles in half lengthwise, remove seeds and membrane, then chop. Peel and smash the garlic cloves.
Cook the enchilada sauce
- Add everything to a medium (4-5 quart) saucepan with the water, cumin, oregano, coriander, and salt. Bring to a boil then turn down to low. Cover and simmer with a lid on for approximately 15-20 minutes, until it all falls apart and gets very soft.
Puree and portion
- Carefully pour hot salsa into a blender. Fix the lid on tightly and pulse briefly for a few seconds to puree as thick or fine as you want. If your blender is smaller, do this in two batches. Use as is (warm) or cool and refrigerate, or portion and freeze. Salsa will last 5 days in the refrigerator or several months in the freezer. To thicken, see note below.