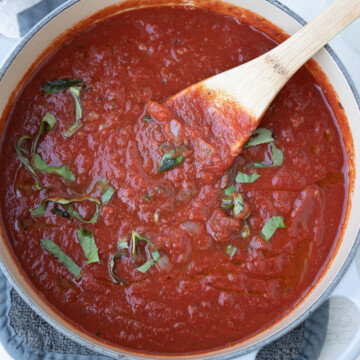
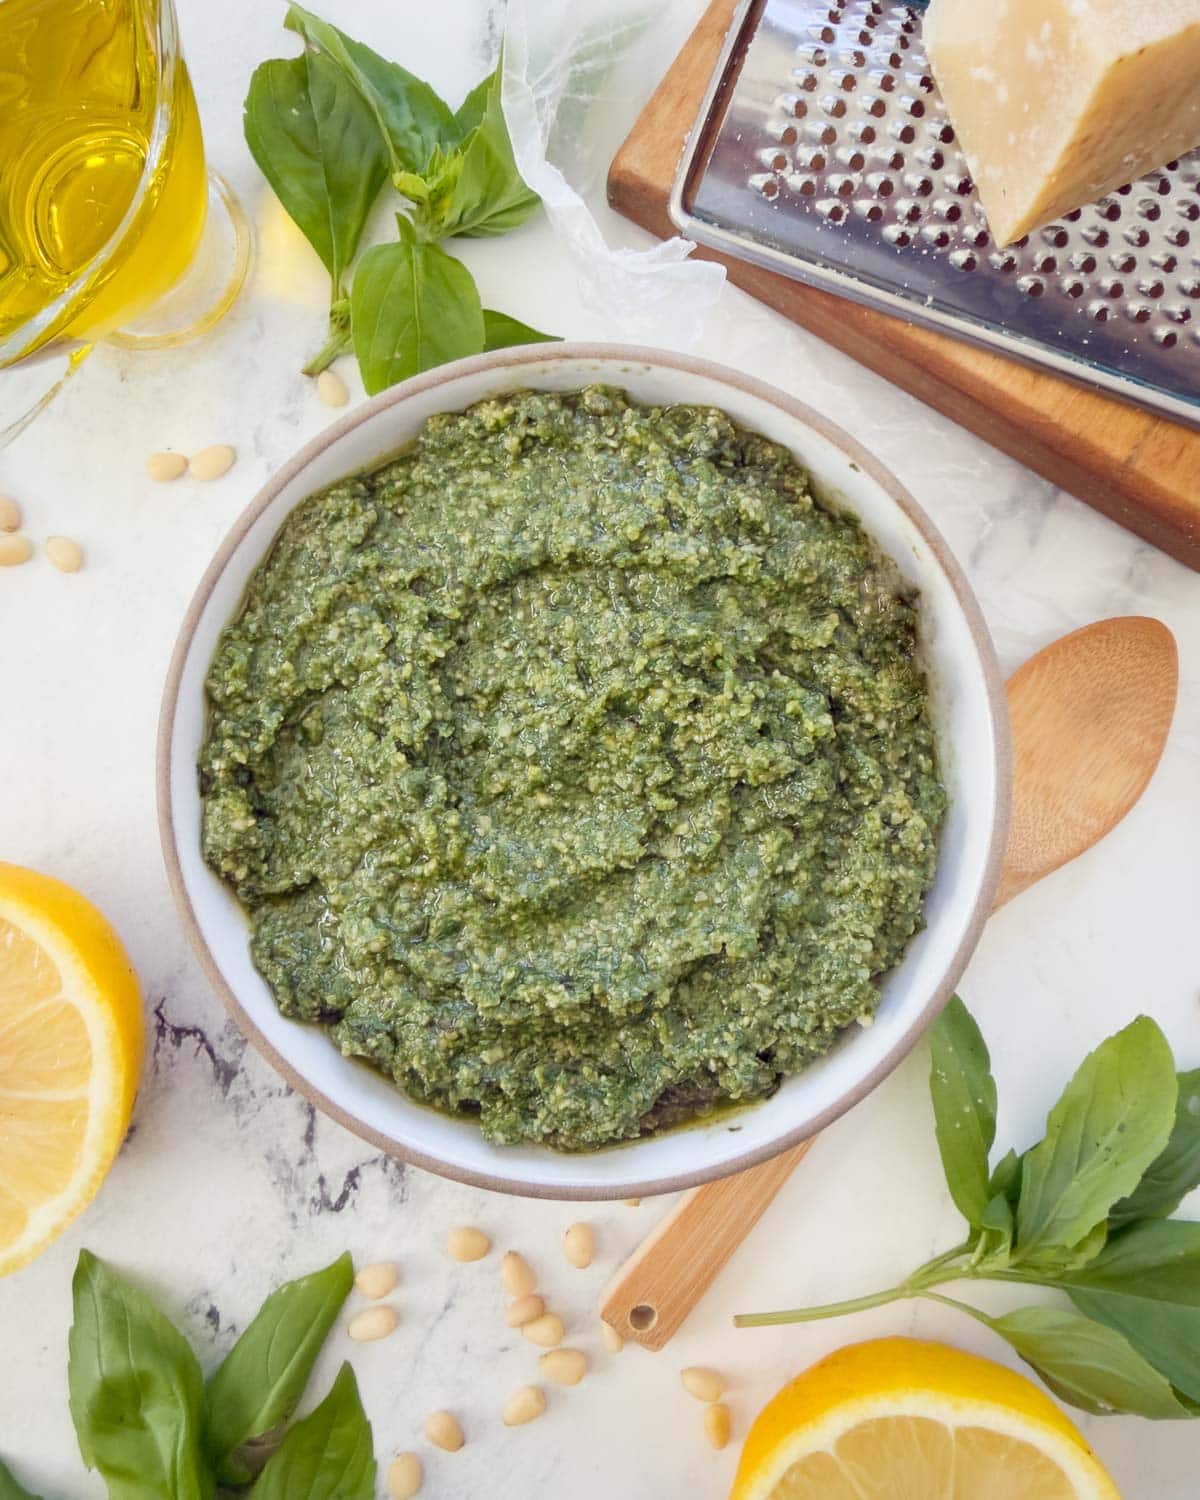
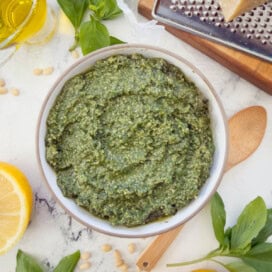
Pesto alla Genovese is the classic basil pesto from Genoa, Italy, and one spoonful instantly transforms simple dishes into something extraordinary. Made with fresh basil, garlic, pine nuts, Parmigiano Reggiano, and olive oil, this bold, aromatic sauce is endlessly versatile. Here I share my pesto alla Genovese recipe plus tips for keeping it bright green, freezing it successfully, and more than a dozen delicious ways to use it.
Traditionally, pesto Genovese is made with a mortar and pestle; in fact, the Italian word pesto means "to pound." While wonderfully authentic, that method is slow, makes a small batch, and requires the right equipment. I've made pesto both ways, but for everyday cooking I use a food processor. It's fast, reliable, and still gives you fresh, bold flavor with a vivid green basil sauce.
[feast_advanced_jump_to]Pesto alla Genovese Recipe Snapshot
- Bold basil flavor - The signature sauce of Genoa, Italy, this classic basil pesto is fragrant, savory, and full of fresh basil flavor.
- Quick and easy - Made in minutes with a food processor.
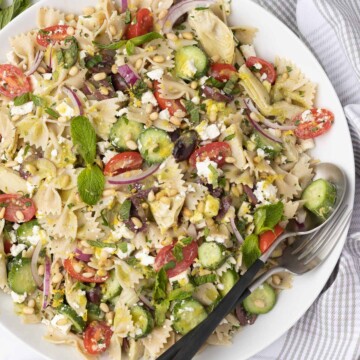
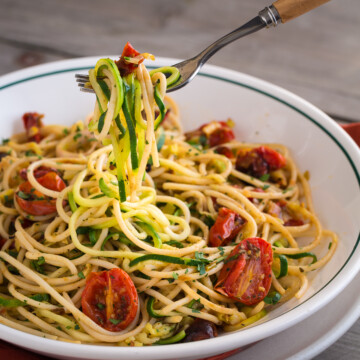
- Versatile - Toss with pasta, swirl into soup, spoon over grilled chicken or salmon, drizzle on vegetables, or stir into risotto.
- Better than store-bought - Fresher, brighter, and made without preservatives.
- Make-ahead friendly - Freeze in cubes or jars to enjoy basil's summer flavor all year long.
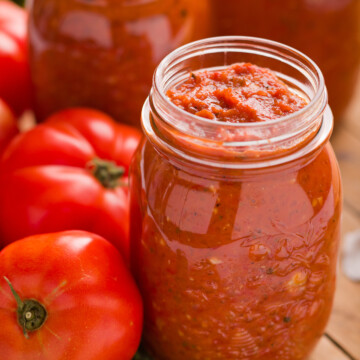
If you love basil pesto, try my Pesto Rosso (Sun-Dried Tomato Pesto) for another classic Italian variation, and this pesto rosso pasta.
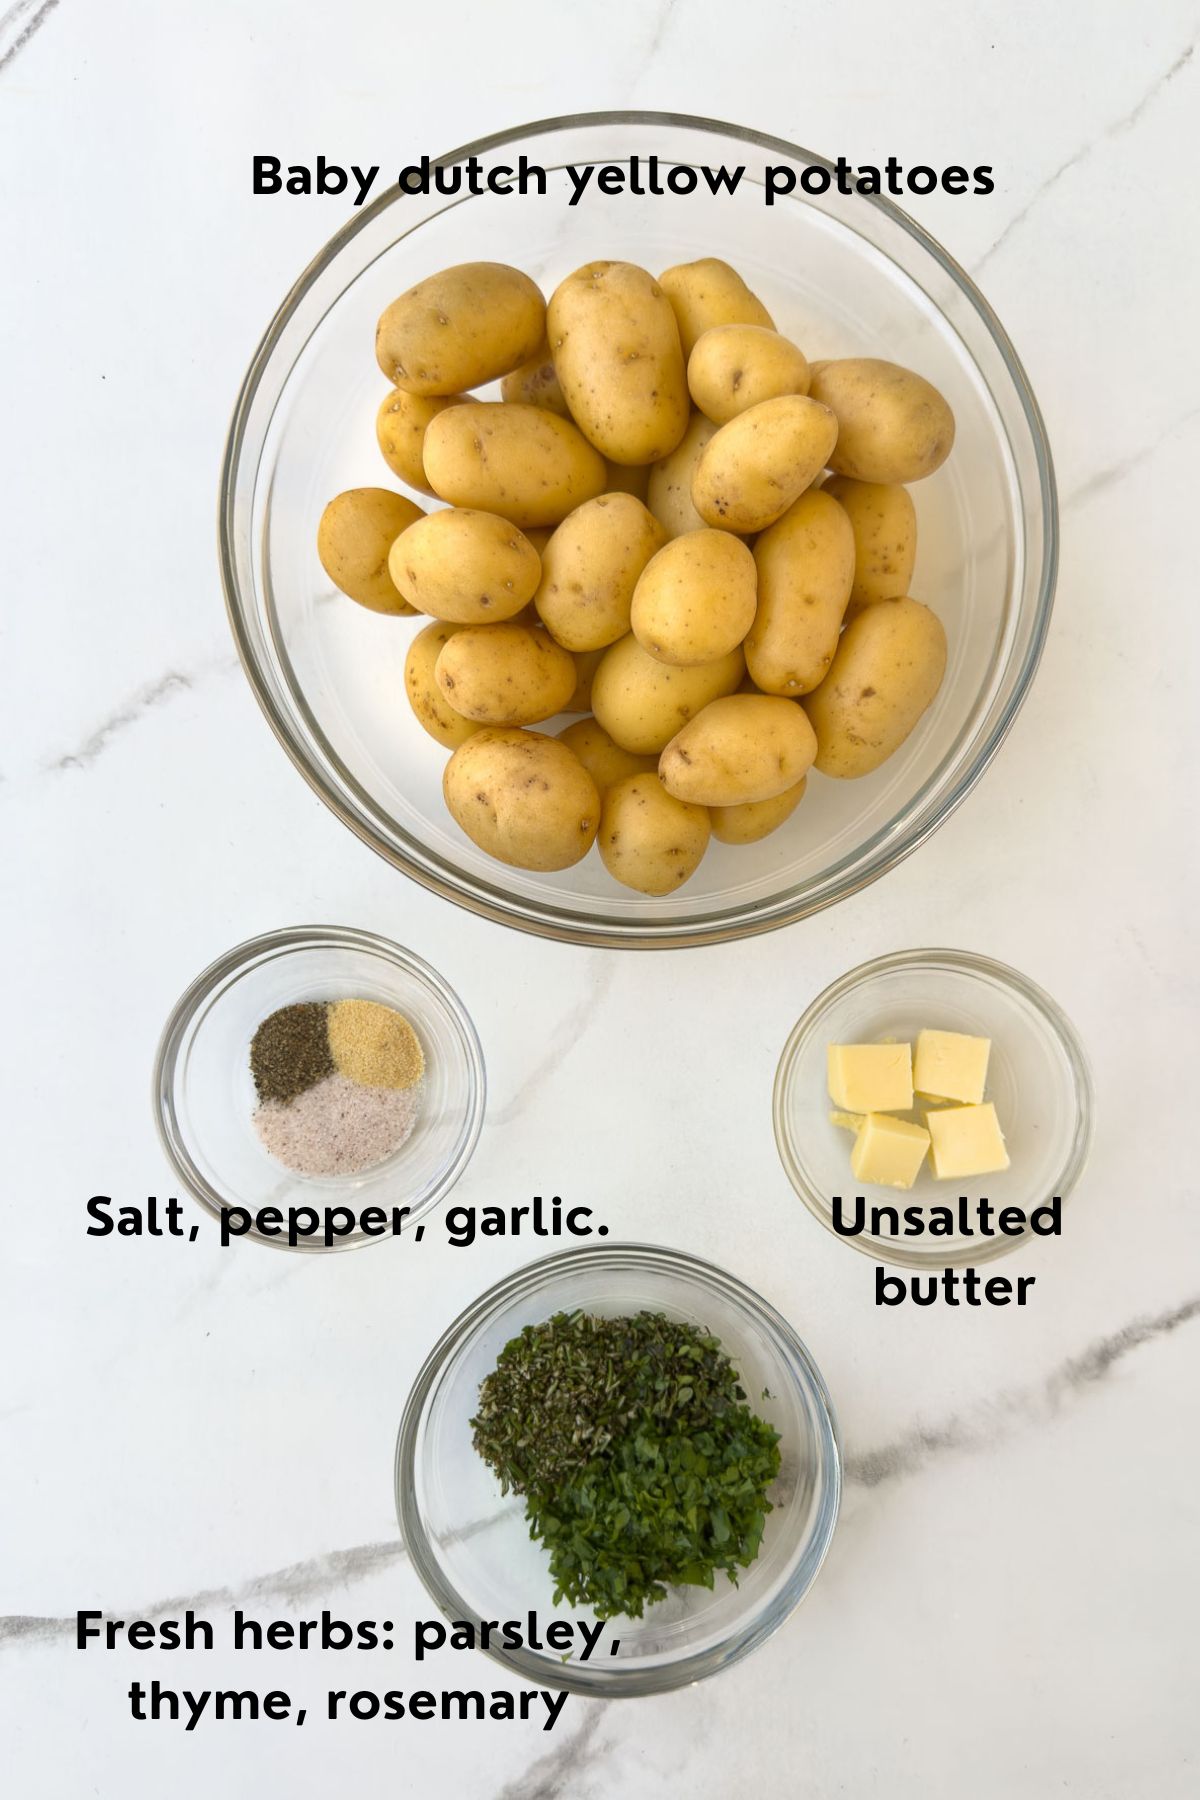
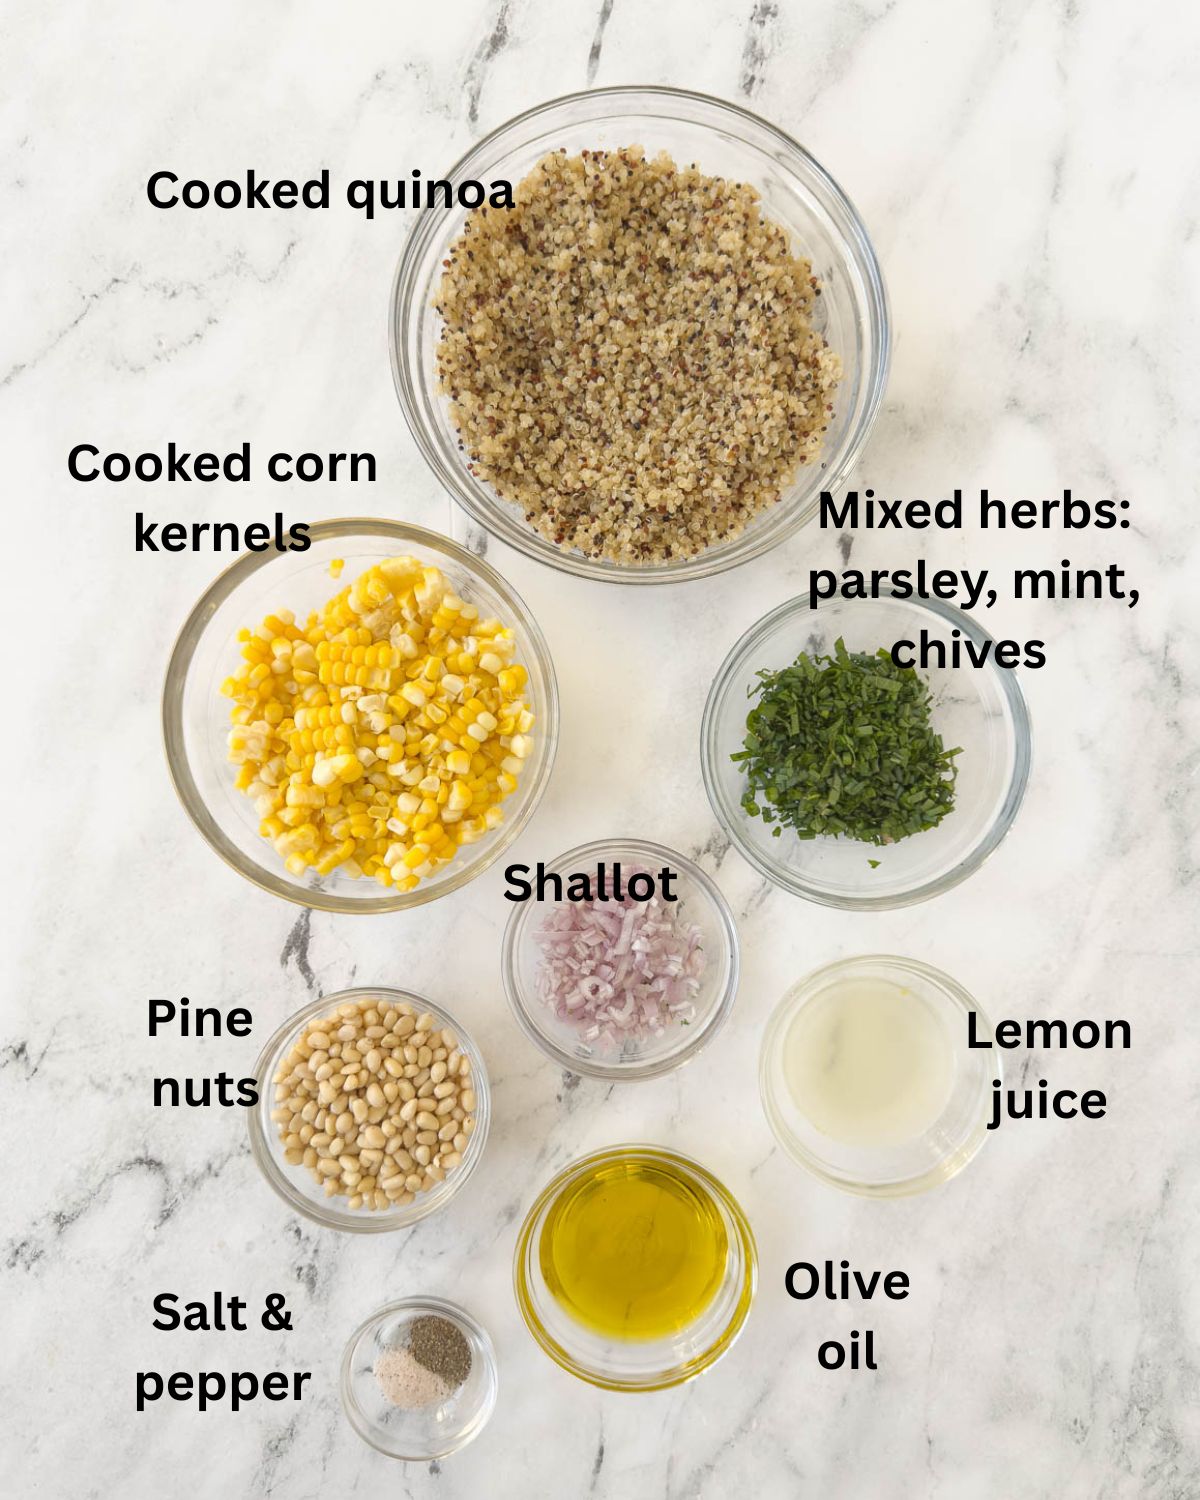
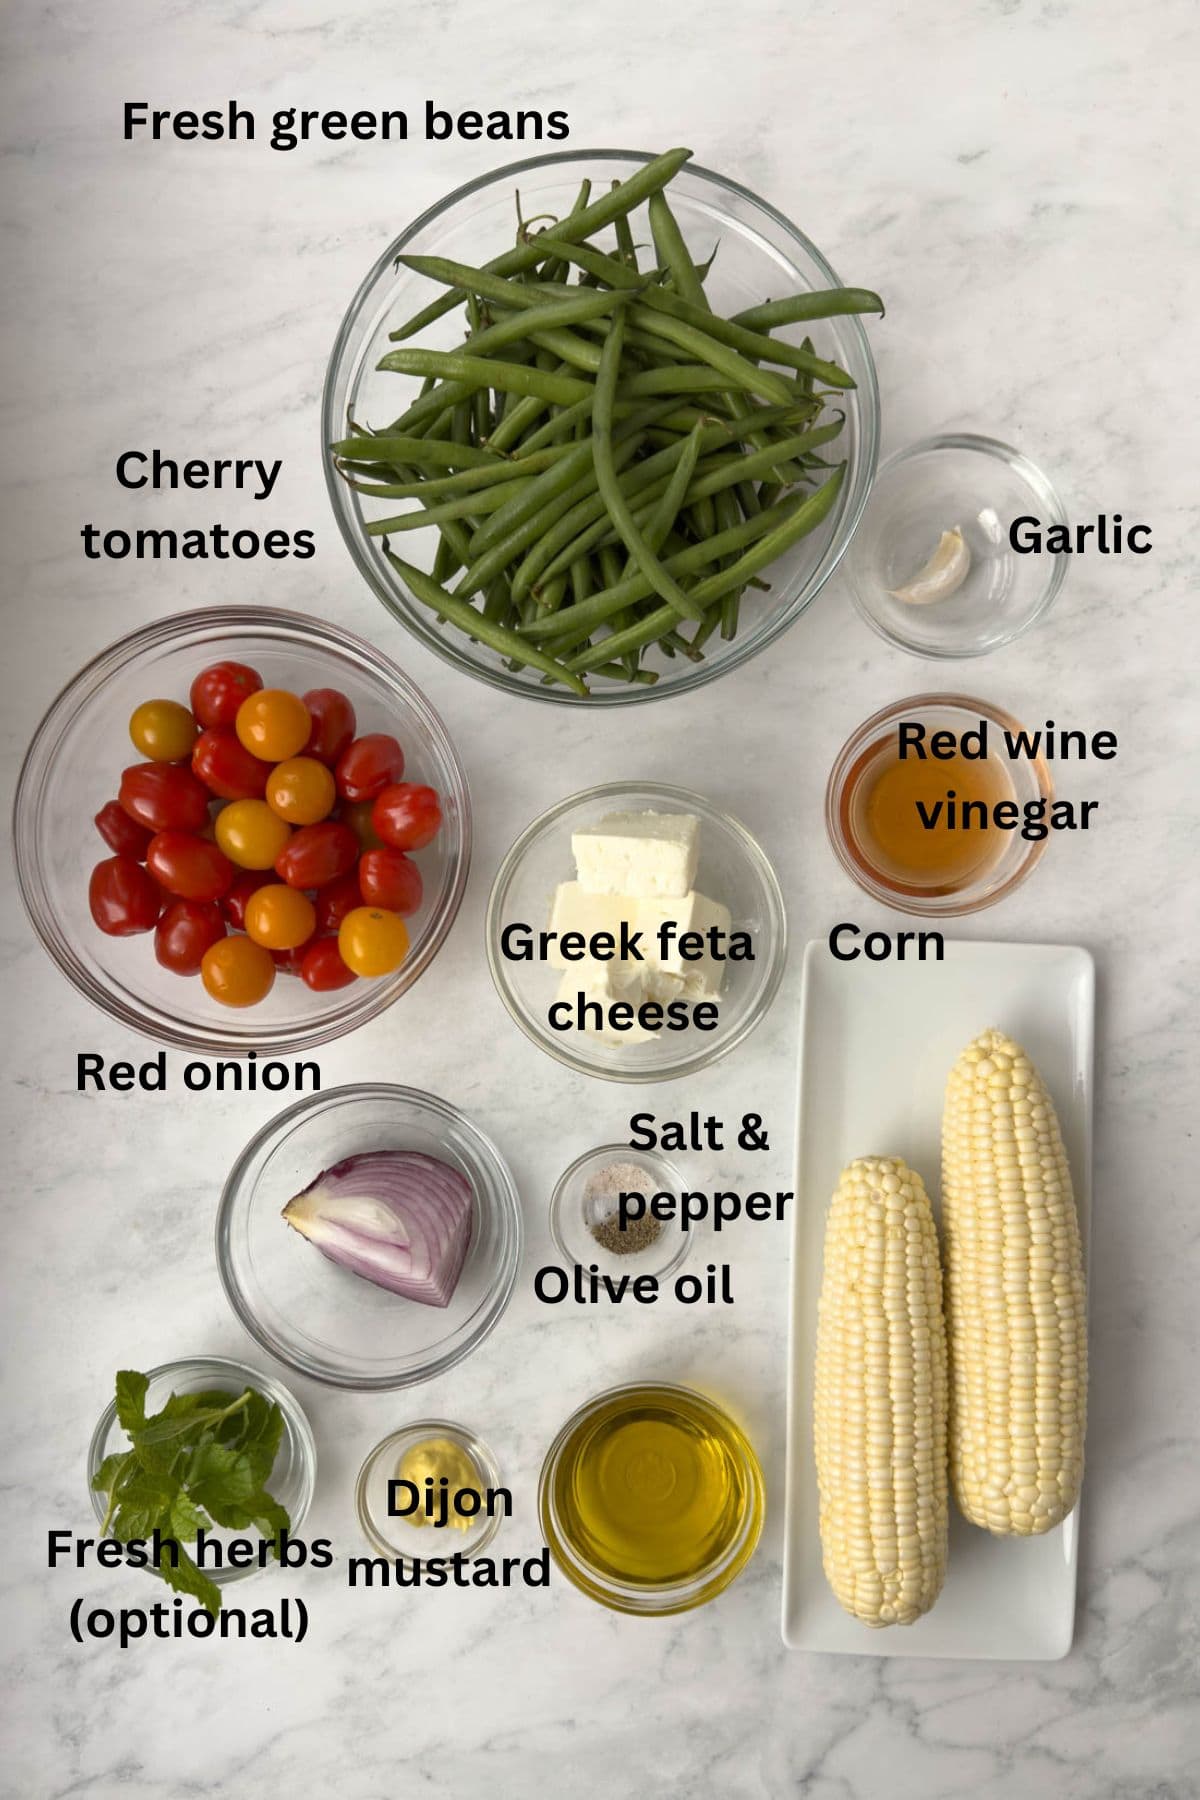
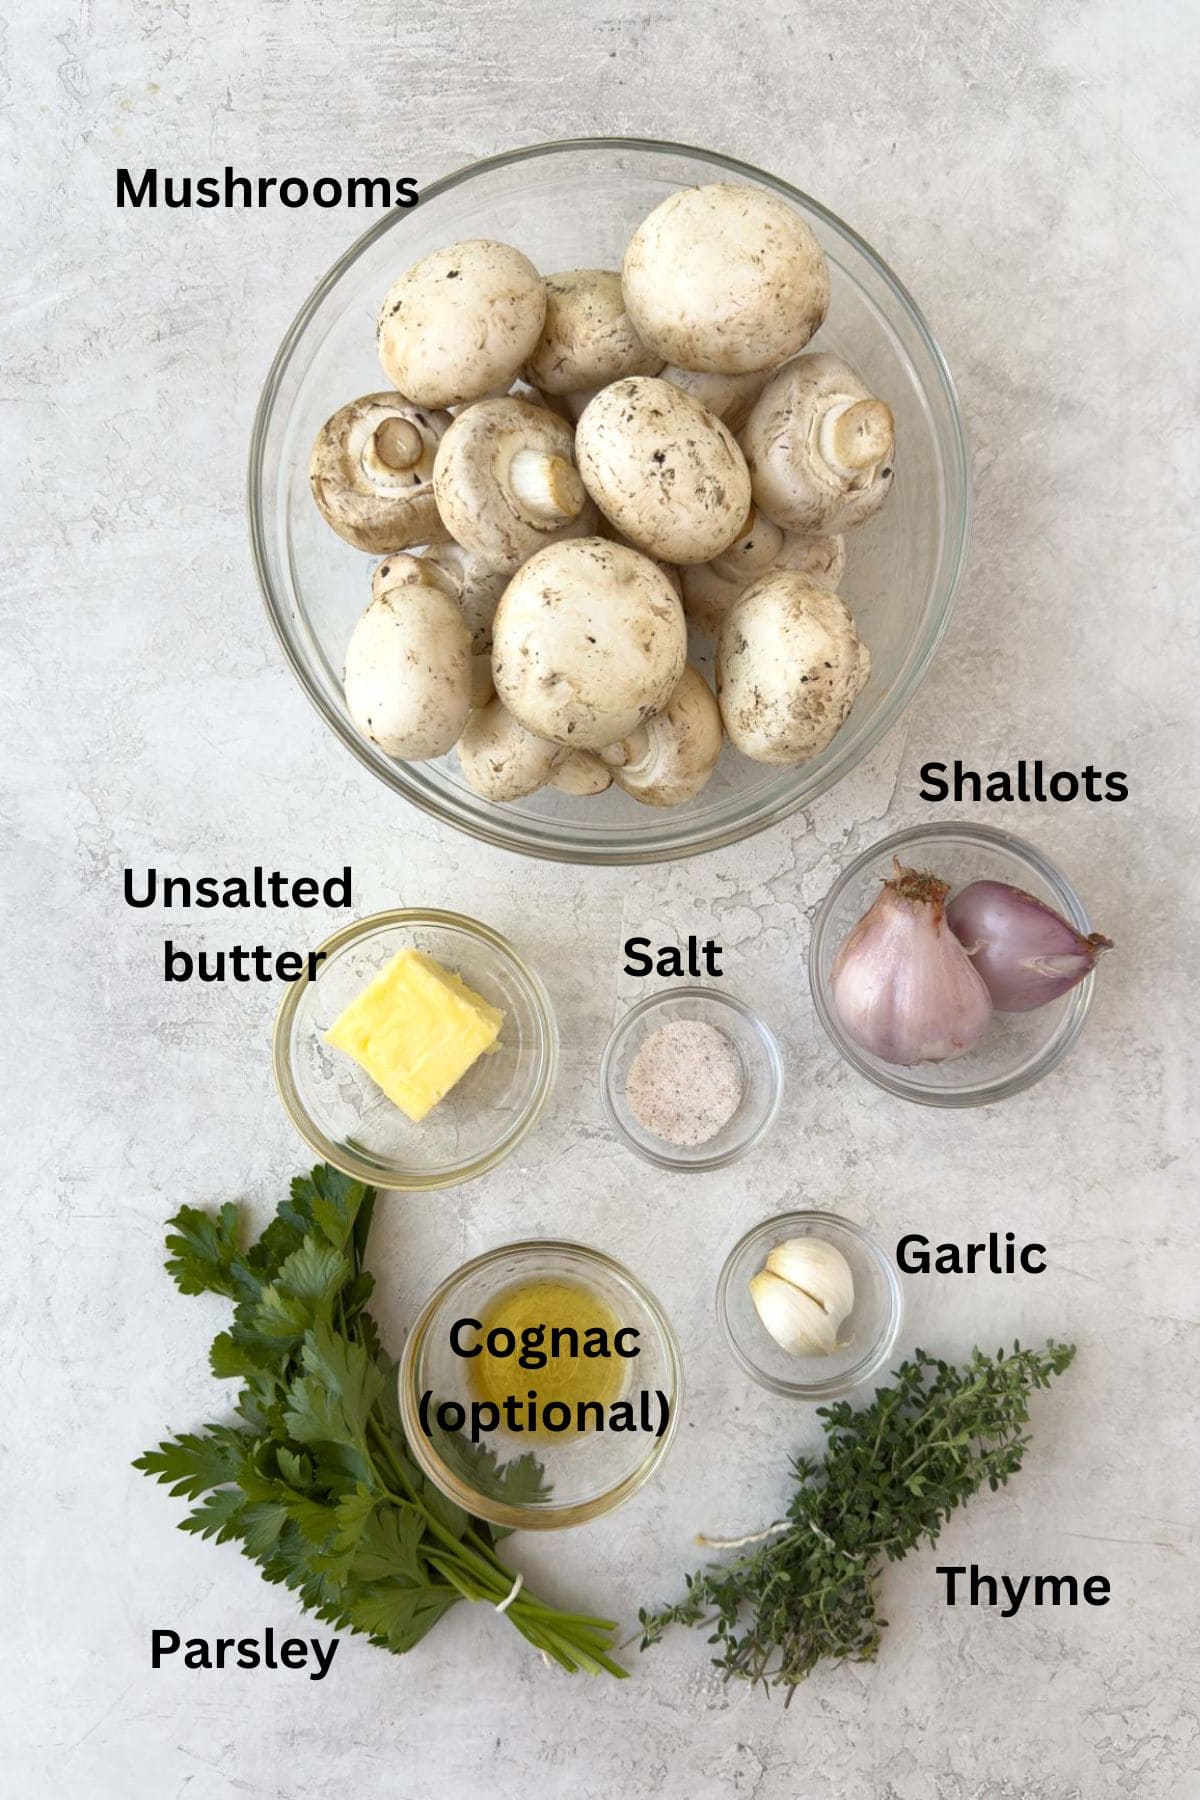
Ingredients You'll Need
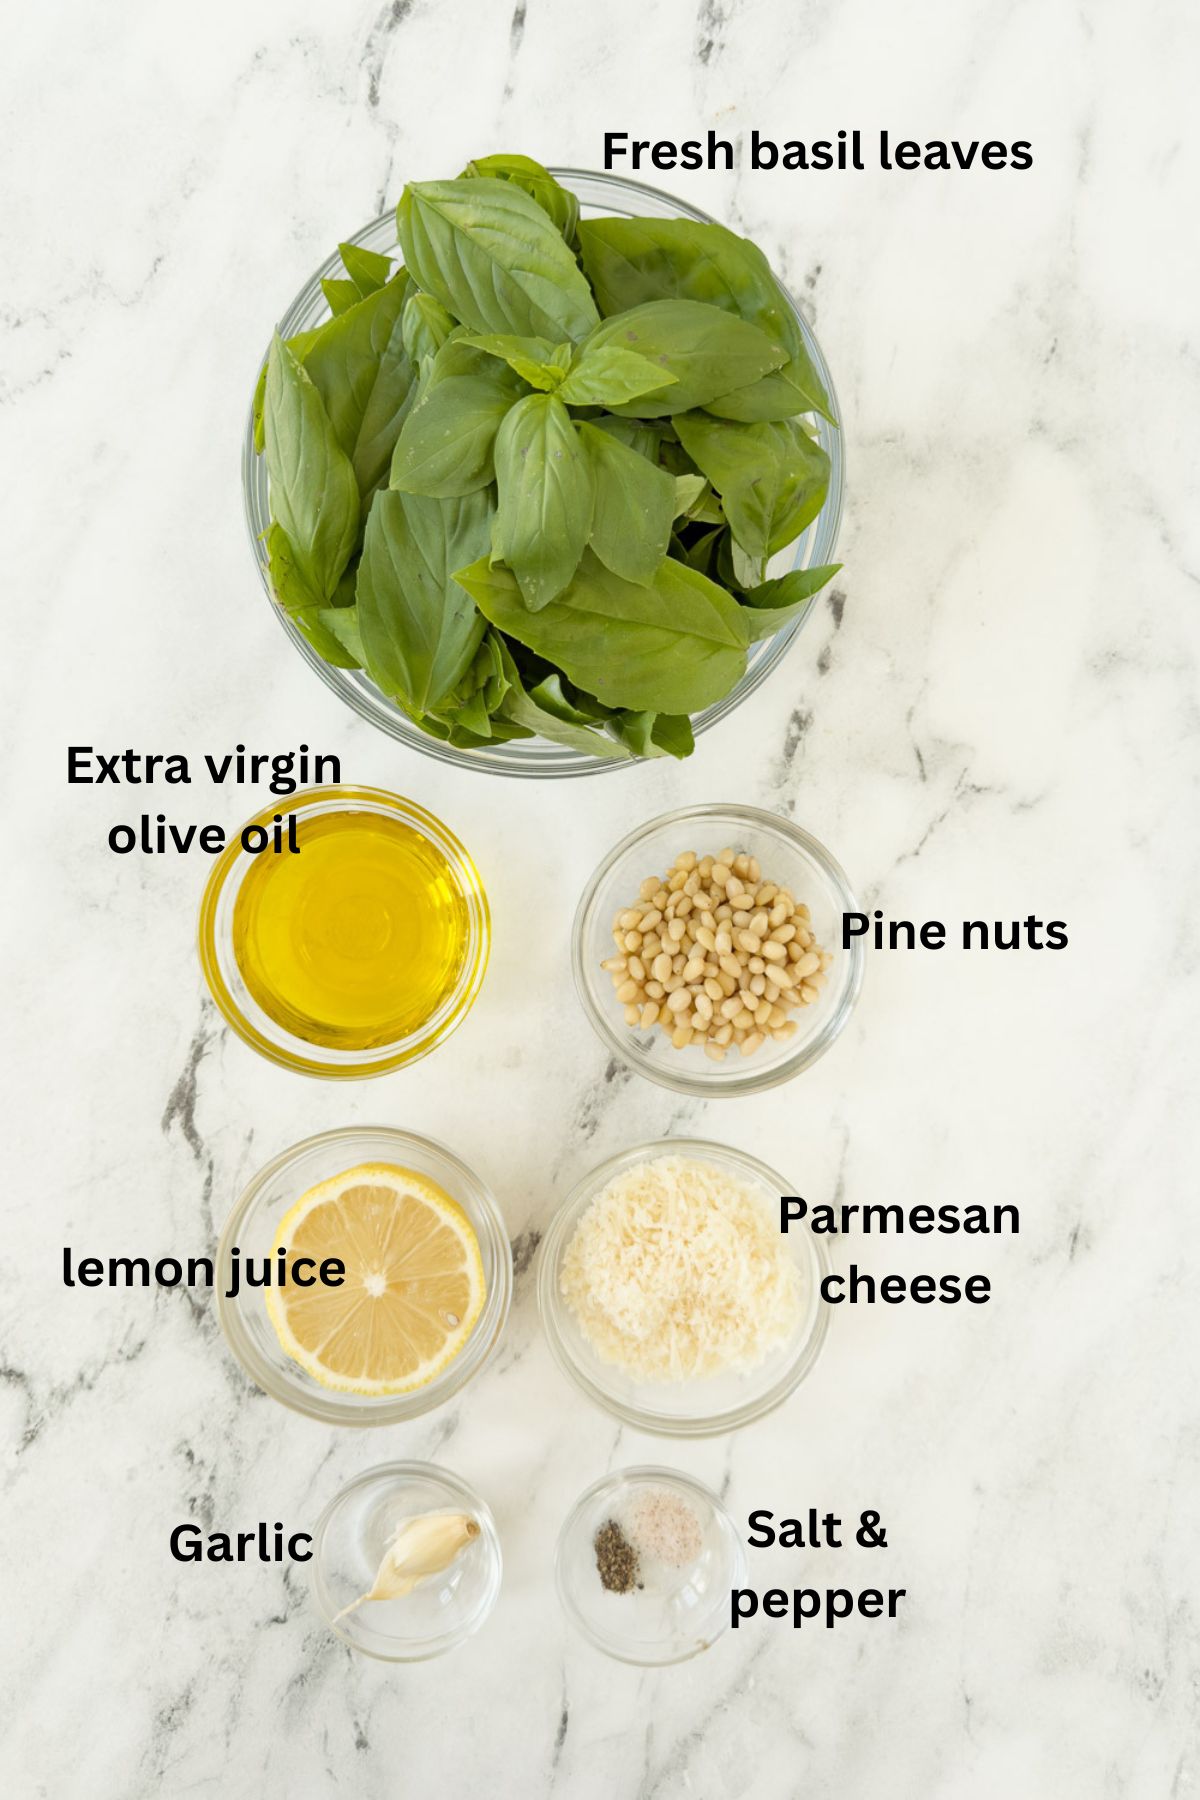
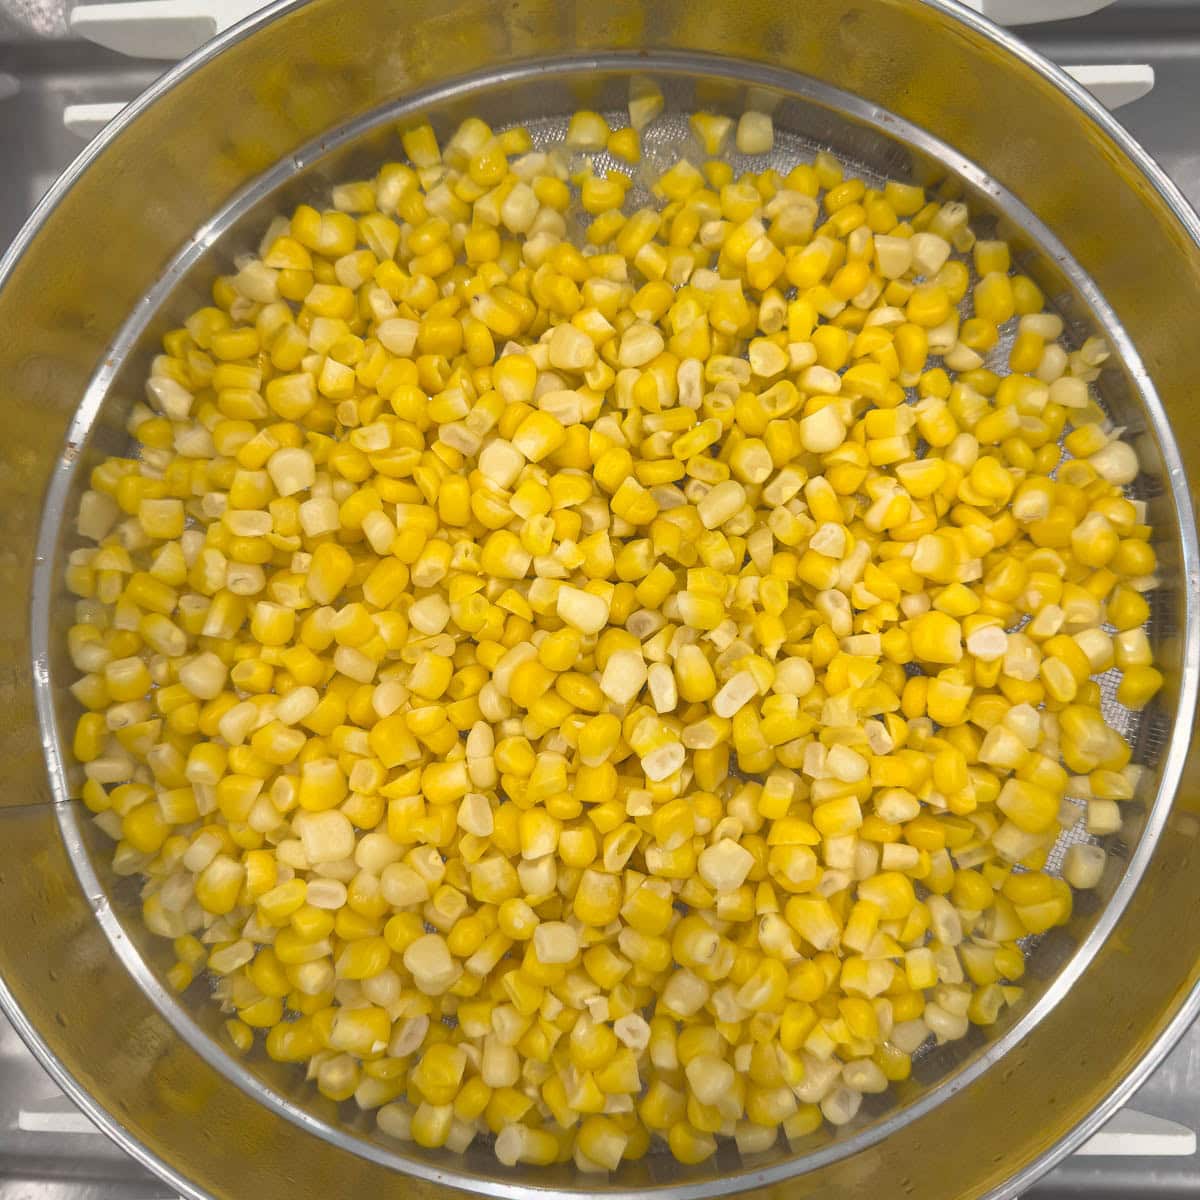
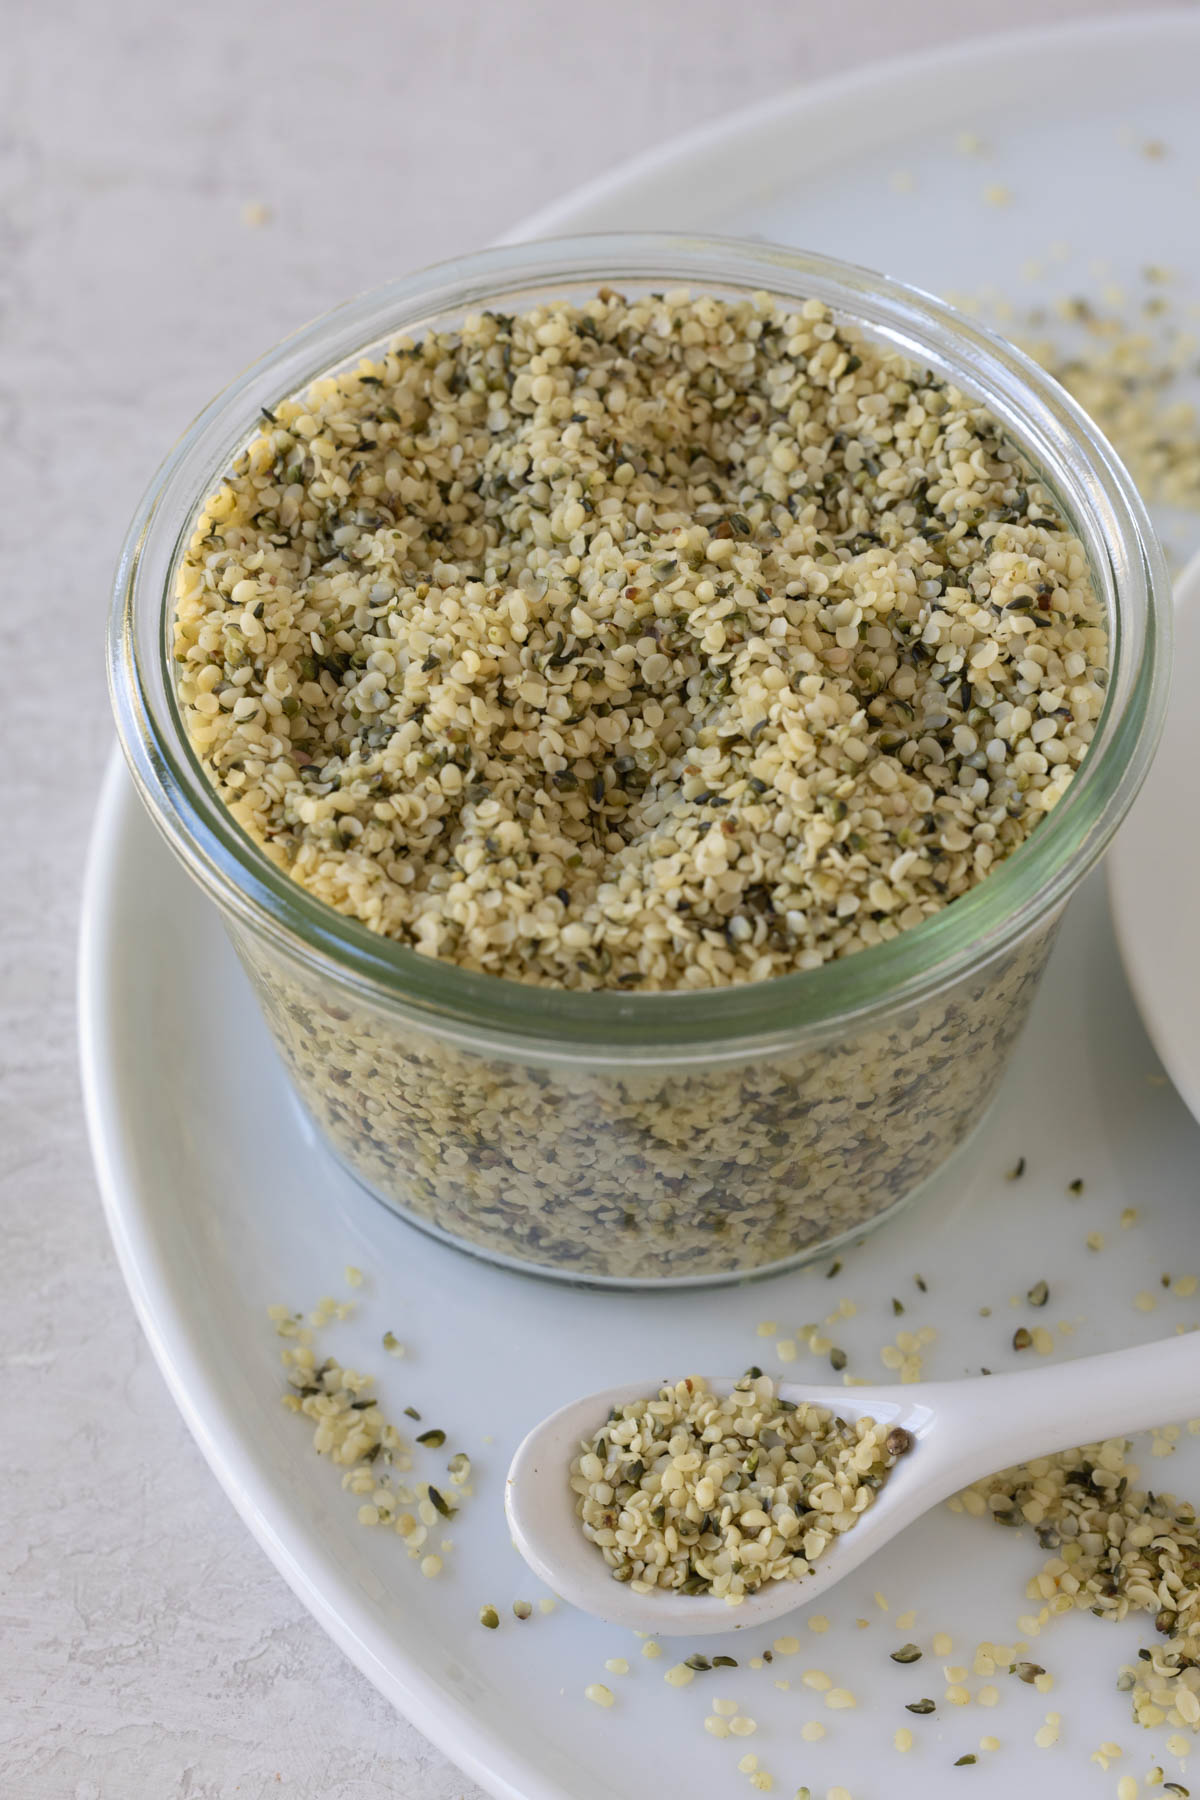
- Fresh basil - The star ingredient of genovese pesto sauce. Use fresh basil leaves and discard the stems for the best flavor.
- Olive oil - Choose a good-quality extra virgin olive oil for rich flavor and a silky texture.
- Pine nuts - The traditional choice, adding buttery, creamy body to the sauce. (See below for substitution ideas.)
- Cheese - The best cheese for pesto is classic Parmesan. Grate it yourself from a block of Parmigiano-Reggiano for the best flavor, or buy pre-grated if you're short on time.
- Garlic - Fresh garlic cloves only. Use just enough for flavor without overpowering the basil.
- Lemon (optional) - A squeeze of fresh lemon juice adds brightness and balances the richness of the cheese and nuts. A modern touch I love.
- Spinach (optional) - Helps keep pesto green.
Please see the recipe card for measurement, salt and pepper.
Substitutions and Variations
- Cheese options - Along with Parmigiano Reggiano, try Pecorino Fiore Sardo, a traditional sheep's milk cheese often used in pesto alla Genovese, or Grana Padano for a similar nutty flavor. Pecorino Romano also works, though it's sharper and saltier.
- Herb twists - Add a little fresh oregano or Italian parsley for a different flavor profile.
- Nut substitutions - Classic Pesto Genovese is made with pine nuts, but walnuts, almonds, or even cashews work too. If you're nut-free, try raw sunflower seeds. The flavor changes slightly, but basil, oil, and cheese still make a delicious pesto sauce.
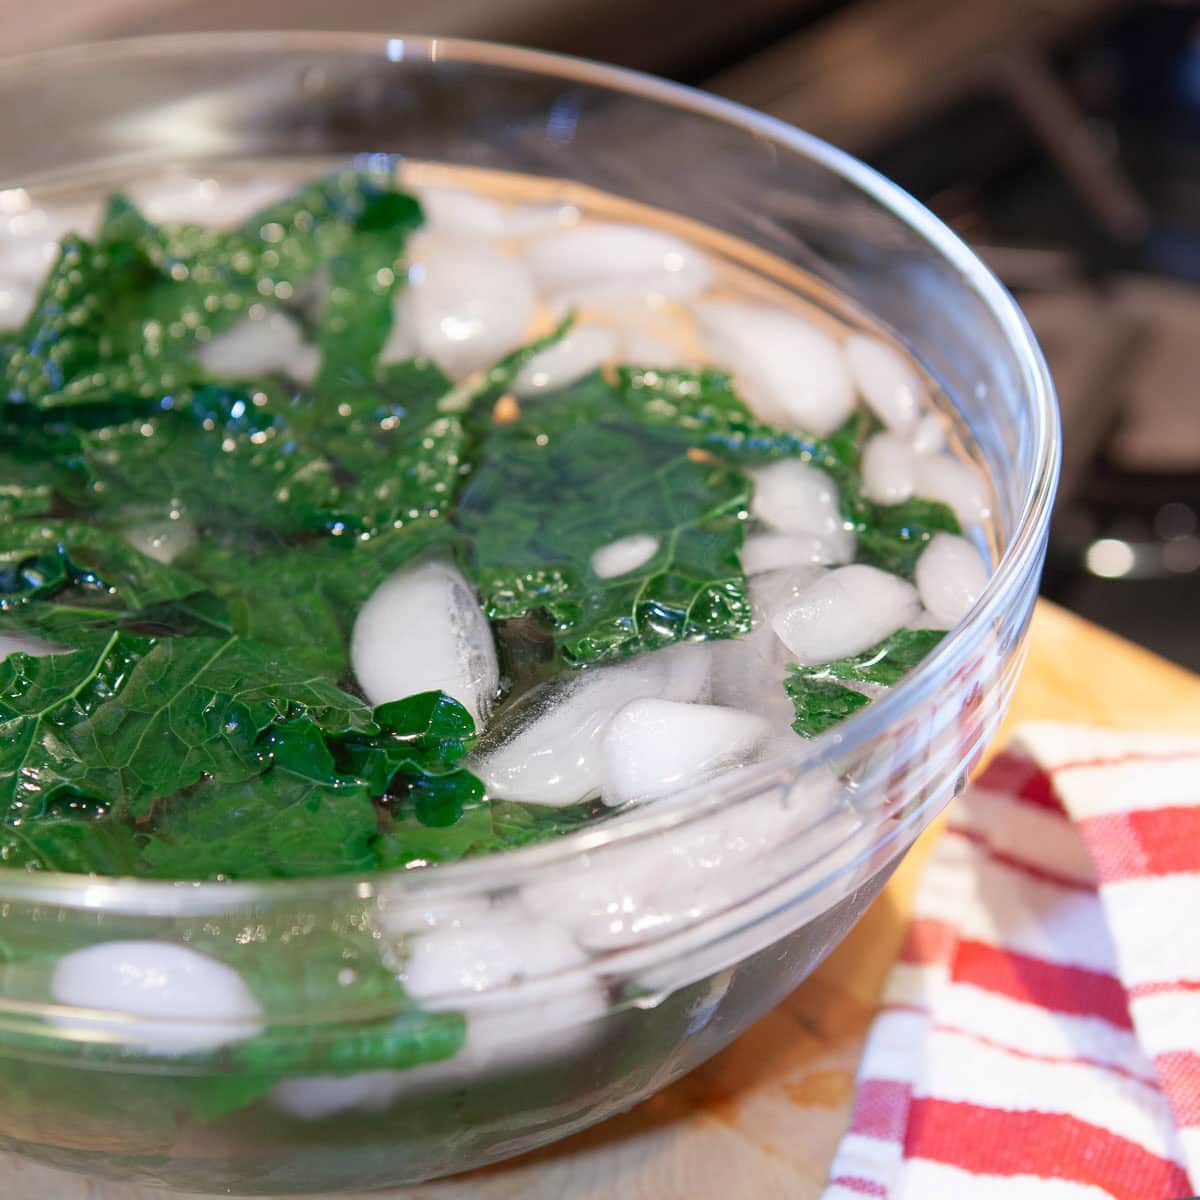
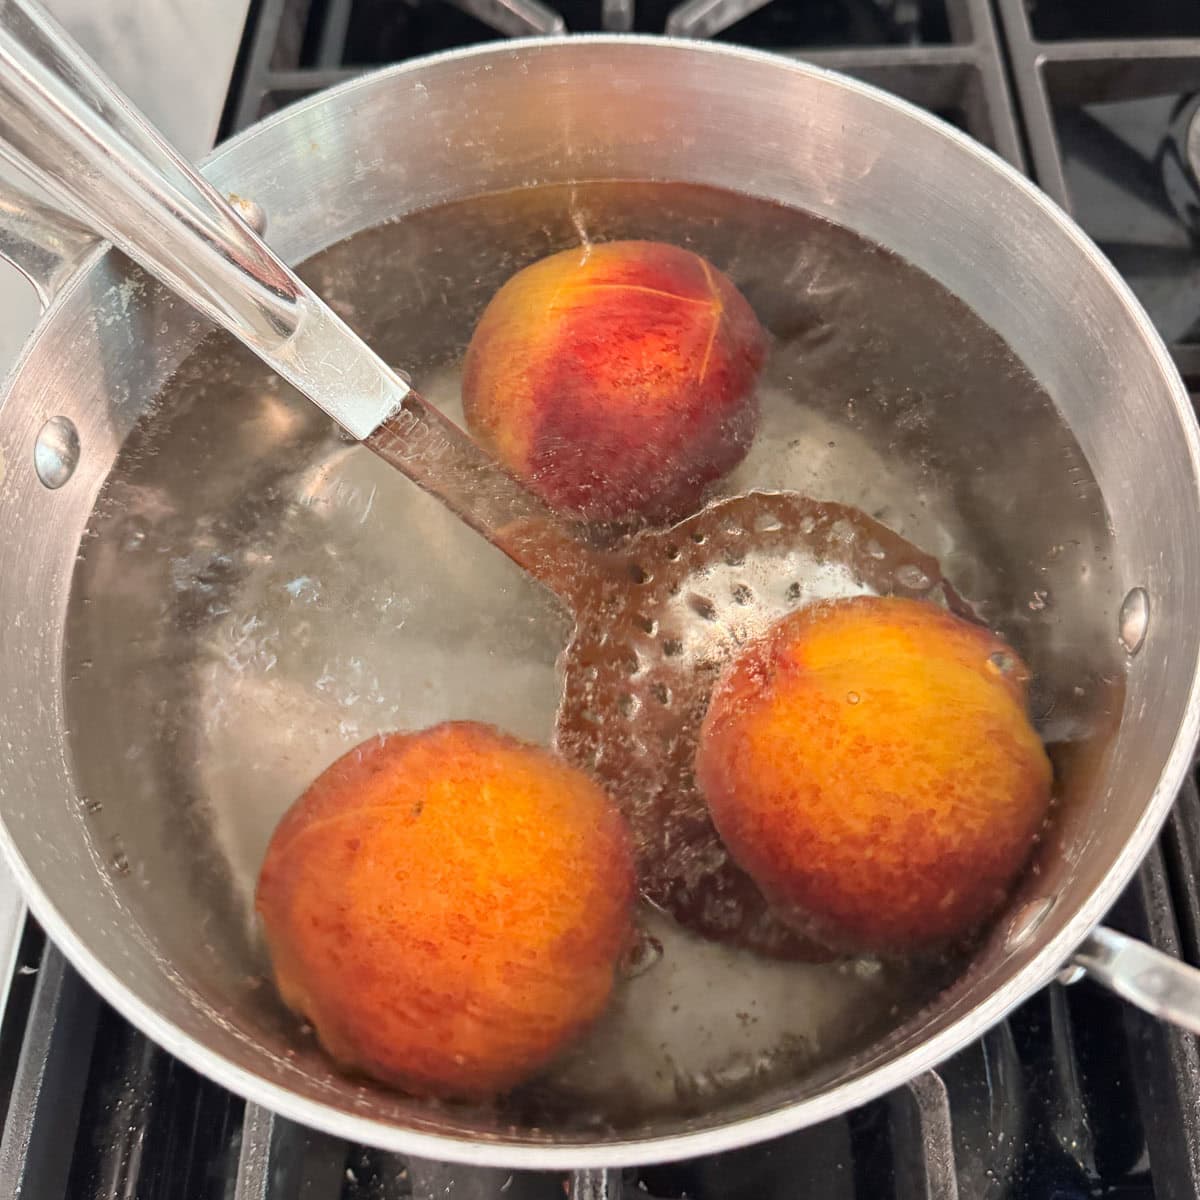
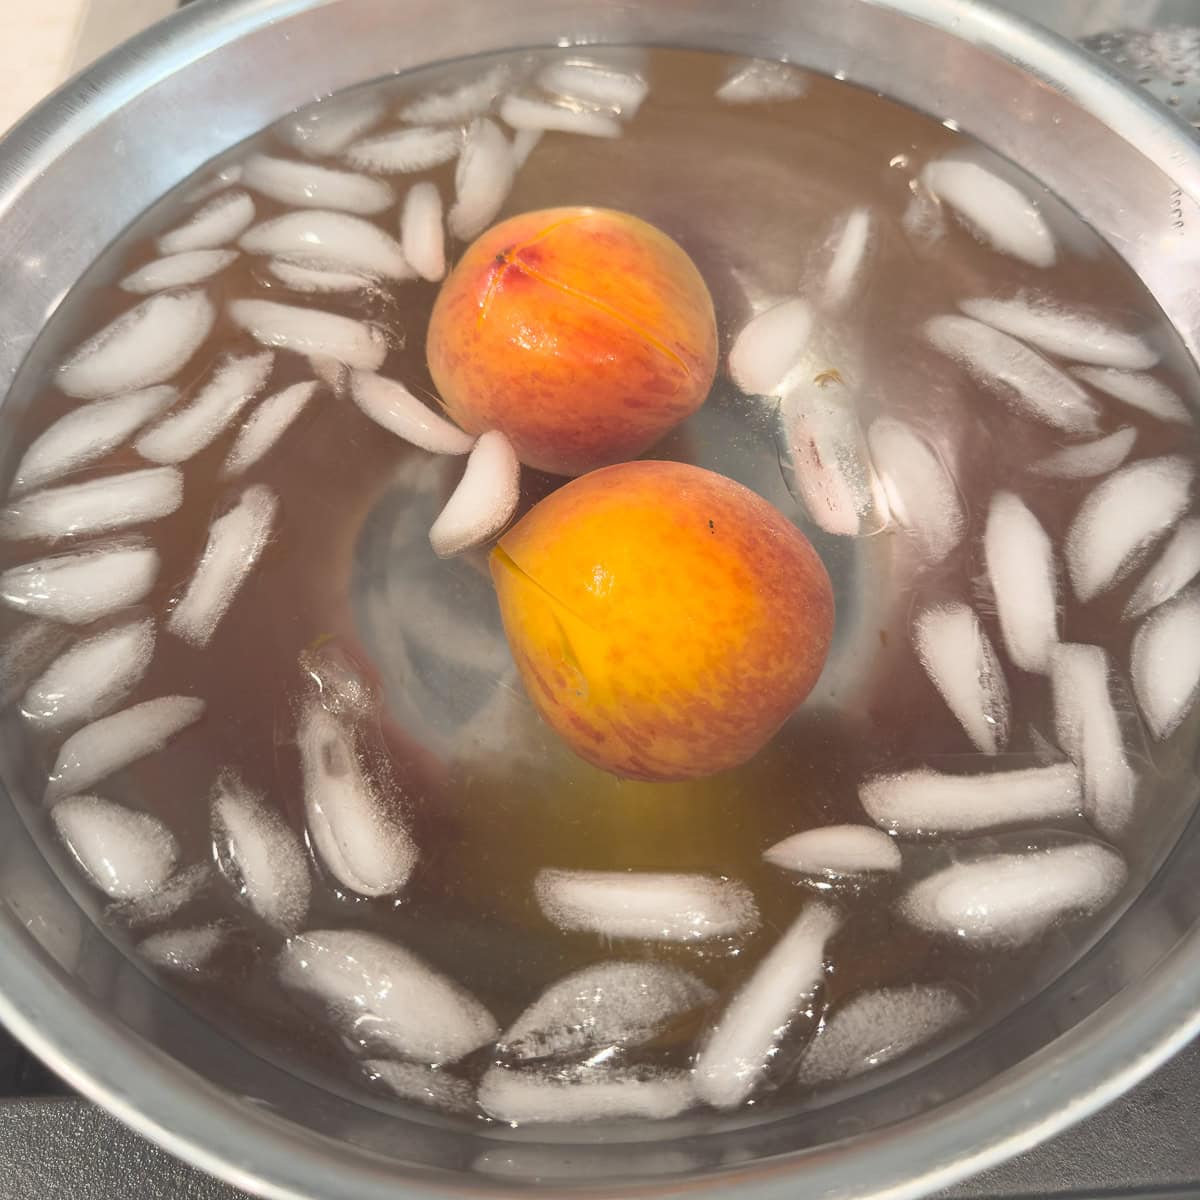
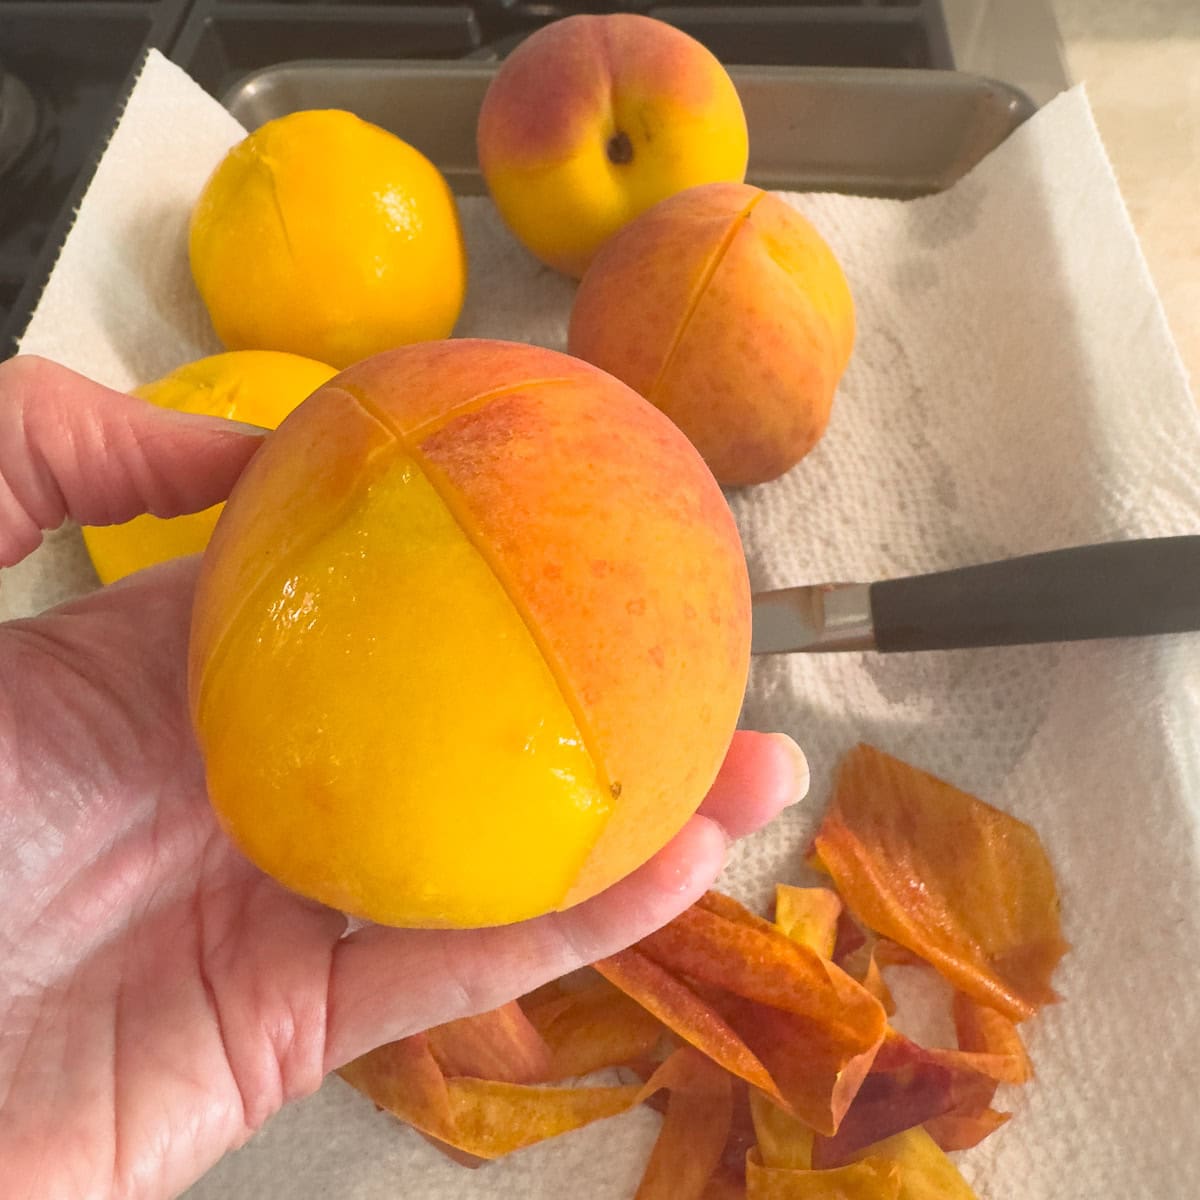
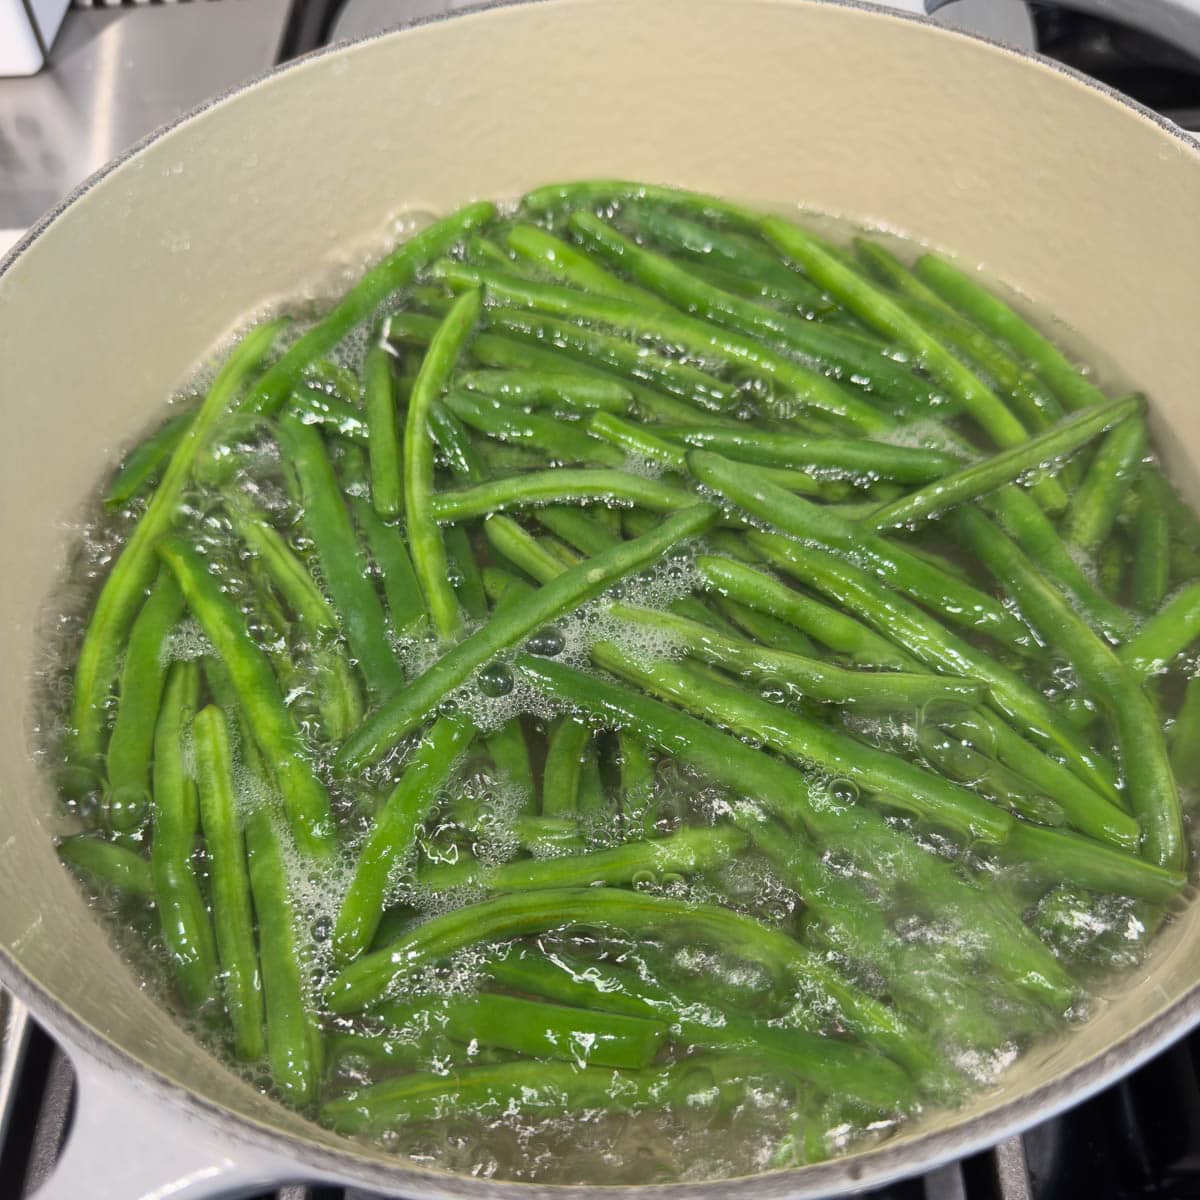
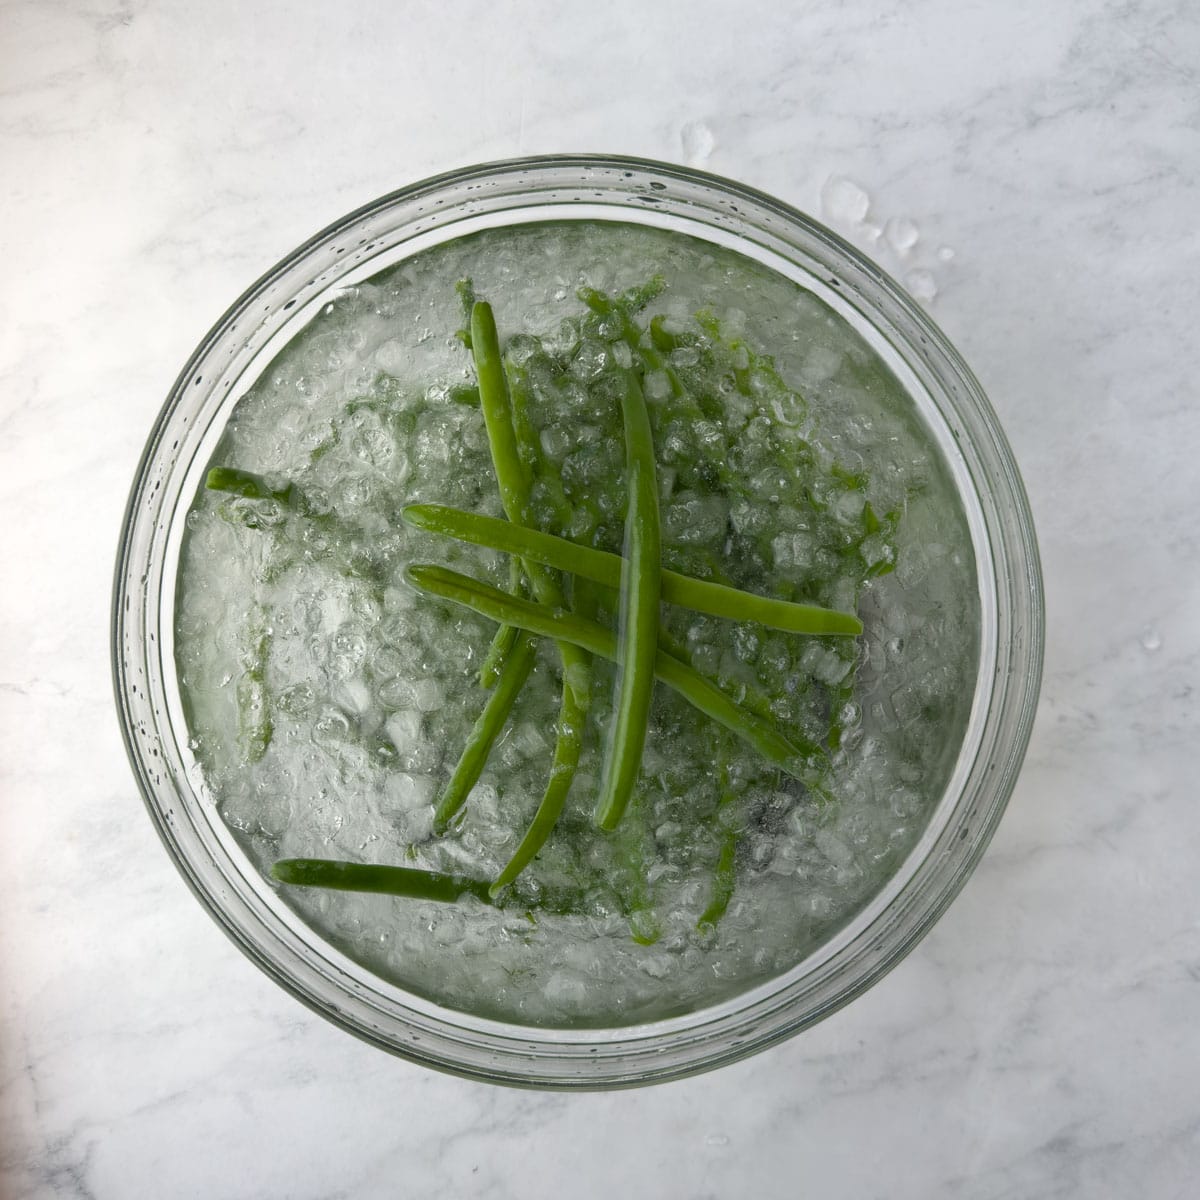
Chef's Tip - The Trick to Bright Green Pesto is Blanching
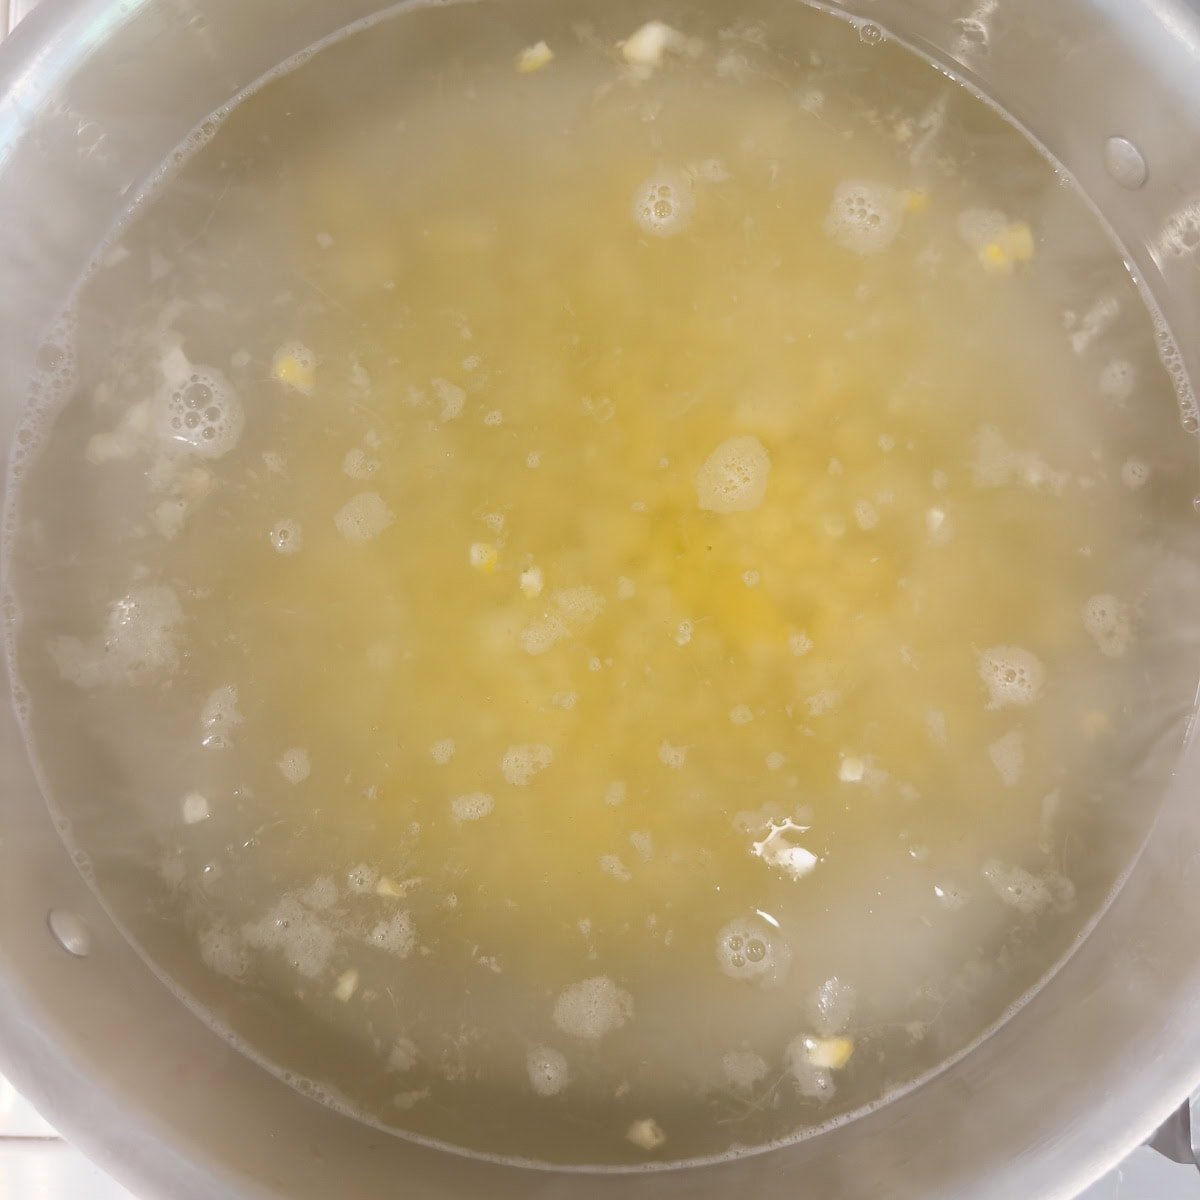
For vivid, longer-lasting green pesto, briefly blanch basil leaves in boiling water for 5-10 seconds, then plunge them immediately into an ice bath to stop the cooking. Drain well and pat completely dry before using. This quick blanch helps set the chlorophyll, preserving that gorgeous green color and helping pesto stay greener for days in the refrigerator. Its a little extra work, but worth doing when you want pesto to keep its beautiful color instead of turning brown.
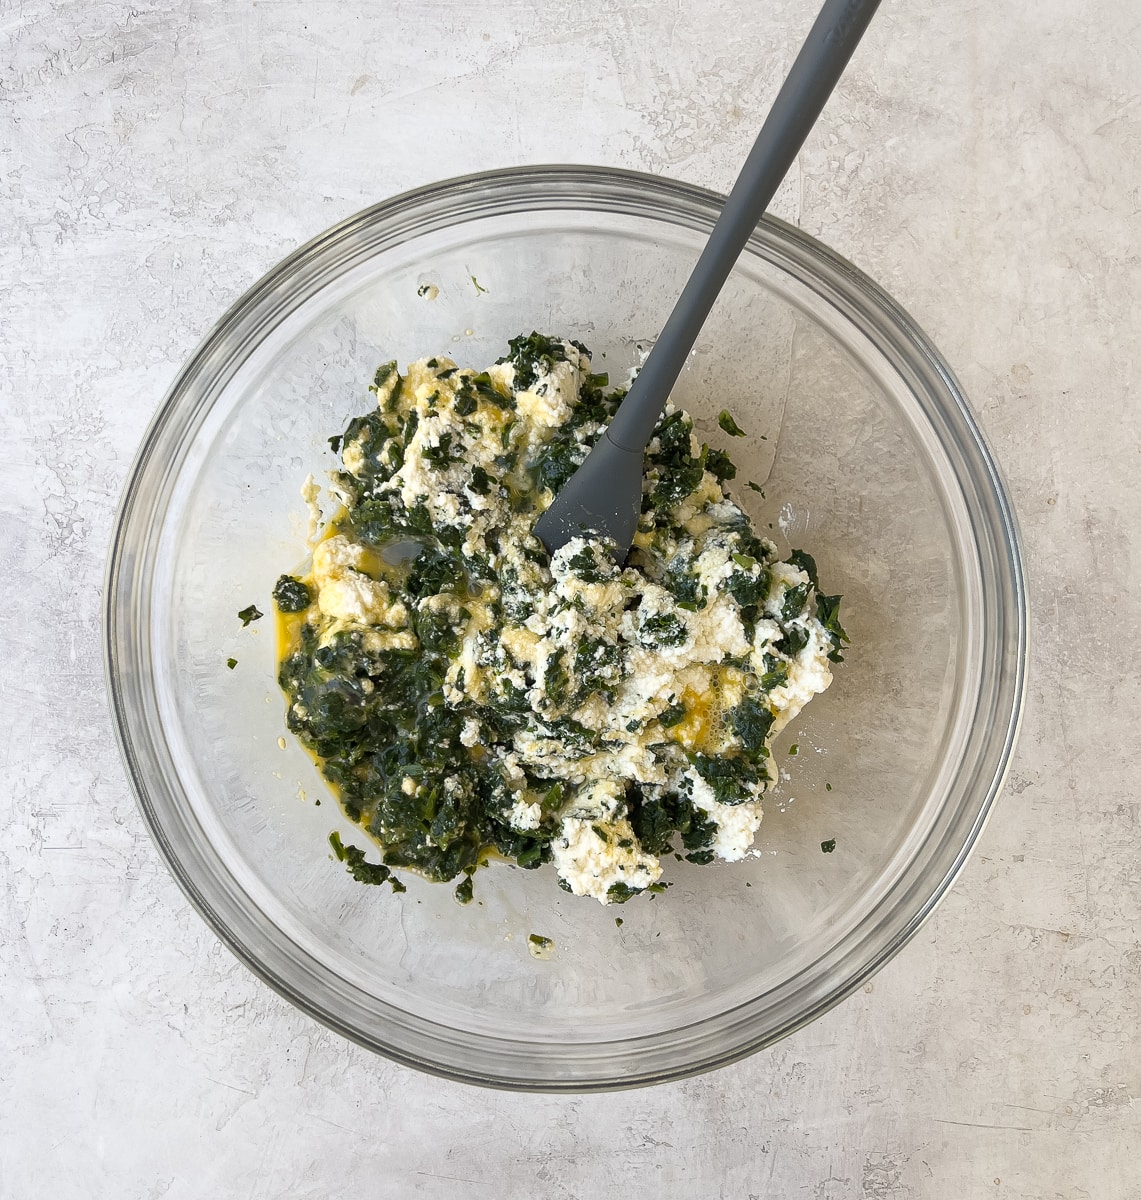
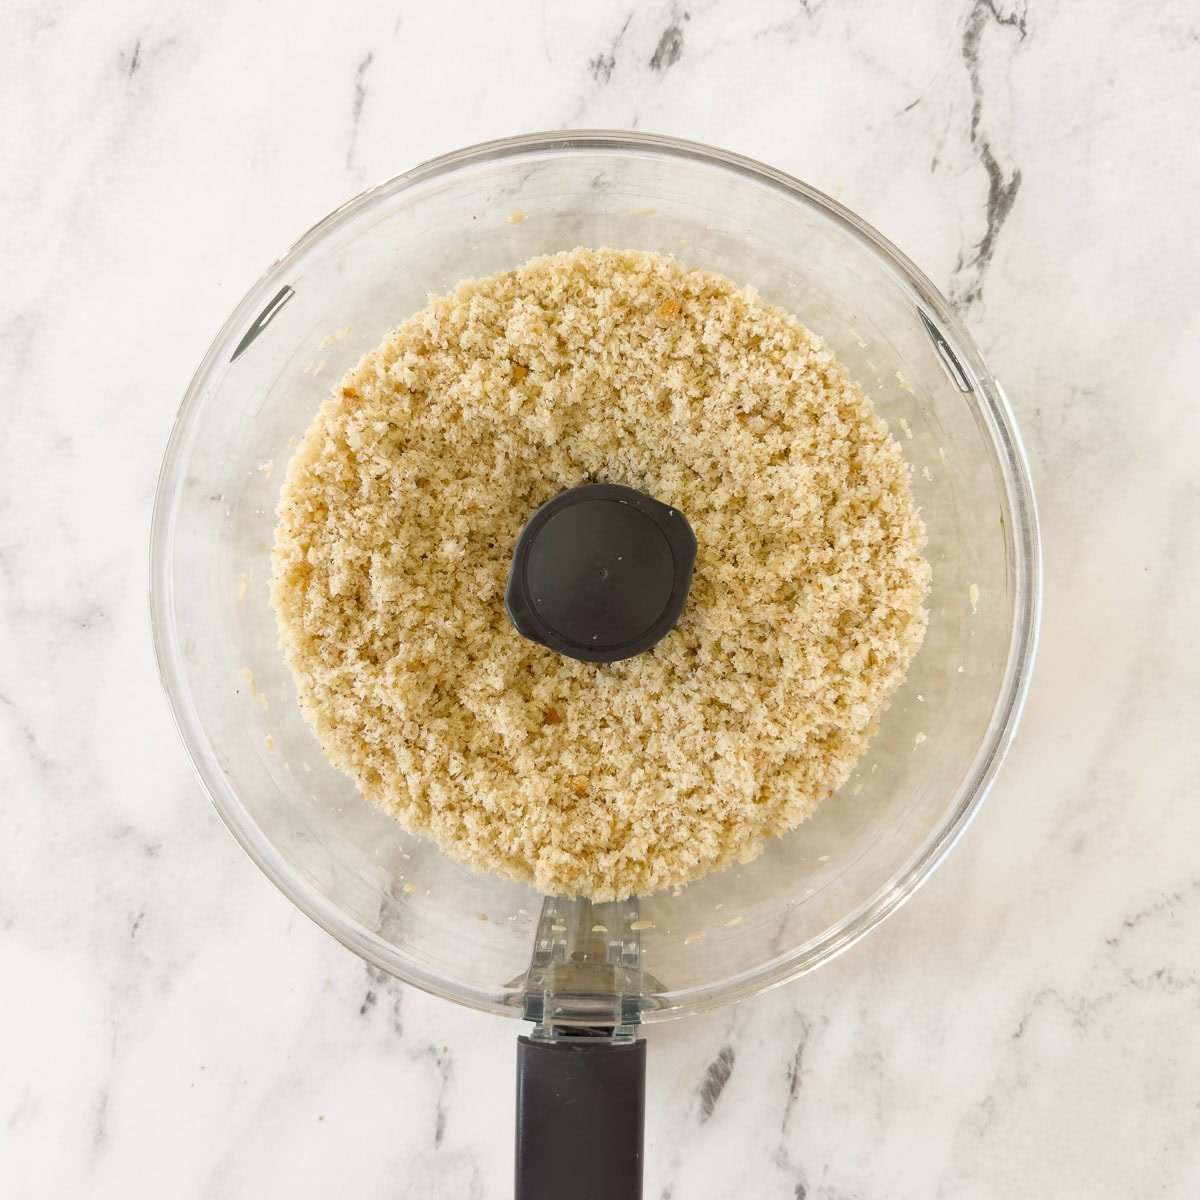
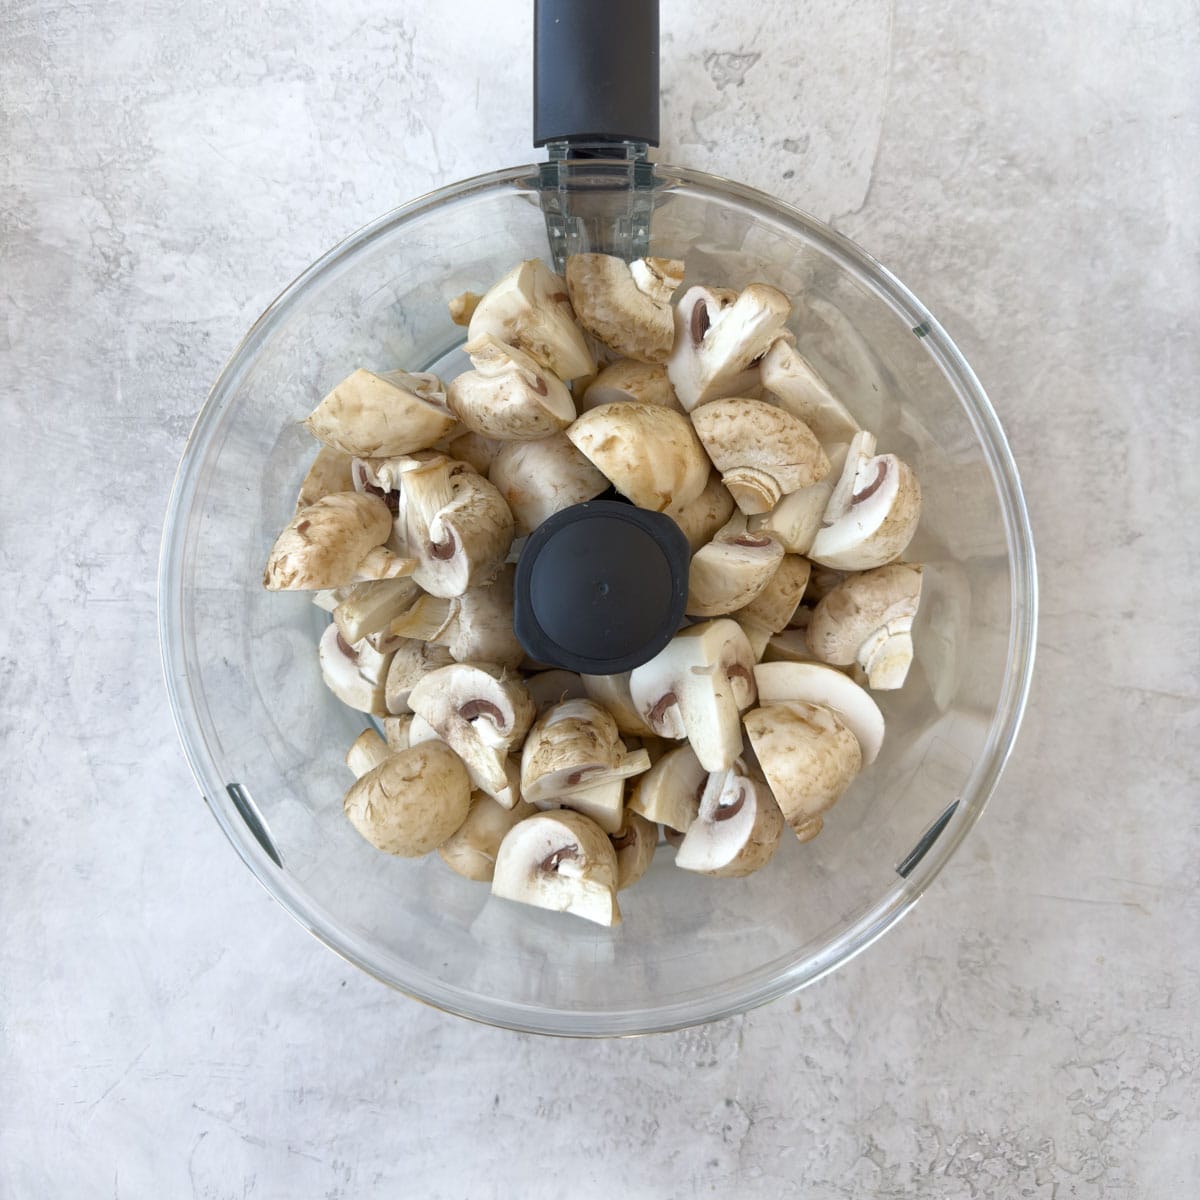
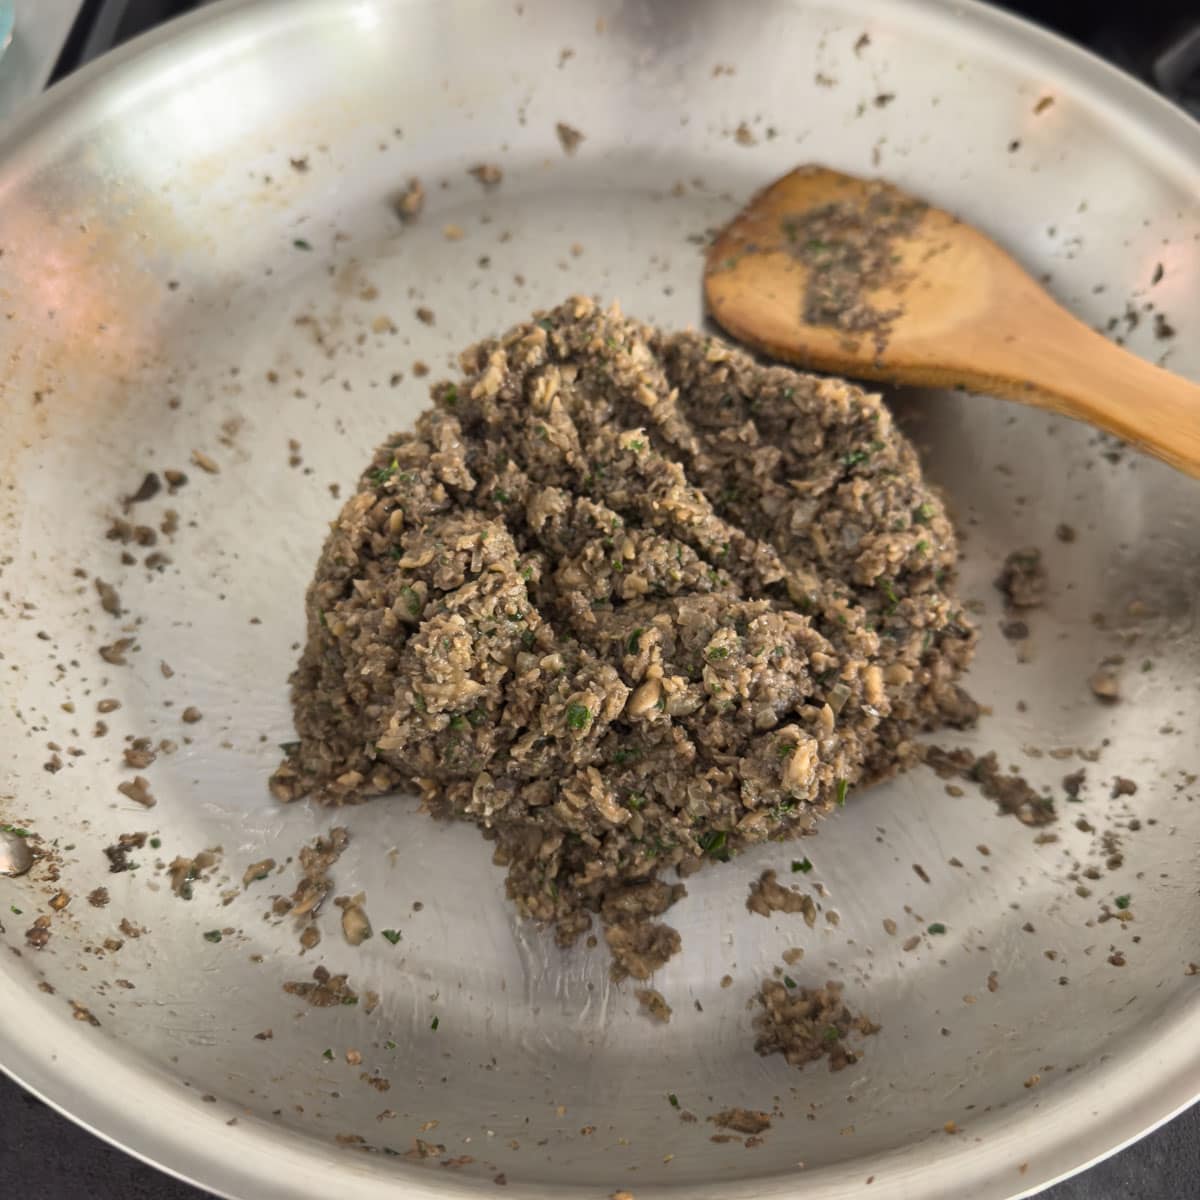
How to Make Pesto alla Genovese
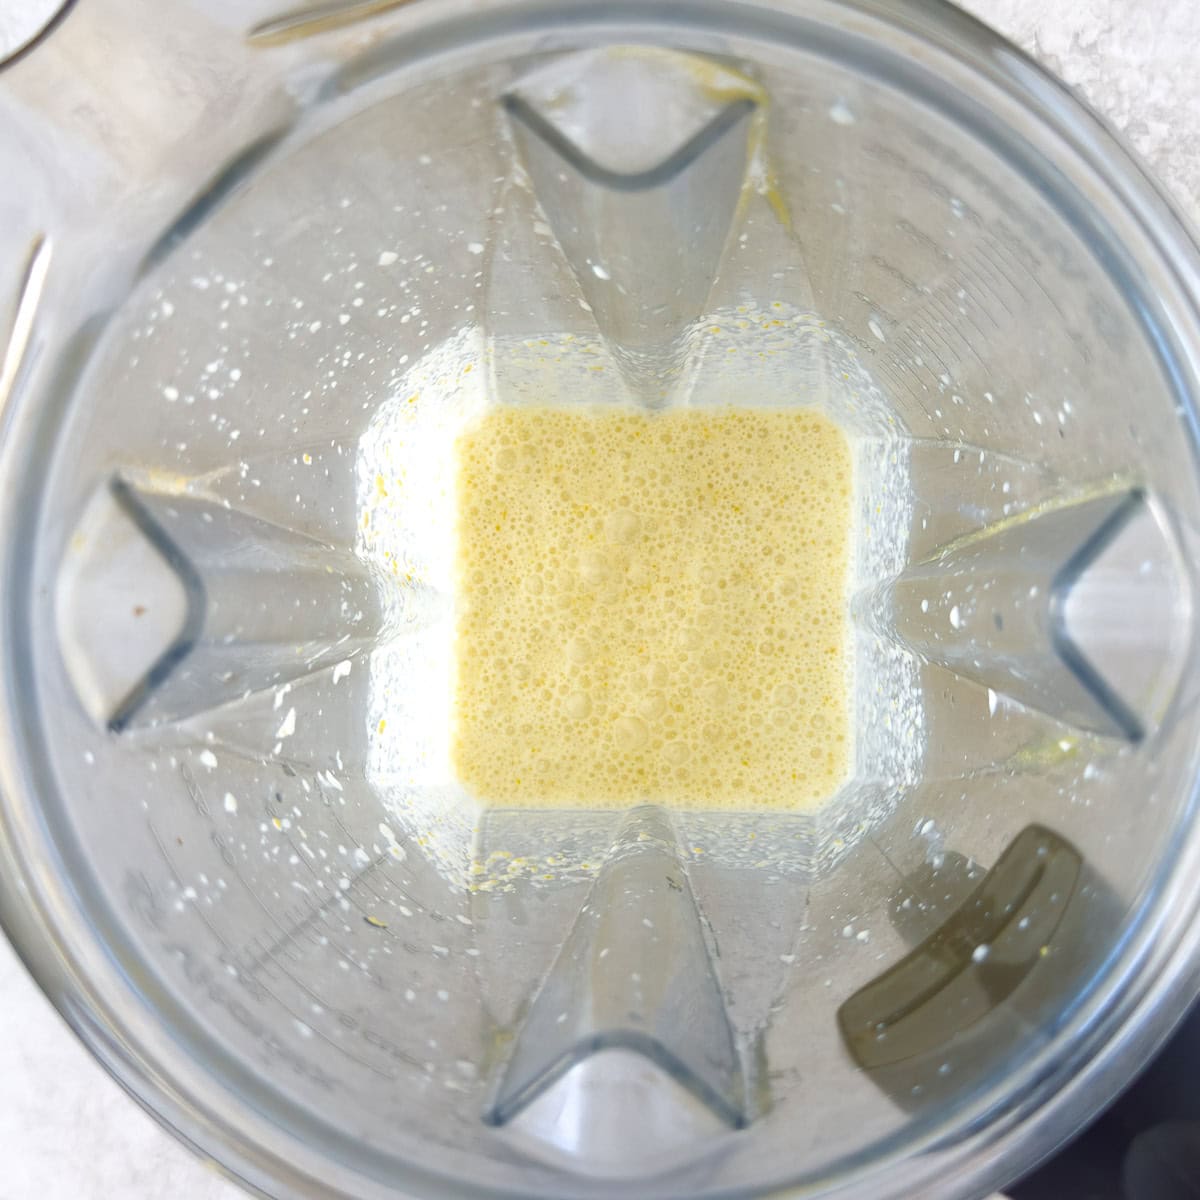
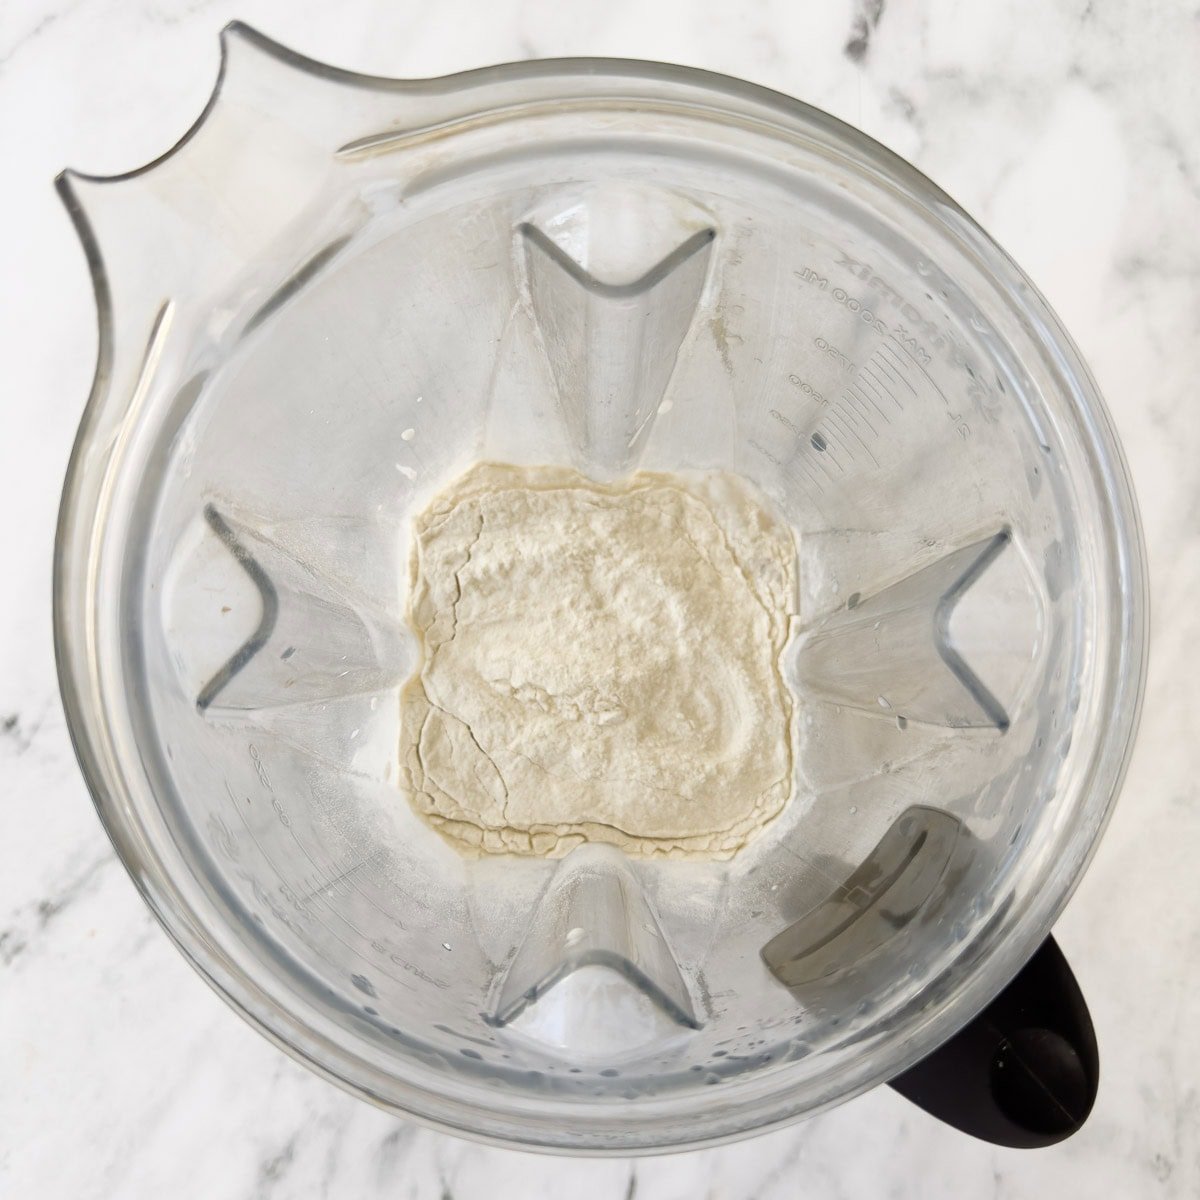
Making pesto is simple and quick. For everyday cooking, a food processor is the easiest way to make a smooth, vibrant sauce. A blender also works, but pulse carefully-over-blending can warm the basil, dull the flavor, and cause the pesto to brown.
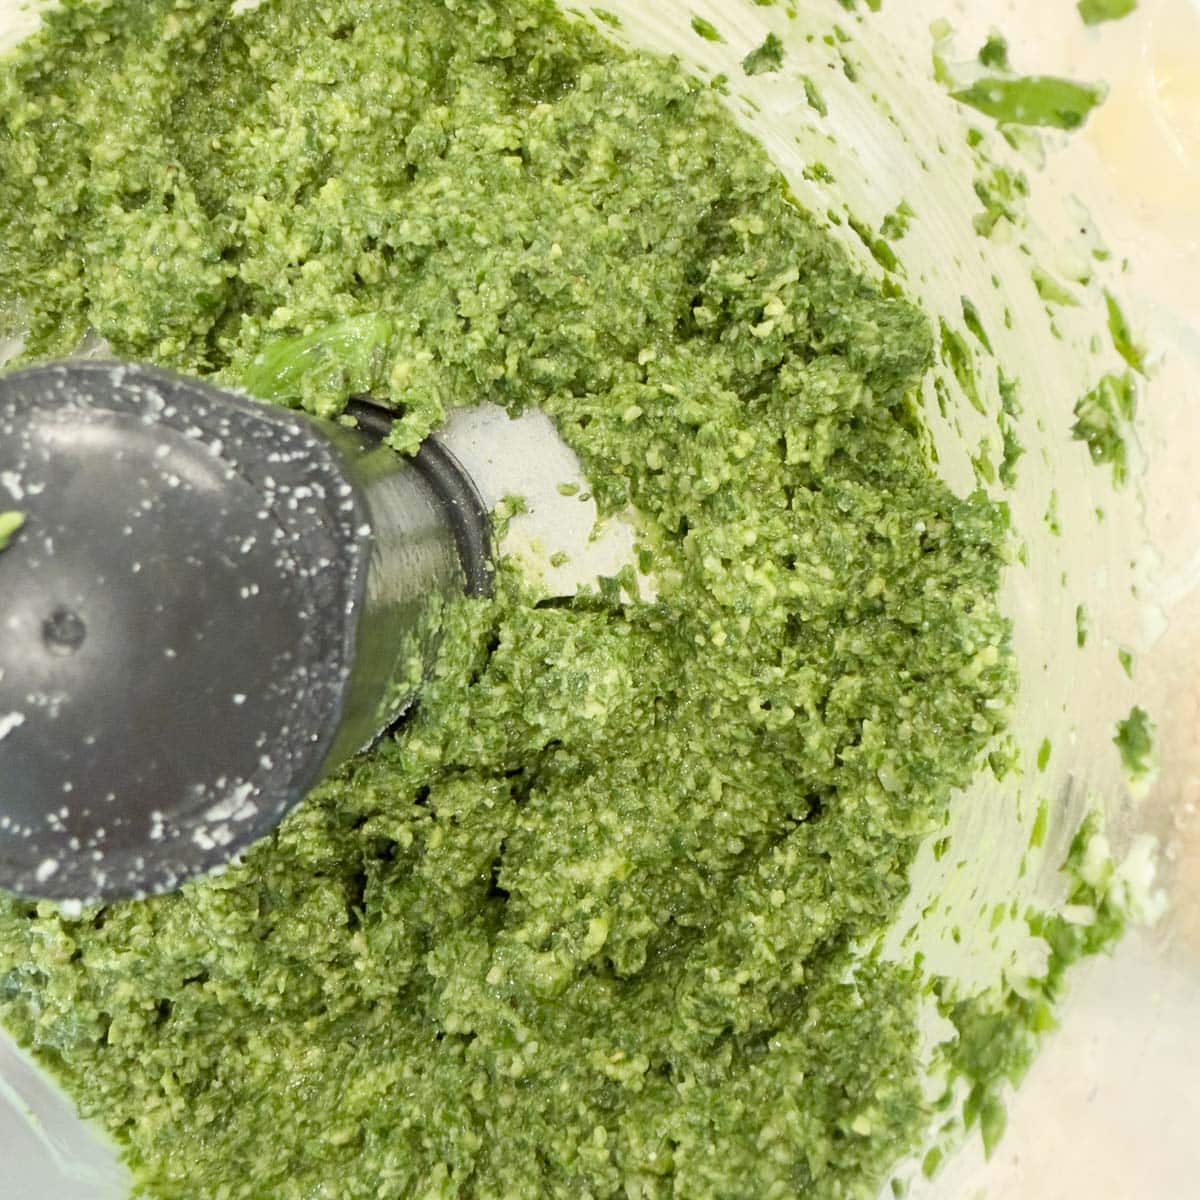
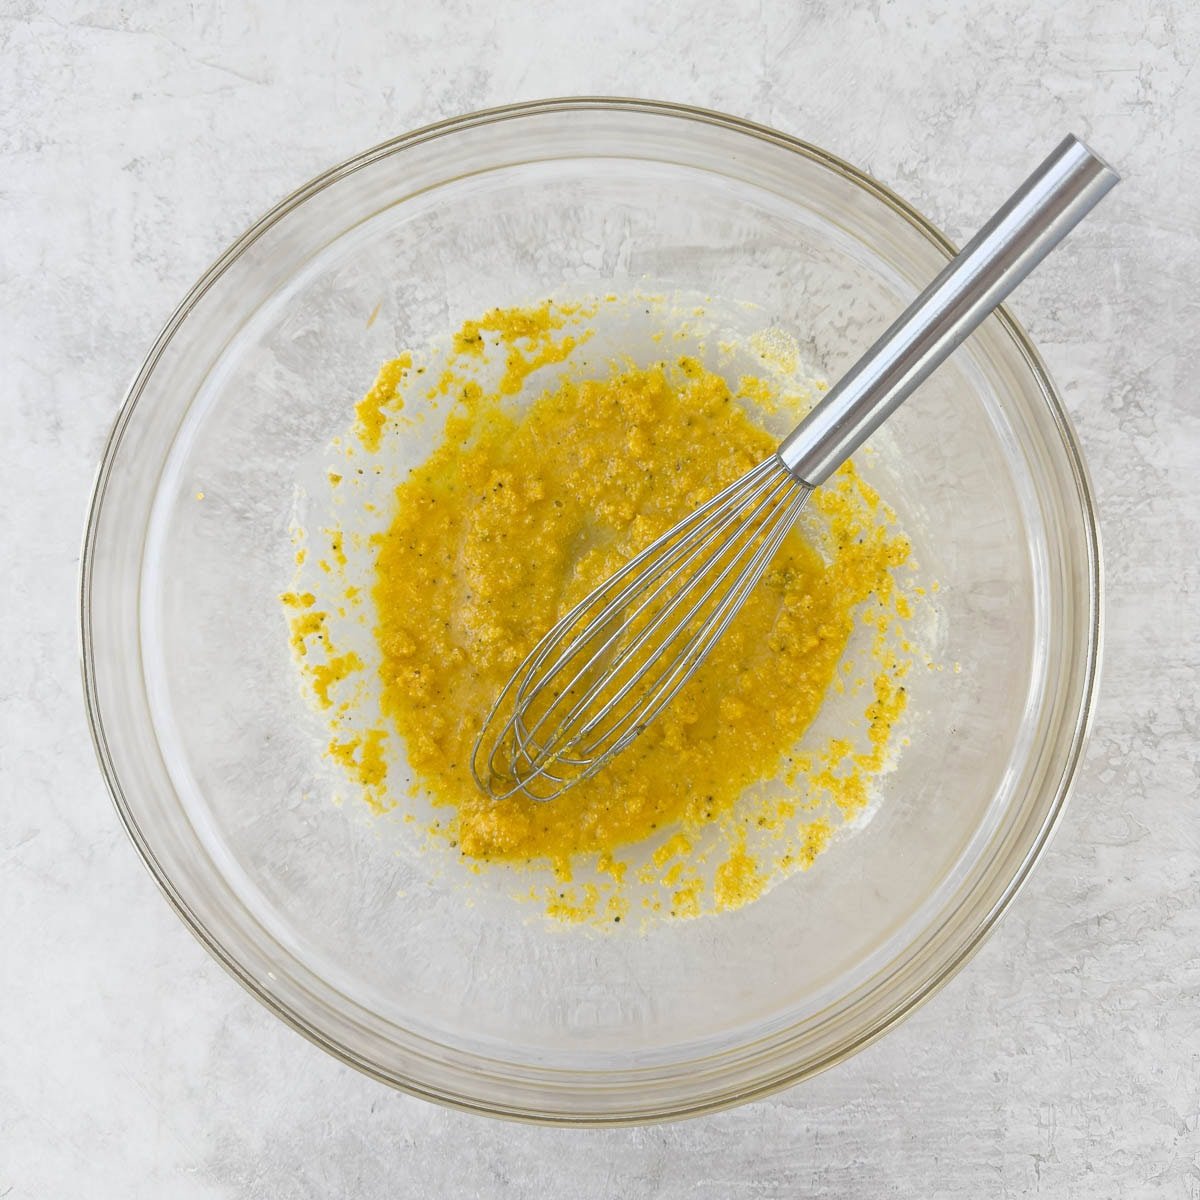
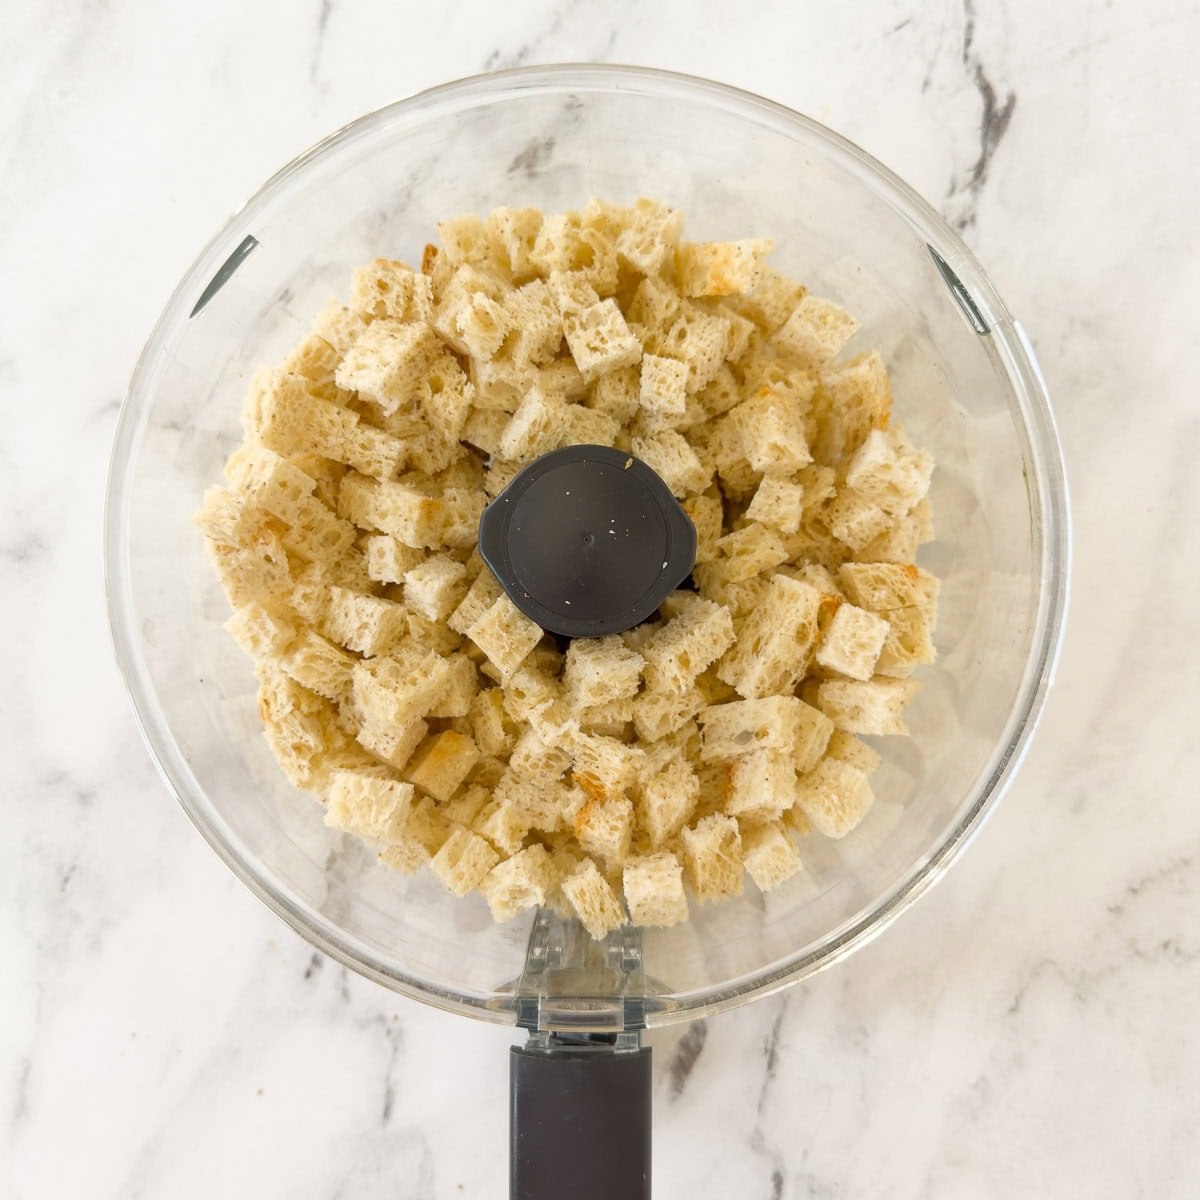
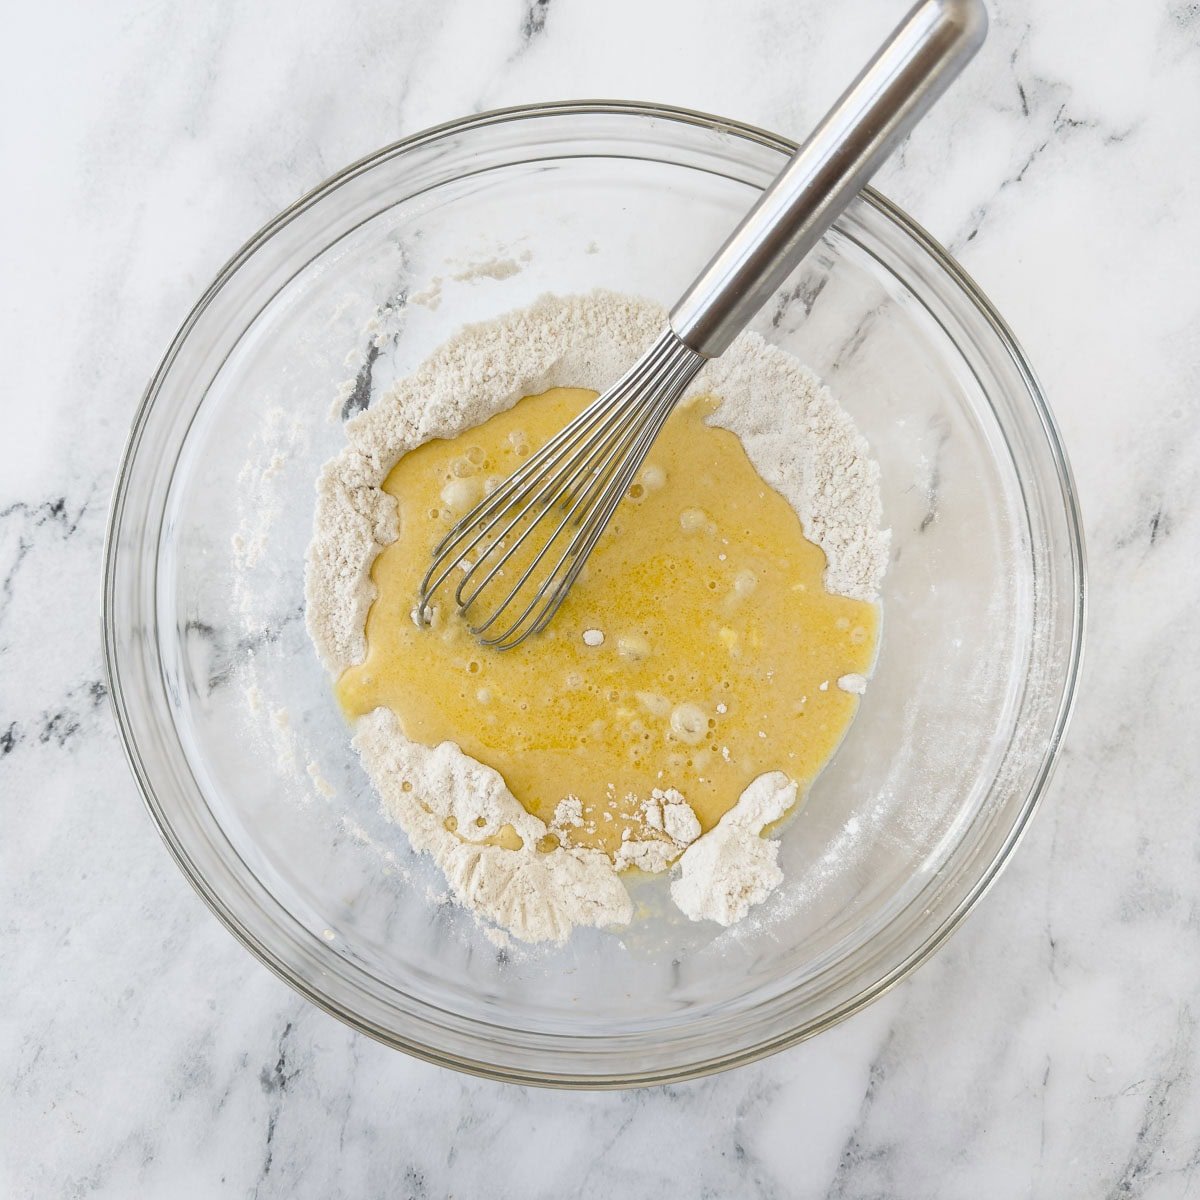
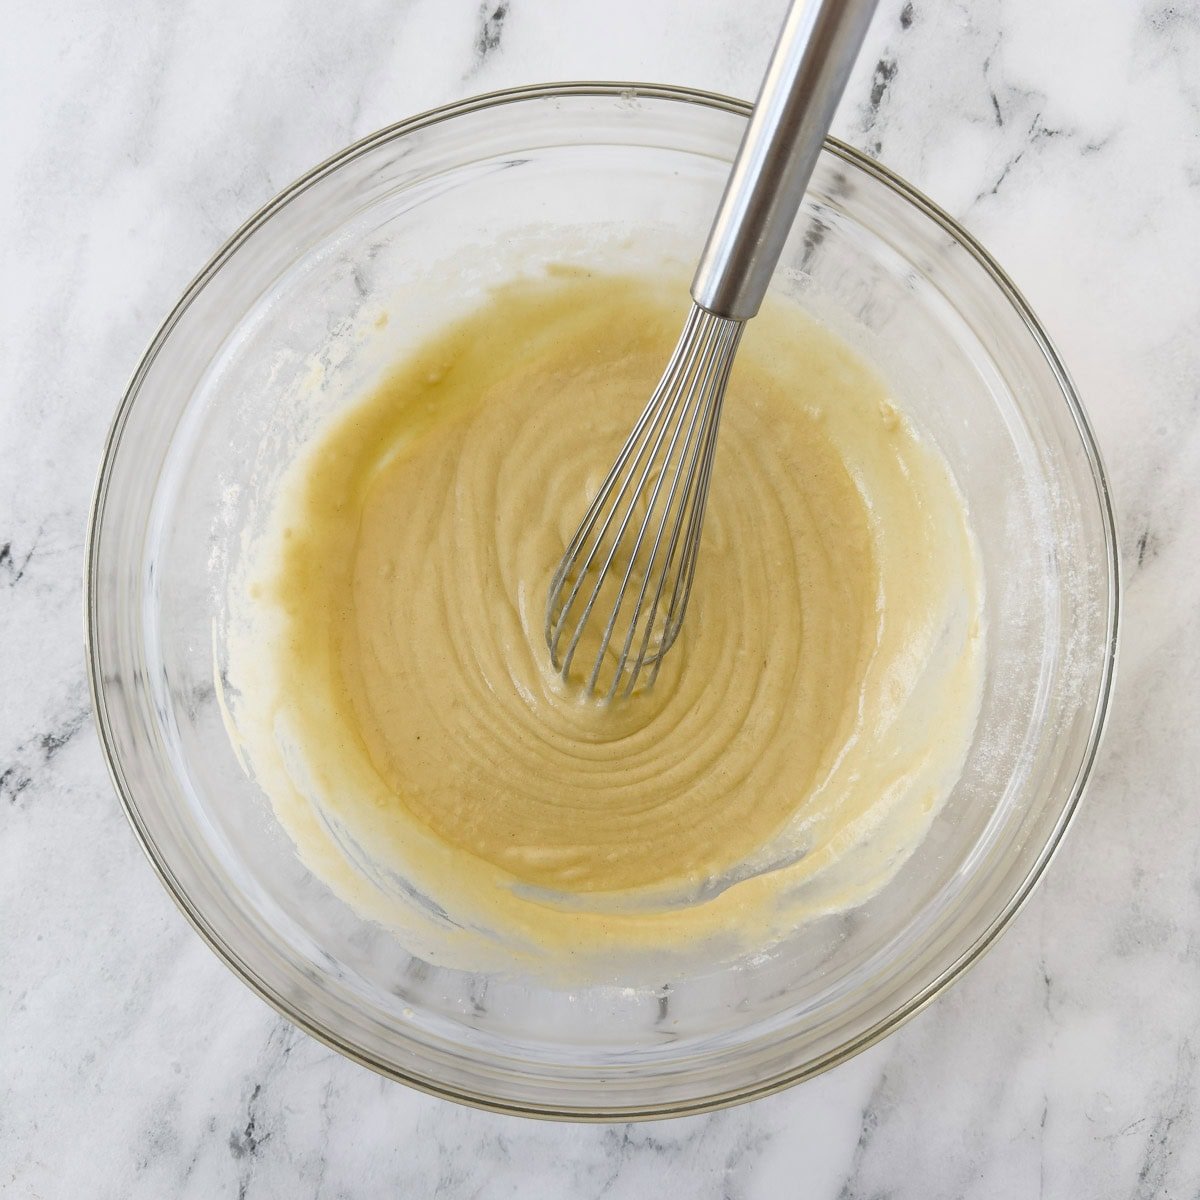
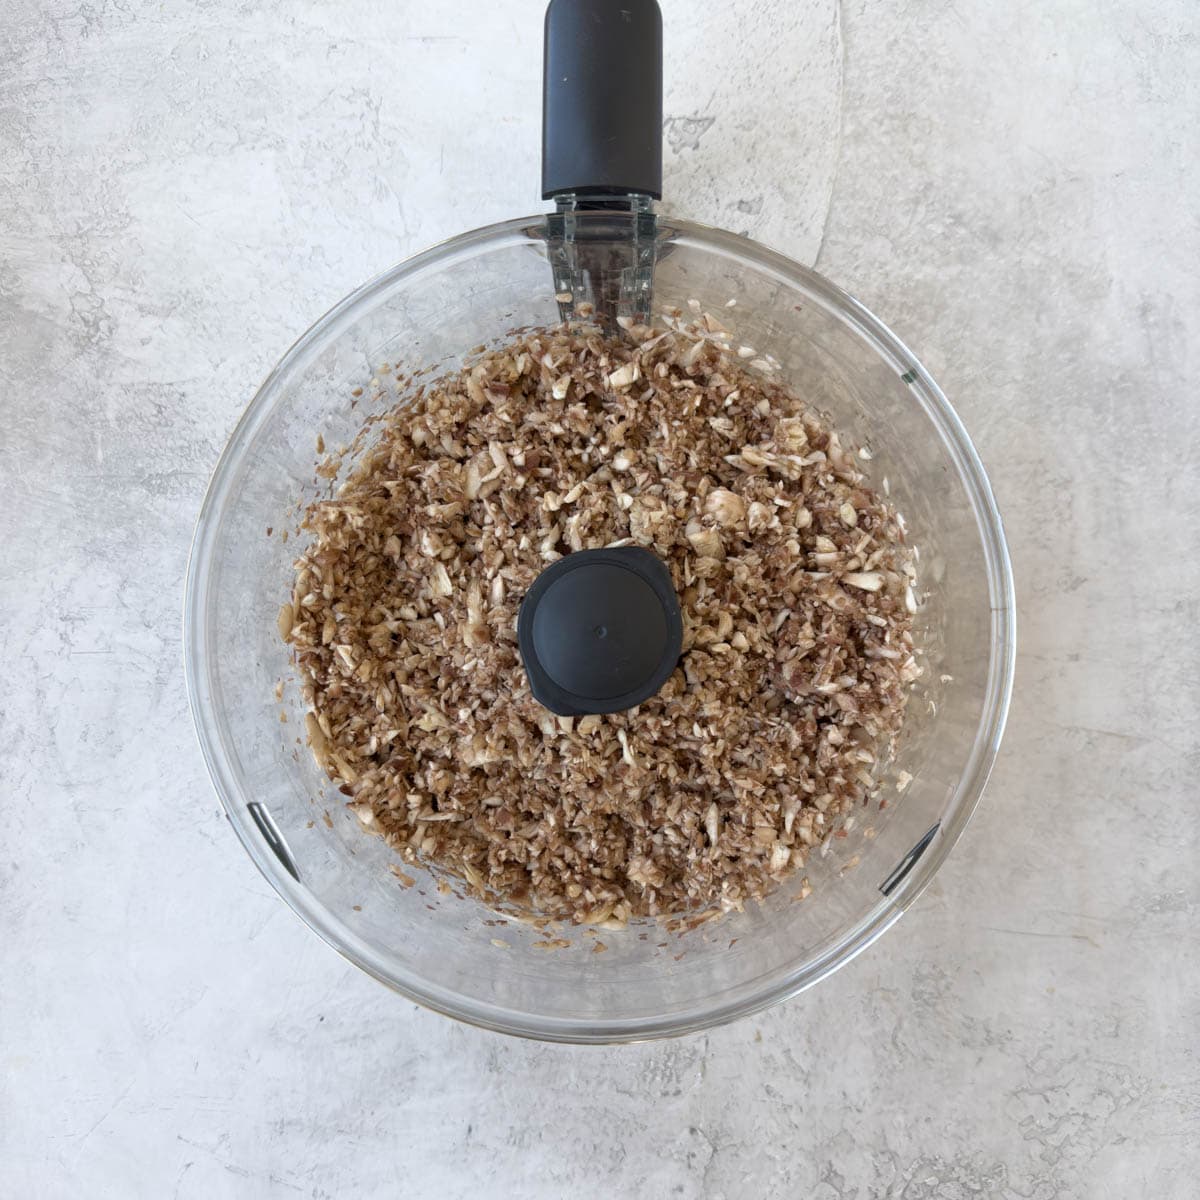
- Drop the garlic clove through the feed tube to chop it while the machine is running, then add all other ingredients and pulse to puree to the texture you want, smooth or more chunky. Taste and adjust seasoning and lemon juice.
Chef's tip: If your pesto is too thin, add a little more basil, cheese, or nuts to thicken it. If it's too thick, loosen it with a drizzle of olive oil, lemon juice, or a splash of water.
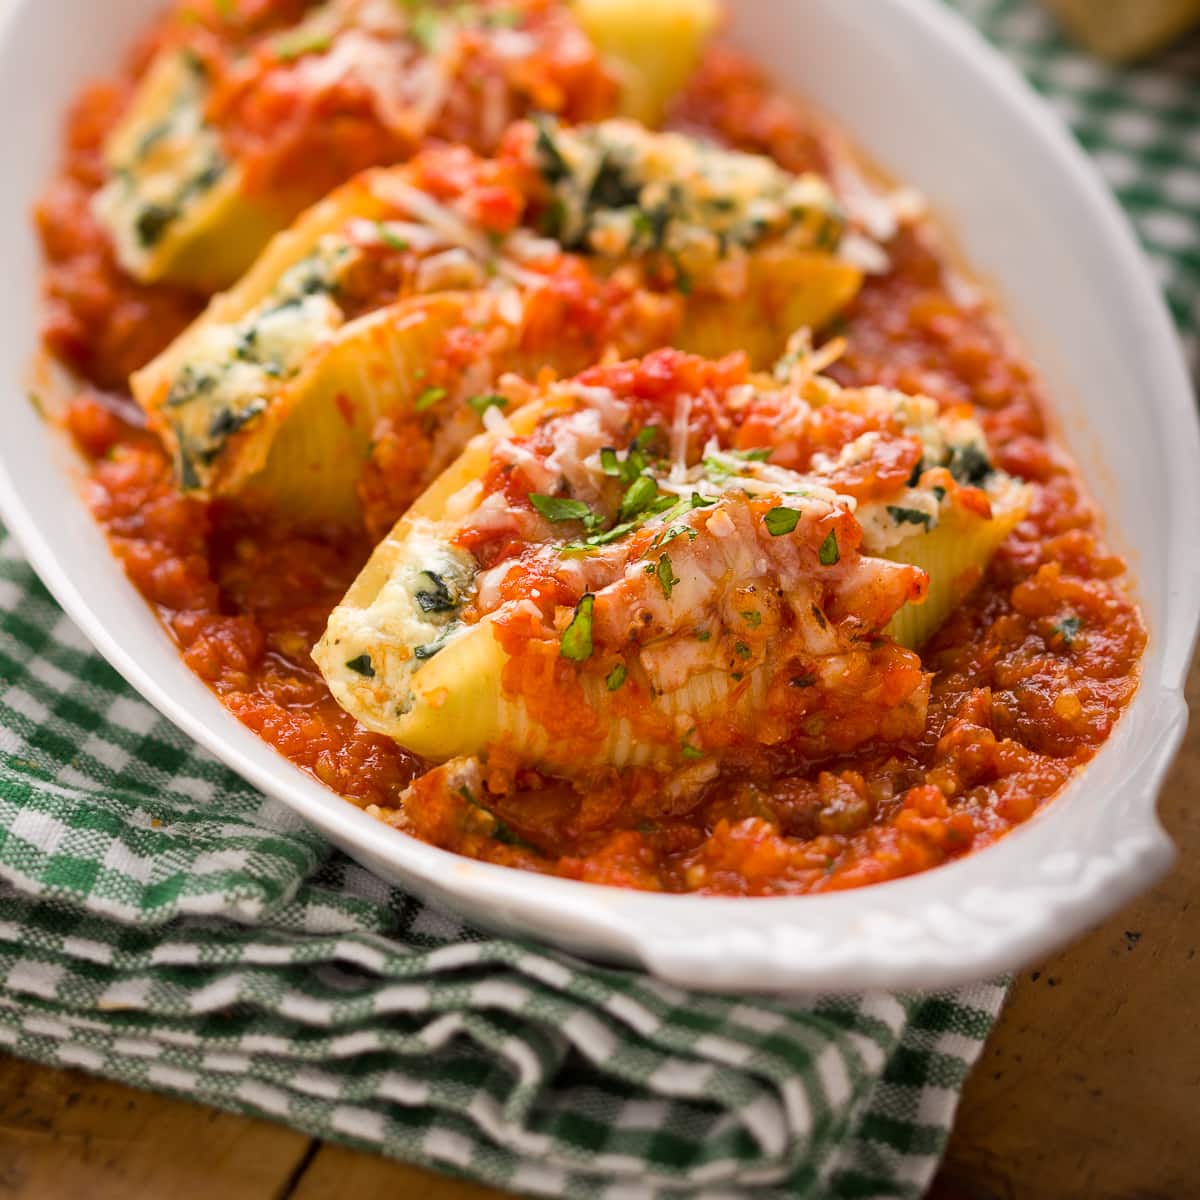
Serving Suggestions

What can you do with basil pesto besides pasta? Plenty. Use pesto alla Genovese to add fresh, bold flavor to:
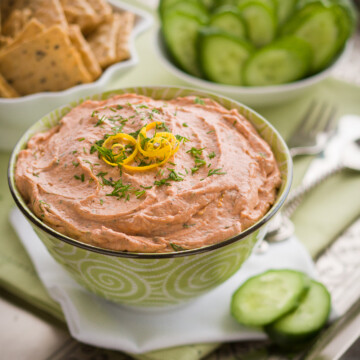
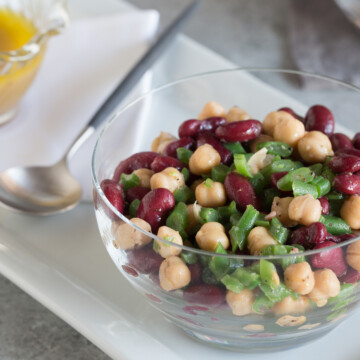
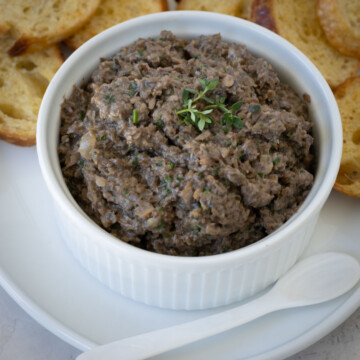
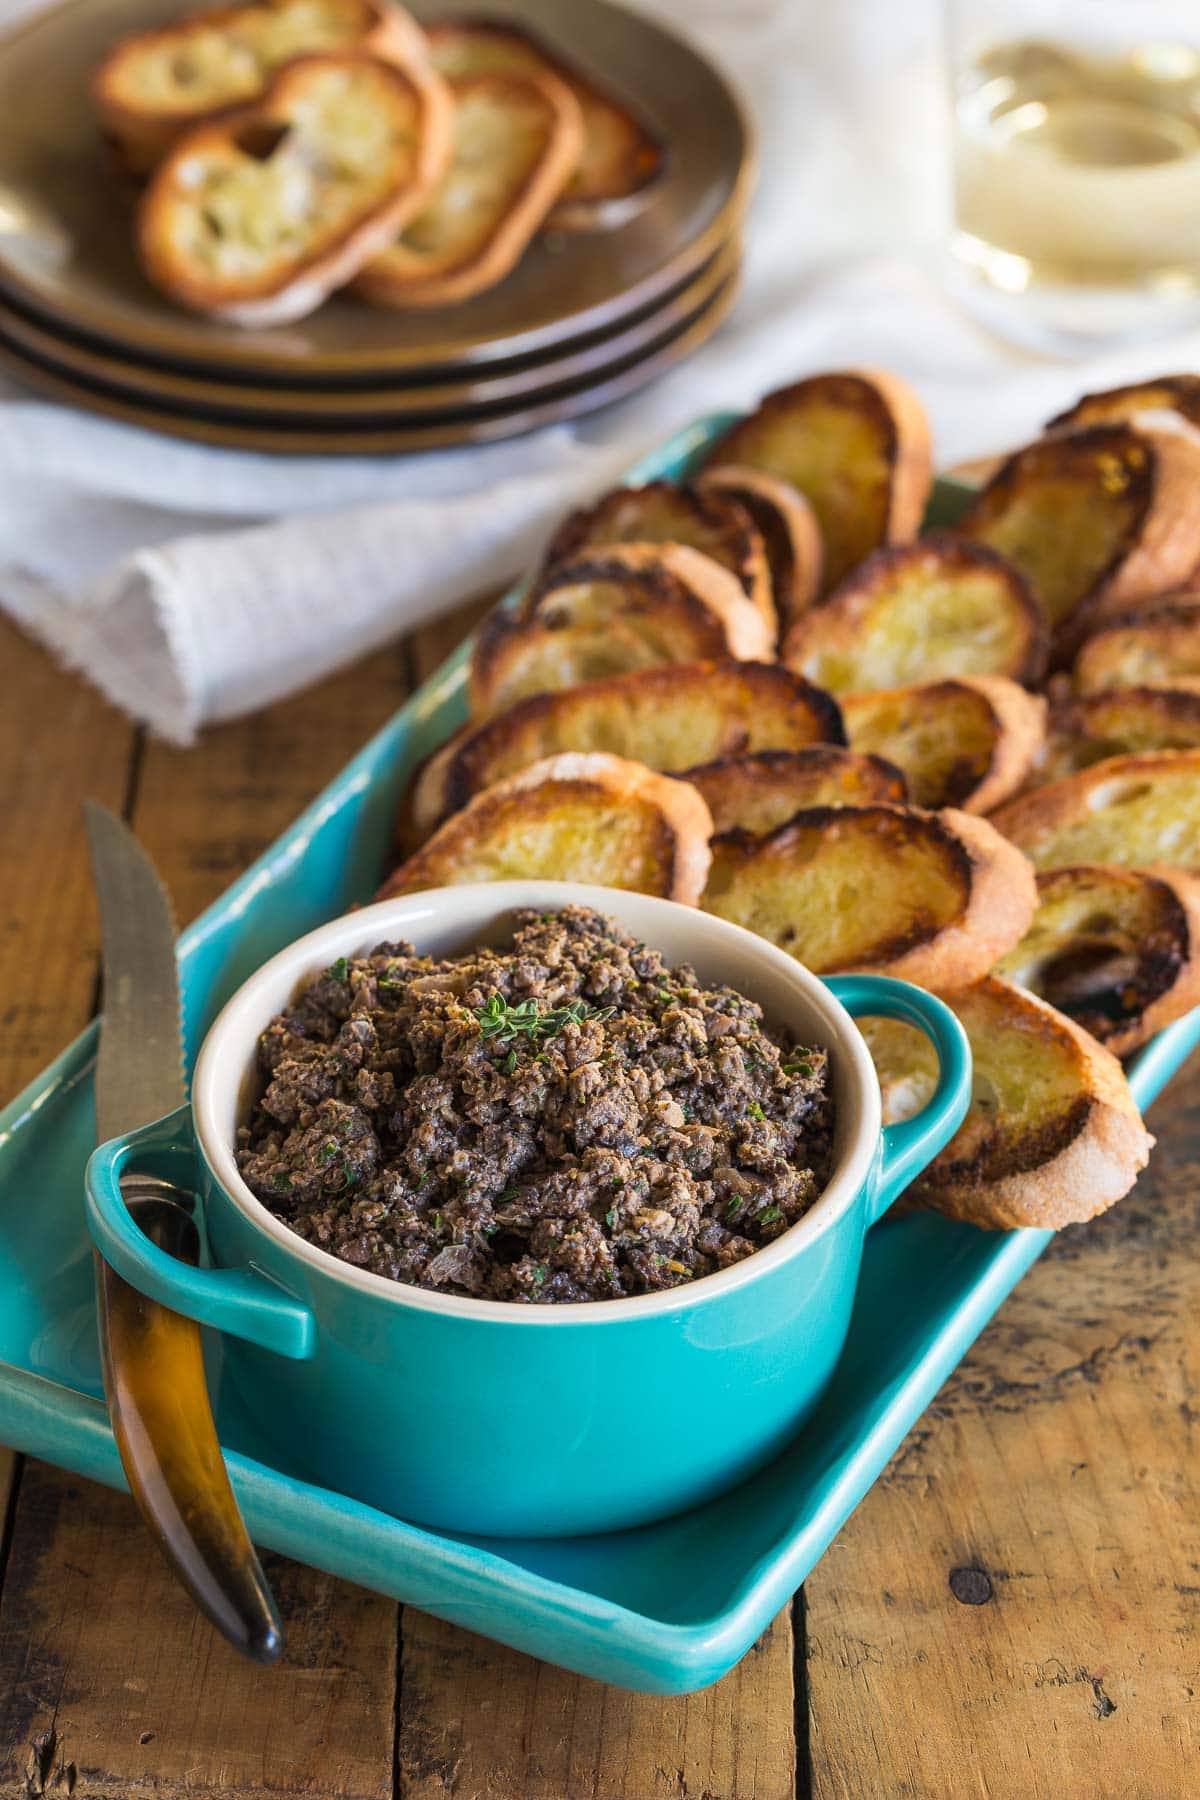
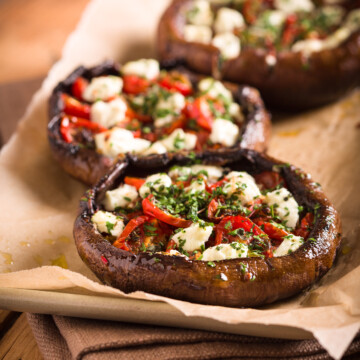
- Appetizers - Dollop onto deviled eggs, spoon into roasted portobello mushrooms, or mix with Greek yogurt for a quick veggie dip.
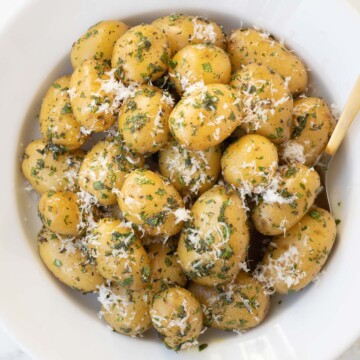
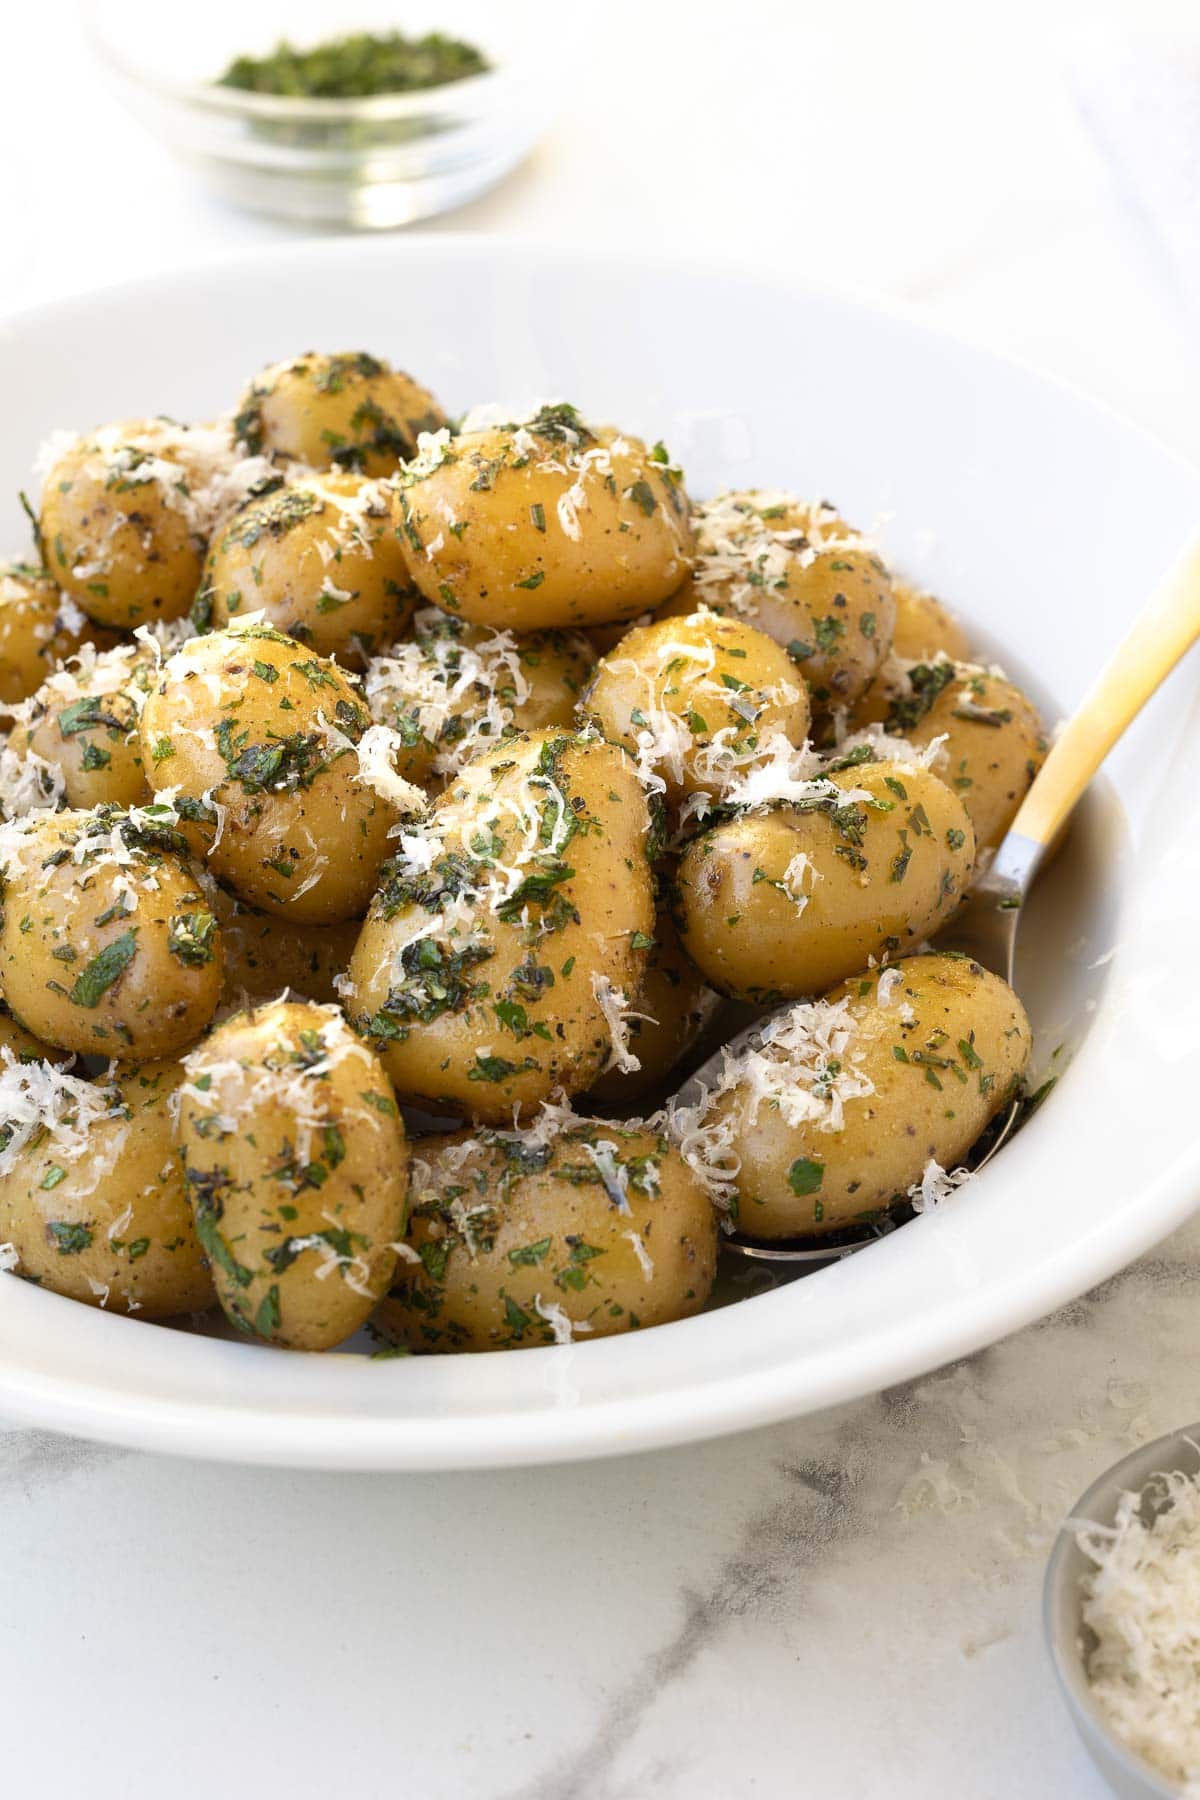
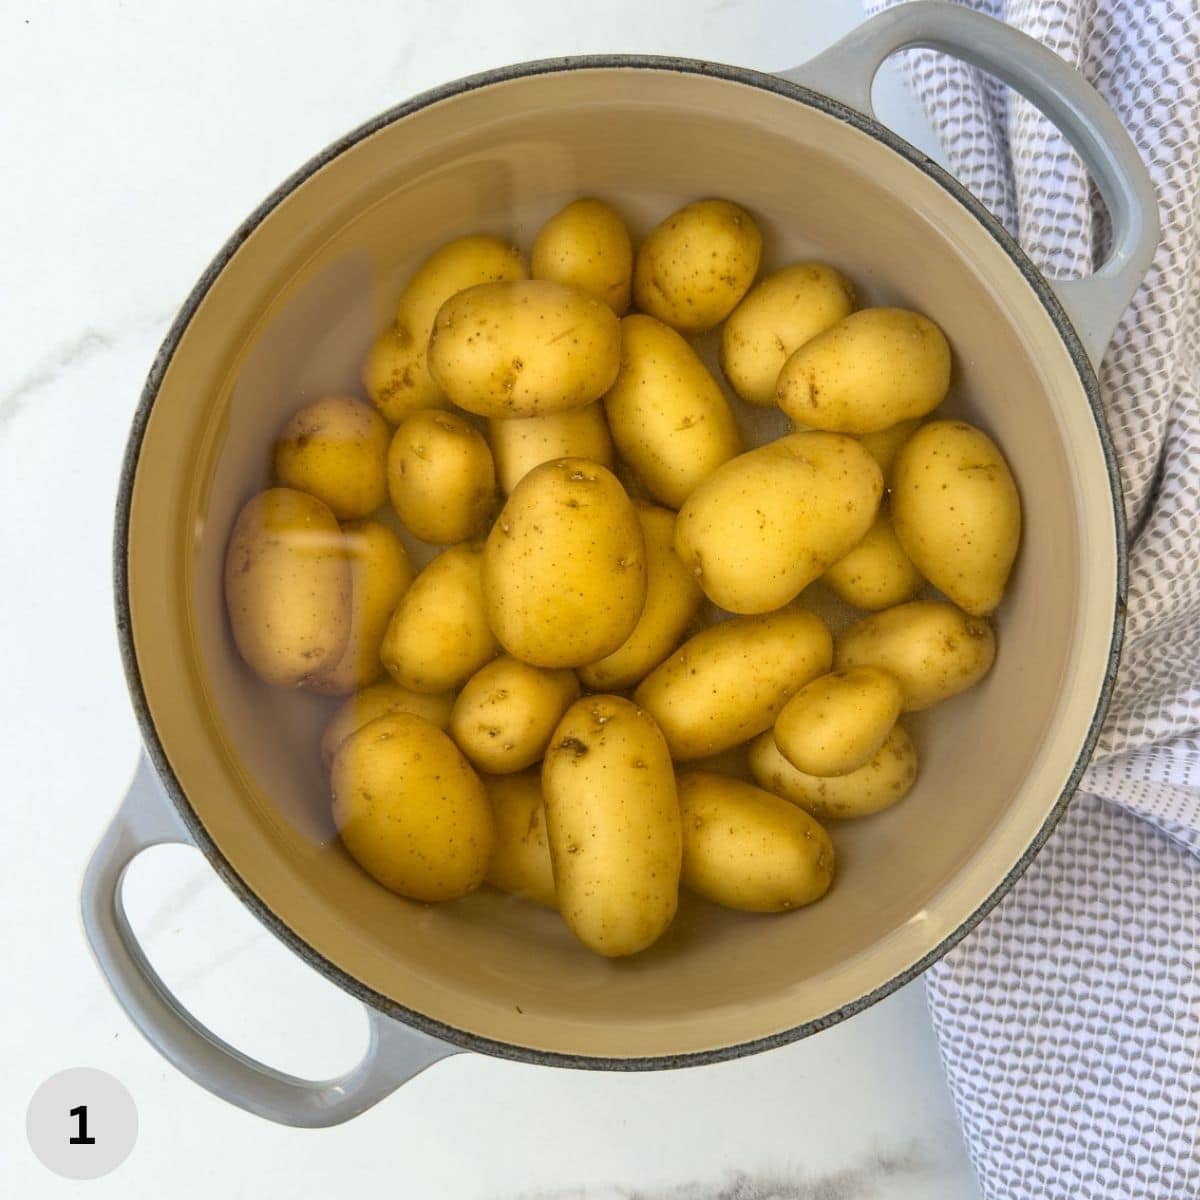
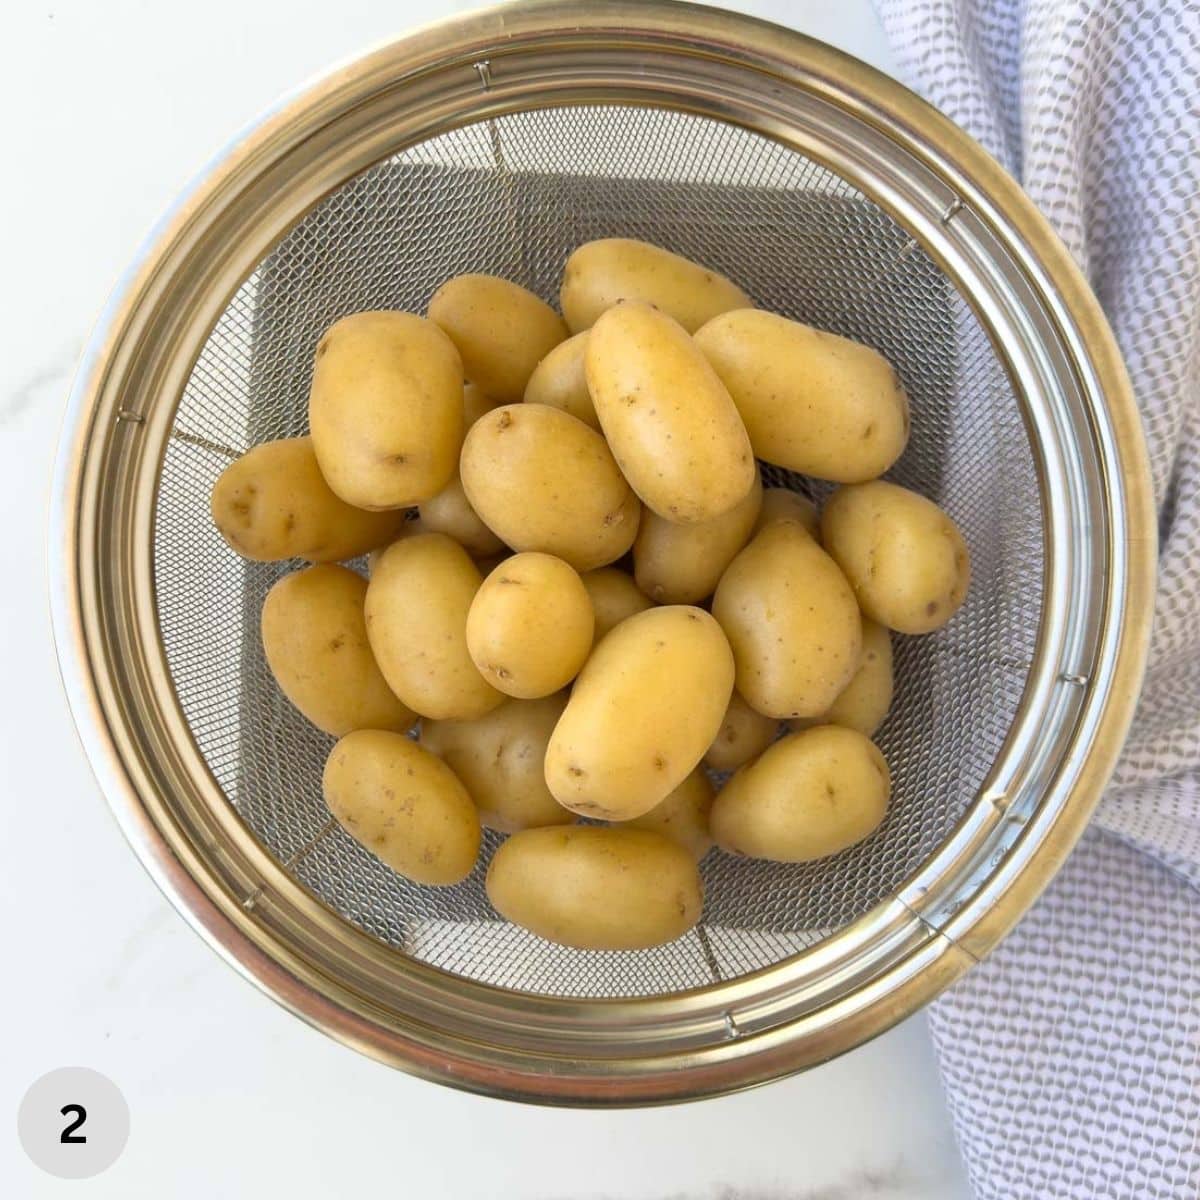
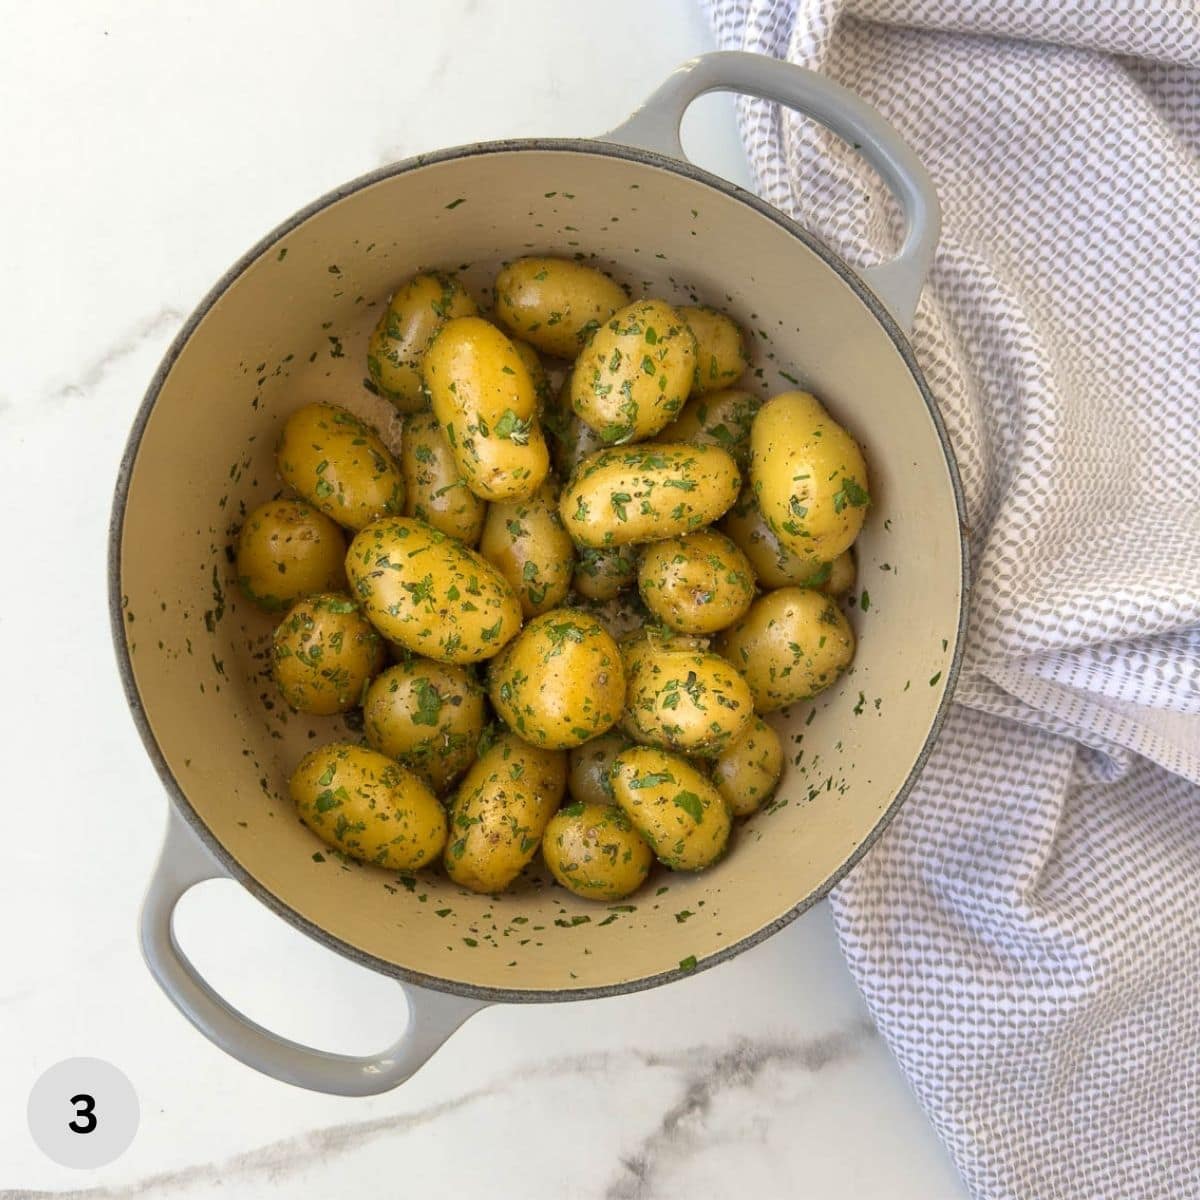
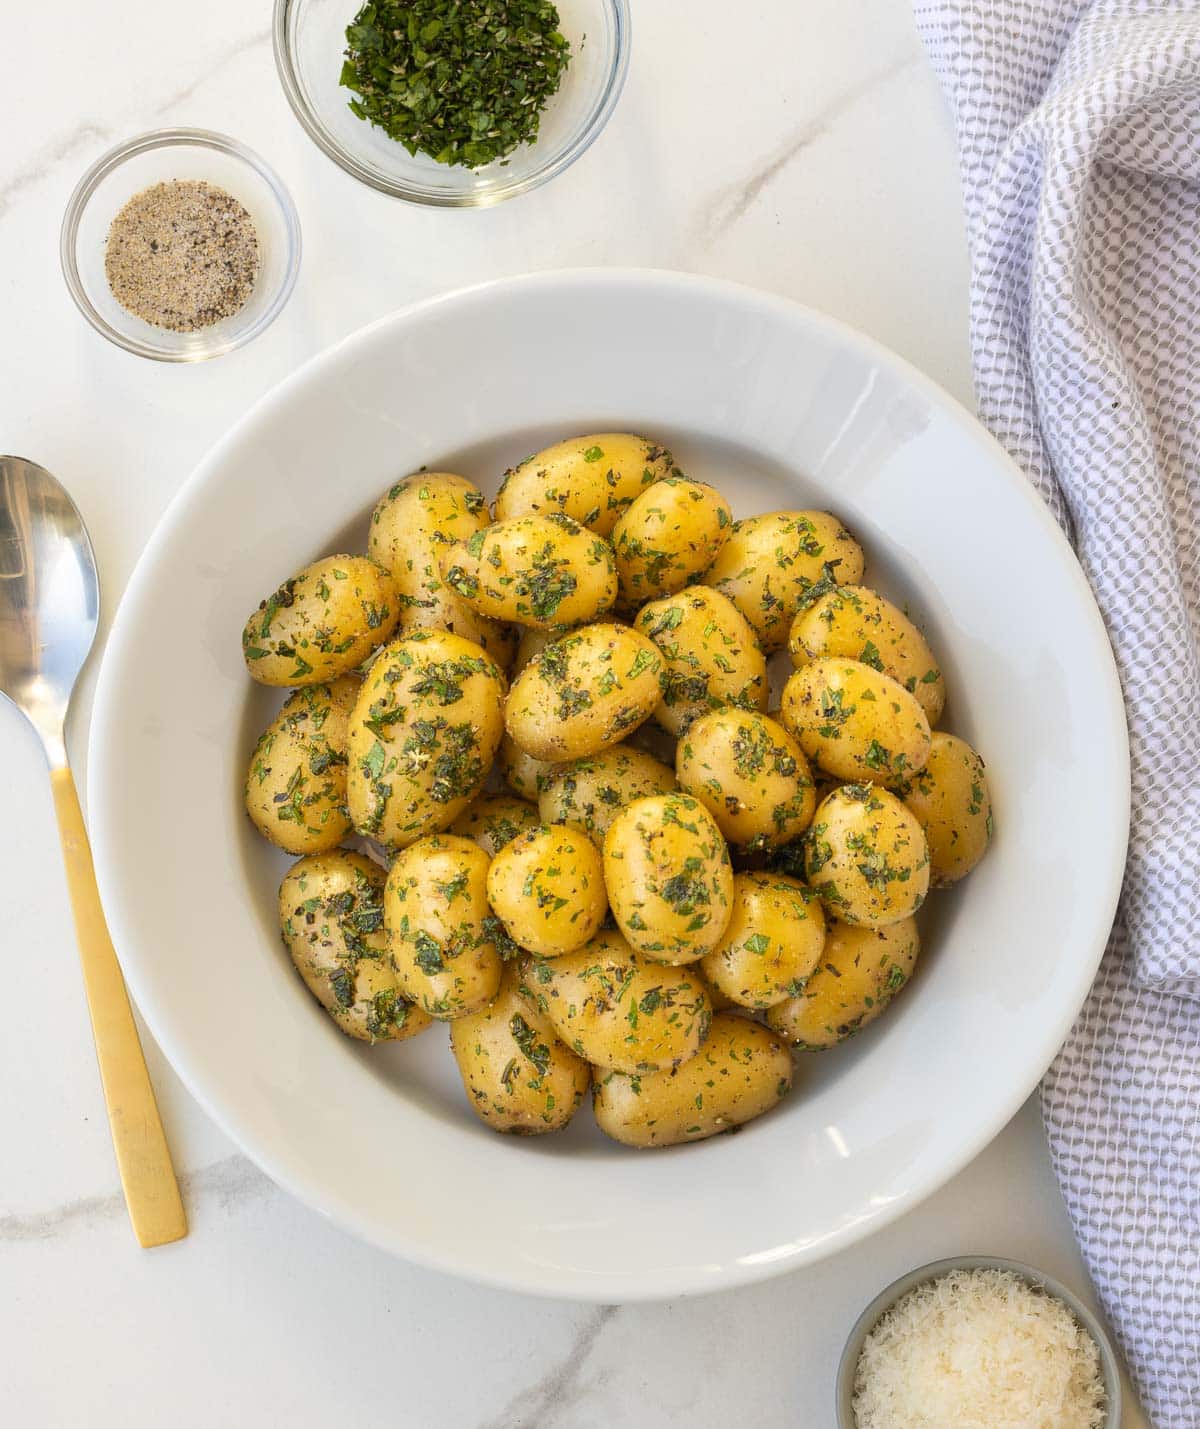
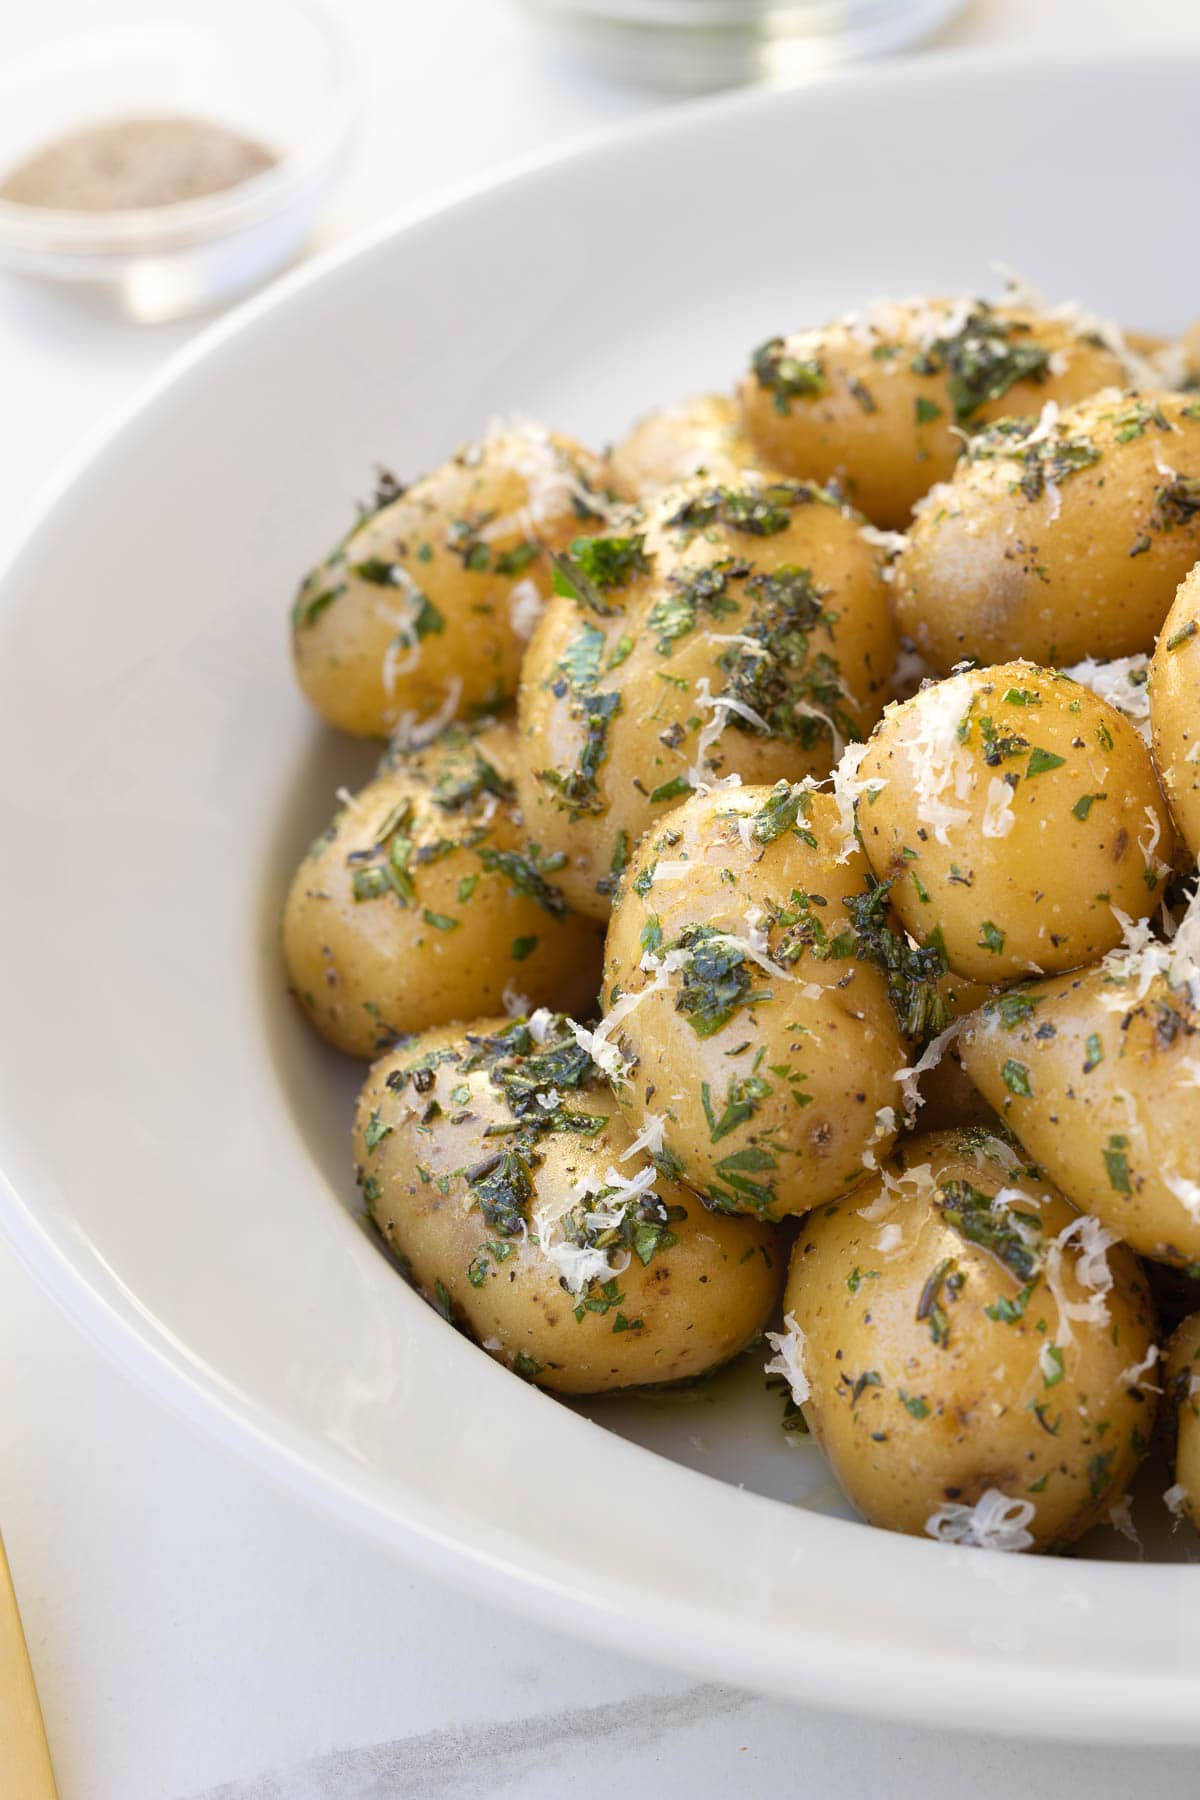
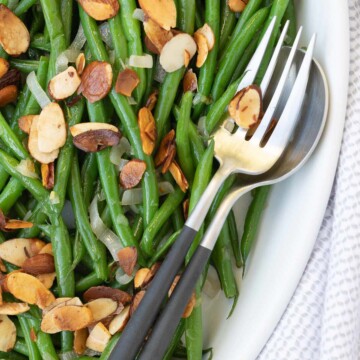
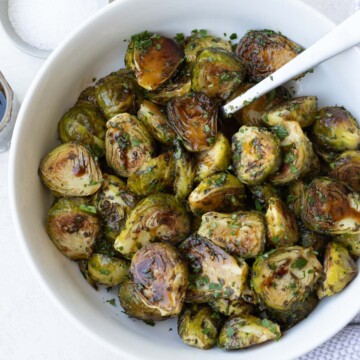
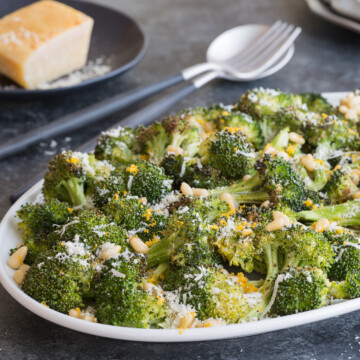
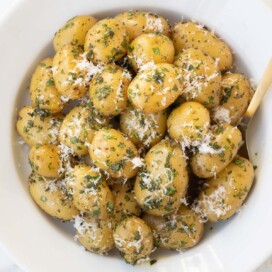
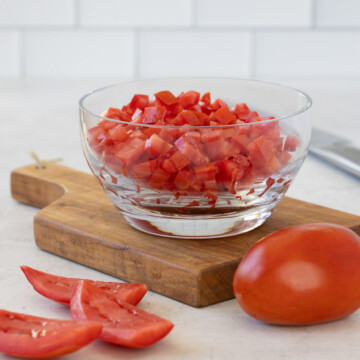
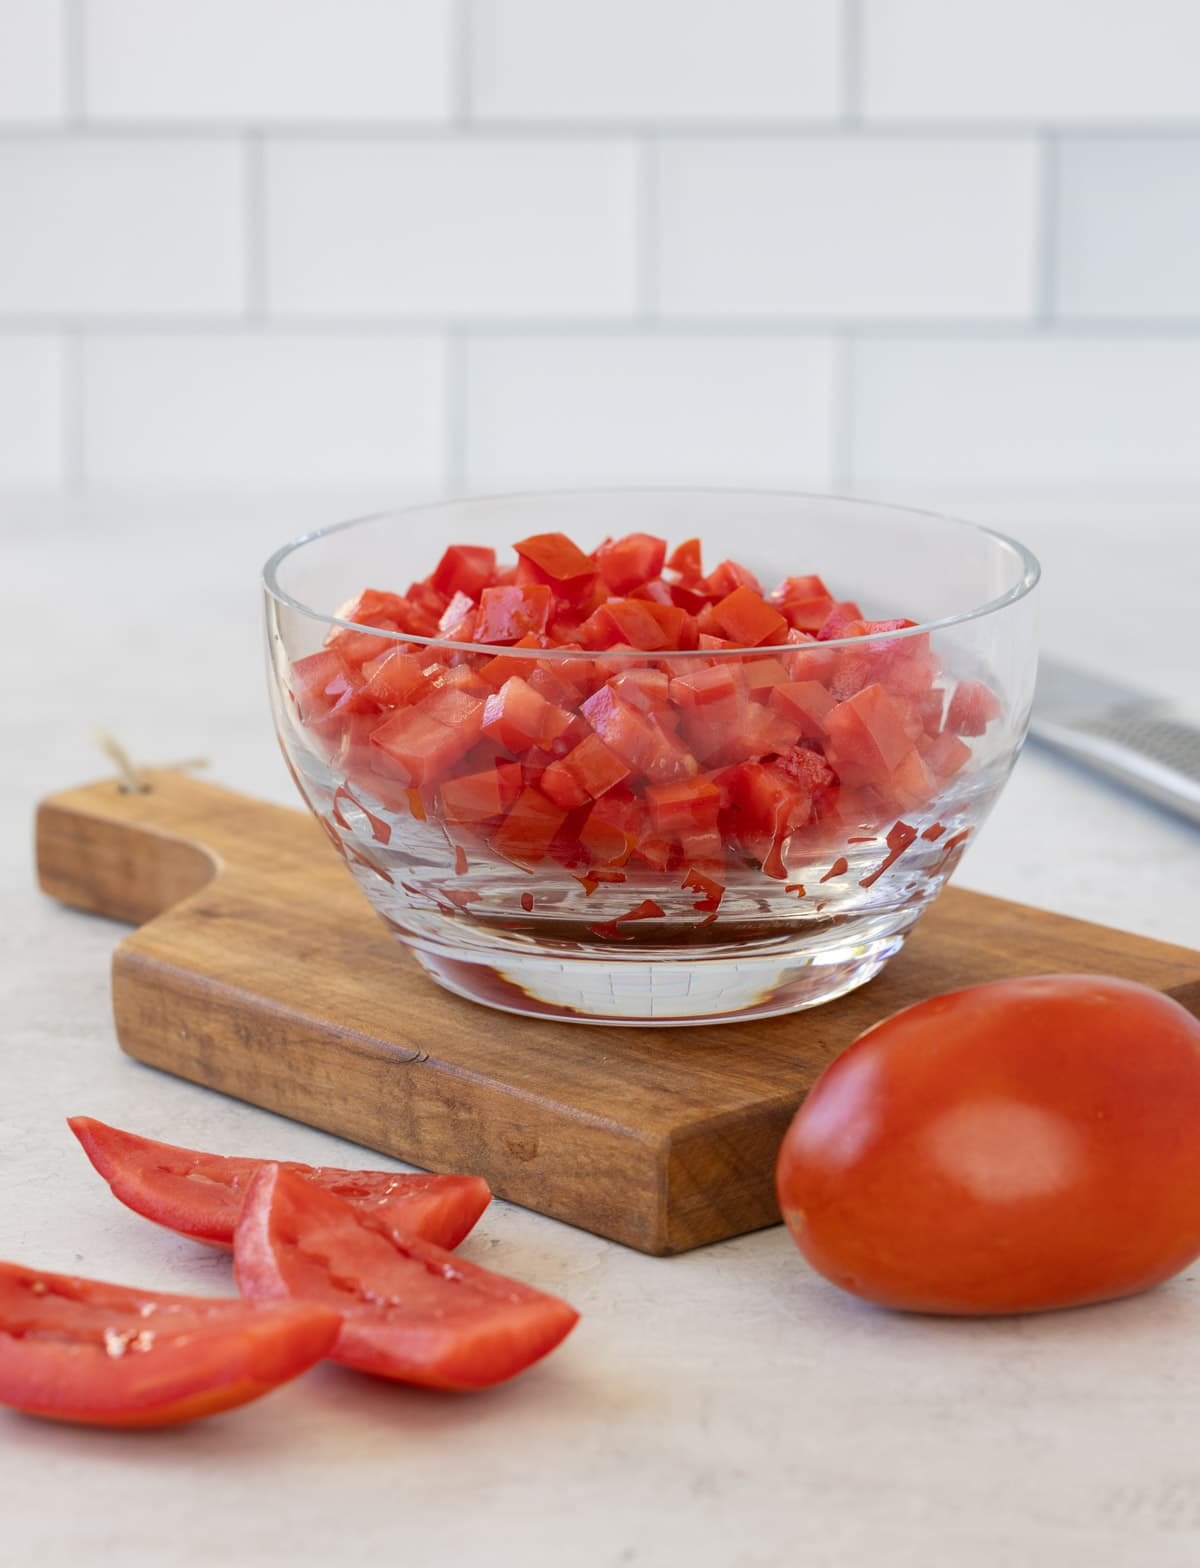
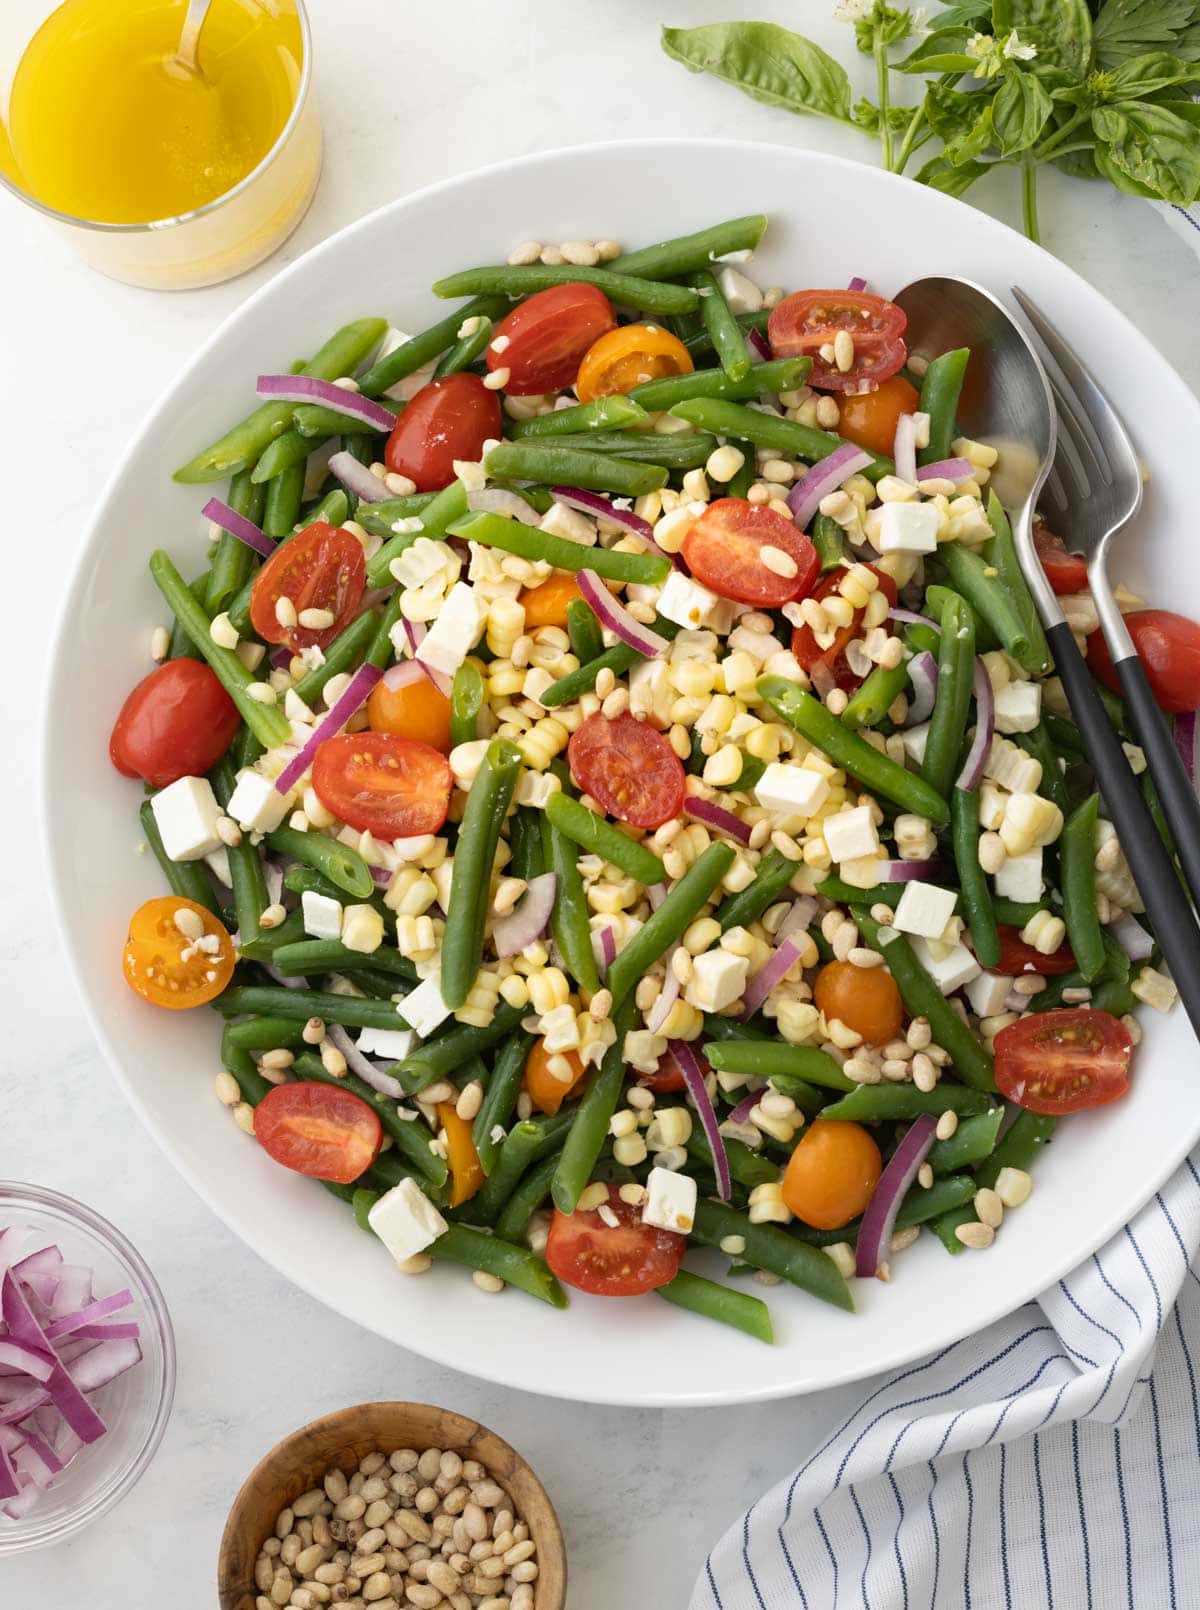
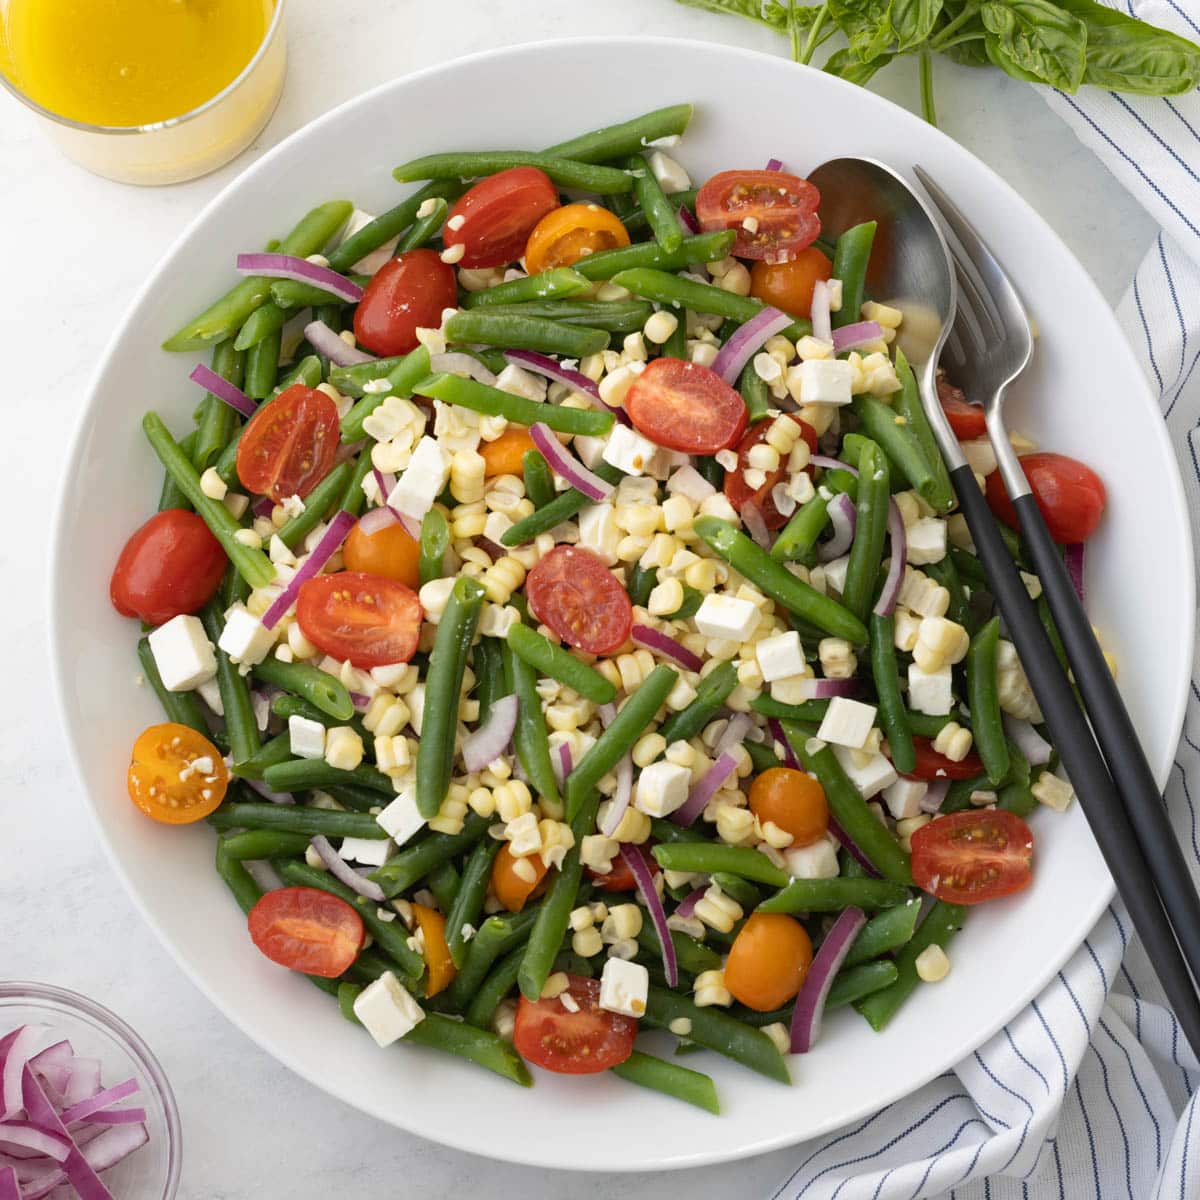
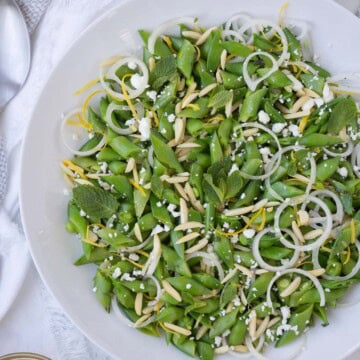
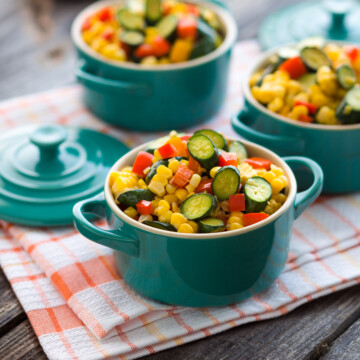
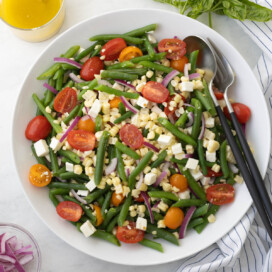
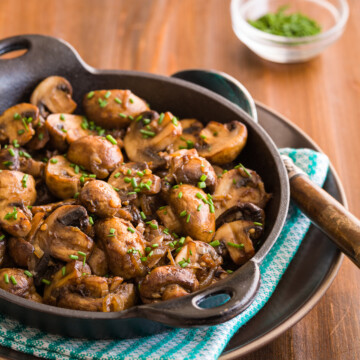
- Vegetables - Toss with roasted potatoes, green beans, grilled zucchini, or spoon over sliced tomatoes and mozzarella.
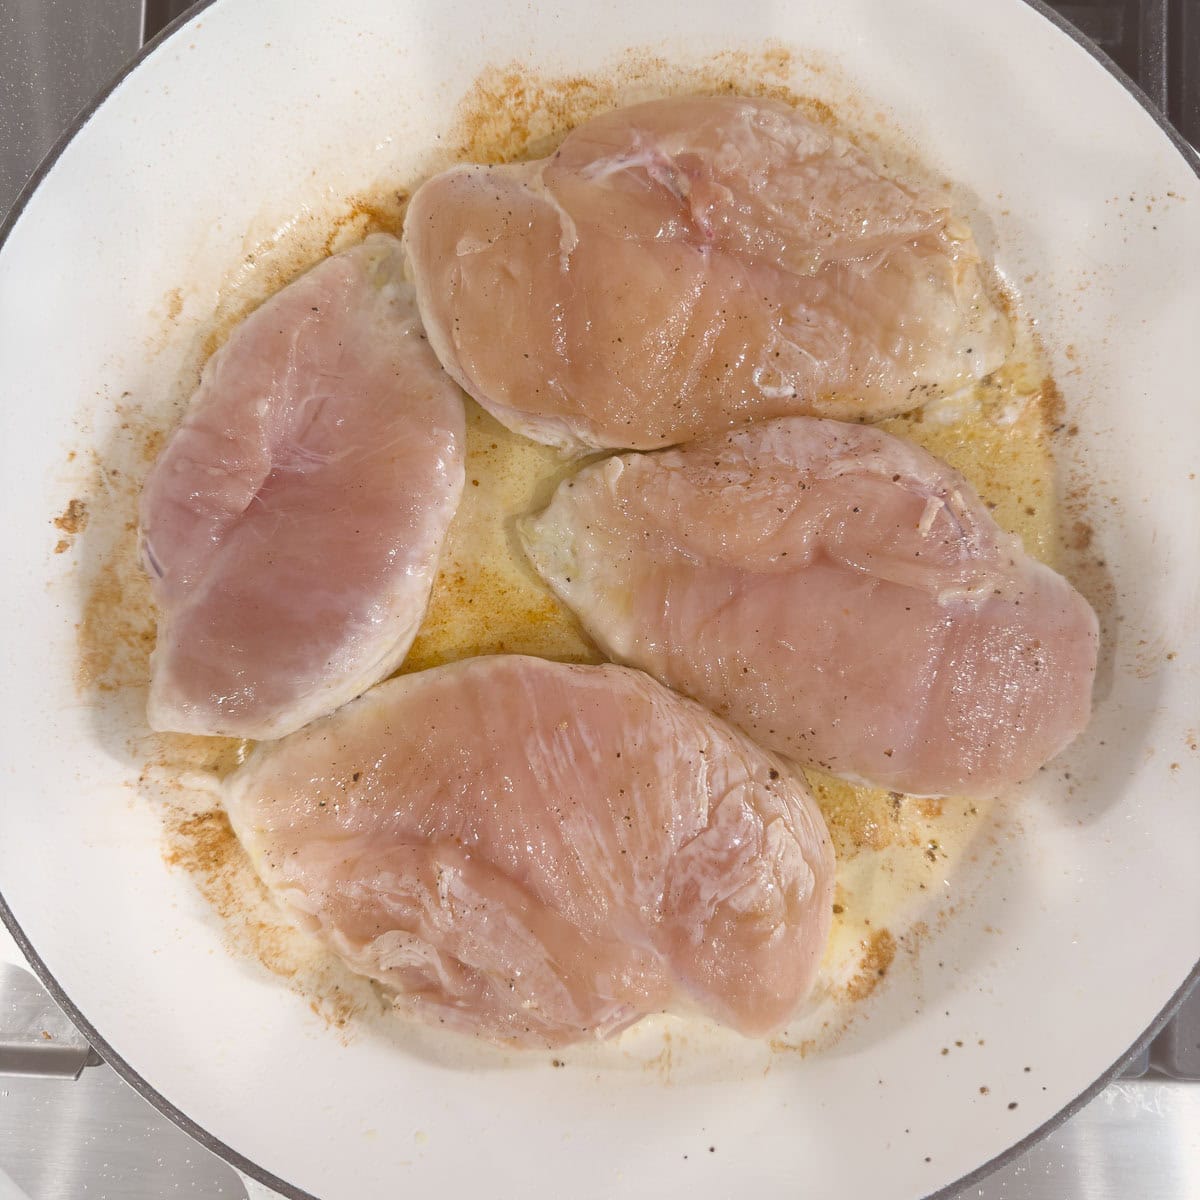
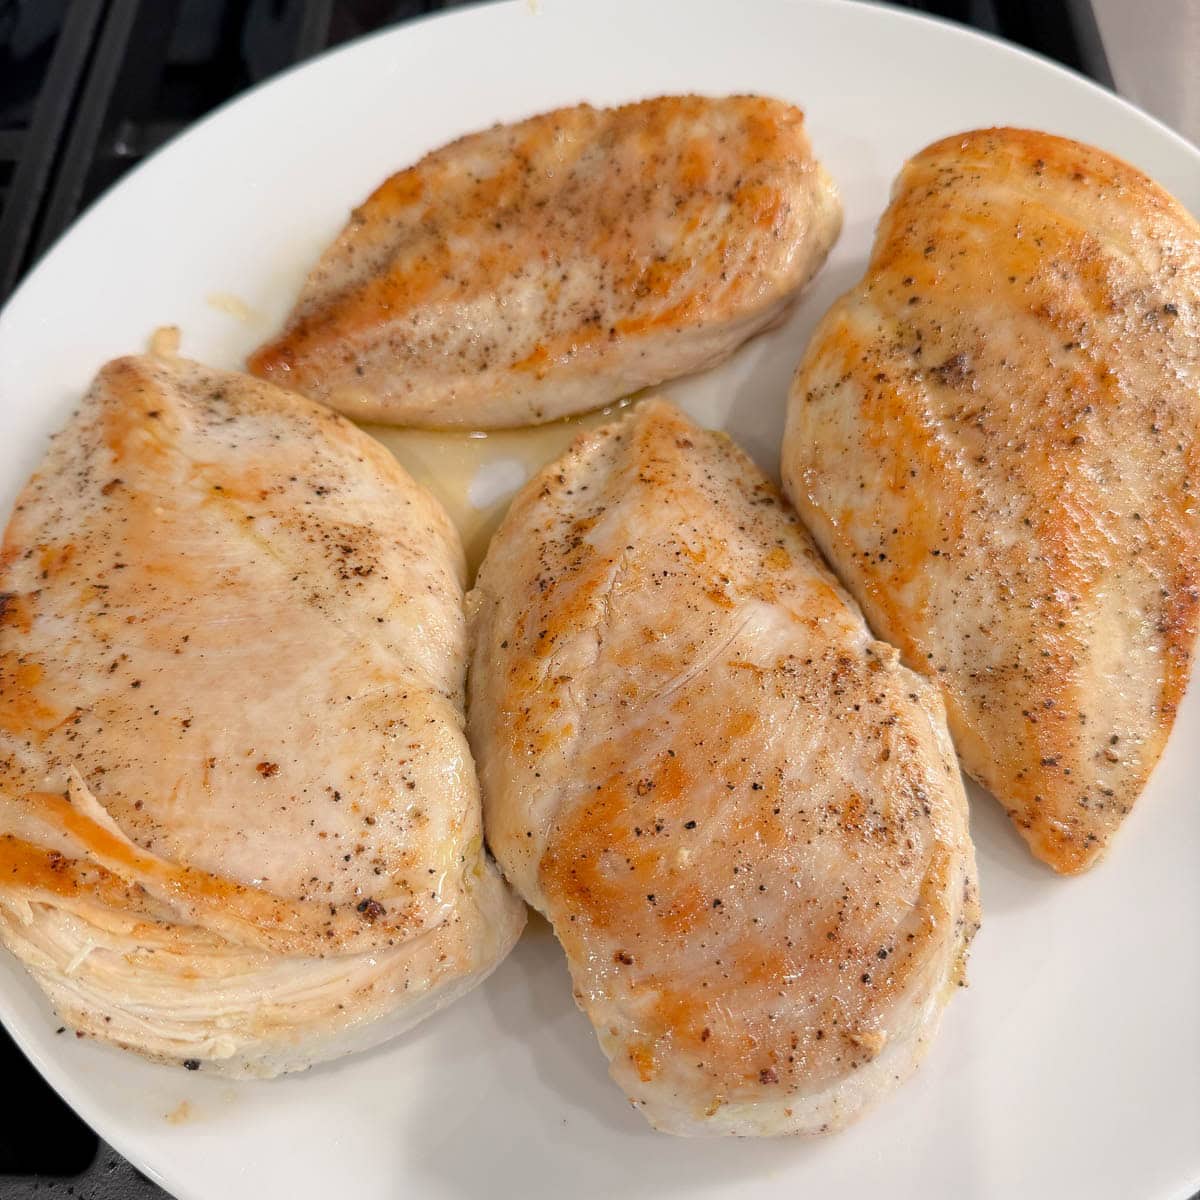
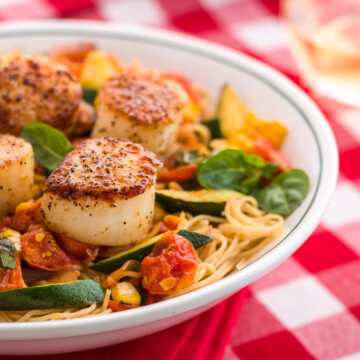
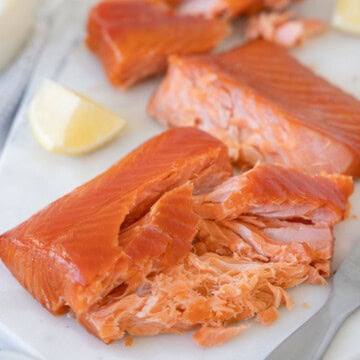
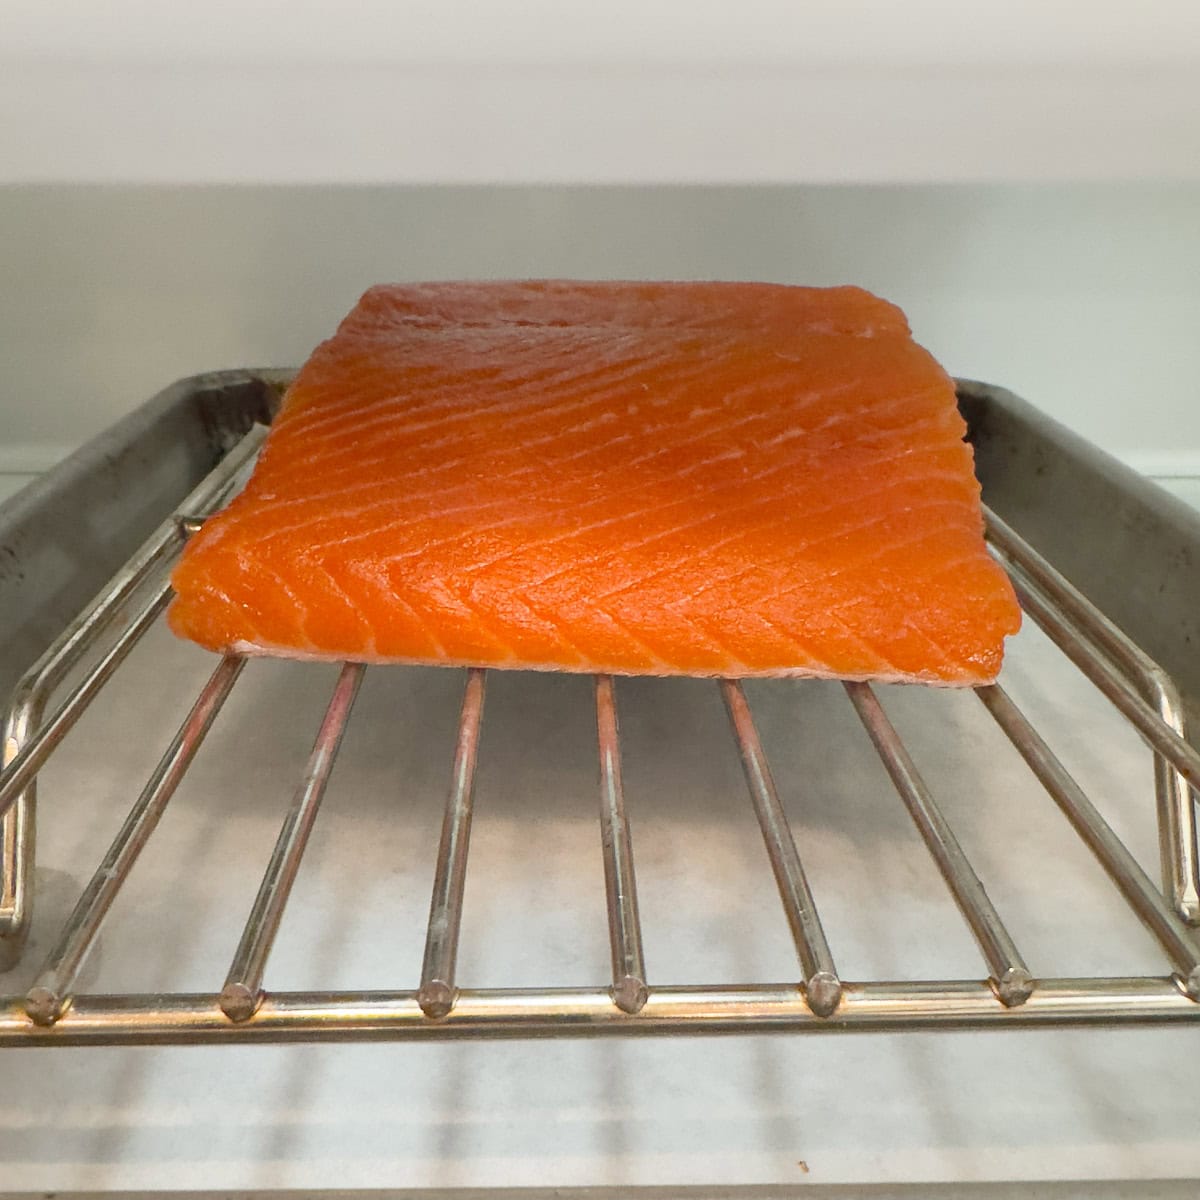
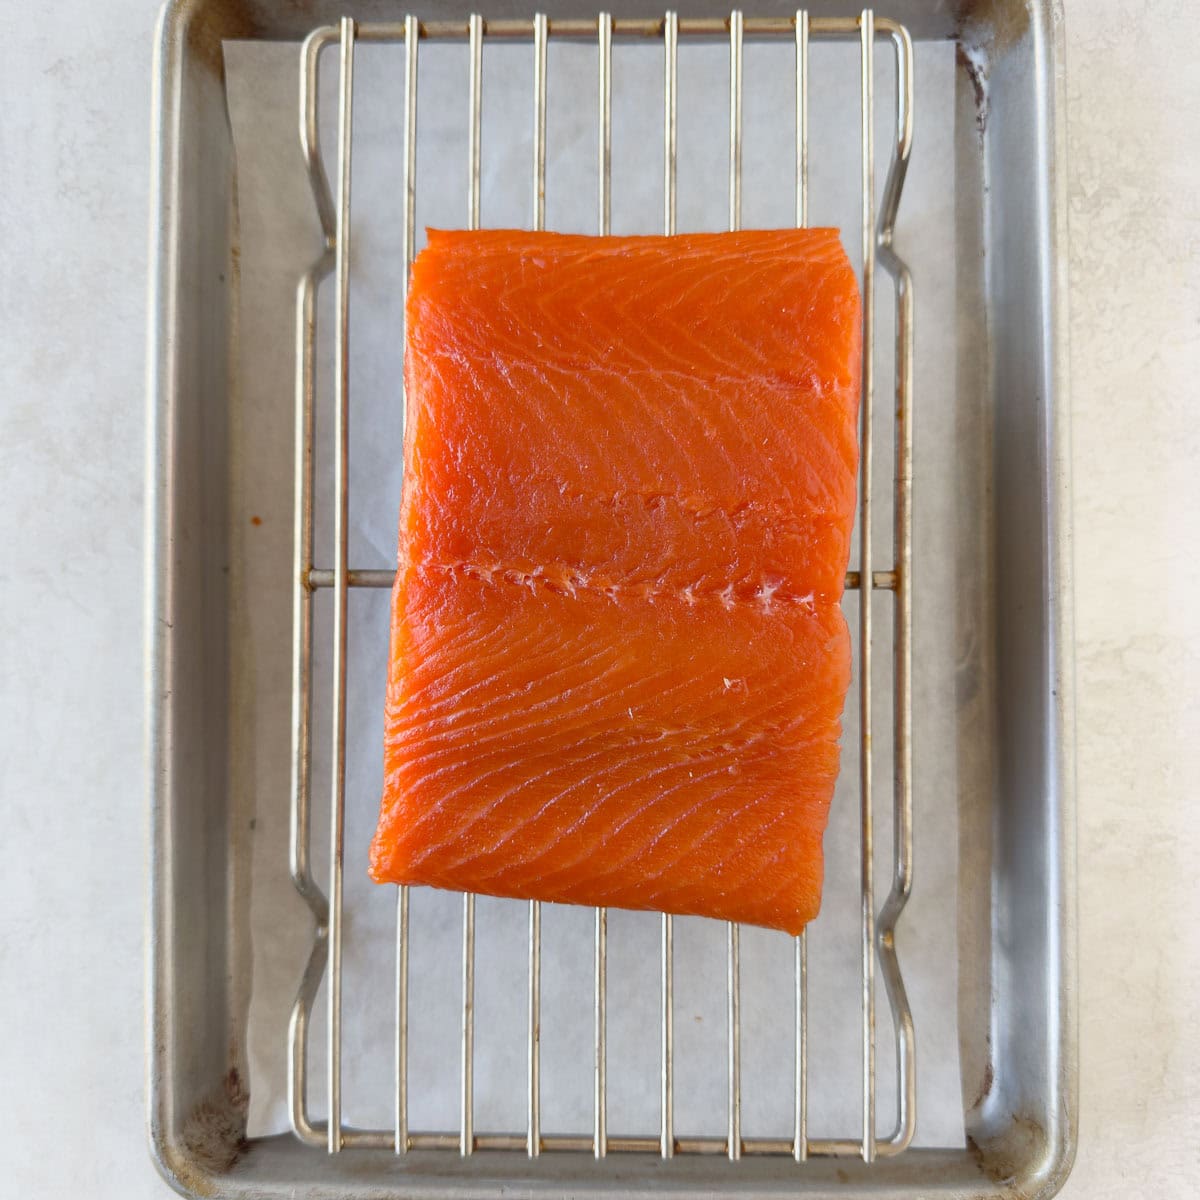
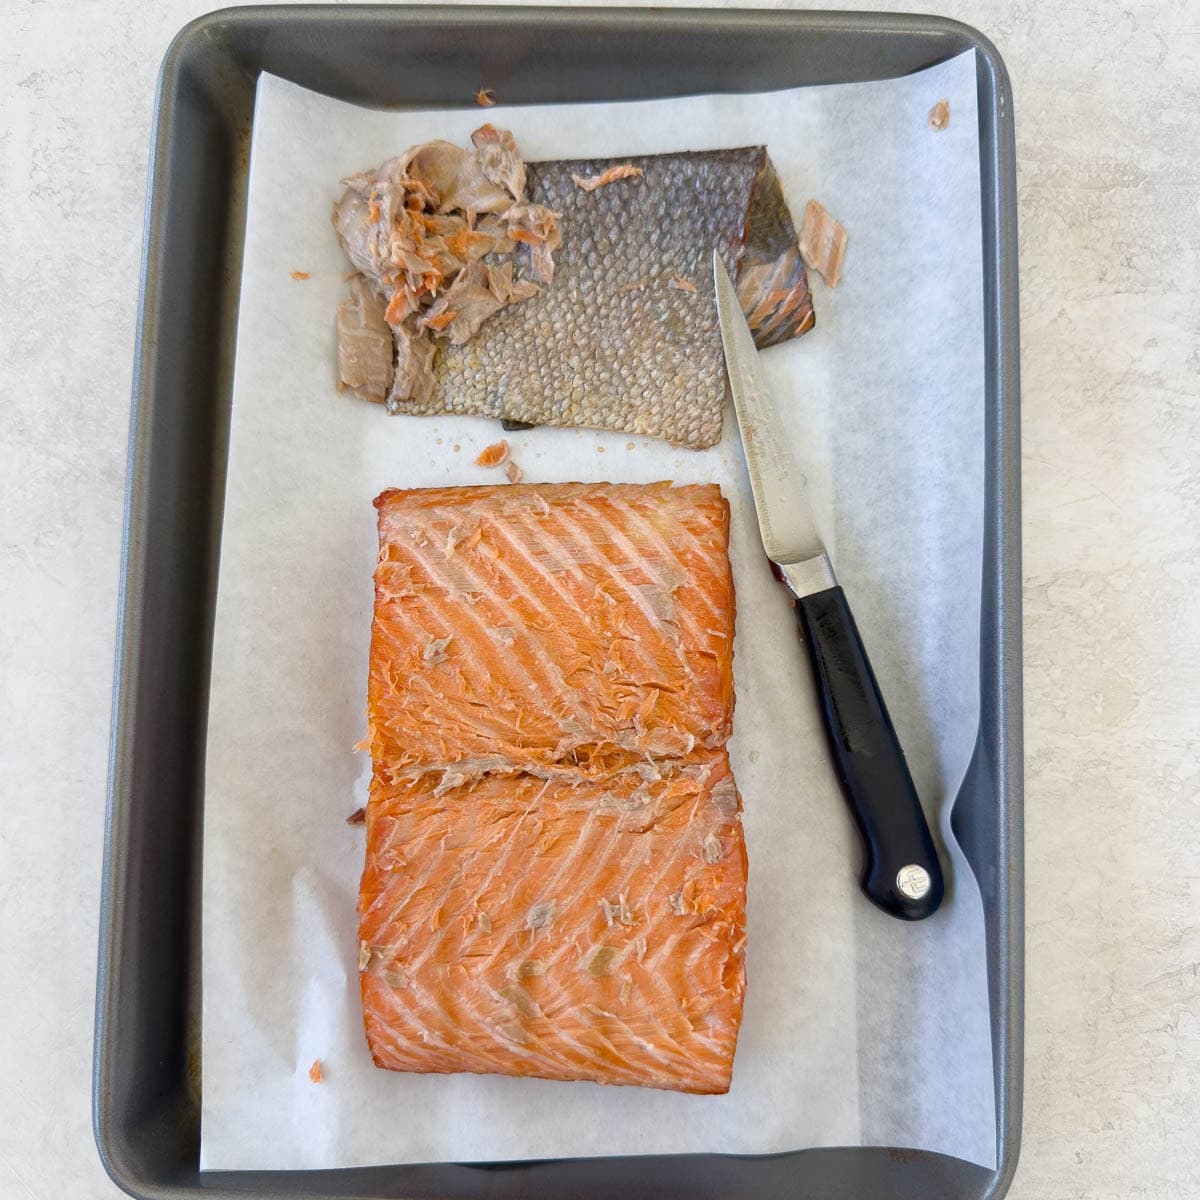
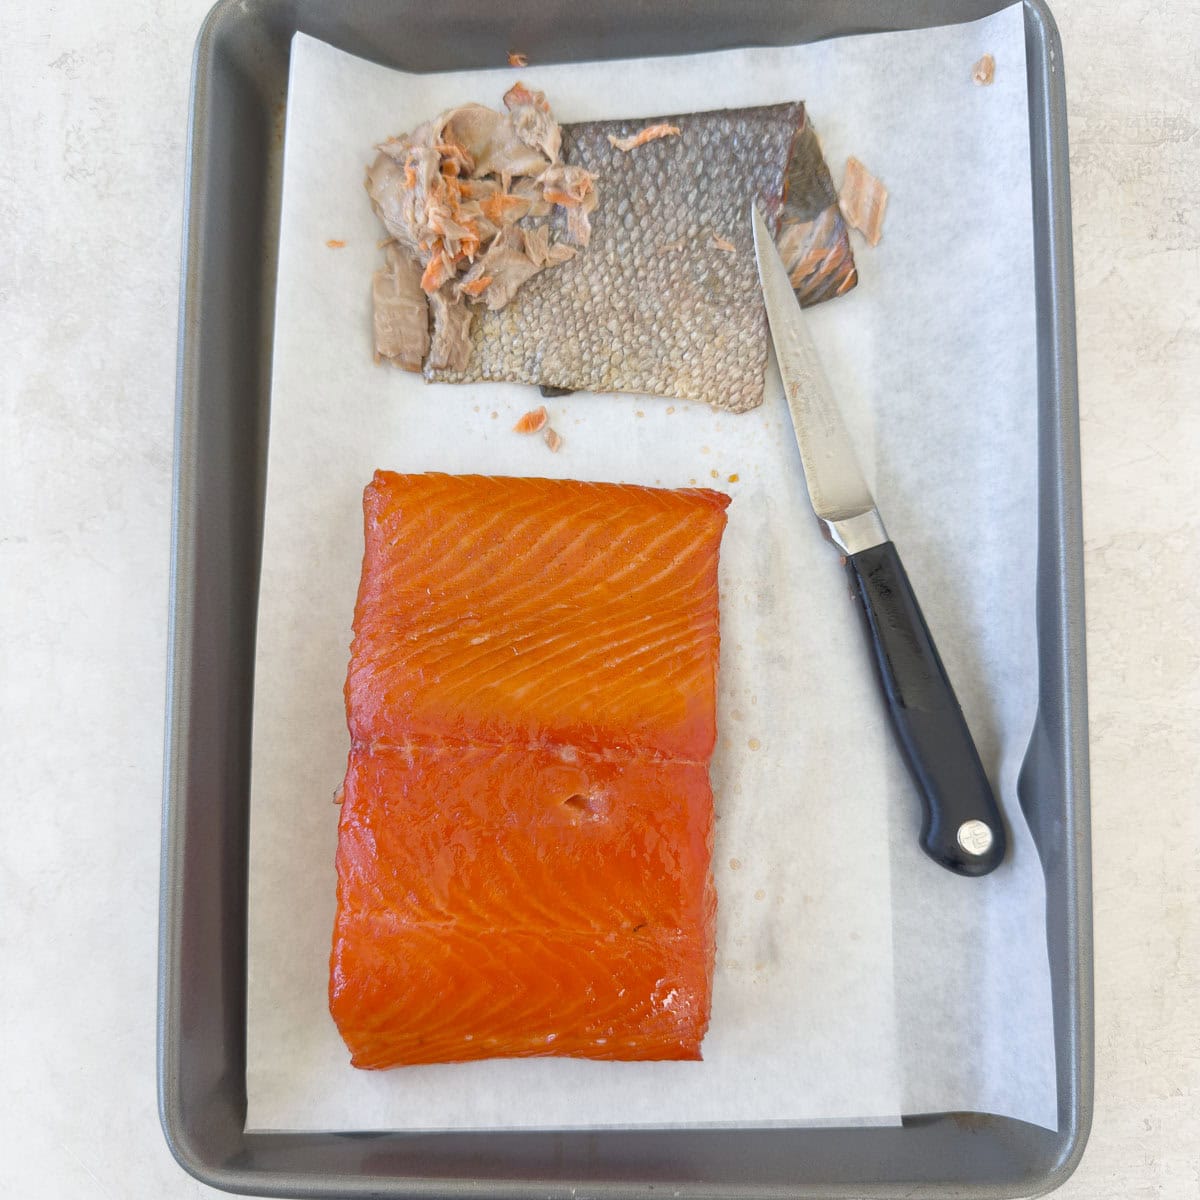
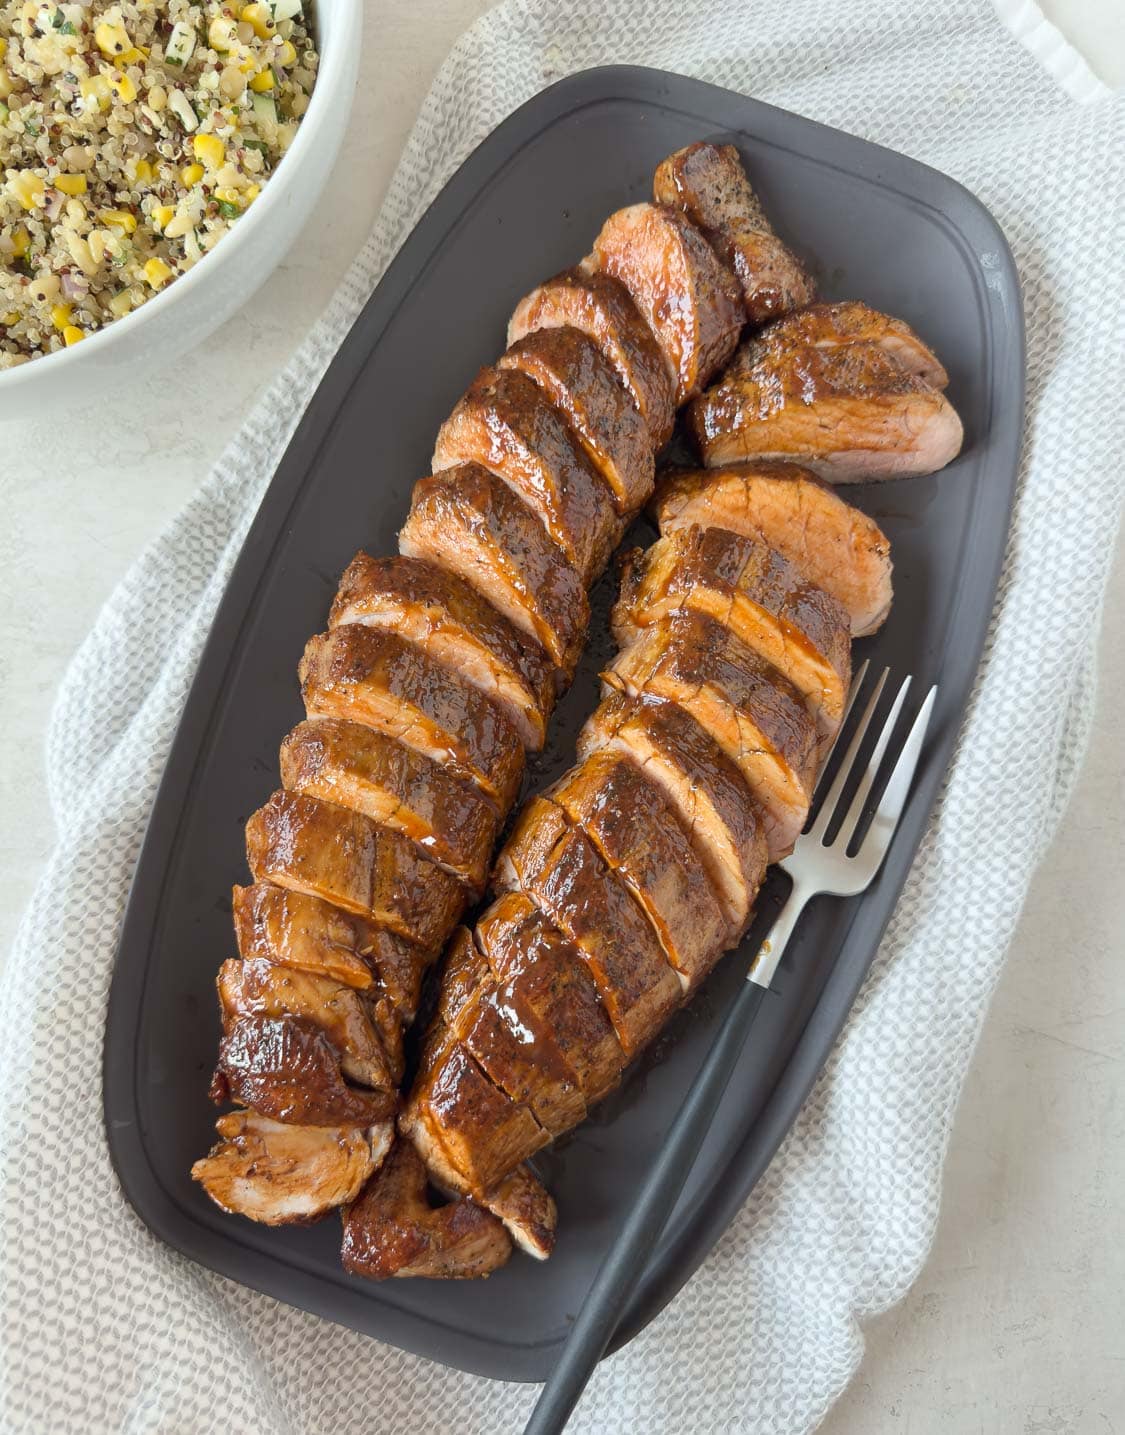
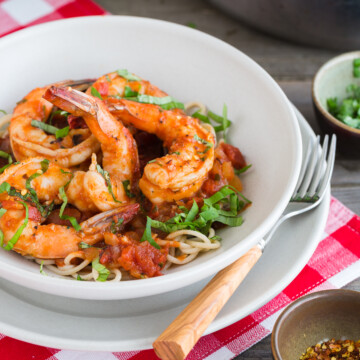
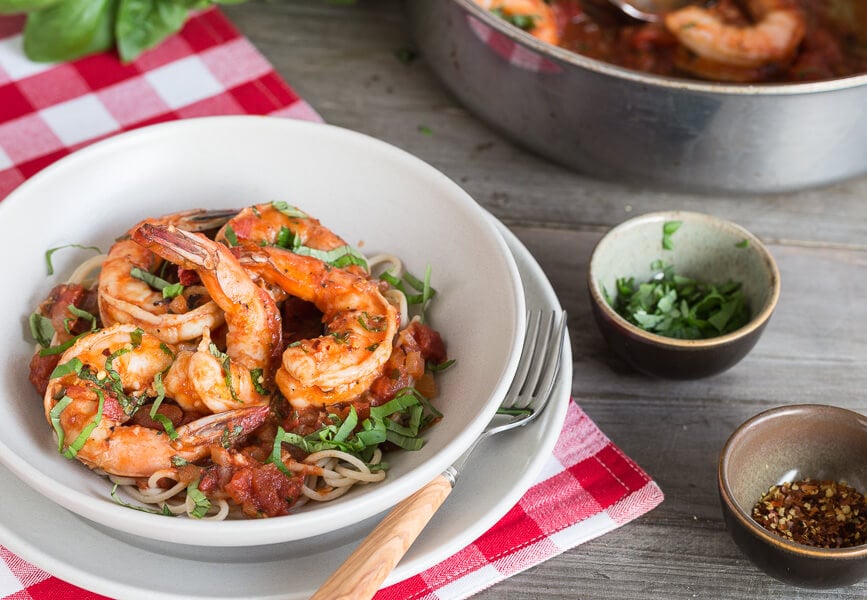
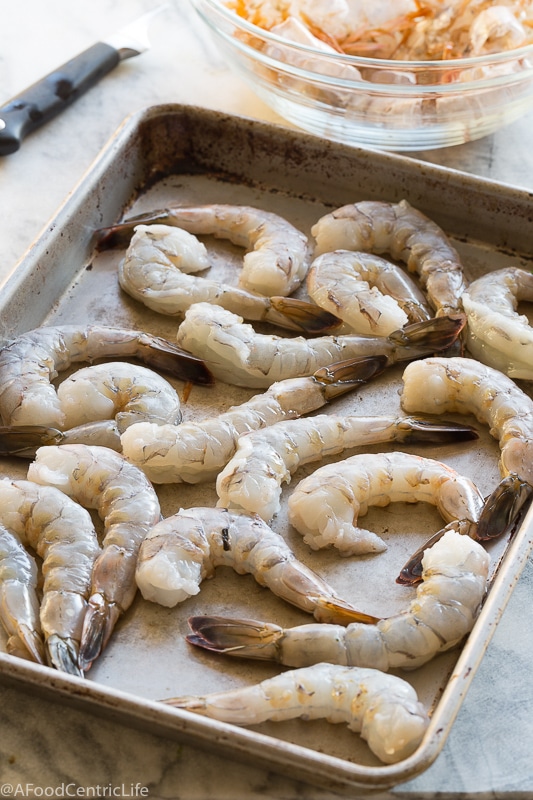
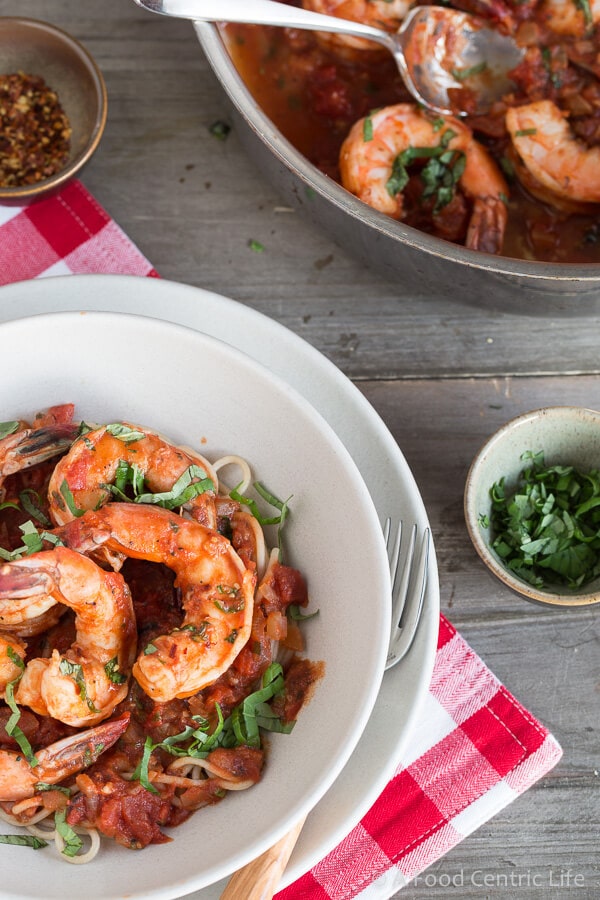
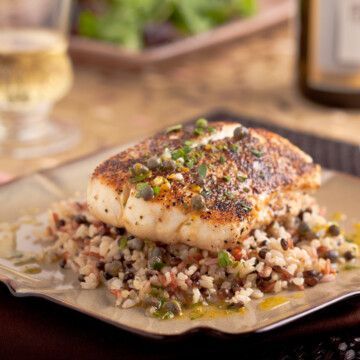
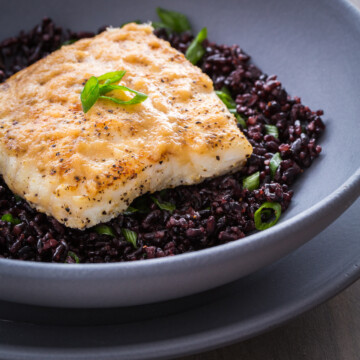
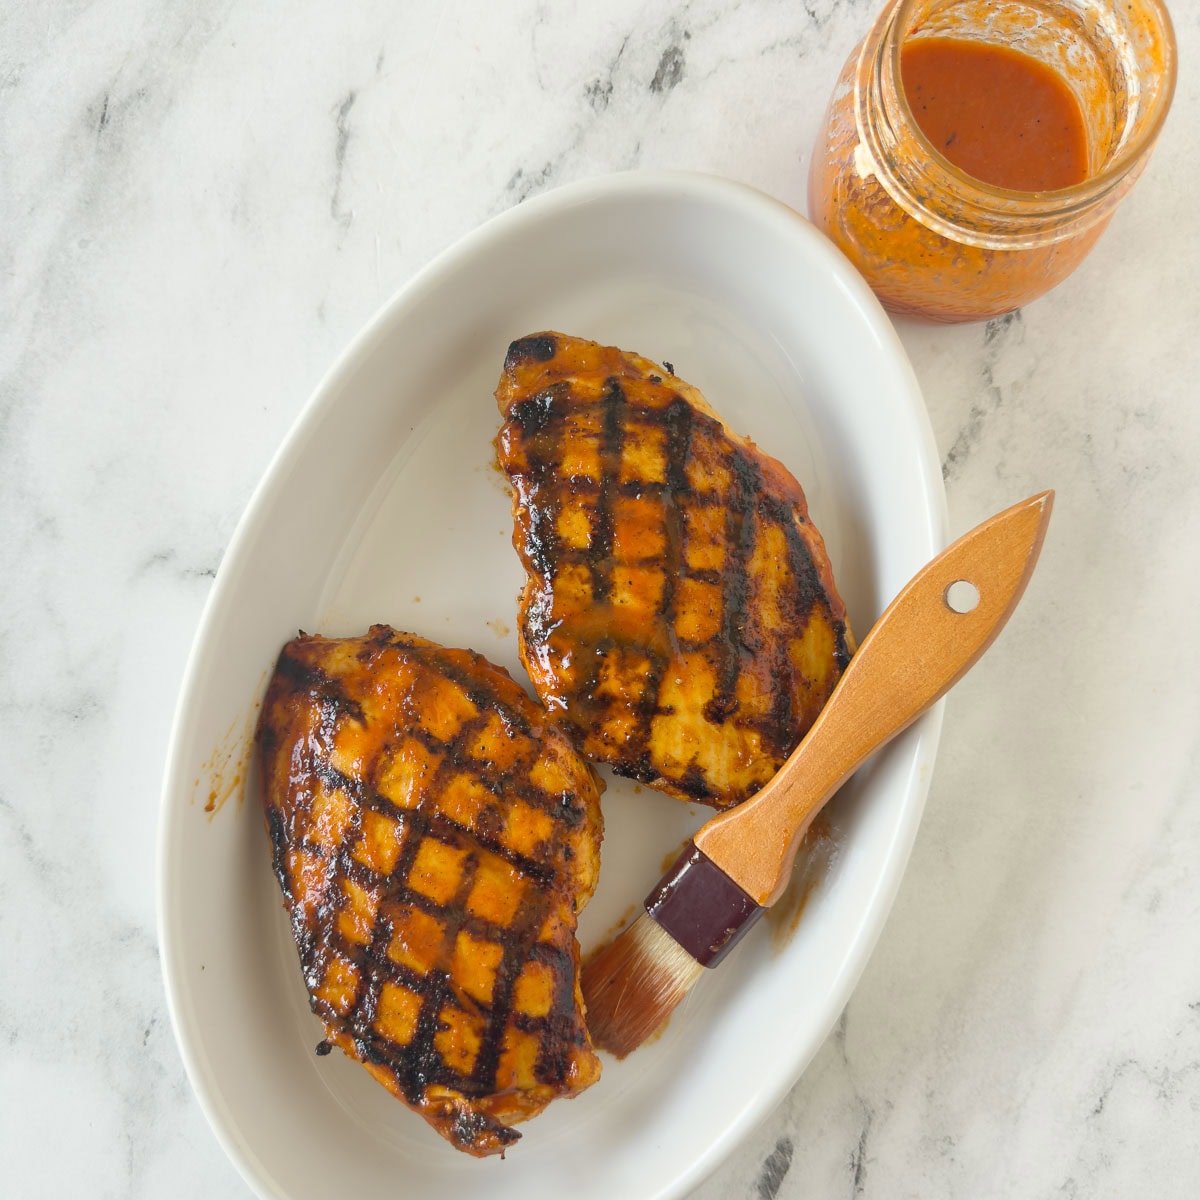
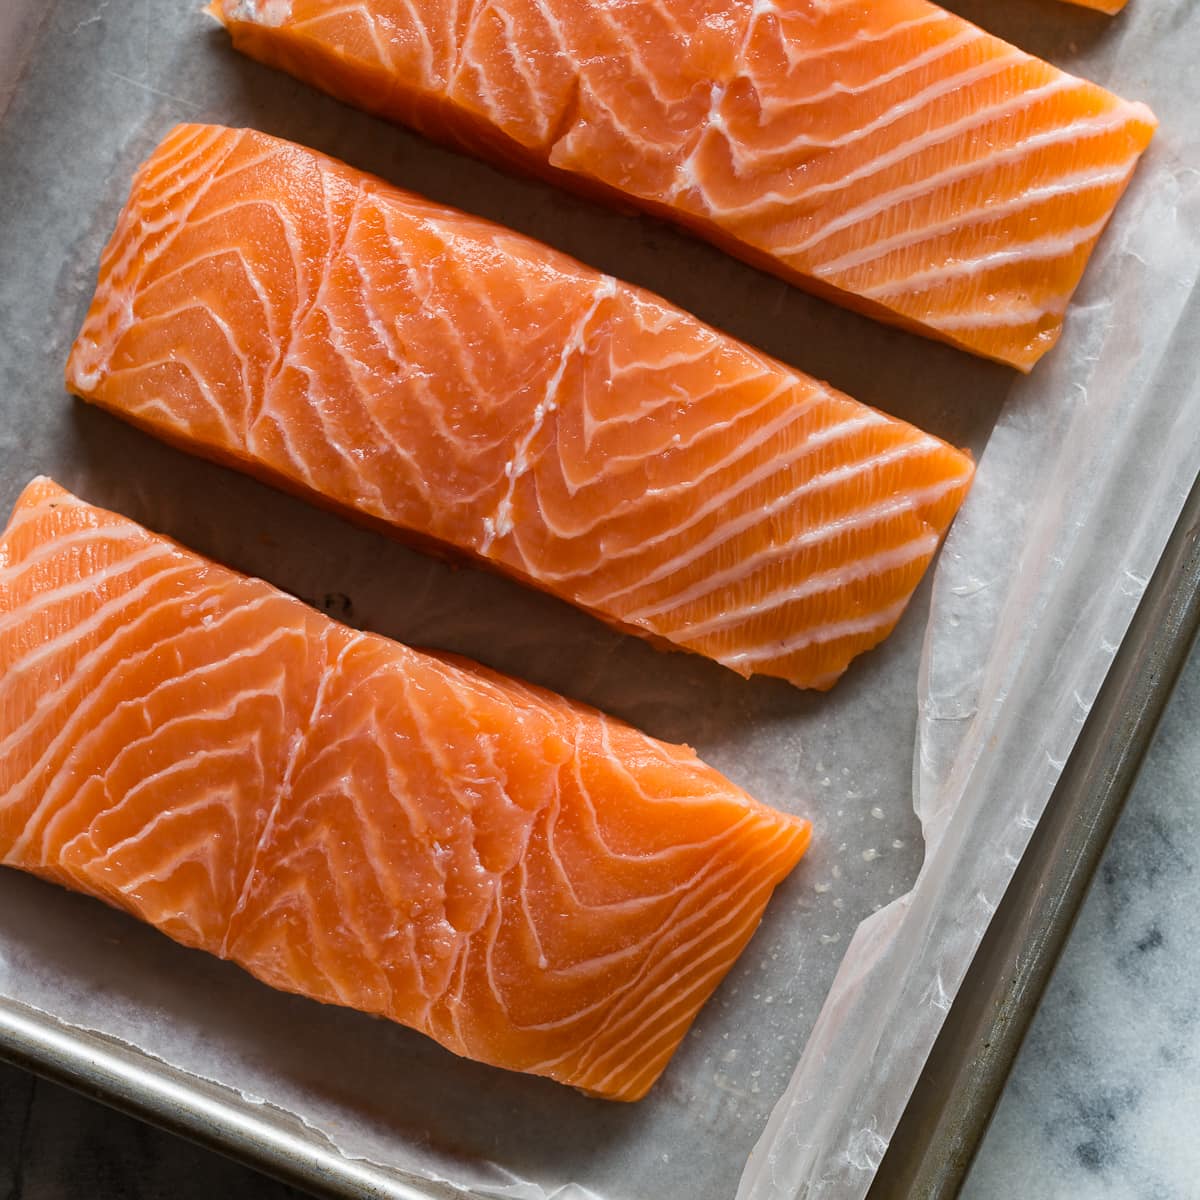
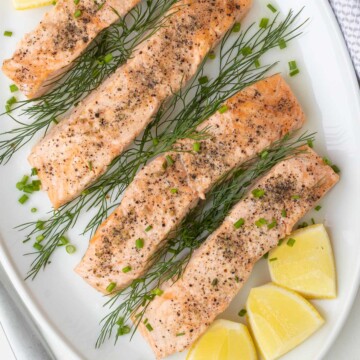
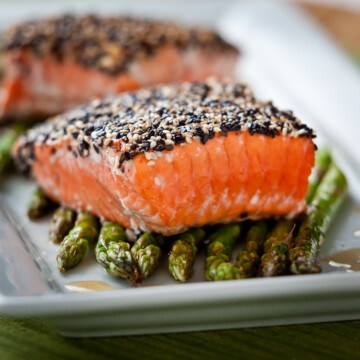
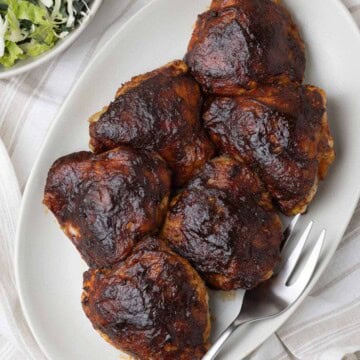
- Proteins - Spoon over grilled chicken, seared salmon, shrimp, or white fish.
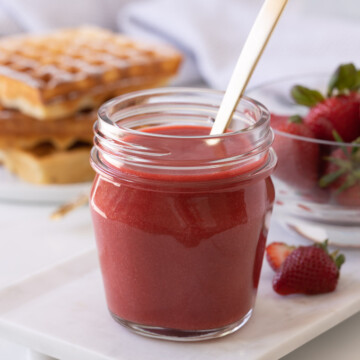
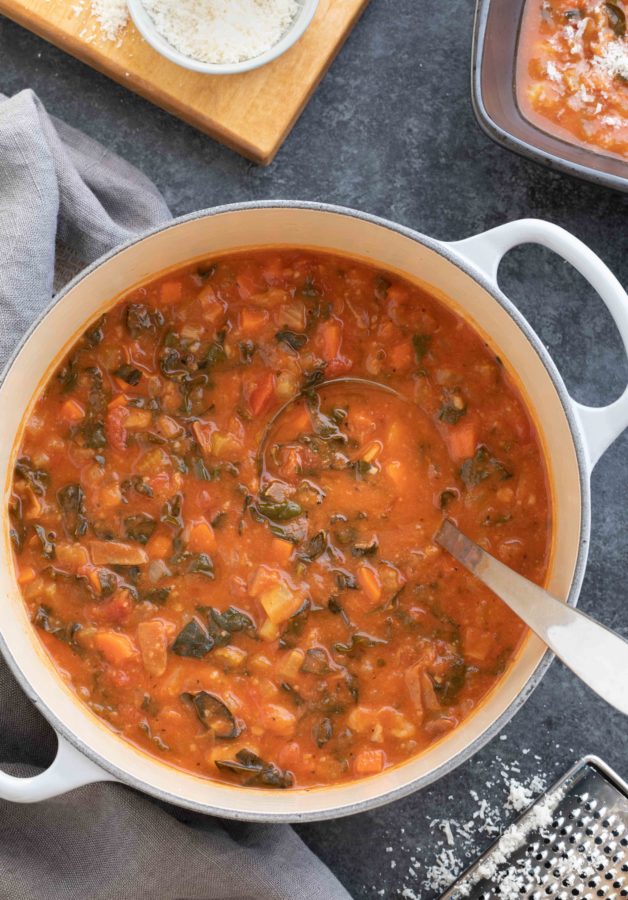
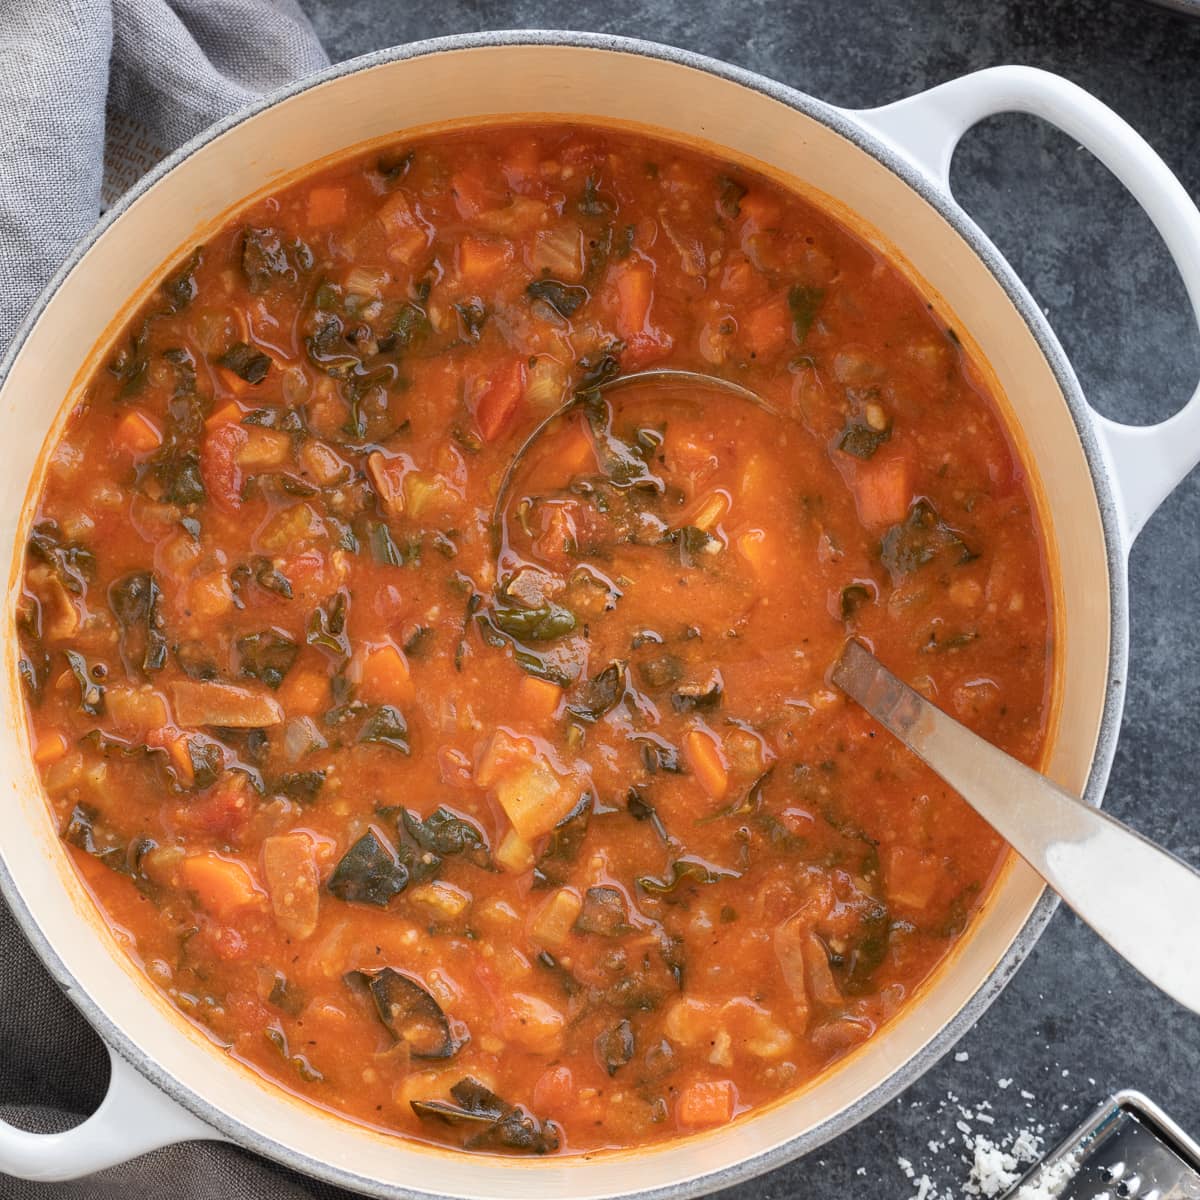
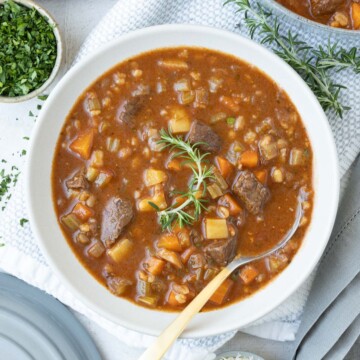
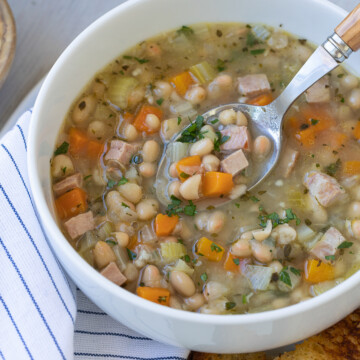
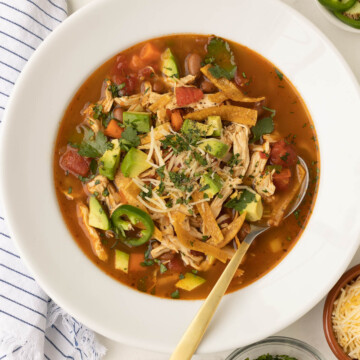
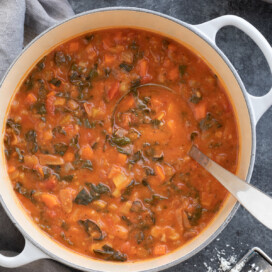
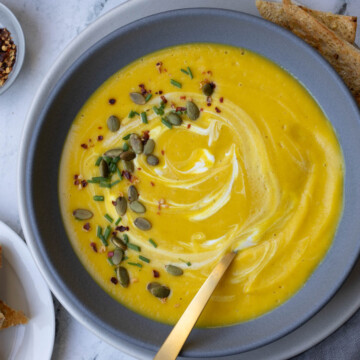
- Soups - Swirl into tomato soup, minestrone, or vegetable soup just before serving.
- Sandwiches - Spread on turkey sandwiches, panini, or mix with mayo for pesto aioli.
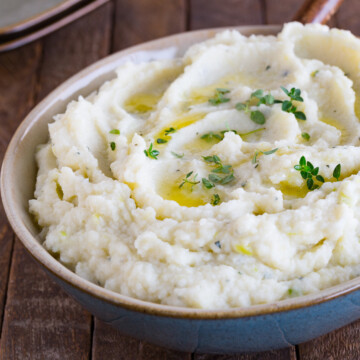
- Sides - Stir into mashed potatoes, risotto, or warm rice.
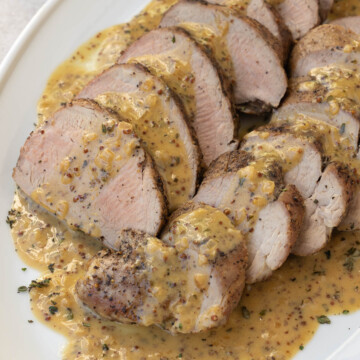
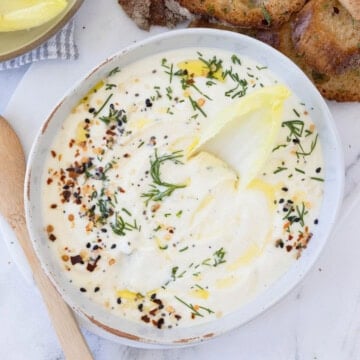
- Sauces - Warm with a splash of cream for a simple pesto cream sauce - especially beautiful spooned over fresh seared salmon.
In terms of temperature, classic basil pesto is best around room temperature so the flavors shine.
Storing & Freezing Basil Pesto

Storing & Freezing Basil Pesto
Homemade pesto is best the day it's made, when the flavor is freshest and the color is most vibrant. Store leftovers in a small airtight container just large enough to hold the pesto. For extra protection, drizzle a thin layer of olive oil over the top to slow oxidation. If you blanched the basil leaves, it stays a brighter green longer. Refrigerate for up to 3 days.
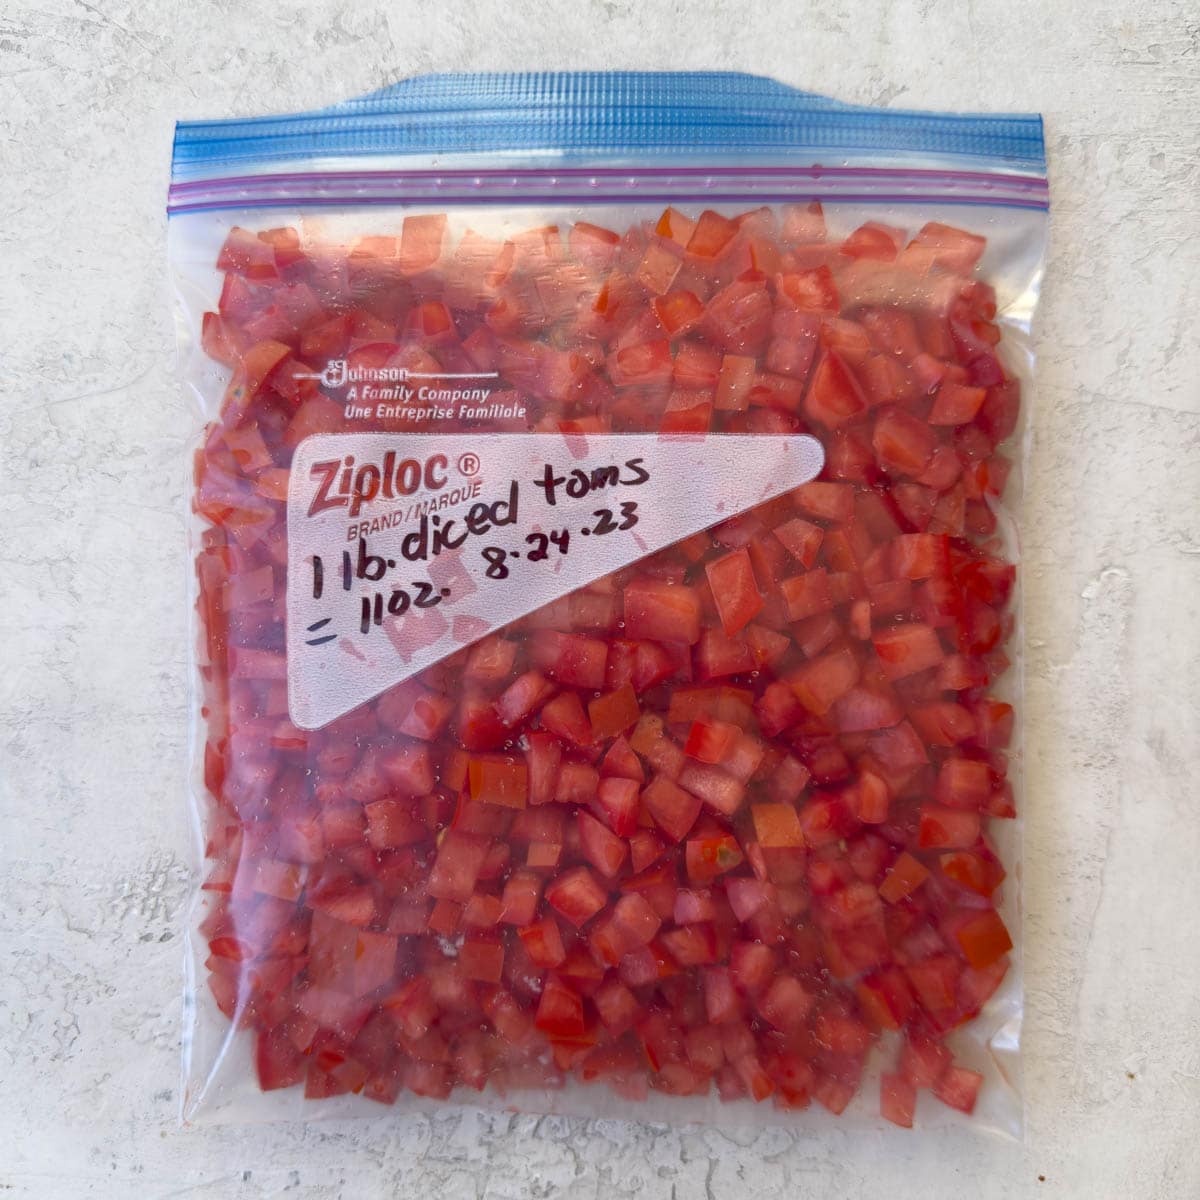
To freeze, portion pesto into ice cube trays or Souper Cubes in 2-tablespoon portions. Once solid, pop out the cubes and transfer them to a freezer bag or container. Frozen pesto keeps well for 2-3 months.
I love keeping a stash of frozen pesto cubes on hand for last-minute dinners. Thaw a cube or two for pasta, stir into risotto, or swirl into soup for a burst of fresh basil flavor.
Chef's Tip - Thawing Frozen Pesto
Never microwave pesto; the heat can dull its color and fresh basil flavor. Instead, thaw frozen pesto cubes at room temperature for 15-20 minutes, or in the refrigerator for a few hours. For soup or simmering dishes, stir a frozen cube directly into the pot. For pasta or risotto, thaw first so it blends smoothly without cooling the dish.
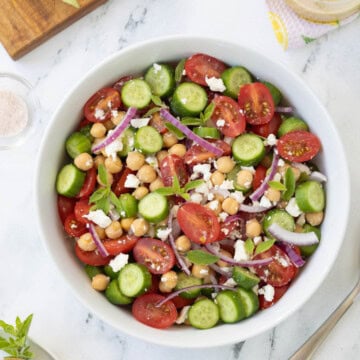
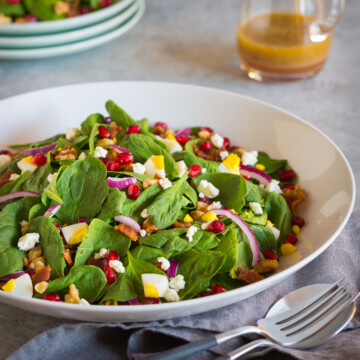
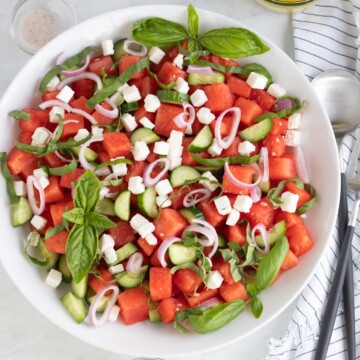
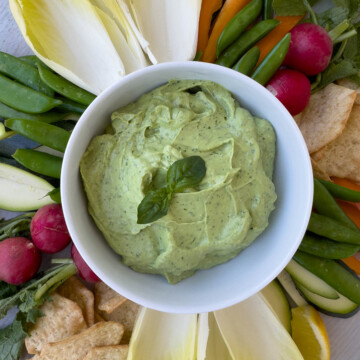
More Recipes With Basil
From salads to dips, to appetizers, these delicious basil recipes are perfect for making the most of fresh basil.


⭐️Did You Make This Recipe?
If you make Pesto Genovese, please add your comment. I appreciate your feedback and enjoy hearing from you. If you loved it, please give it a 5-star rating! They really help other readers.
📖 Recipe
Pesto alla Genovese (basil pesto)
Equipment
- Food Processor or blender
Ingredients
- 2 cups fresh basil leaves, stems removed buy a 4 oz, clamshell
- ¼ cup finely grated Parmigiano-Reggiano cheese or use part pecorino
- ¼ cup extra virgin olive oil
- 3 tablespoons pine nuts or walnuts
- 1 garlic clove peeled or microplaned
- ⅛ teaspoon kosher salt
- 2 pinches black pepper optional
Options
- 2-3 teaspoons lemon juice for flavor lift
- ¼ cup baby spinach leaves or arugula for color insurance if not blanching
Would you like to save this recipe?
Instructions
Mince garlic
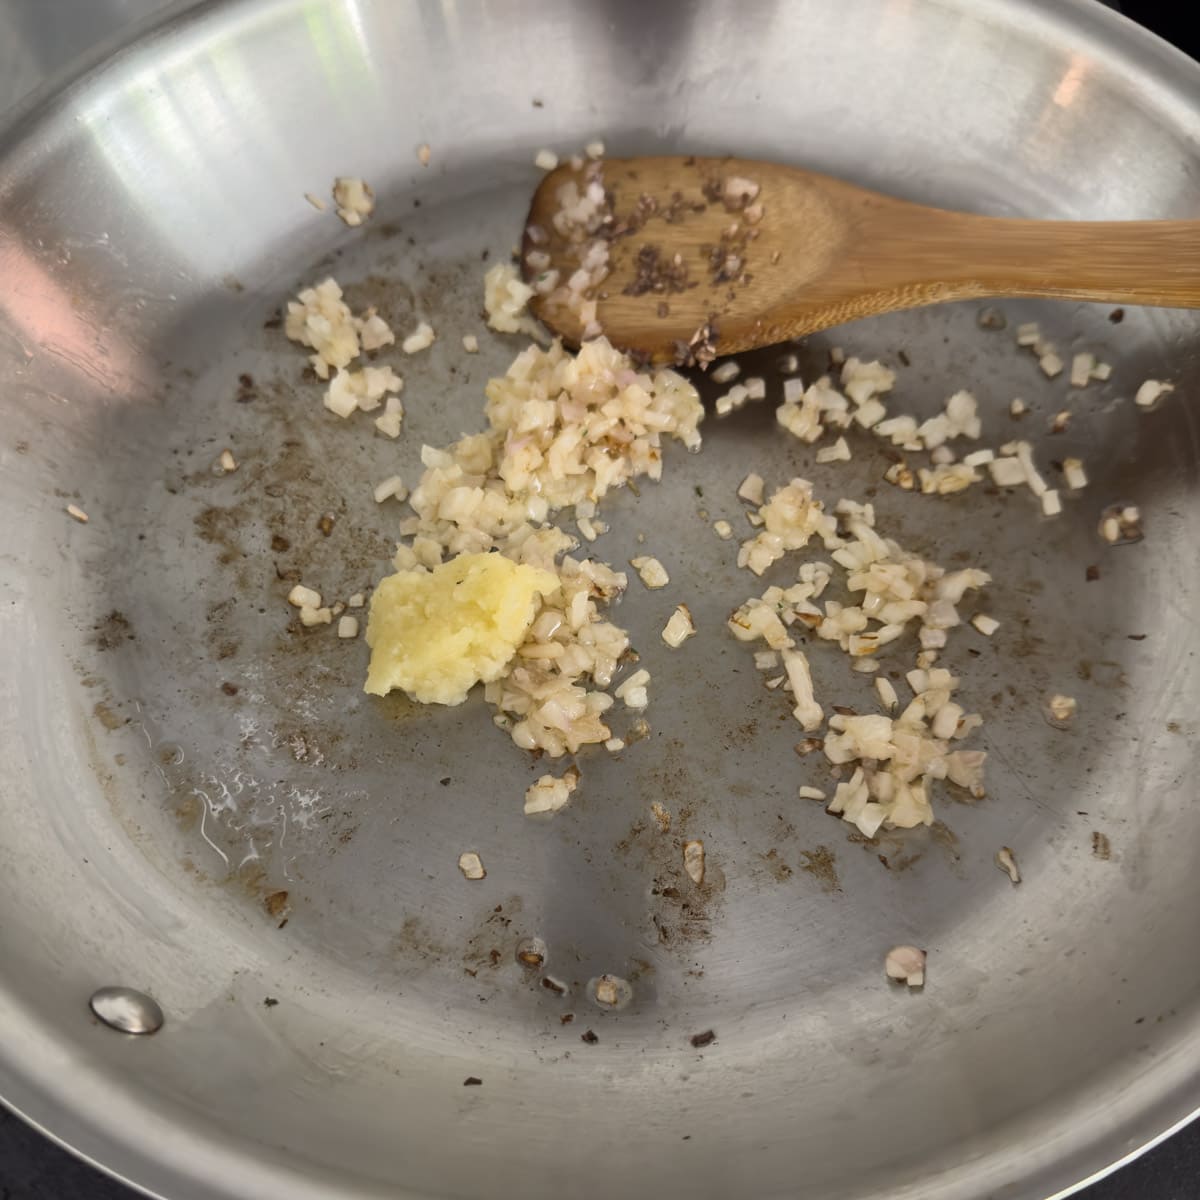
- In a food processor fitted with the steel blade, drop the peeled garlic through the feed tube while it's running to mince.
Add remaining ingredients
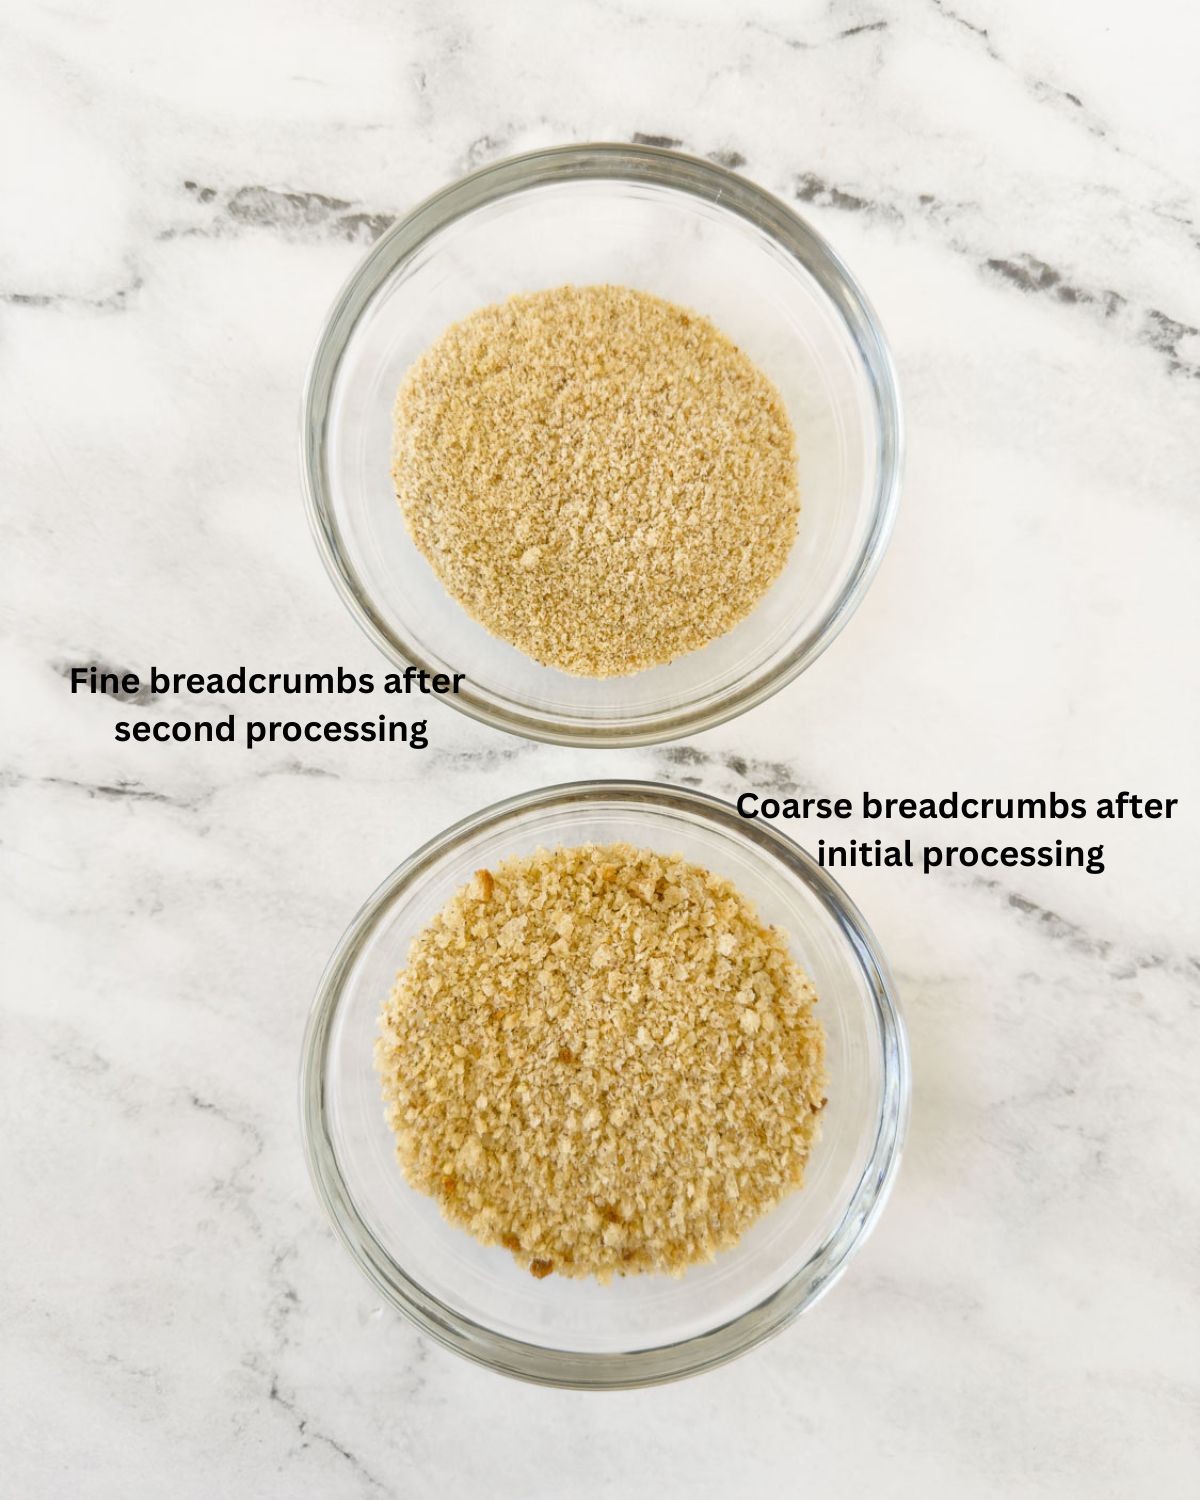
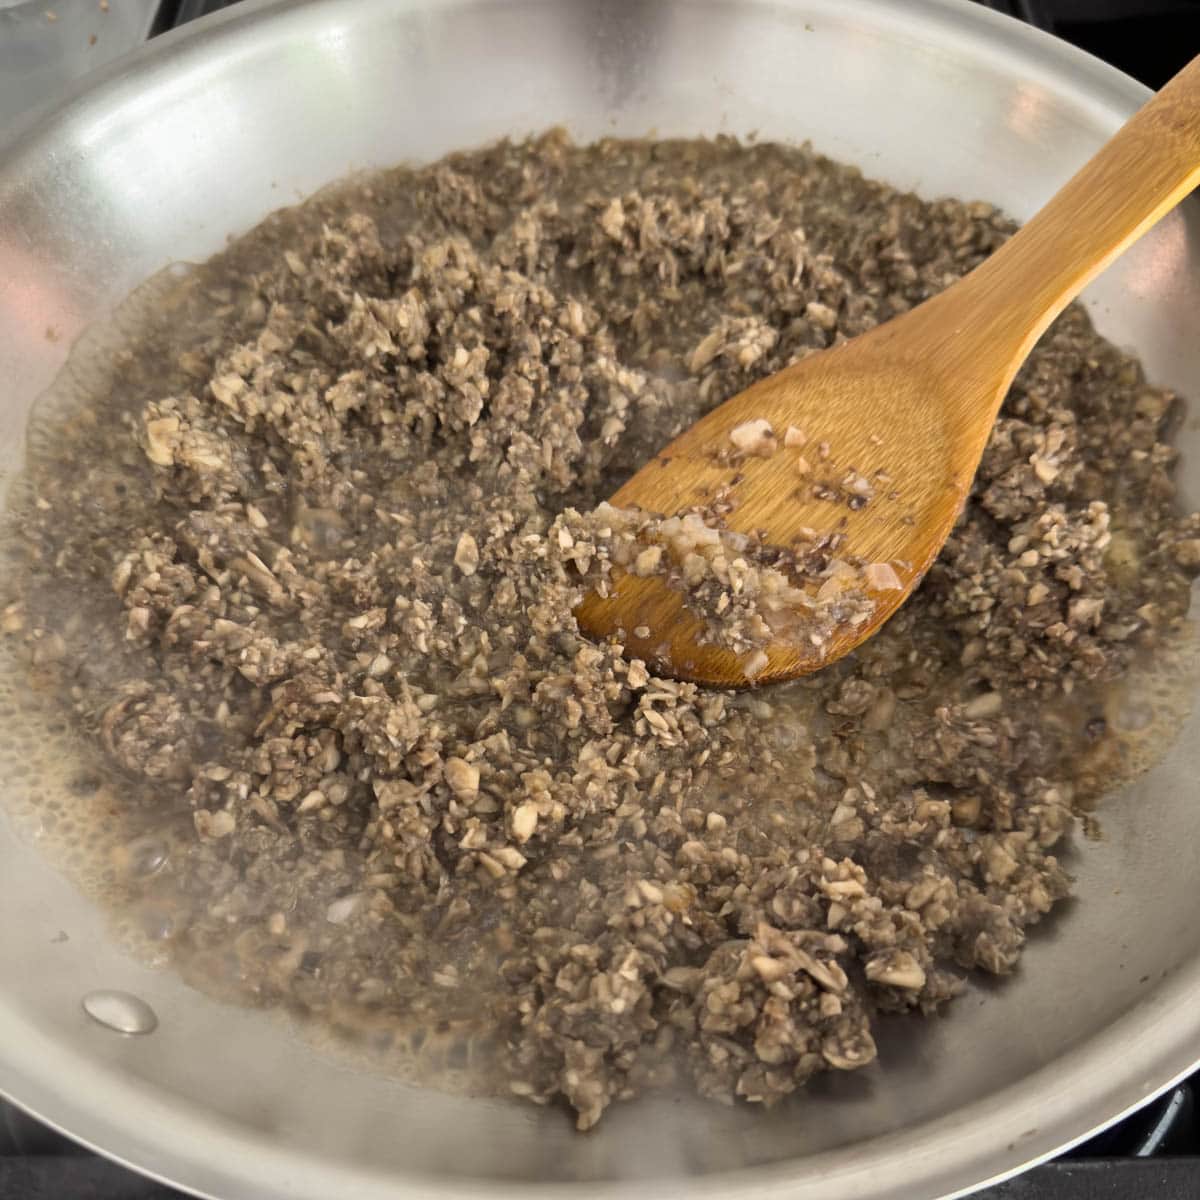
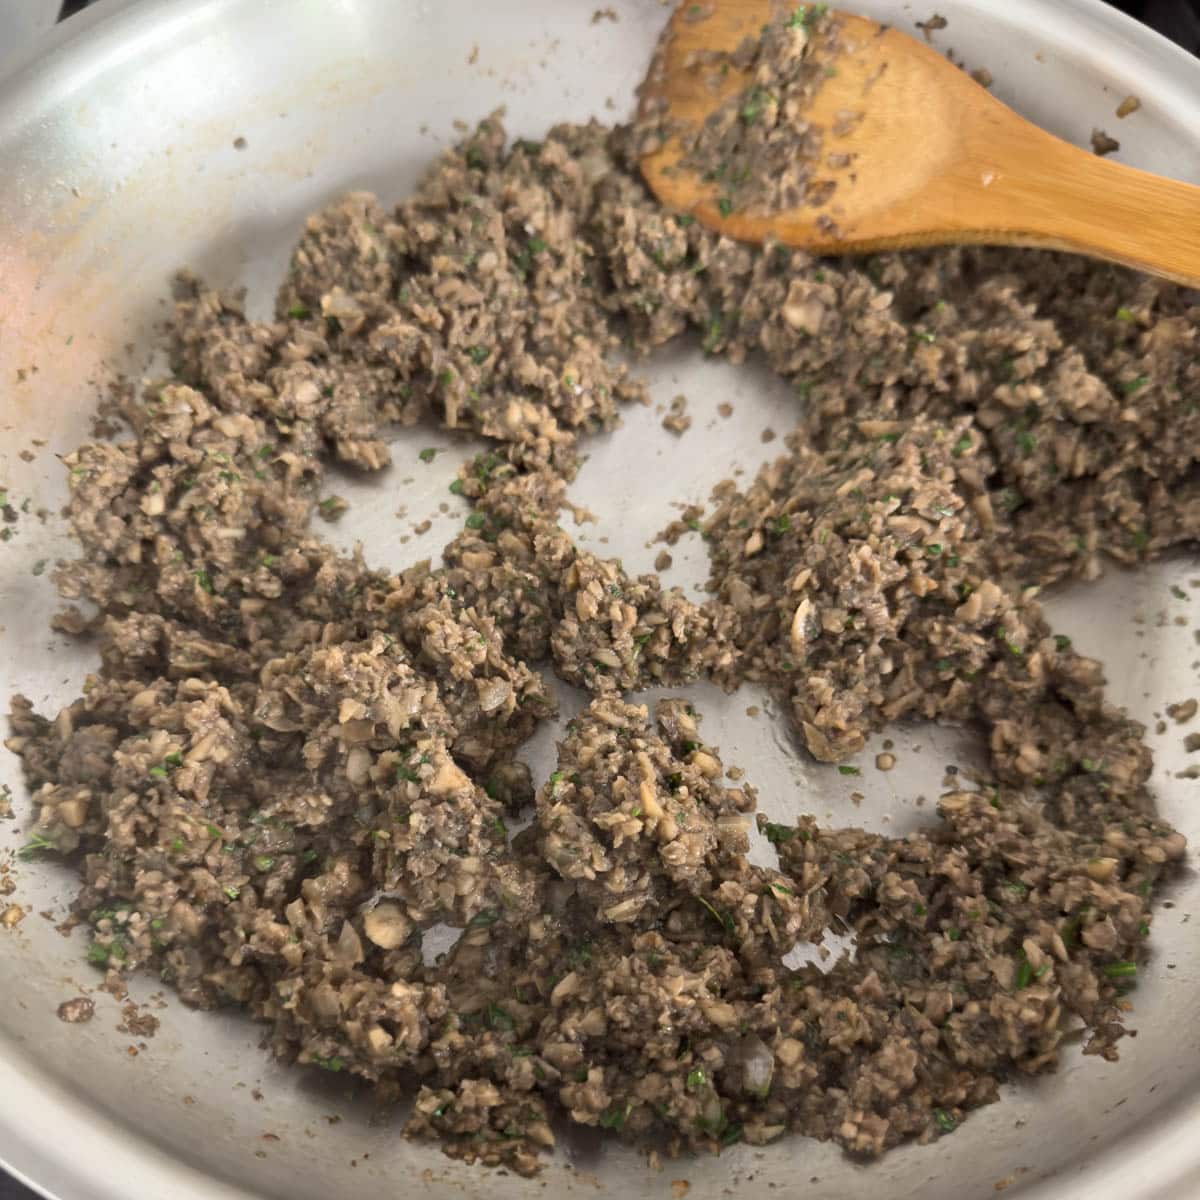
- Add the basil, pine nuts, Parmesan, olive oil, lemon juice (if using), salt, and pepper. Pulse until fairly smooth. You can control the texture by how long you process - less time for rustic, more for creamy.
Adjust the consistency
- If your pesto is too thin, add a little more basil, cheese, or nuts to thicken it. If it's too thick, loosen it with a drizzle of olive oil, lemon juice, or a splash of water.