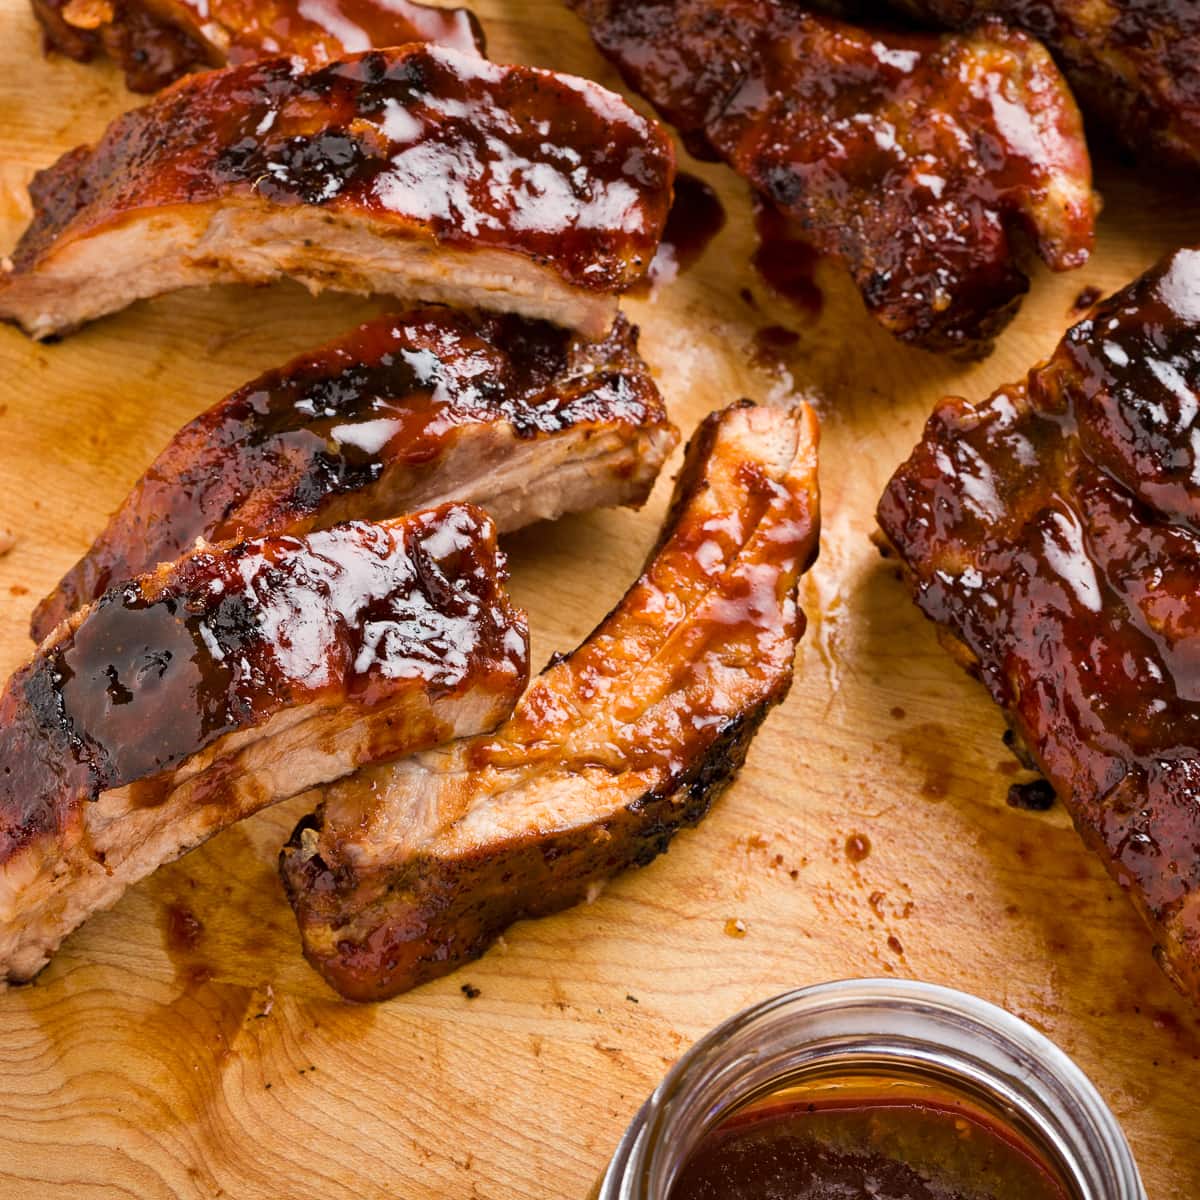
For a golden, flavorful Thanksgiving bird, compound butter for turkey is your secret weapon. Soft butter mixed with fresh herbs, citrus zest, and garlic gets tucked under the skin to baste the meat from within-so it stays juicy with beautifully crisp, bronzed skin. It takes minutes to prep, can be made ahead and frozen, and is simple to use on roasting day. For a reliably delicious, perfectly roasted turkey, start with this compound butter.

For years I've made an herbed compound butter for a turkey. The butter's fat helps deliver that golden, crispy skin, while fresh herbs, citrus, and garlic infuse flavor and keep the meat juicy. Most of it goes under the skin, with a thin smear on top-so when you pull that bird from the oven, it gets the rightful oohs and ahhs. Sounds good? It is-and it's surprisingly easy to make.
Why You'll Love Compound Butter for a Turkey
- Simple, make-ahead recipe - Mix in minutes; refrigerate 5-7 days or freeze up to 3 months.
- Big payoff on roast day - Adds flavor, moisture, and gorgeous color as the turkey roasts.
- Under-skin = juicy meat - Butter goes under the skin; a thin smear on top for bronzing.
- Flexible seasoning - Make it with or without salt and pepper.
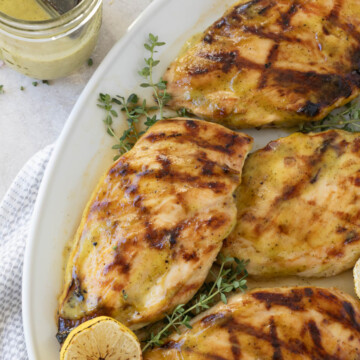
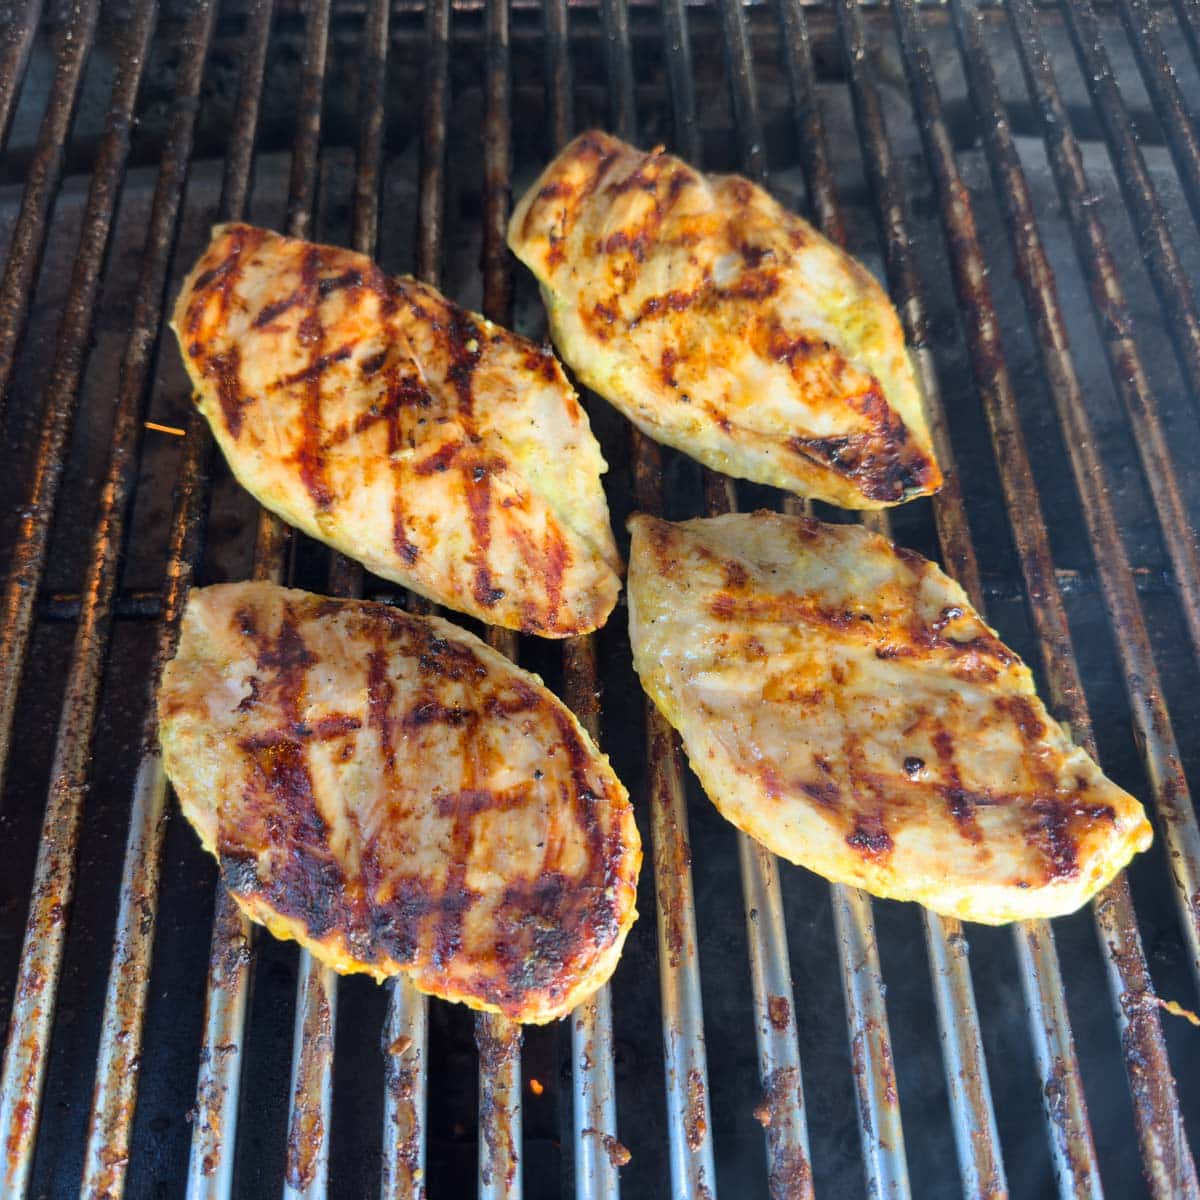
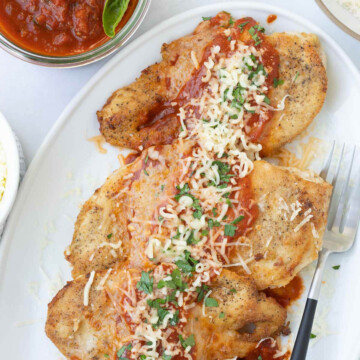
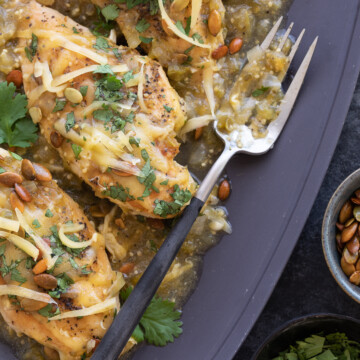
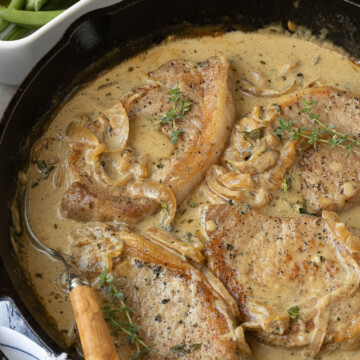
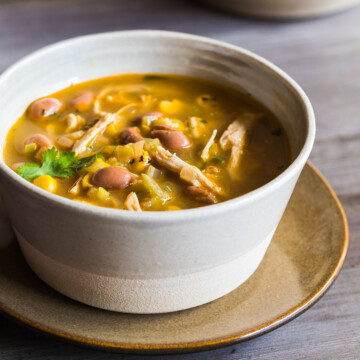
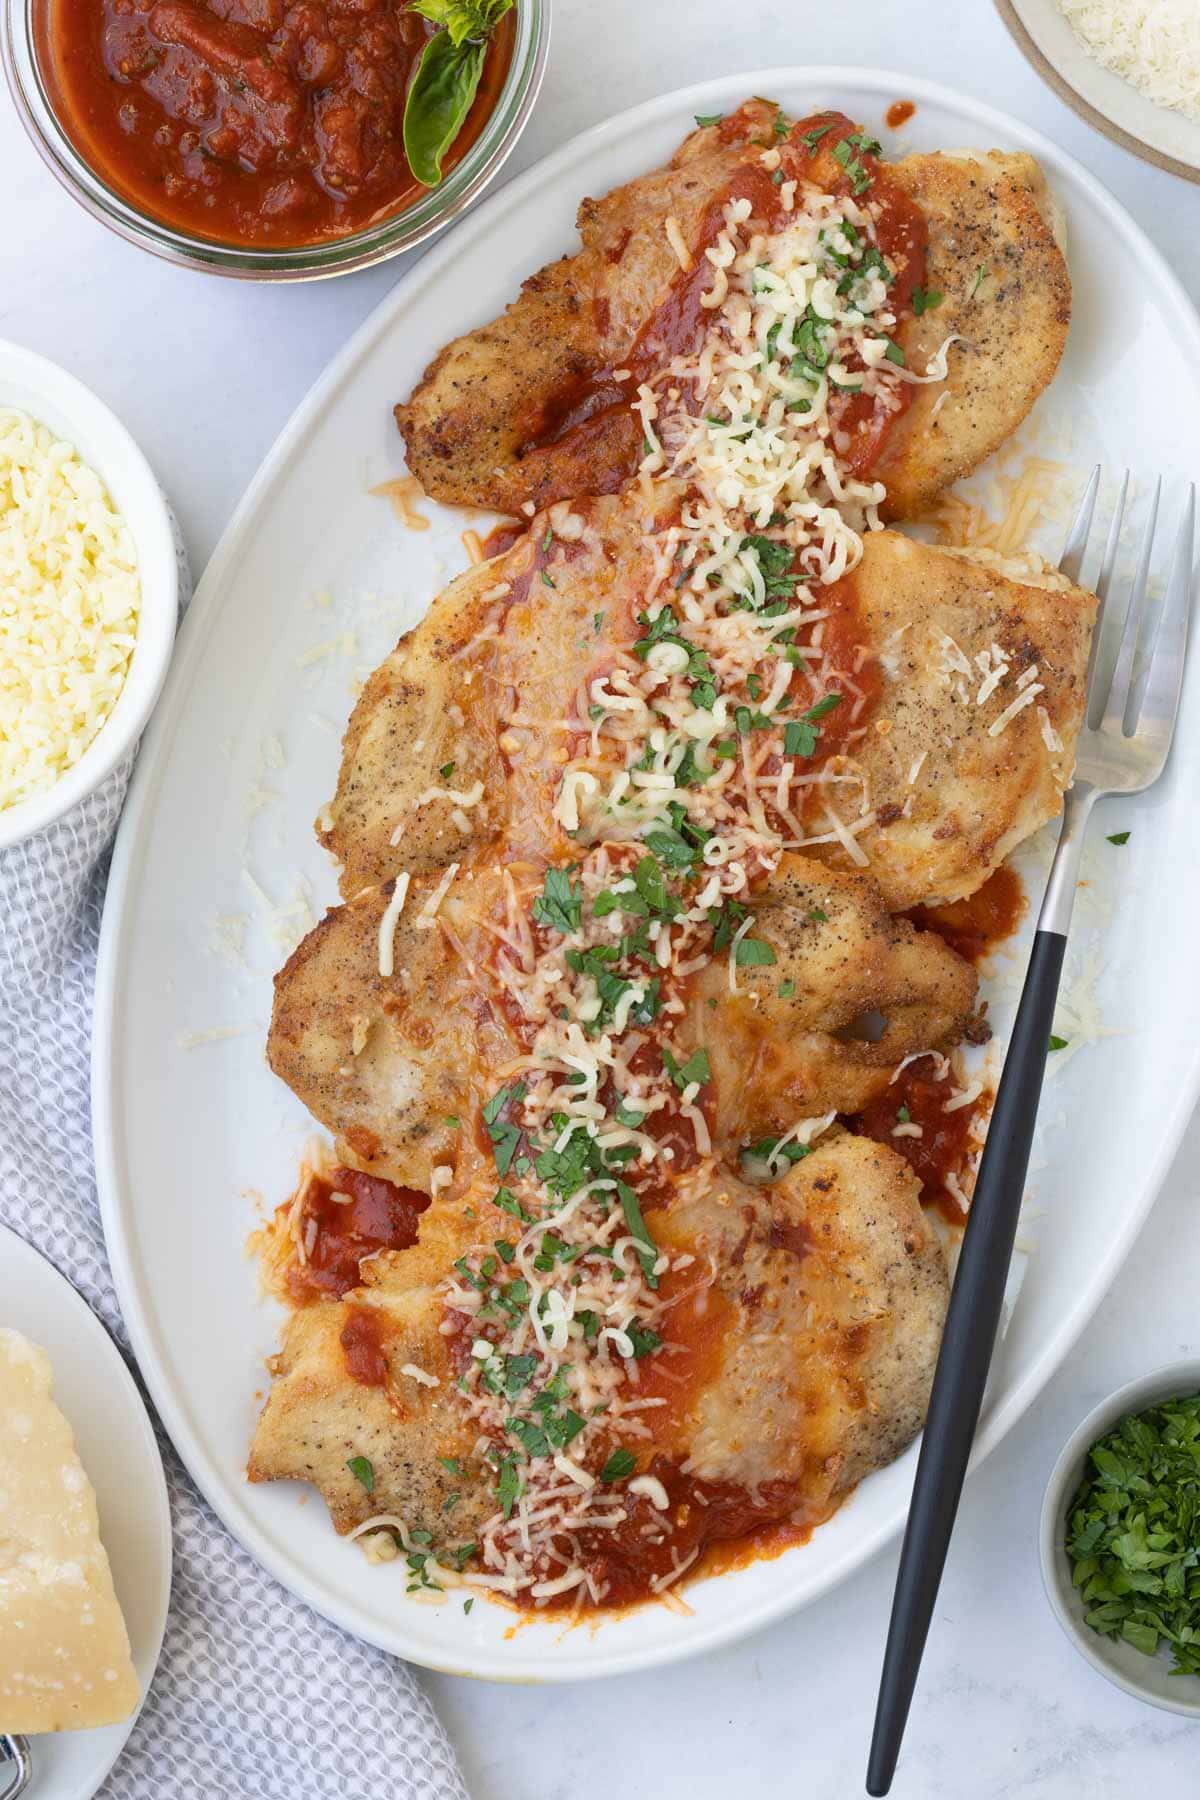
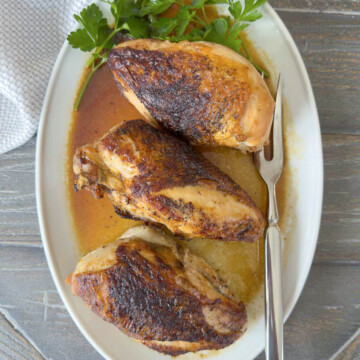
Add a slice of compound butter to each of the roast bone-in chicken breasts while they are finishing in the oven.
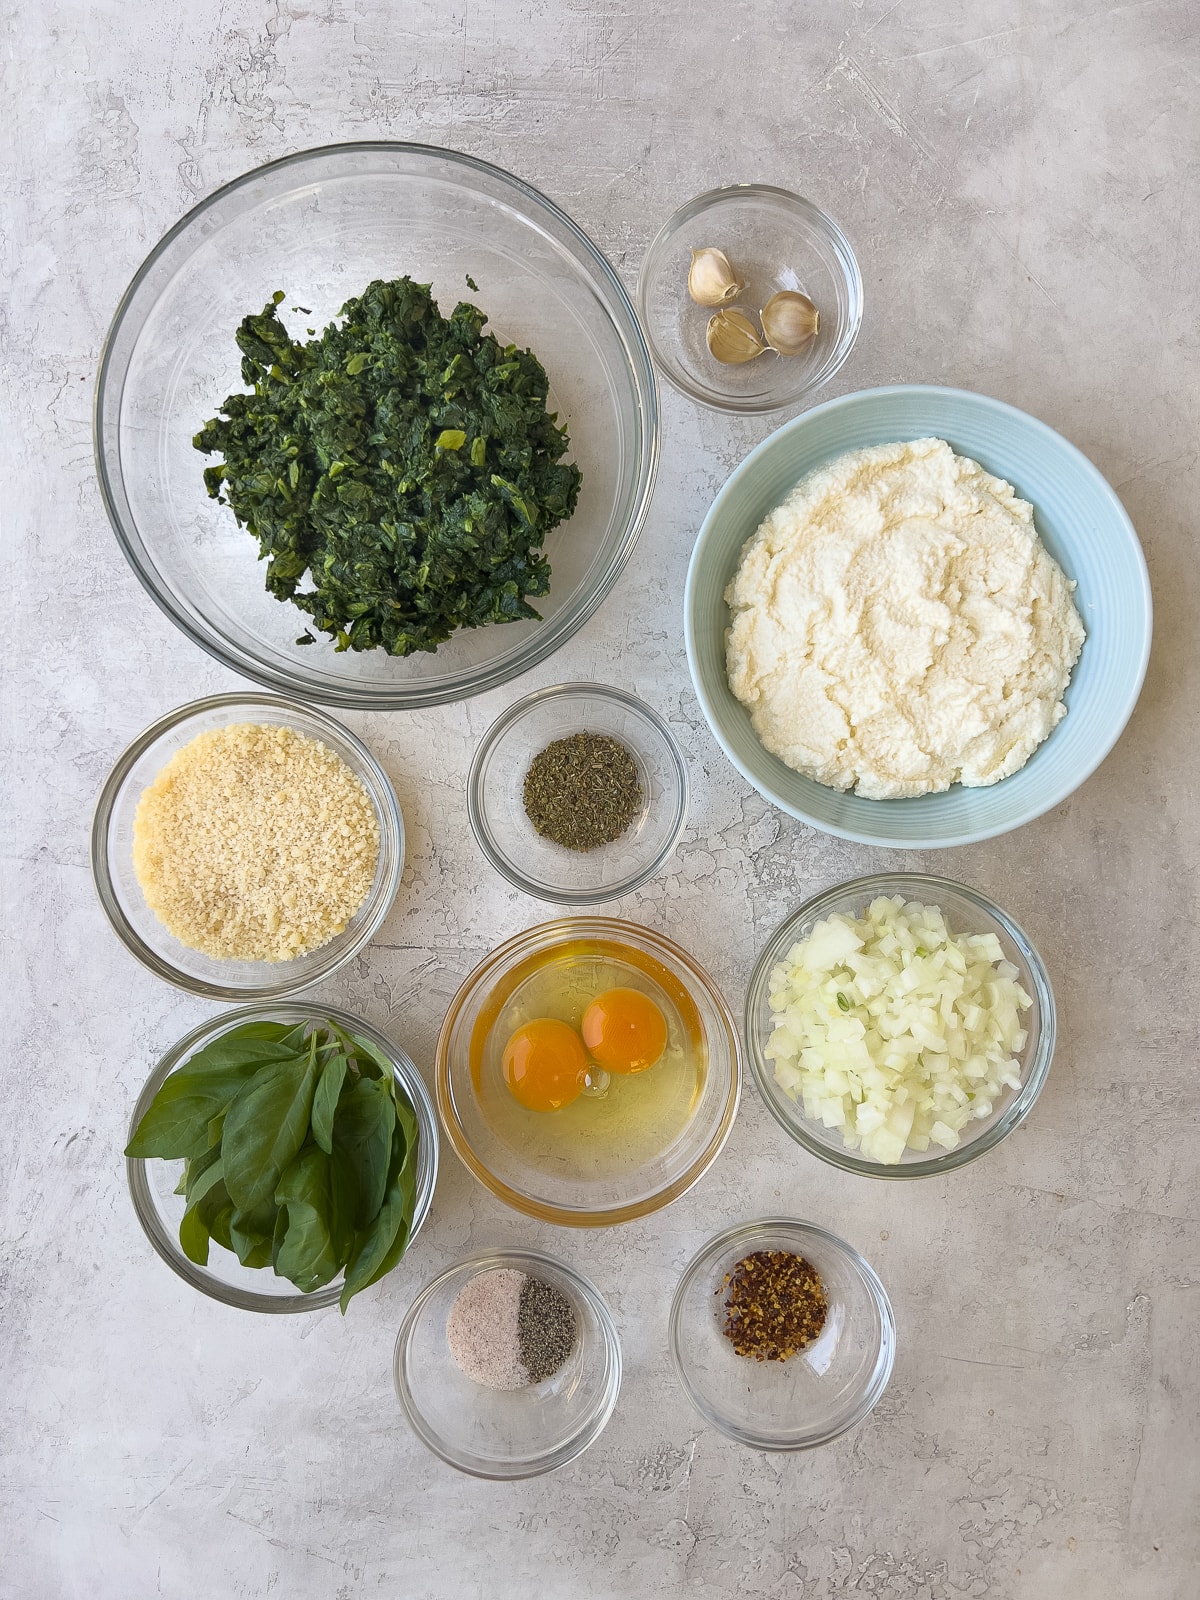
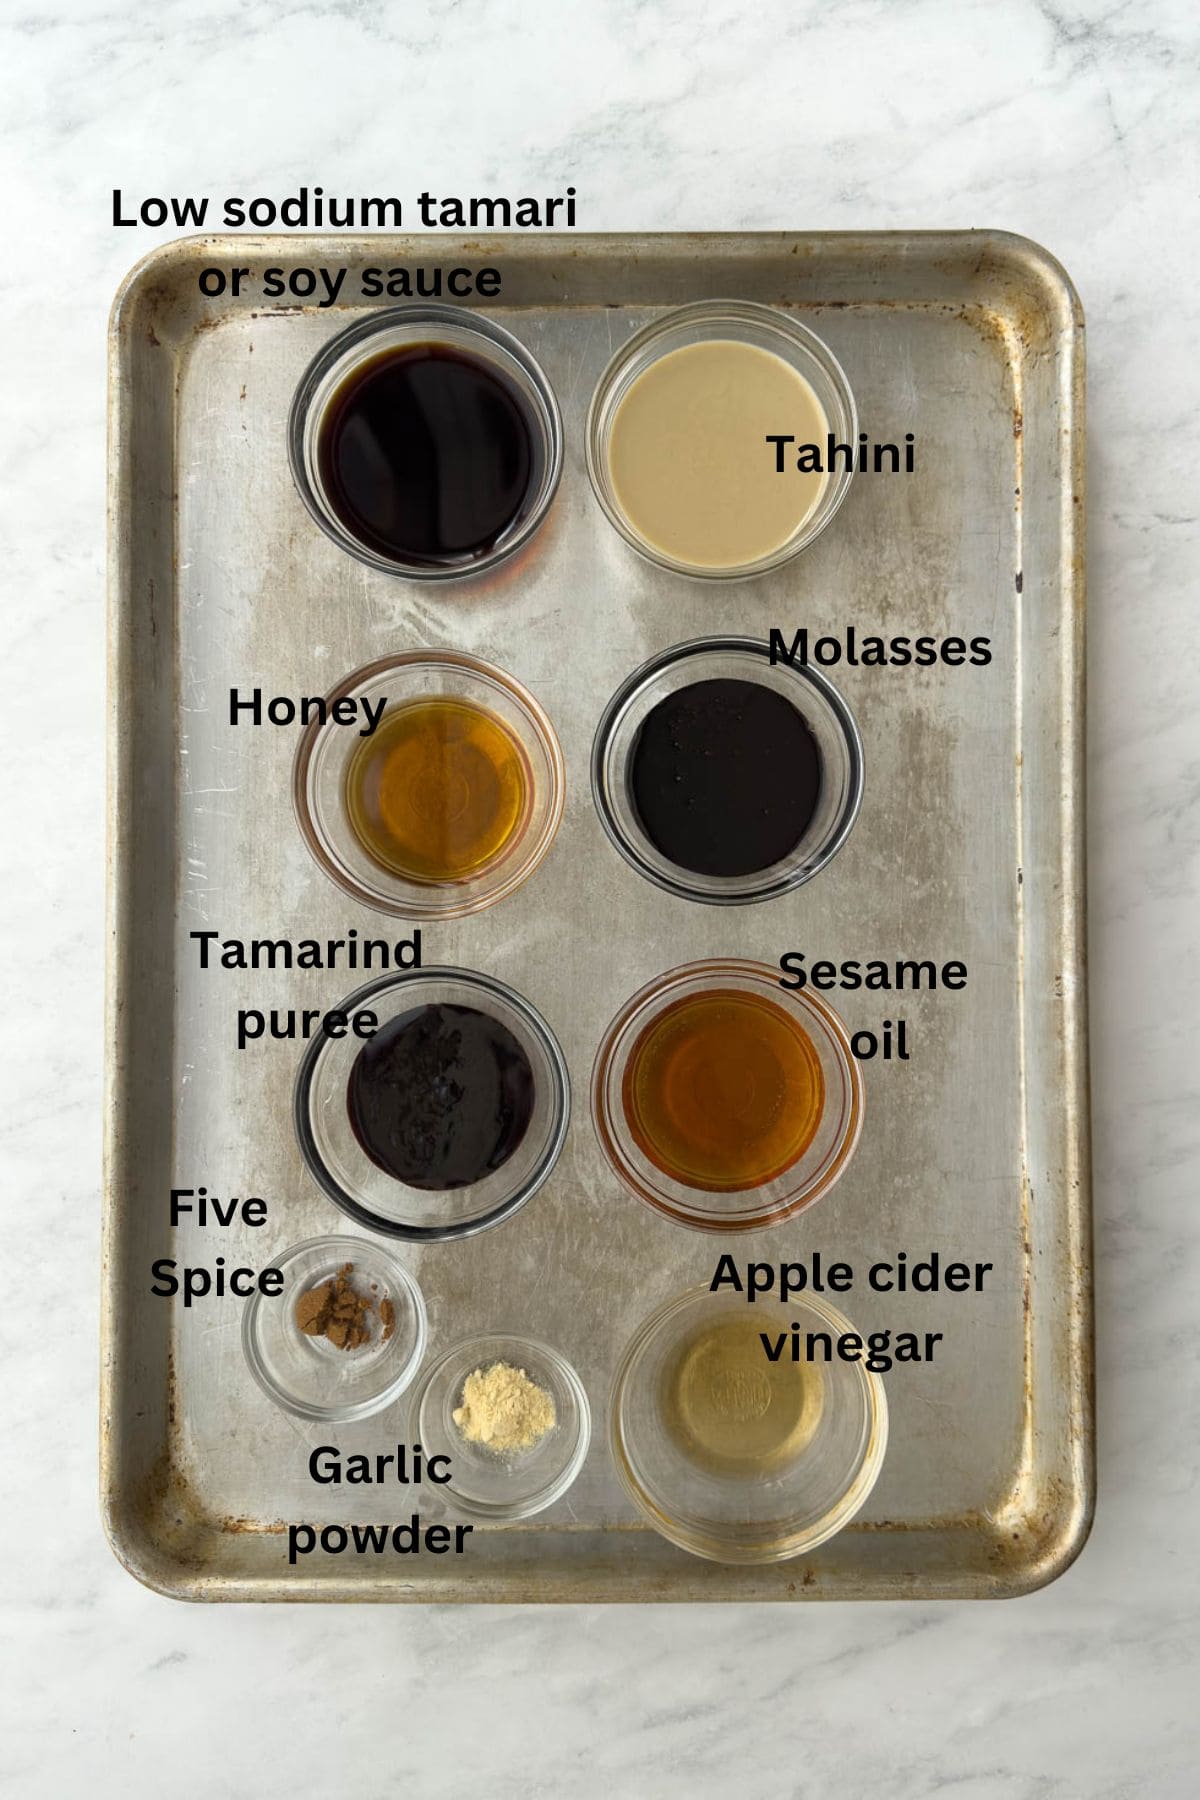
Ingredients You'll Need

- Butter (unsalted) - Best for control, especially if you dry-brine. Salt the bird first, then apply the herb butter. If you only have salted butter, reduce added salt elsewhere.
- Garlic (fresh) - Use freshly grated or finely zested garlic cloves for an even, punchy flavor that spreads well.
- Herbs (fresh) - Pick your favorites: thyme, parsley, rosemary, sage, chives, marjoram. You don't need them all-2-3 herbs are perfect. Chop finely so they distribute evenly.
- Citrus zest - Lemon zest is my go-to; orange zest (or both) is nice, too. Zest carries the aromatic oils that brighten the butter without adding liquid.
Please see the recipe card for measurements, salt and black pepper. Note salt and pepper are optional.
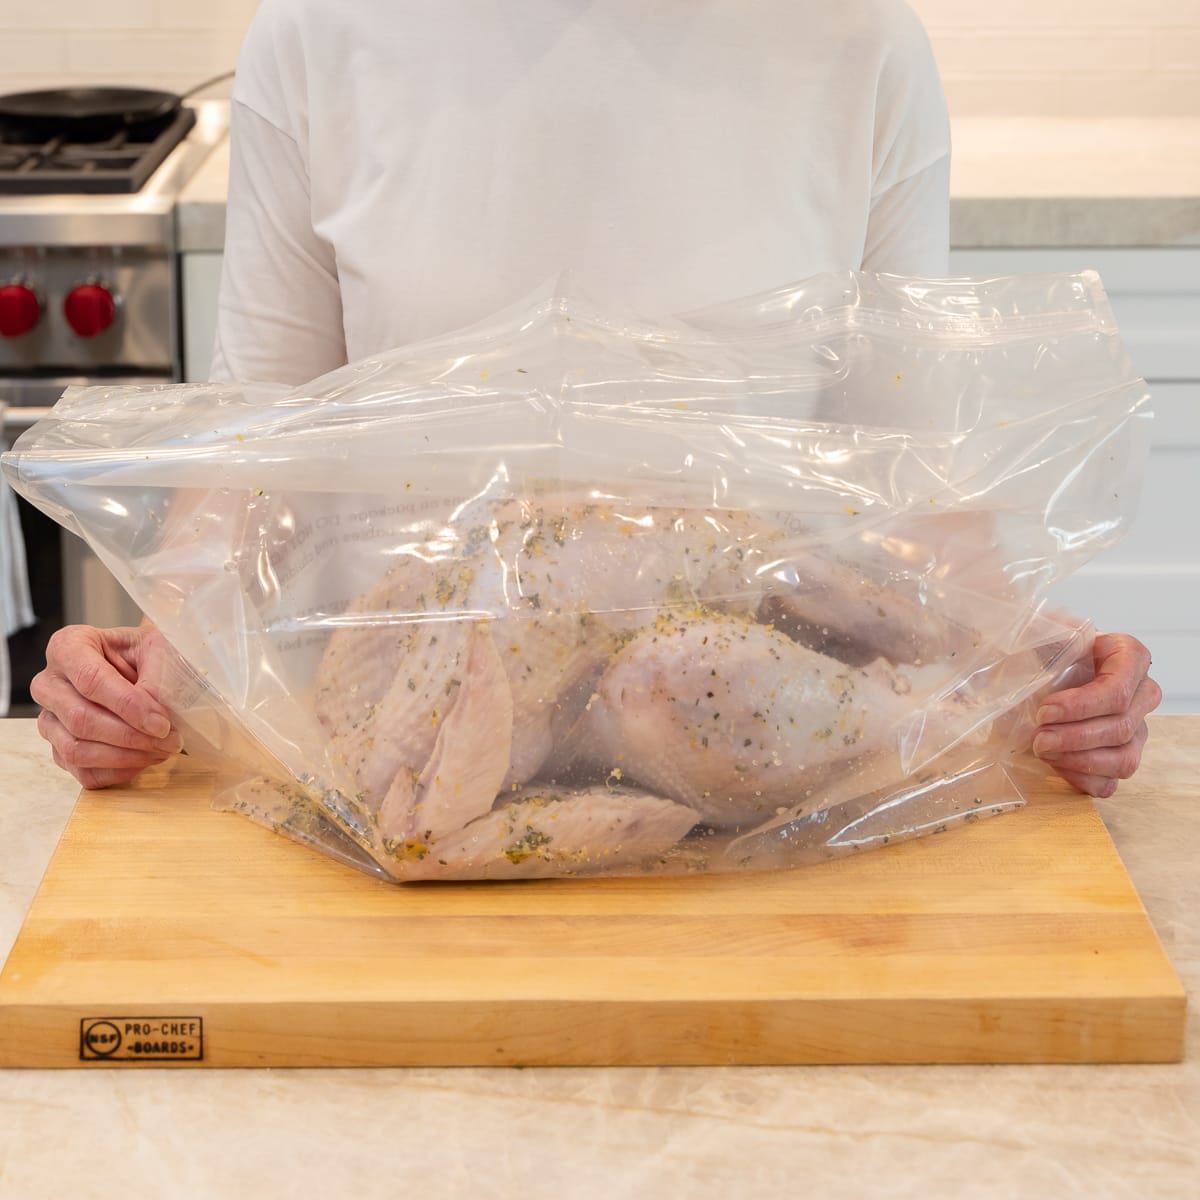
For the best turkey, brine baby brine, and then use your compound butter. If you've never done it, here's my turkey dry brine tutorial. It's super easy and way easier than wet brining giving you a flavorful turkey.
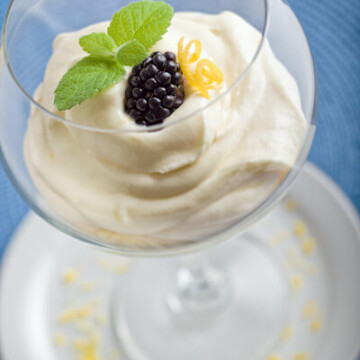
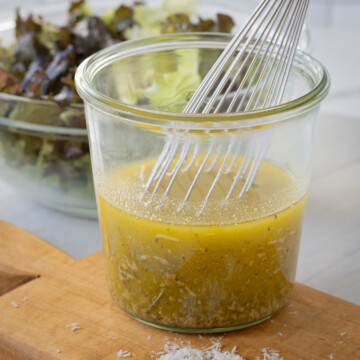
Chef's note: What is a compound butter? It's any butter blended with herbs, spices, citrus zest, garlic, honey, and many other flavoring possibilities. They are sometimes called infused butters or flavored butters. Using them is a great way to add extra flavor to food and can be used almost anywhere you'd use plain butter. Compound butters can be made savory (as in this compound butter for a turkey) or sweet compound butter, as in this maple vanilla butter. There are also speciality butters such as blue cheese butter, truffle butter, and this miso butter which is terrific on fish and seafood.
Substitutions and Variations
- Herbs & citrus - Mix and match your favorites-thyme, parsley, rosemary, sage, chives, marjoram. Use lemon or orange zest…or skip citrus entirely.
- Garlic options - Substitute garlic powder for fresh at ¼ teaspoon per clove.
- Classic lemon-herb - Lemon zest + parsley + dill (bright and turkey-friendly).
- Southwestern - Cumin + coriander + chili powder (or smoked paprika) for warm spice; add lime zest instead of lemon.
- No fresh herbs - Use half the amount of dried (they're stronger). Let the butter stand 30 minutes so dried herbs can rehydrate and soften before using or chilling.
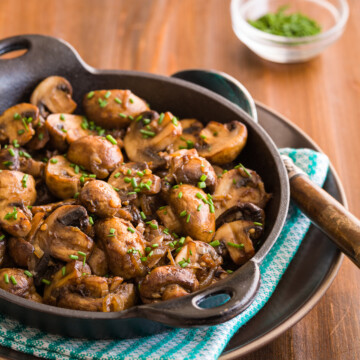
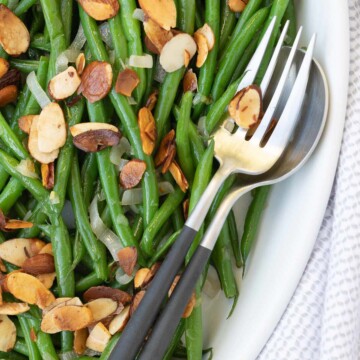
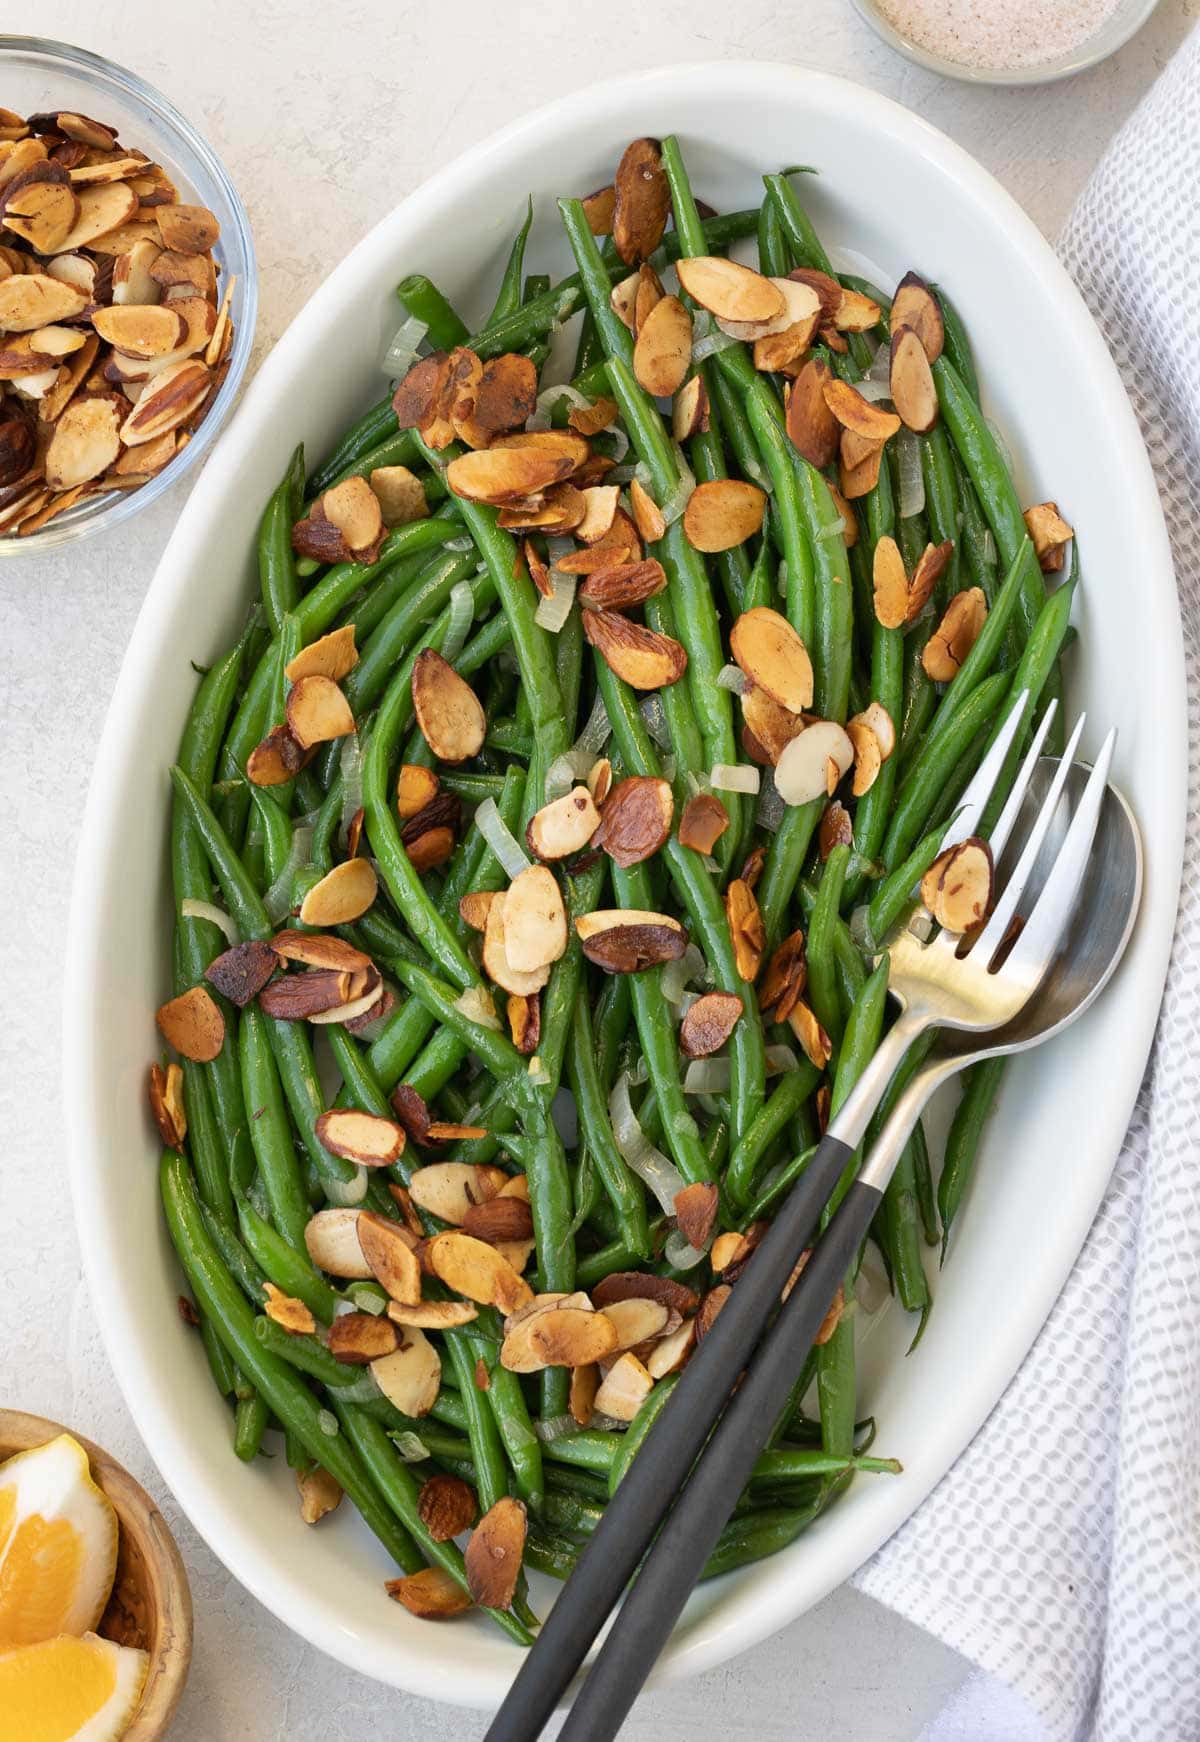
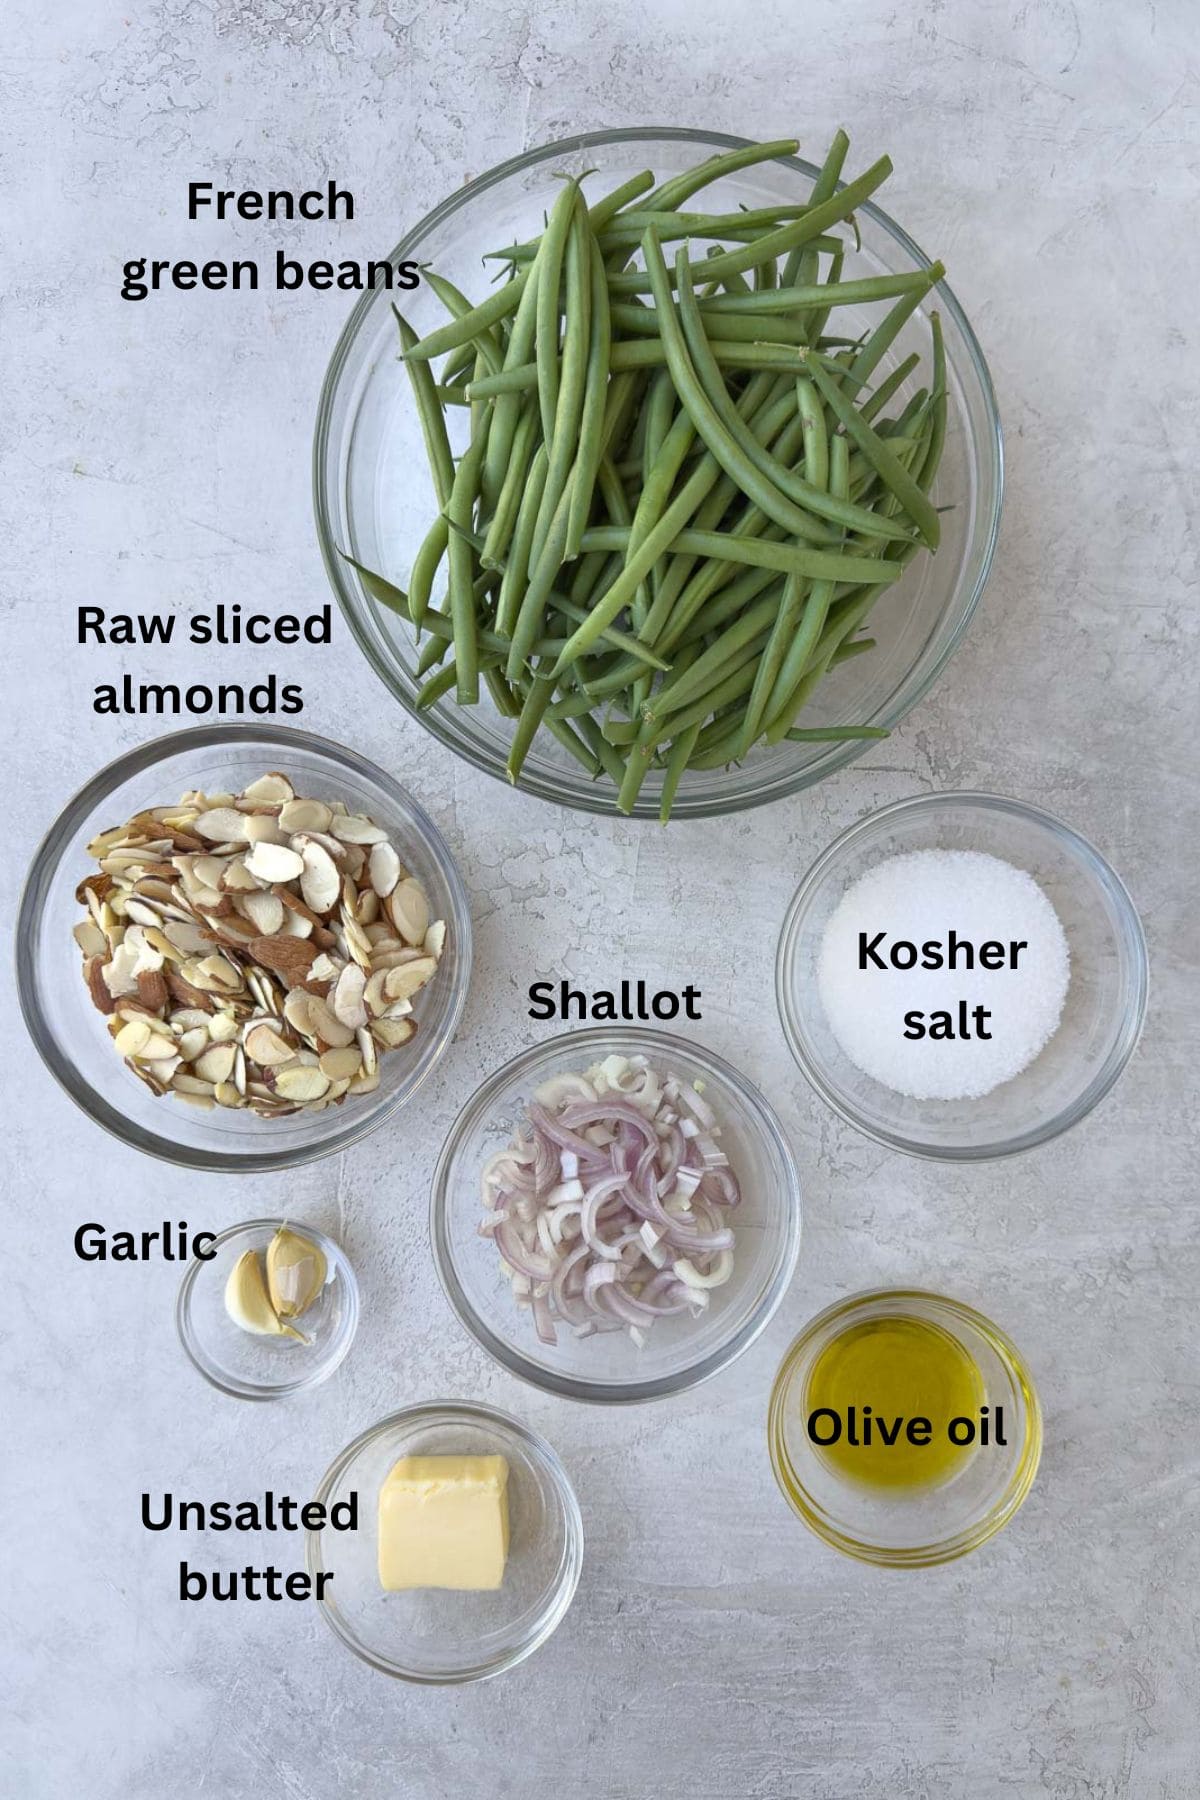
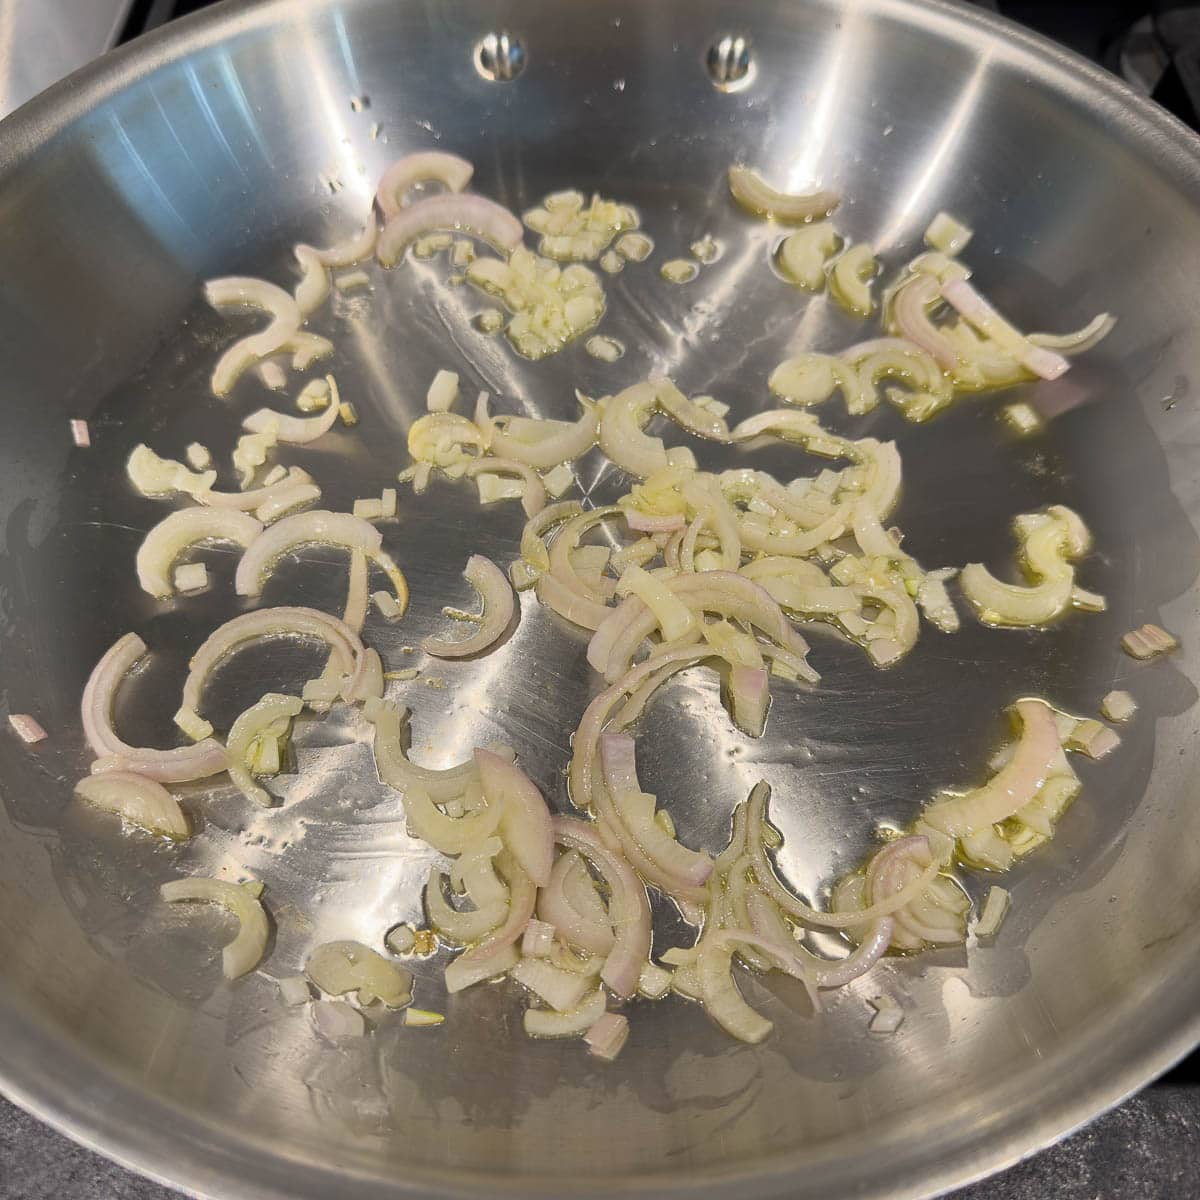
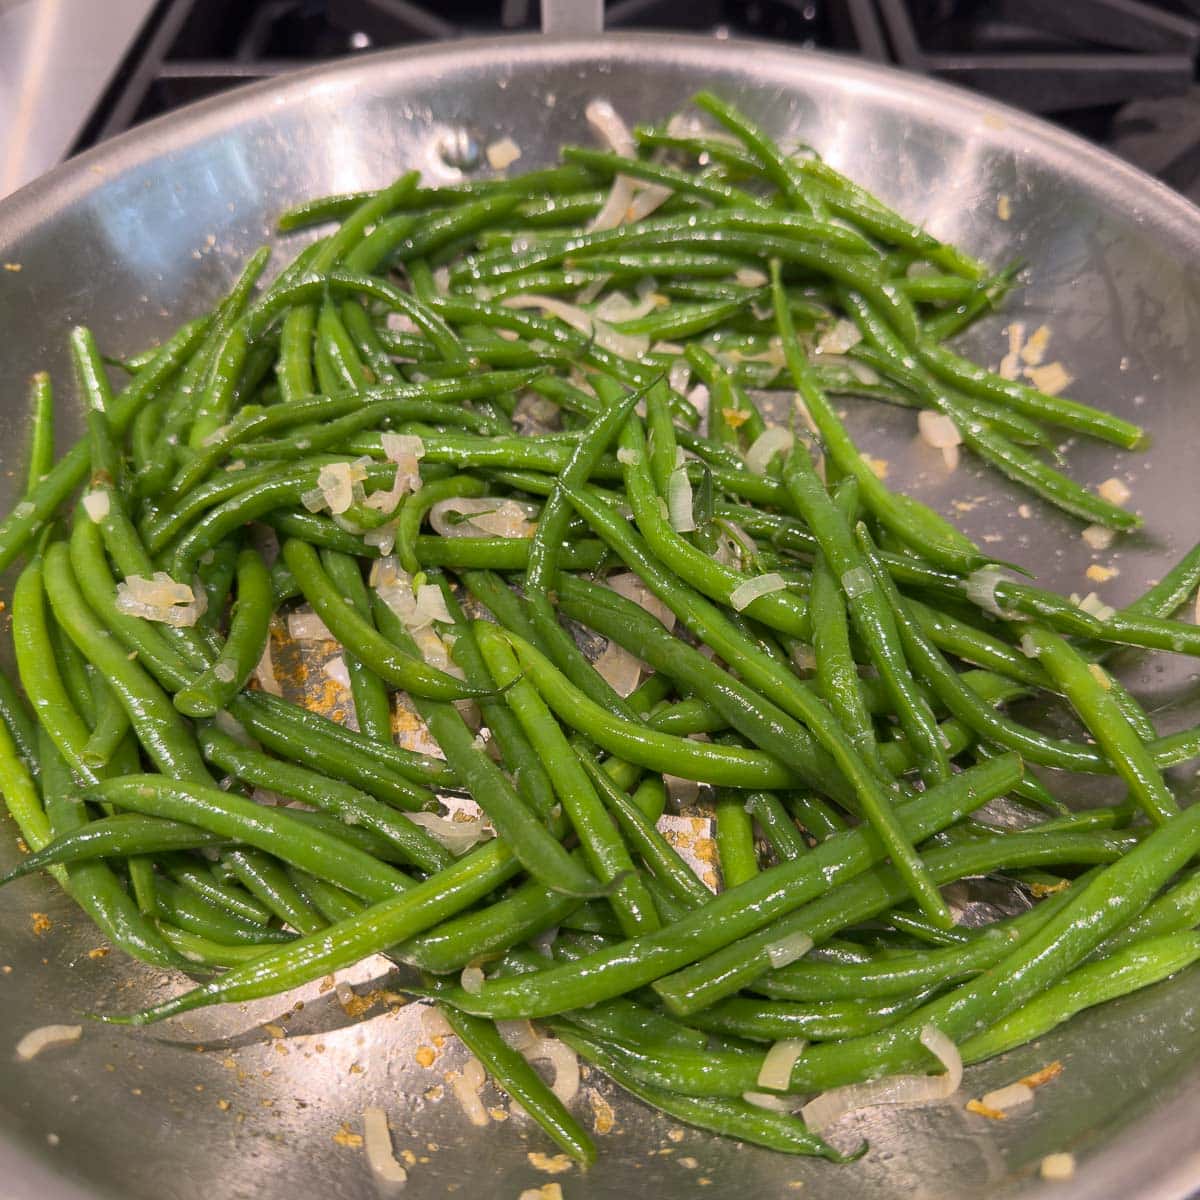
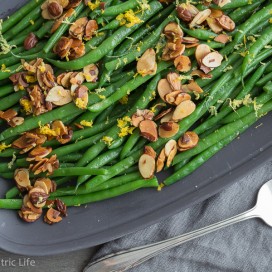
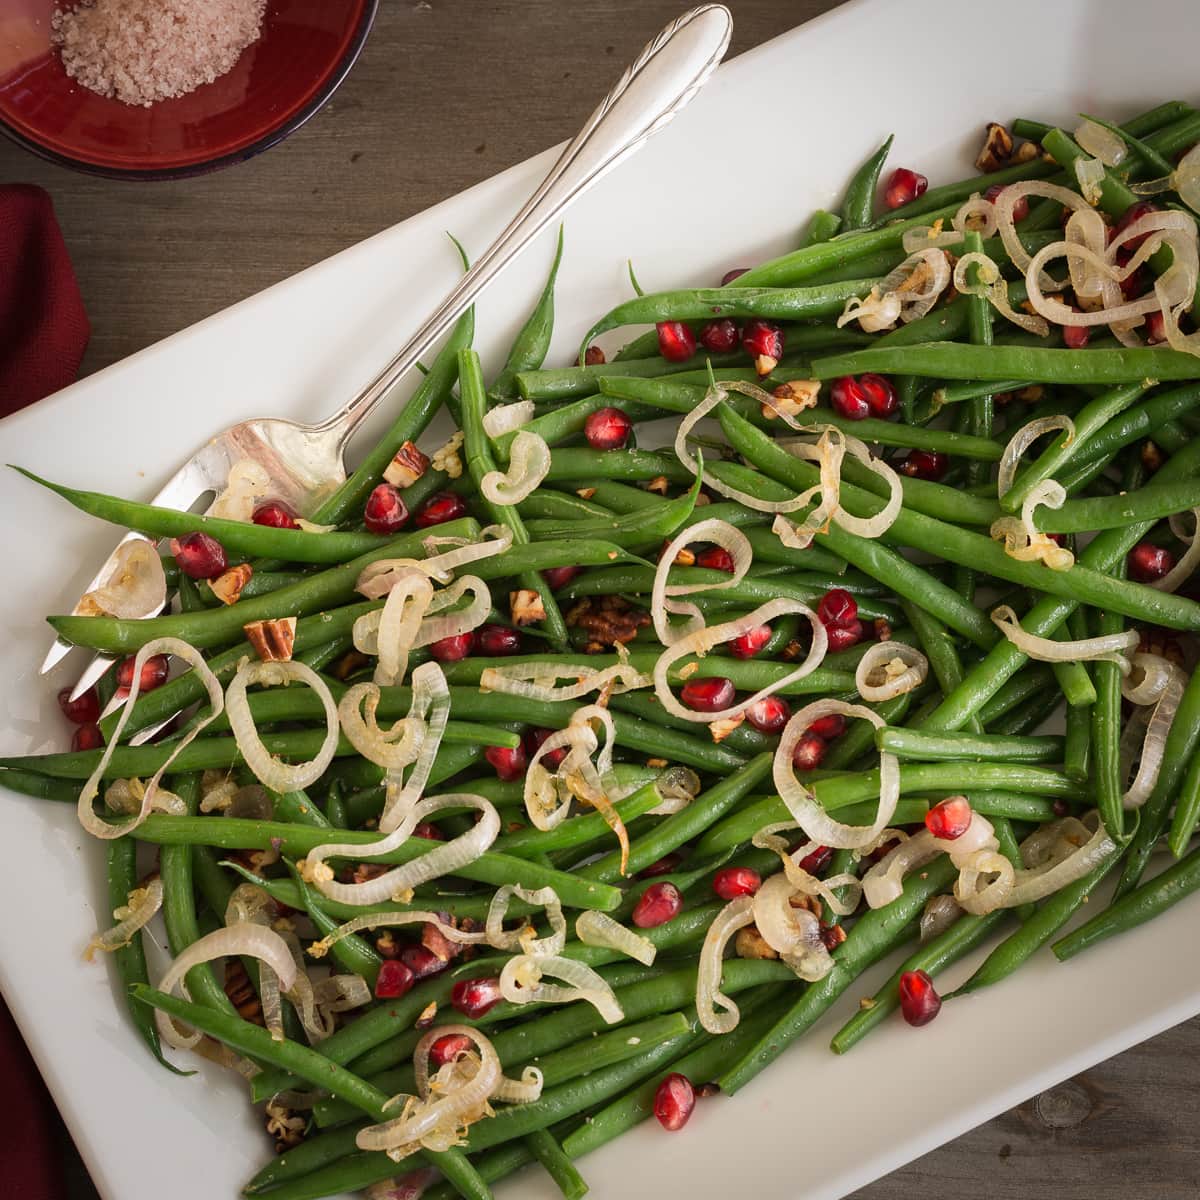
Use a slice of this butter to dress up simple blanched green beans. They take 5 minutes!
Chef's Tip: Salt Strategy
- Dry-brined turkey: Keep the butter lightly salted so you don't overdo it.
- Wet-brined turkey: Skip salt in the butter (or add just a pinch).
- Unbrined turkey: Use about ¼-½ teaspoon kosher salt per stick (8 Tbsp) of butter.
- Taste before you spread: Mix, taste a tiny dab, then adjust.
- Pepper: Add a pinch of black pepper to the butter; adjust on the bird as needed.
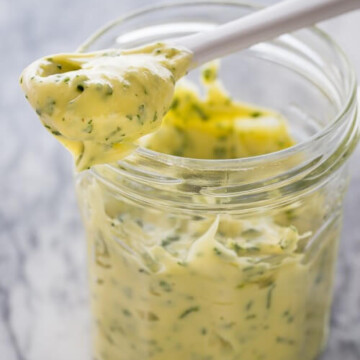
How to Make a Compound Butter for Turkey
Start with very soft butter at room temperature for the easiest mixing. Do not melt the butter. Get out a piece of parchment paper, waxed paper, or plastic wrap and some kitchen twine (or rubber bands) to make the butter log. Do not use aluminum foil. It reacts with certain ingredients (like acidic ones) and also tears easily.
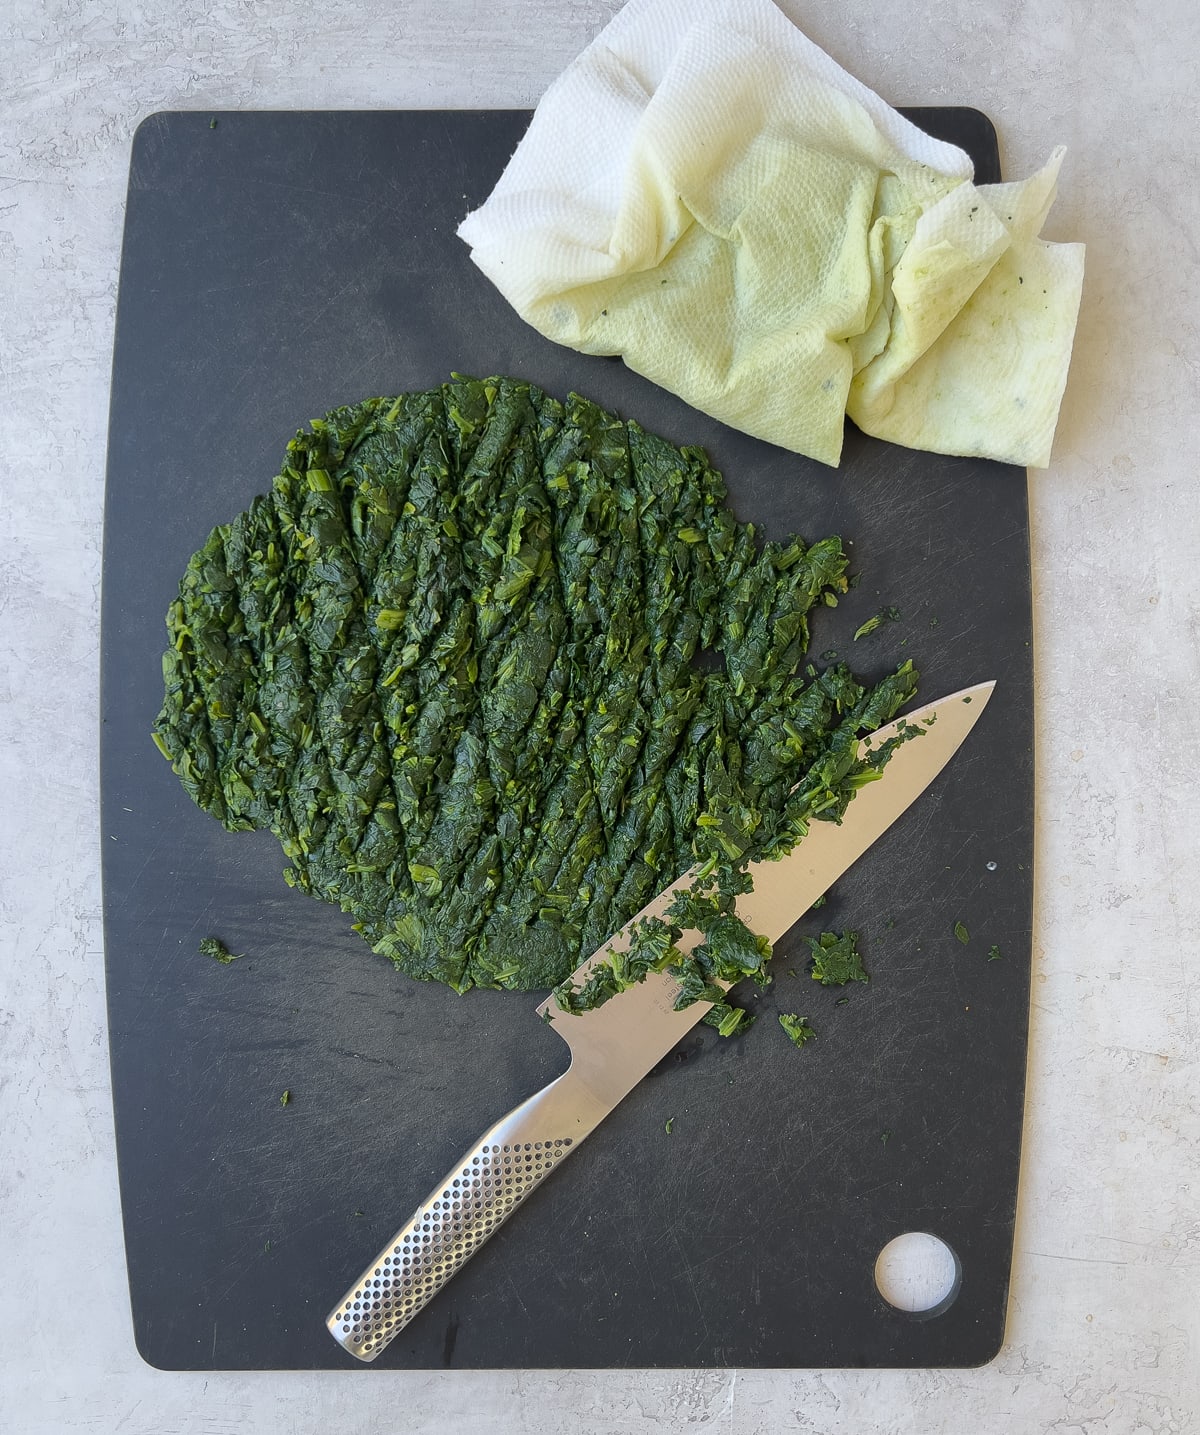
Be sure your herbs are totally dry. Wet herbs do not chop well. Try washing them ahead of time and air drying on a kitchen towel.


Chef's tip: How to get very fine garlic. Biting into a piece of raw garlic is not pleasant. Rather than simply chopping garlic, use one of three techniques: use a microplane zester and zest the garlic fine, chop fine and smear into a paste with the back of your chef's knife, or use a garlic press and chop it finer by hand. Either way, you're creating a fine garlic paste that easily incorporates into butter. No biting into a piece of raw garlic.
How to Use Compound Butter for Turkey
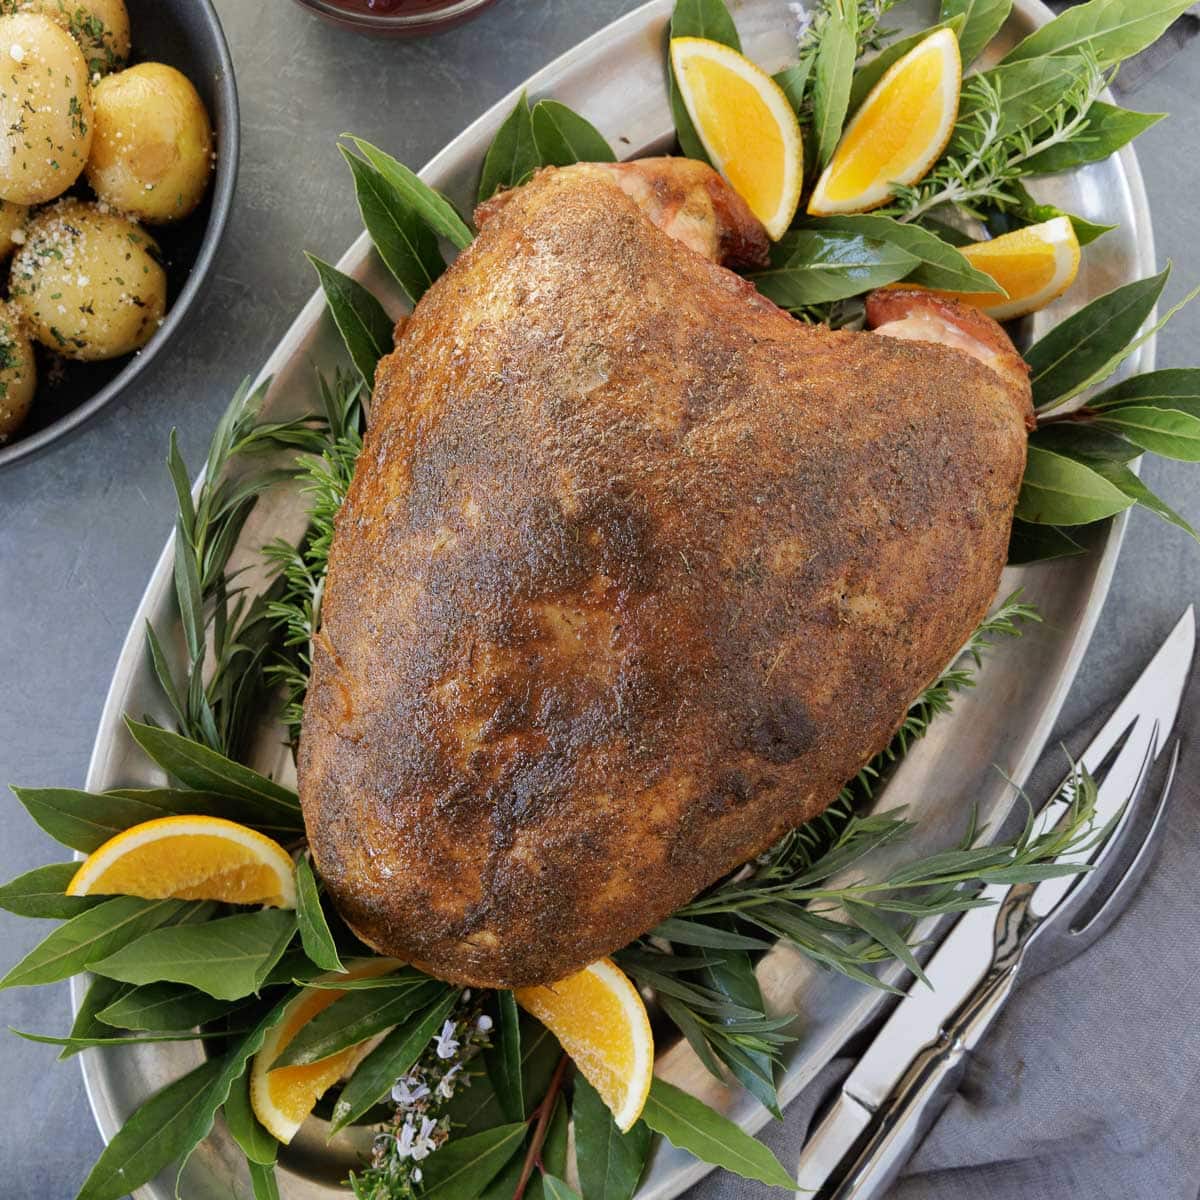
As a general rule, allow the turkey to stand unwrapped at room temperature for one hour to get the chill off before applying compound butter, then apply herb compound butter for turkey before roasting. The flavors from the butter melt in during roasting and self-baste the meat.
For best application, work with room temperature butter. Use it for a whole turkey or for a turkey breast.
With dampened hands, gently insert fingers between the turkey skin and meat to loosen the skin. Slowly work your fingers as far back under the breast skin and near the legs as possible. The skin stretches a fair amount but be careful not to tear it.
When skin is loosened, spread some of the compound butter in three places:
- Under the skin of the turkey.
- On top of the turkey breast and legs.
- A little inside the cavity of the turkey, rubbing it on the inside walls.
How much you use depends on the size of your turkey. You won't use it all (save the extra). Don't over-do it for delicious a golden, delicious roast turkey. Save the rest for more delicious dishes. Once applied, the turkey is ready to roast.
Serving Suggestions
There are many ways to use a compound butter for turkey beyond turkey!
- Not just for turkey - Use this butter beyond the bird.
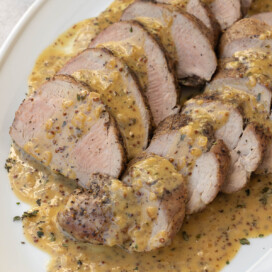
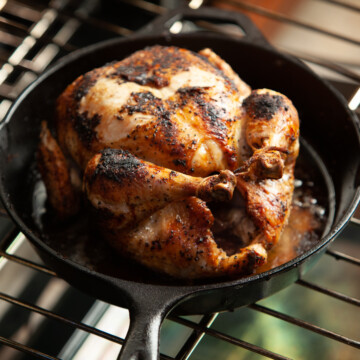
- Roast chicken - Slide under the skin or melt over sliced breast.
- Steak - Finish grilled steak with a coin for that steakhouse gloss.
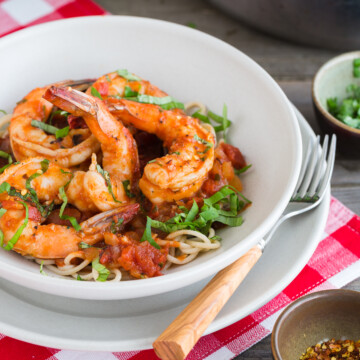
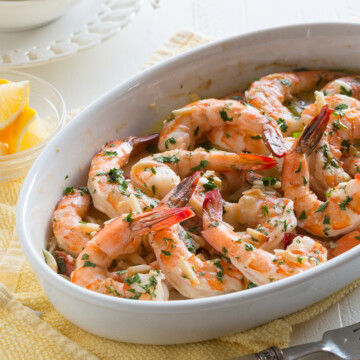
- Fish - Melt over grilled or baked salmon, halibut, or cod.
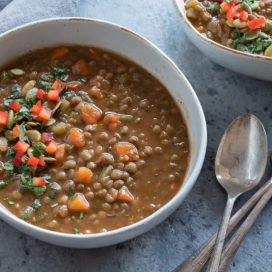
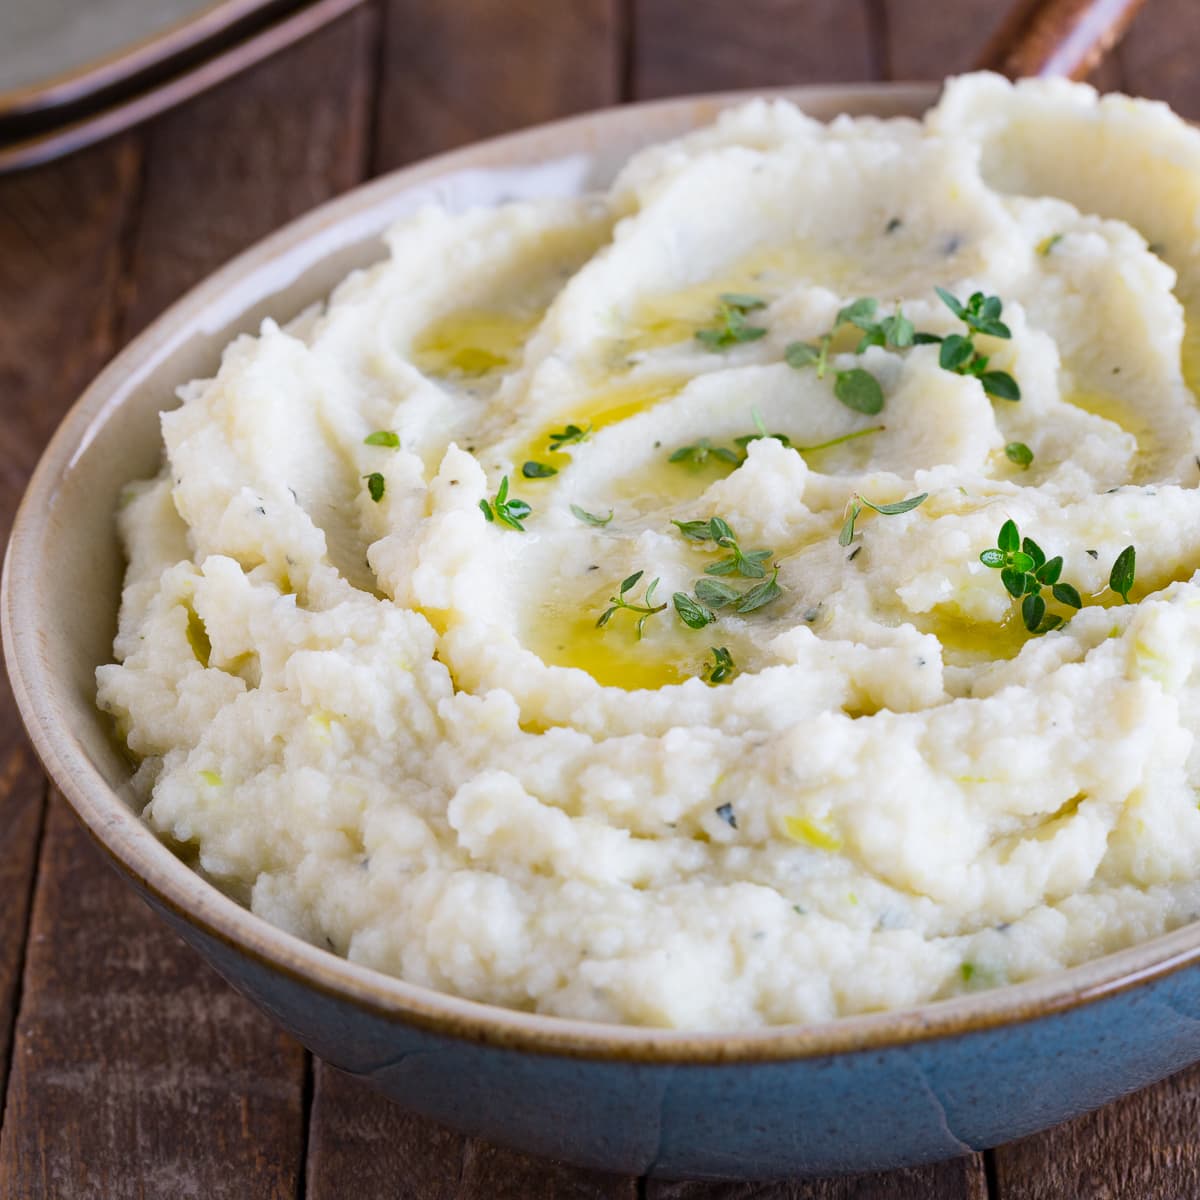
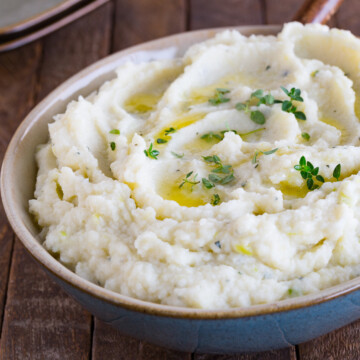
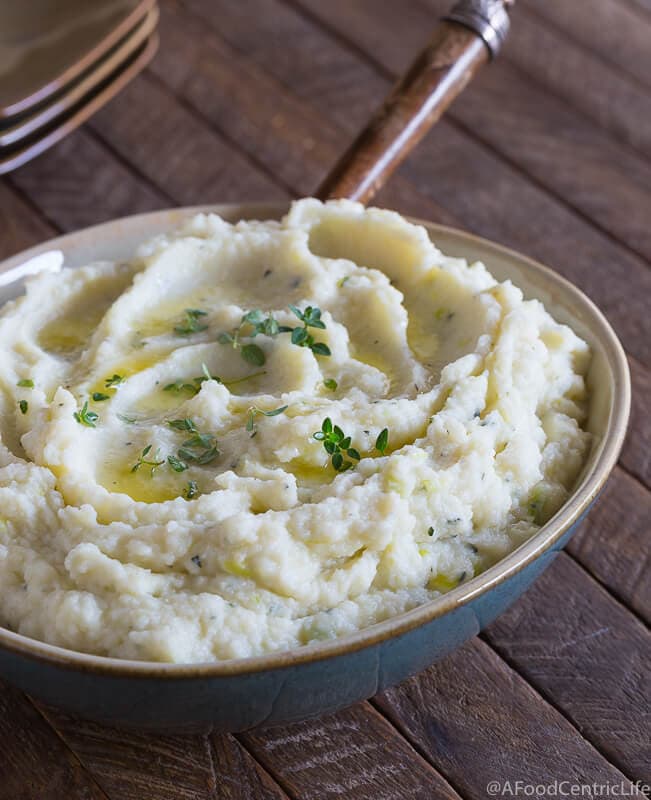
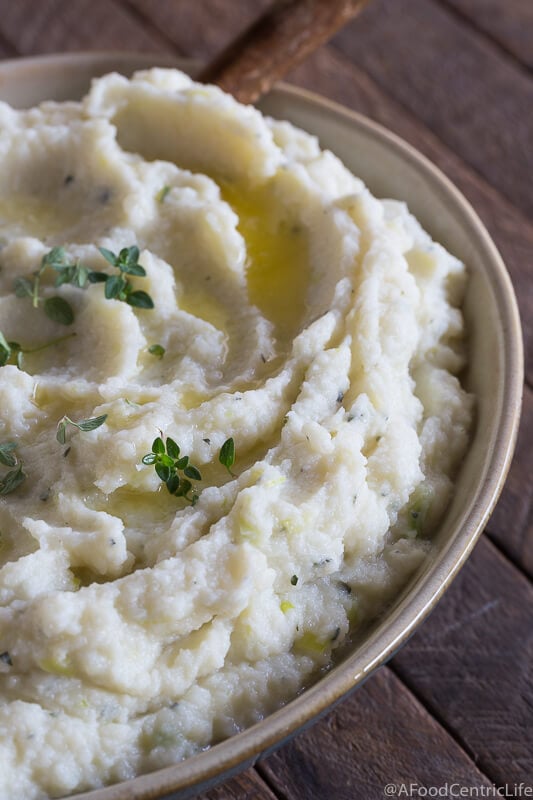
- Mashed potatoes - Stir into riced potatoes or whipped sweet potatoes.
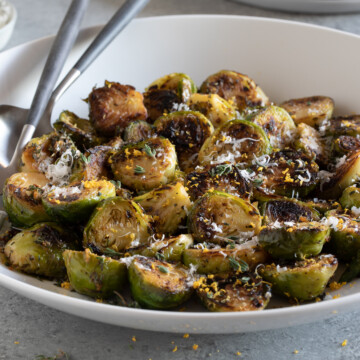
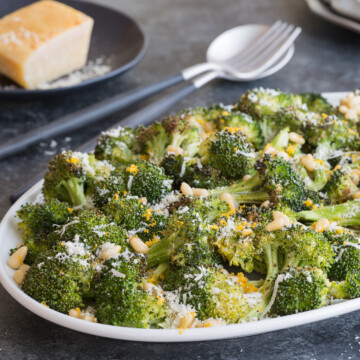
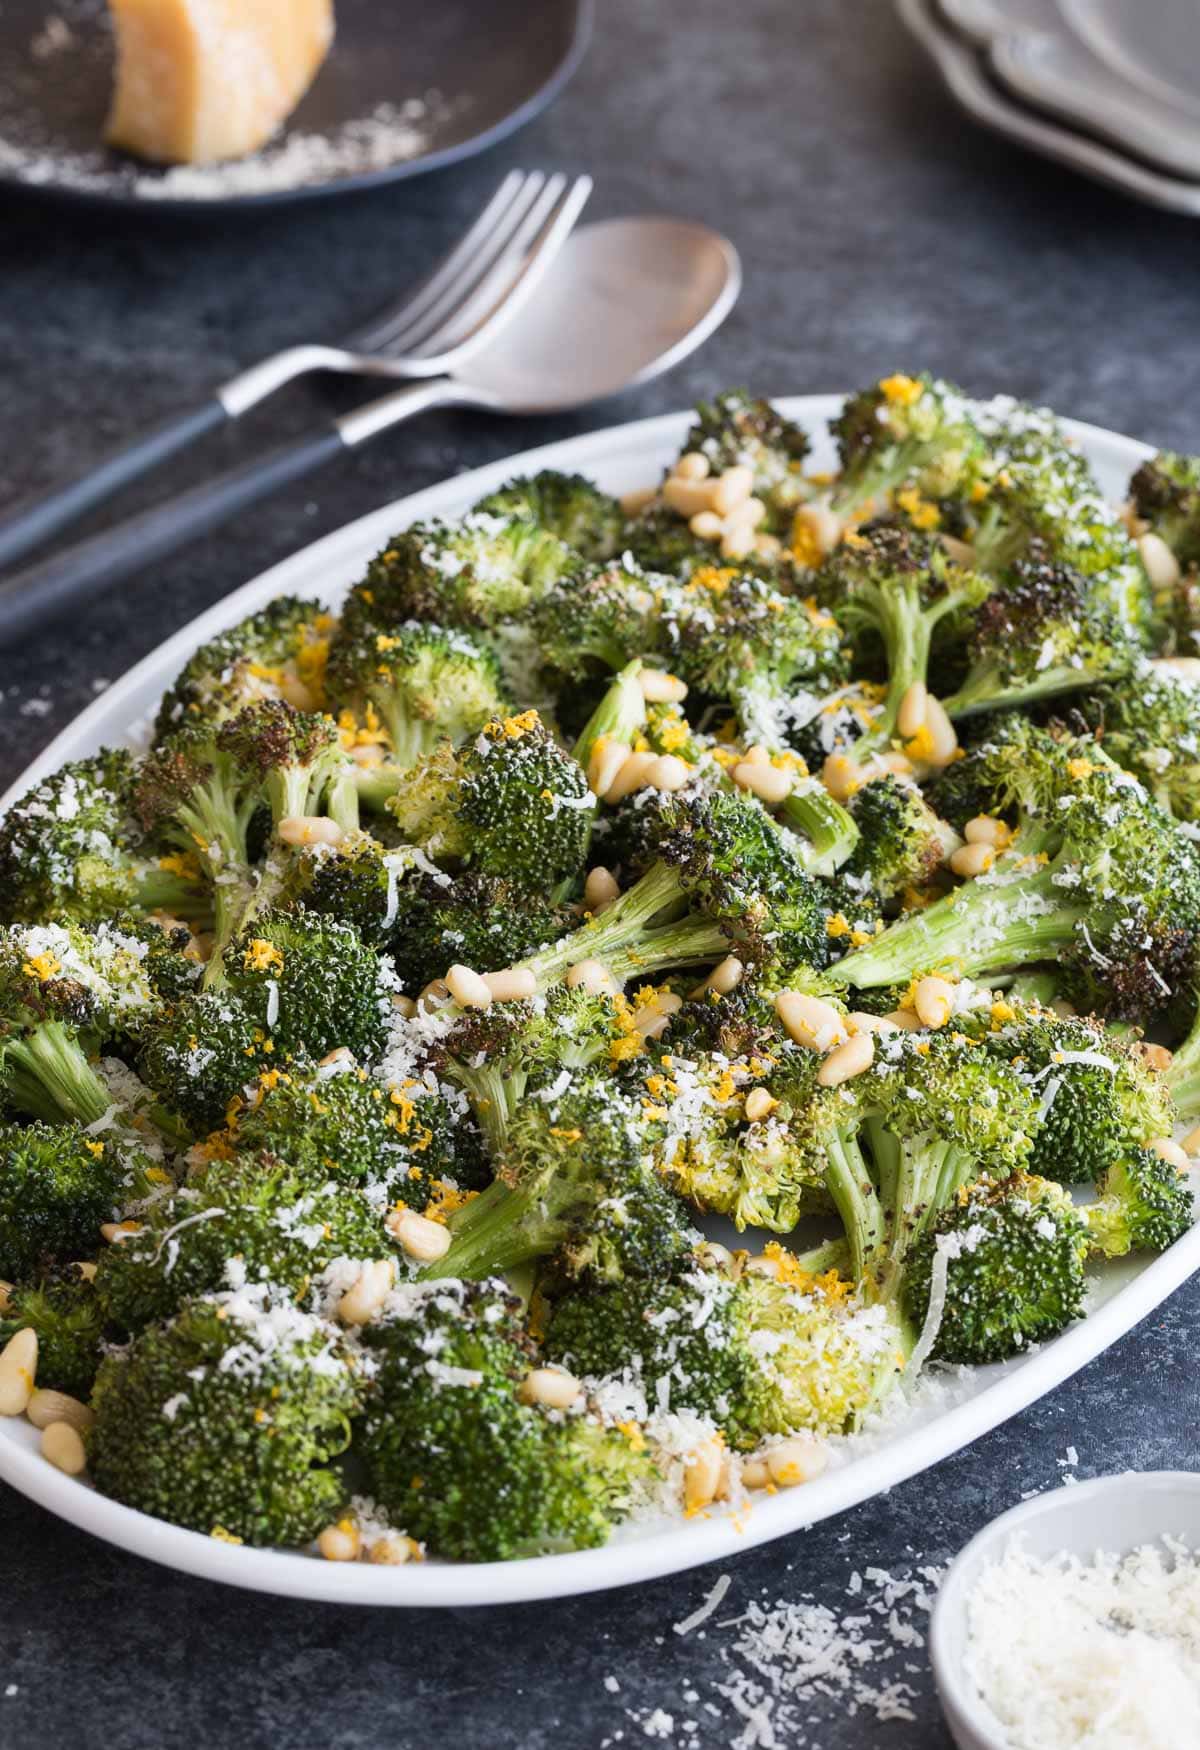
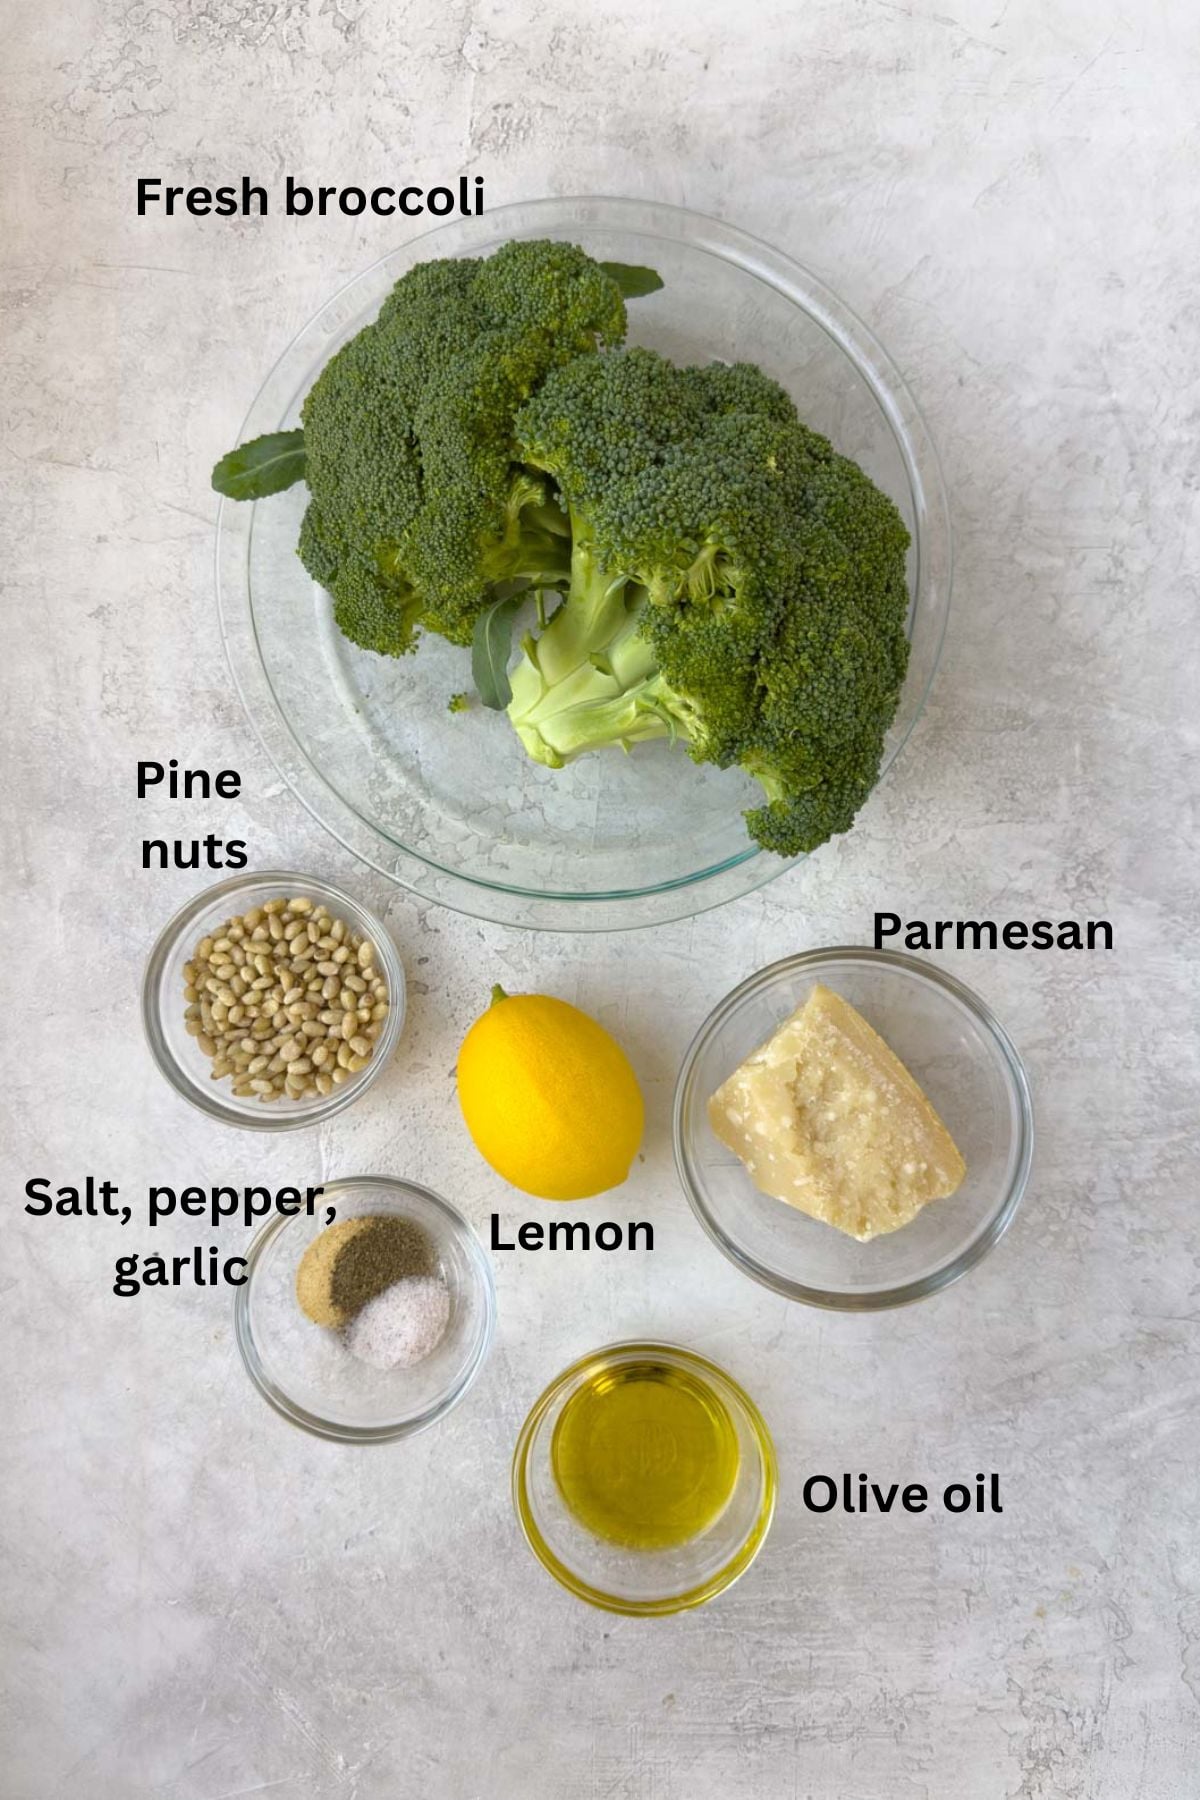
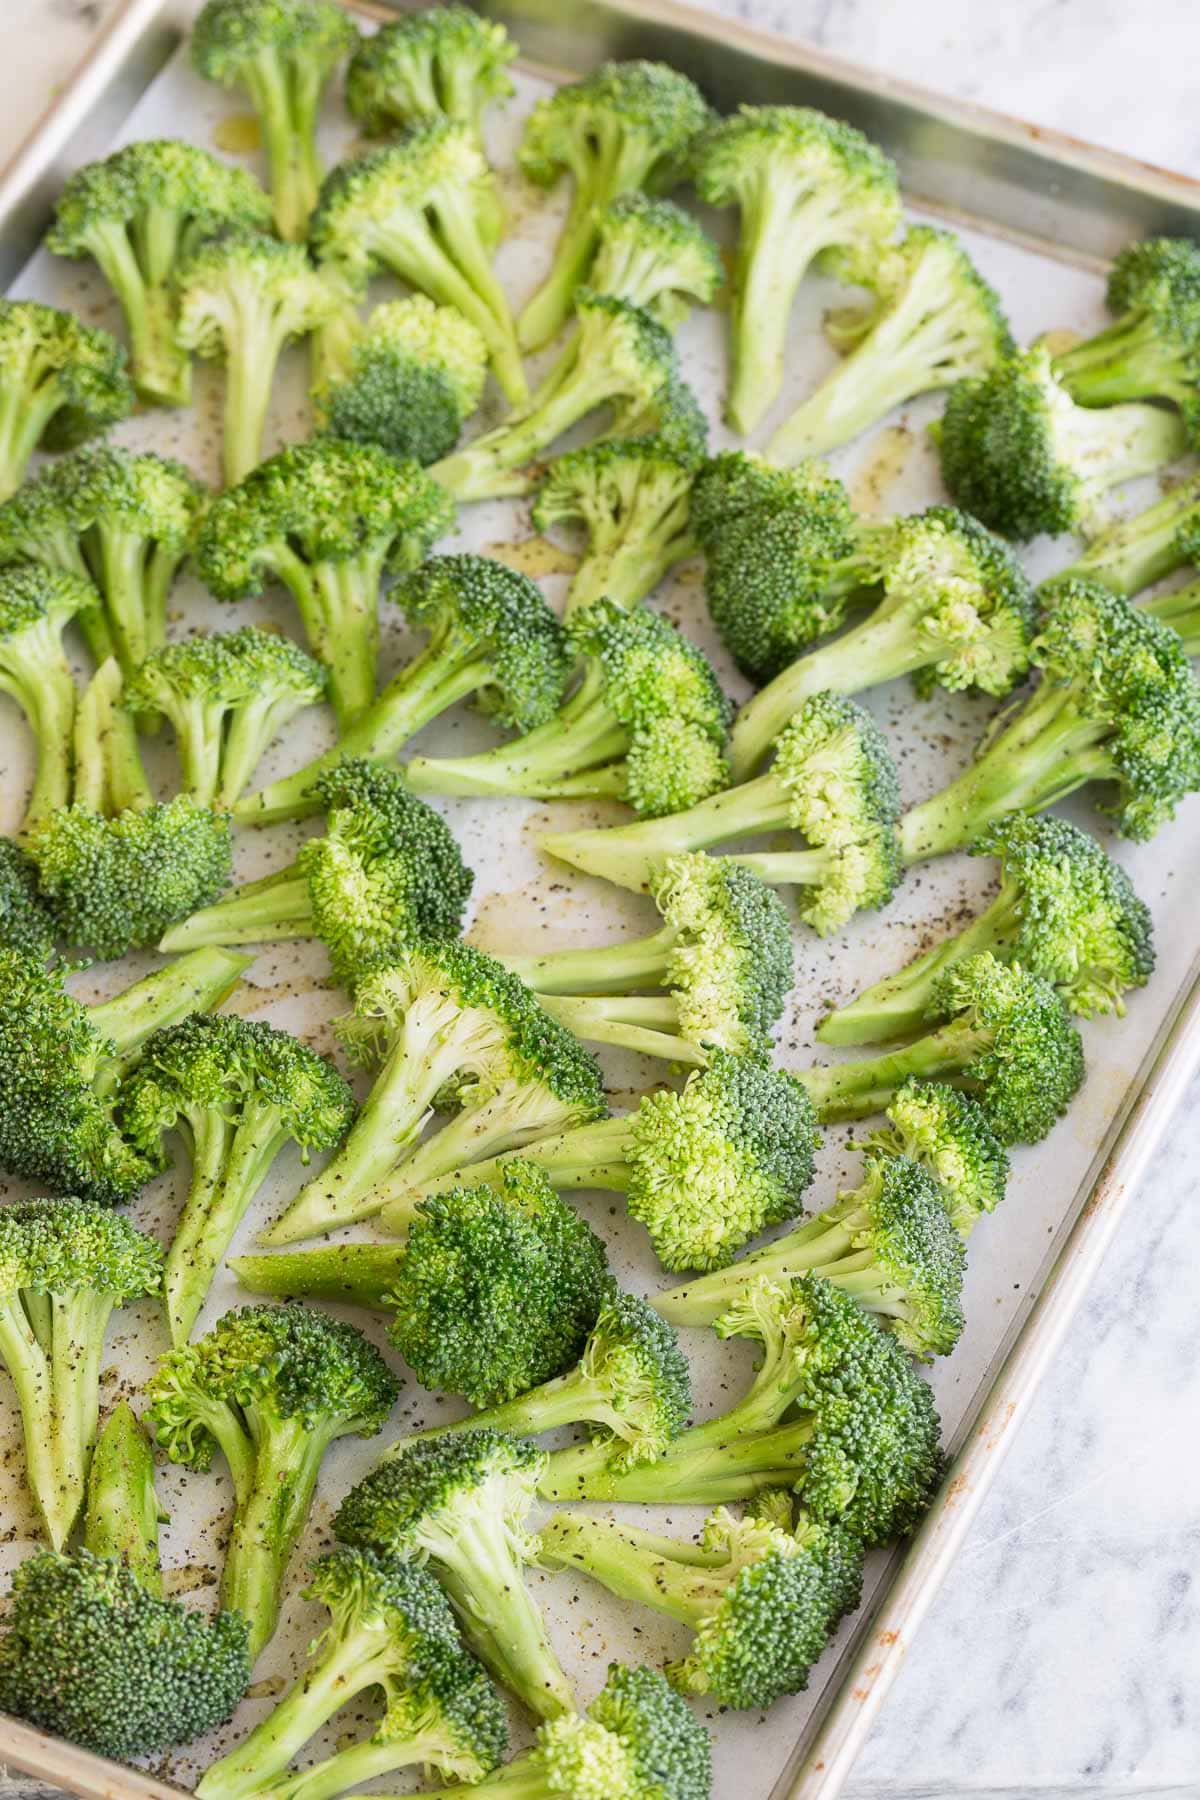
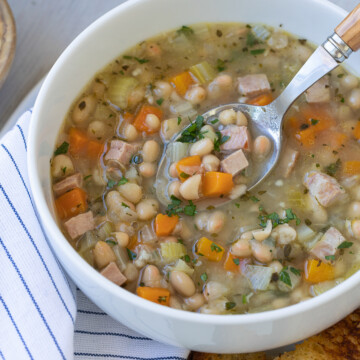
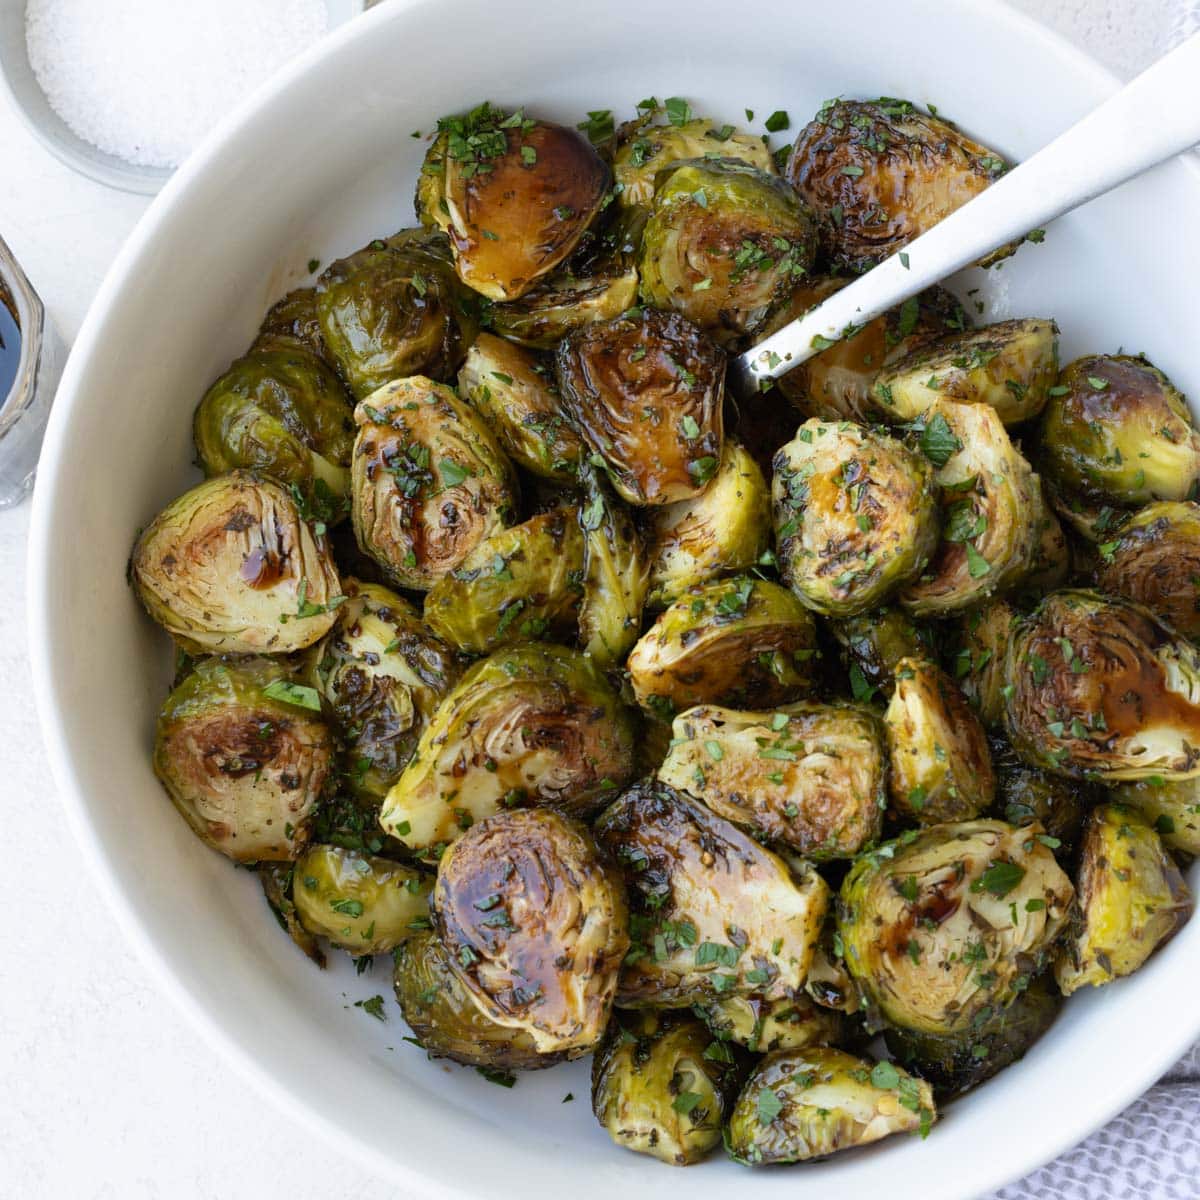
- Vegetables - Toss with hot green beans, carrots, or roasted broccoli.
- Bread/rolls - Spread on warm dinner rolls or toasted bread.
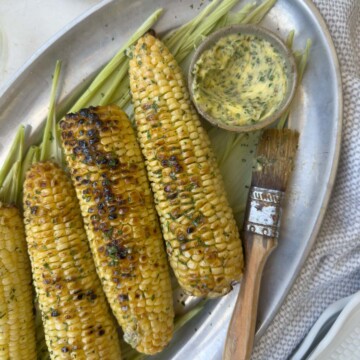
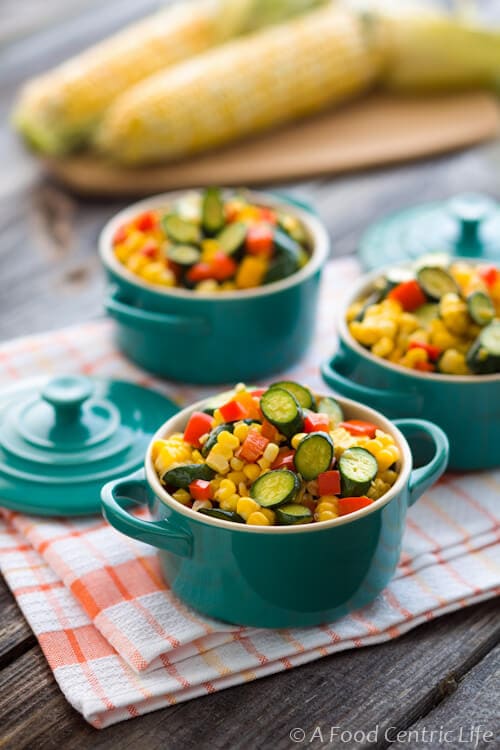
- Grilled corn - Slather on hot grilled corn on the cob in summer.
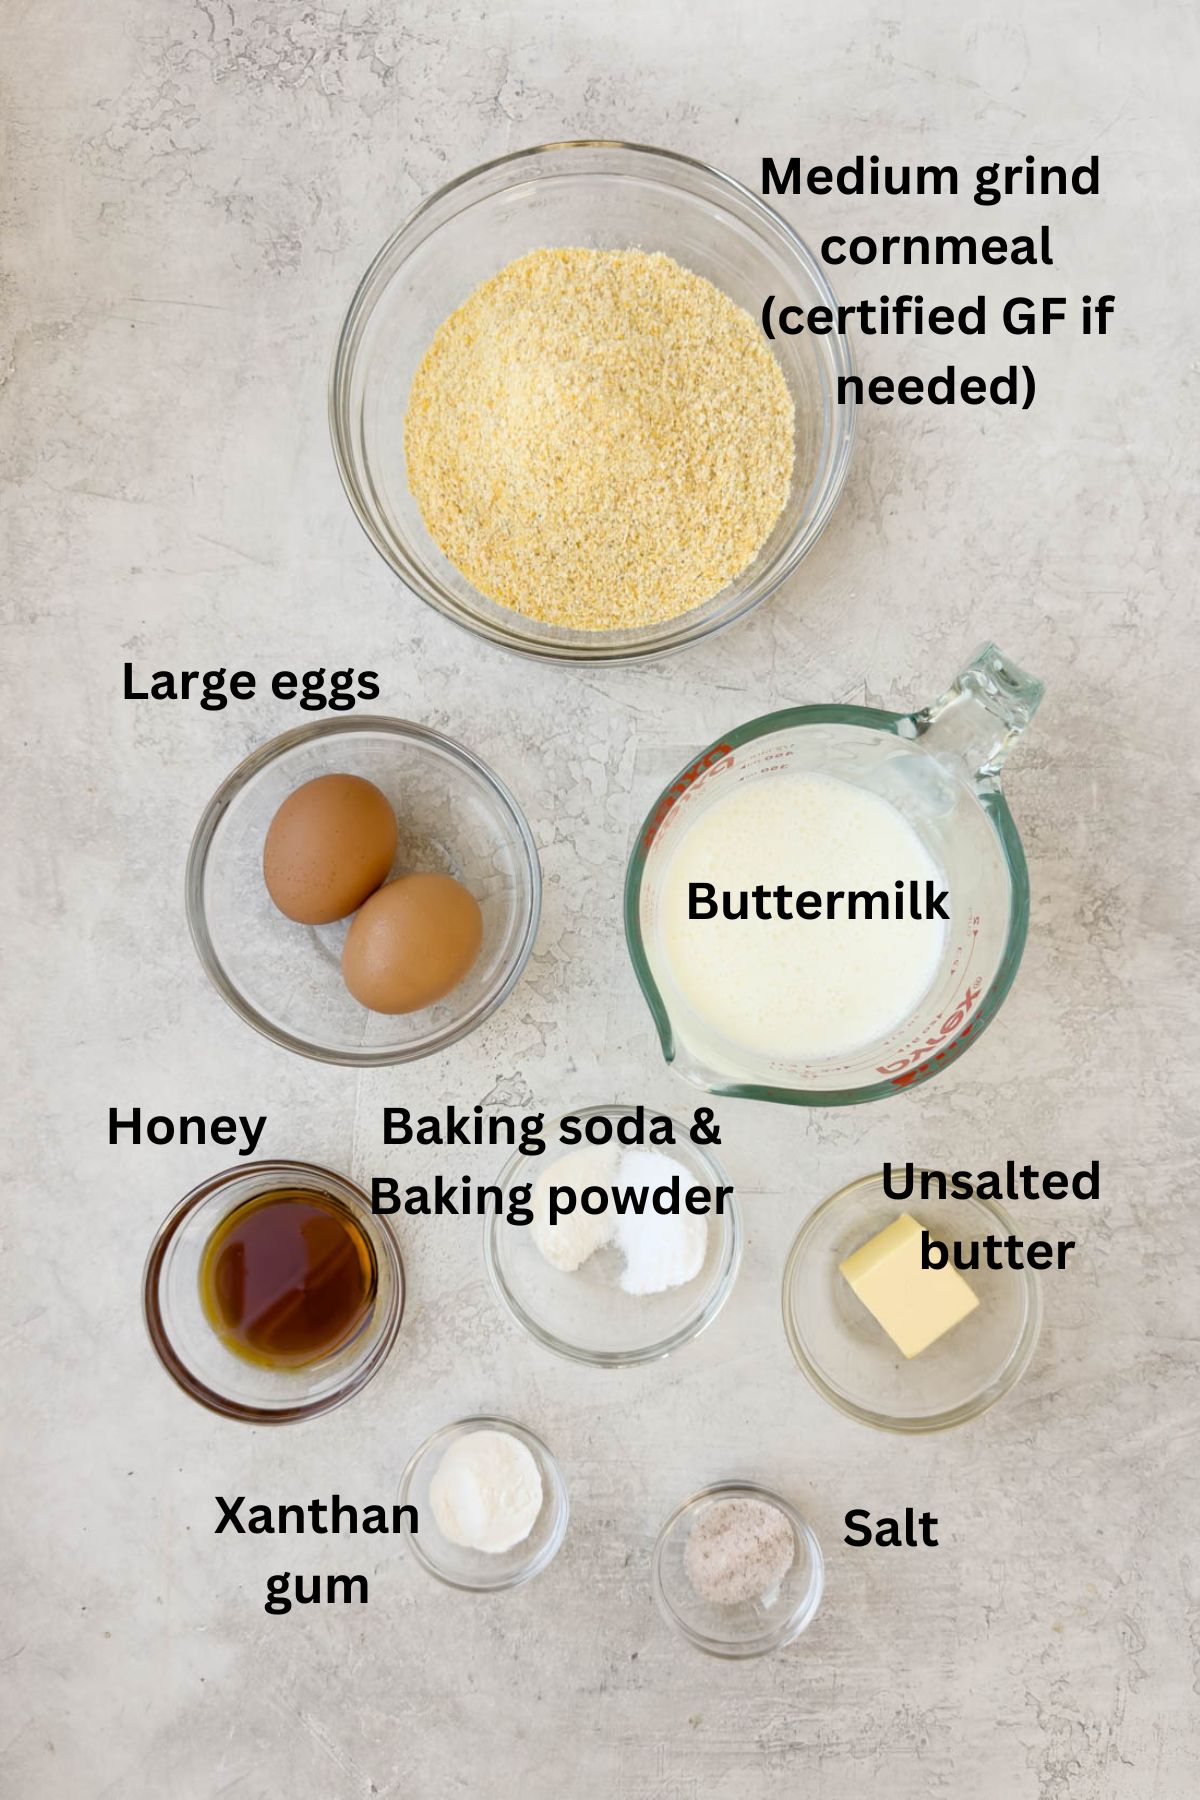
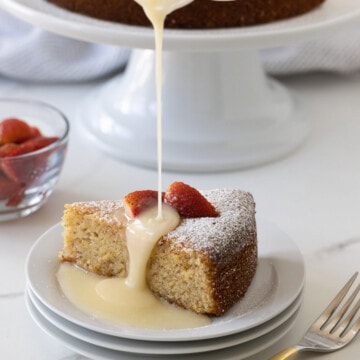
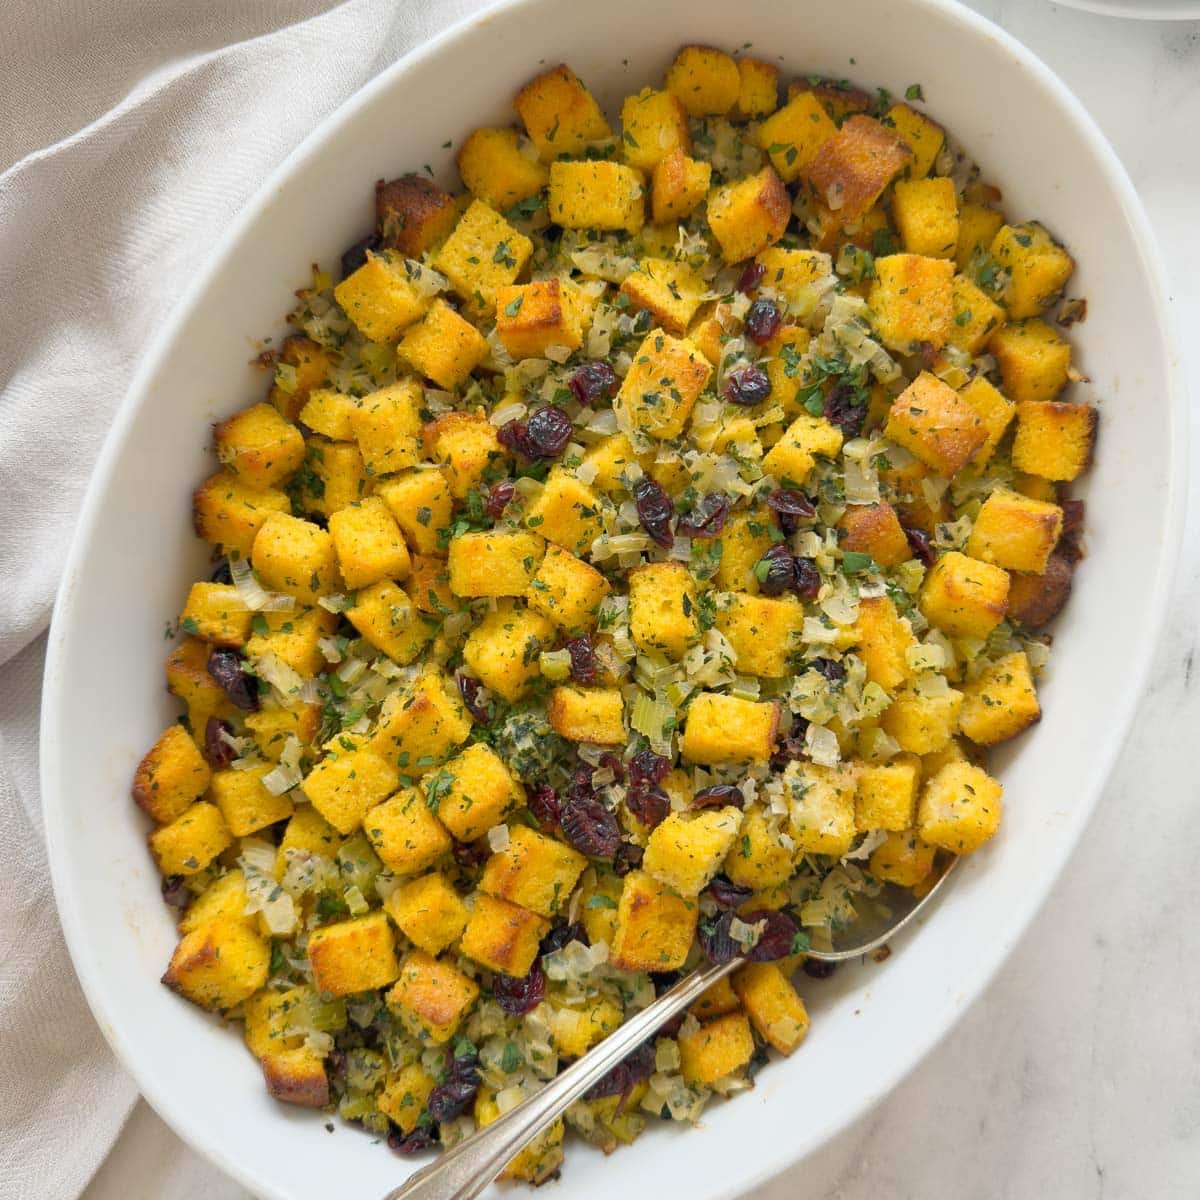
- Cornbread - Smear on a slice of your naturally gluten-free cornbread.
If the compound butter is cold and solidified, allow it to soften at room temperature to use for the best flavor.
Storage & Freezing
Compound butter lasts 1 to 2 weeks in the refrigerator when stored properly rolled and wrapped or in an airtight container to keep it fresh and prevent it from absorbing refrigerator odors.
For longer storage, freeze butter for up to 3 months. Slice off just what you need when ready to use.

Recipe FAQs
Yes. If using salted butter, reduce added salt elsewhere and taste the mixture before spreading-especially if you dry- or wet-brine.
Not really. When most of the butter goes under the skin (with a thin smear on top), the turkey essentially self-bastes. Opening the oven often drops the heat. If you like, spoon pan juices over the bird once in the last 30-45 minutes; tent with foil if browning too fast.
Yes. Use a stick-style plant butter (not whipped/light tubs). Salt levels vary, so adjust. Browning may be less than dairy butter.
Recipes to Use Compound Butter With
Use compound butter for turkey for more than turkey! Add some to potatoes dishes. Place a sliver on chicken breasts before oven roasting. Use for a whole roast chicken. Use over simple steamed or blanched vegetables for flavor. It's really versatile.


Did You Make This Recipe?
If you make compound butter for a turkey, please add your comment. I appreciate your feedback and enjoy hearing from you. If you loved it, please give it a 5-star rating! They really help other readers.
📖 Recipe

Compound Butter for a Turkey
Ingredients
- 8 ounces unsalted butter or salted butter 2 sticks, half pound.
- 2 teaspoons finely chopped fresh thyme leaves
- 2 teaspoons finely chopped fresh parsley leaves
- 1 teaspoon finely chopped fresh rosemary leaves
- 2 large fresh garlic cloves zested or chopped fine and smeared into a paste
- 1 teaspoon lemon zest optional
- 1 teaspoon orange zest optional
Would you like to save this recipe?
Instructions
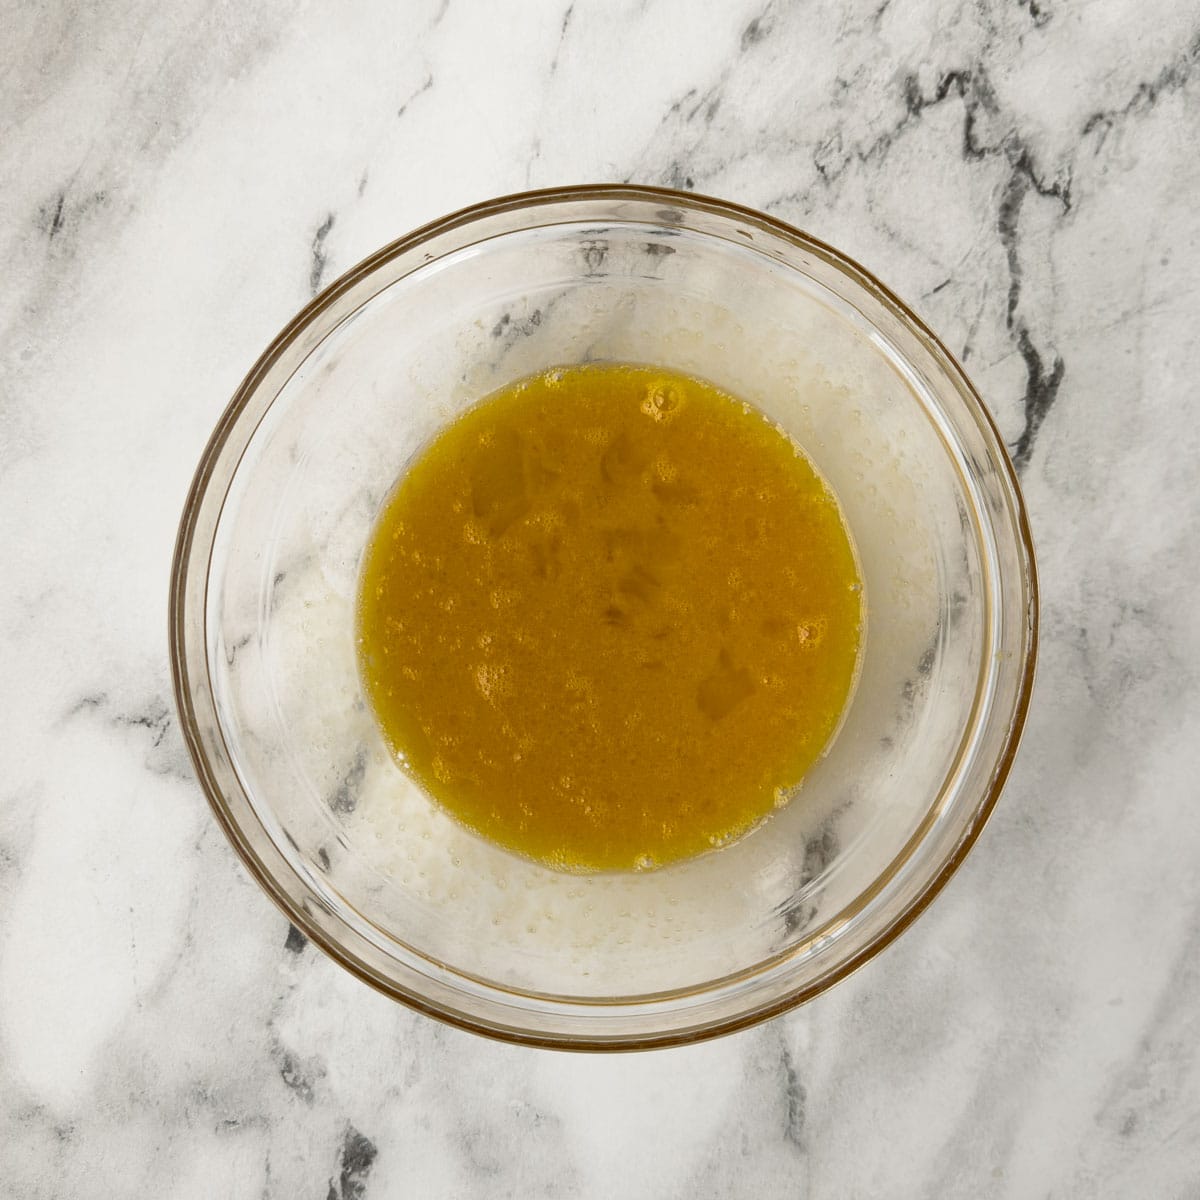
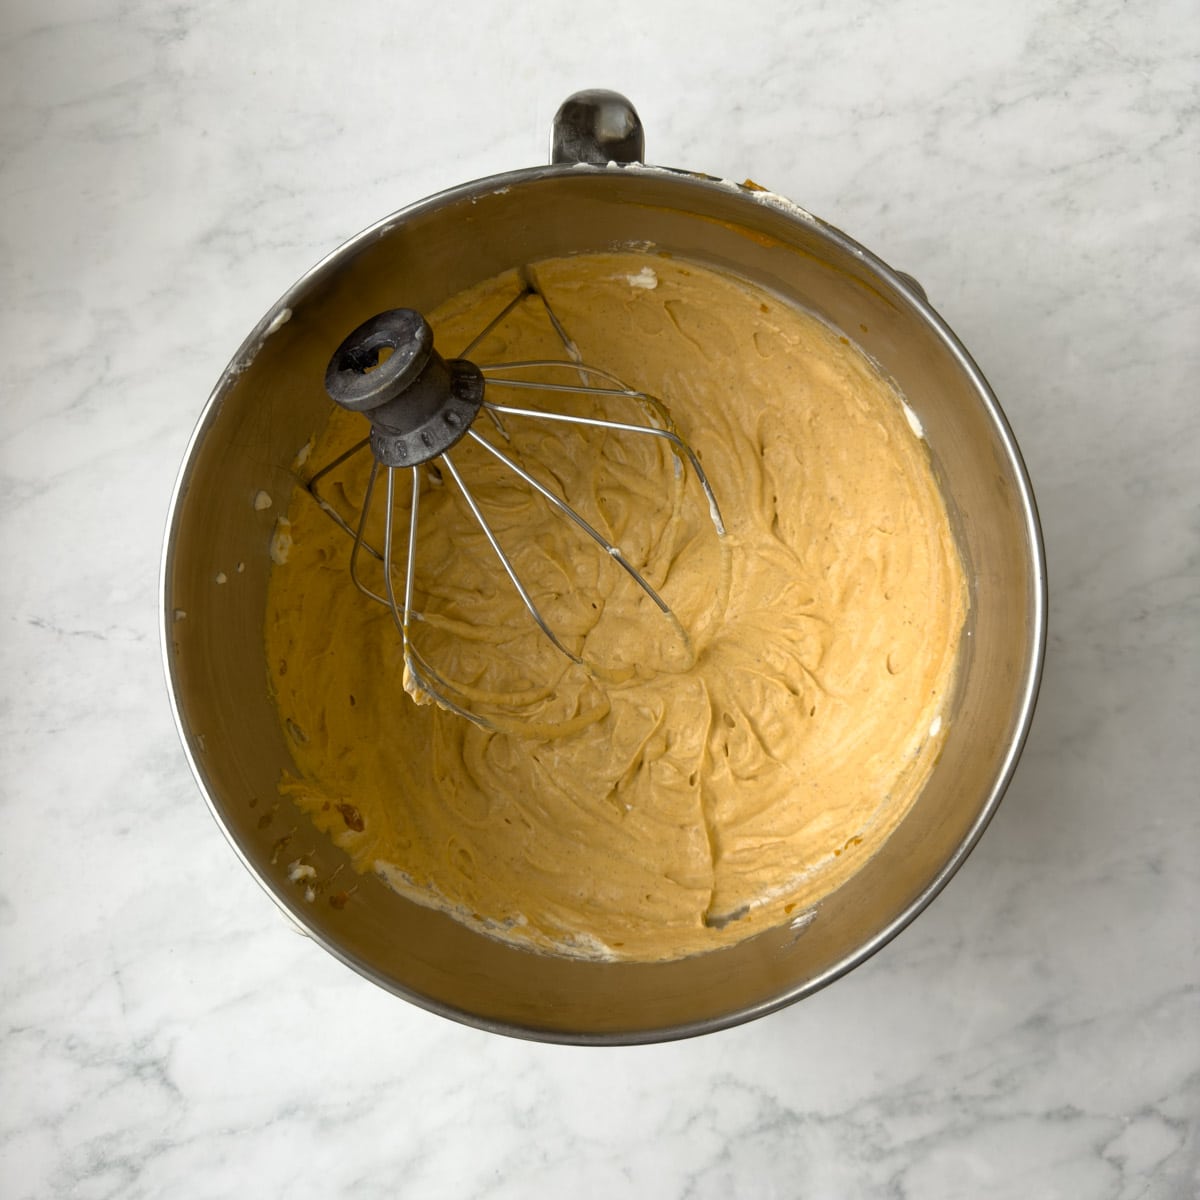
- Be sure the butter is very soft before you start blending. Allow it to stand at room temperature for 2-3 hours. Do not melt the butter if you try to speed up the process.
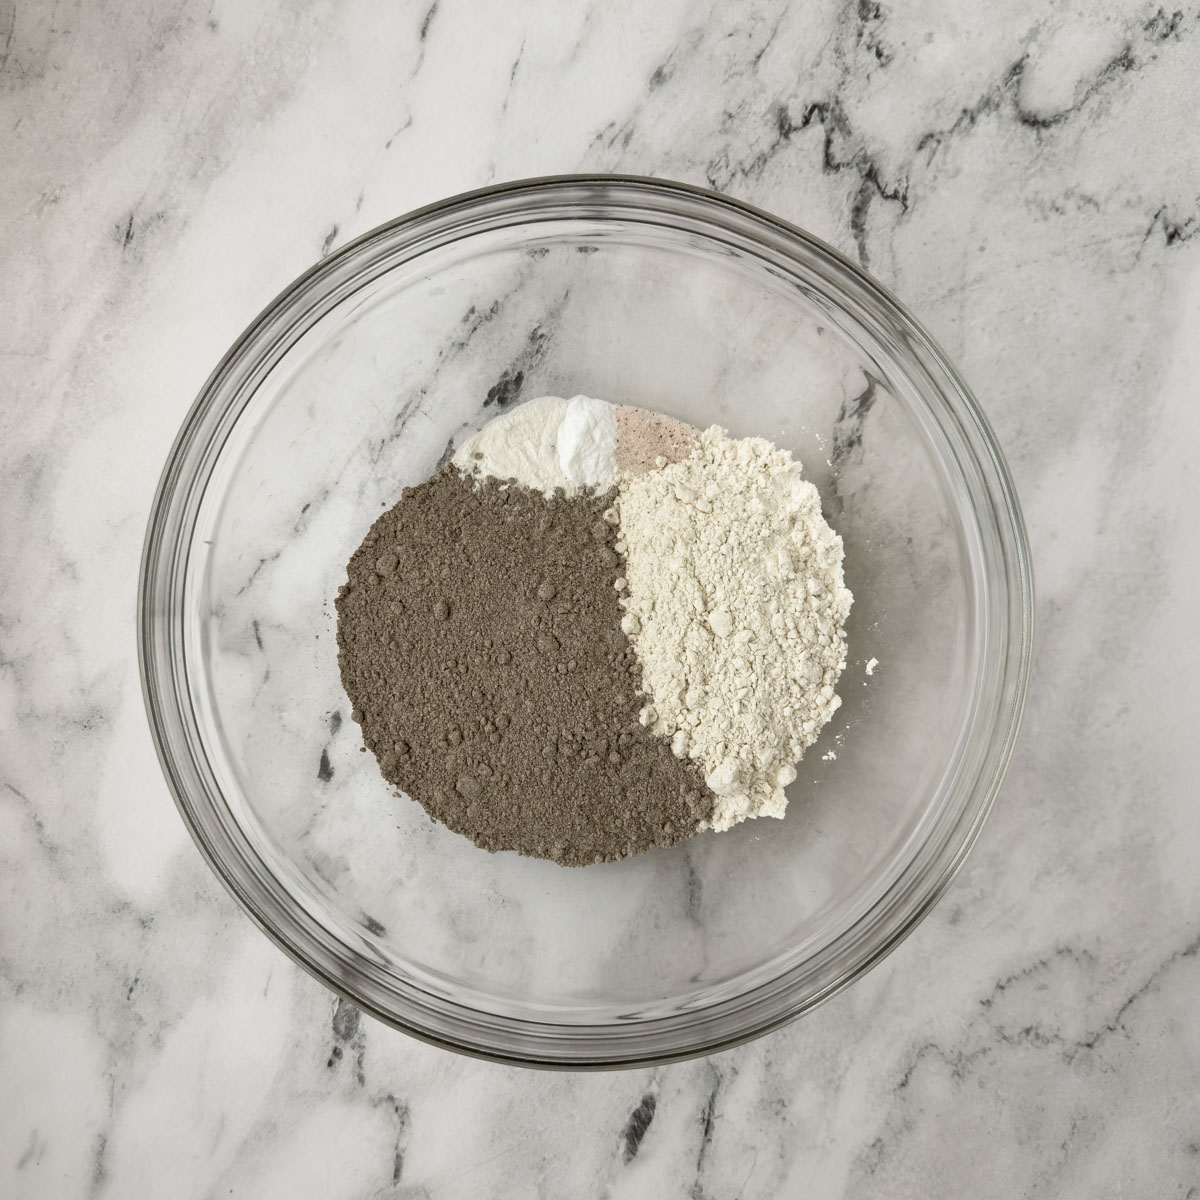
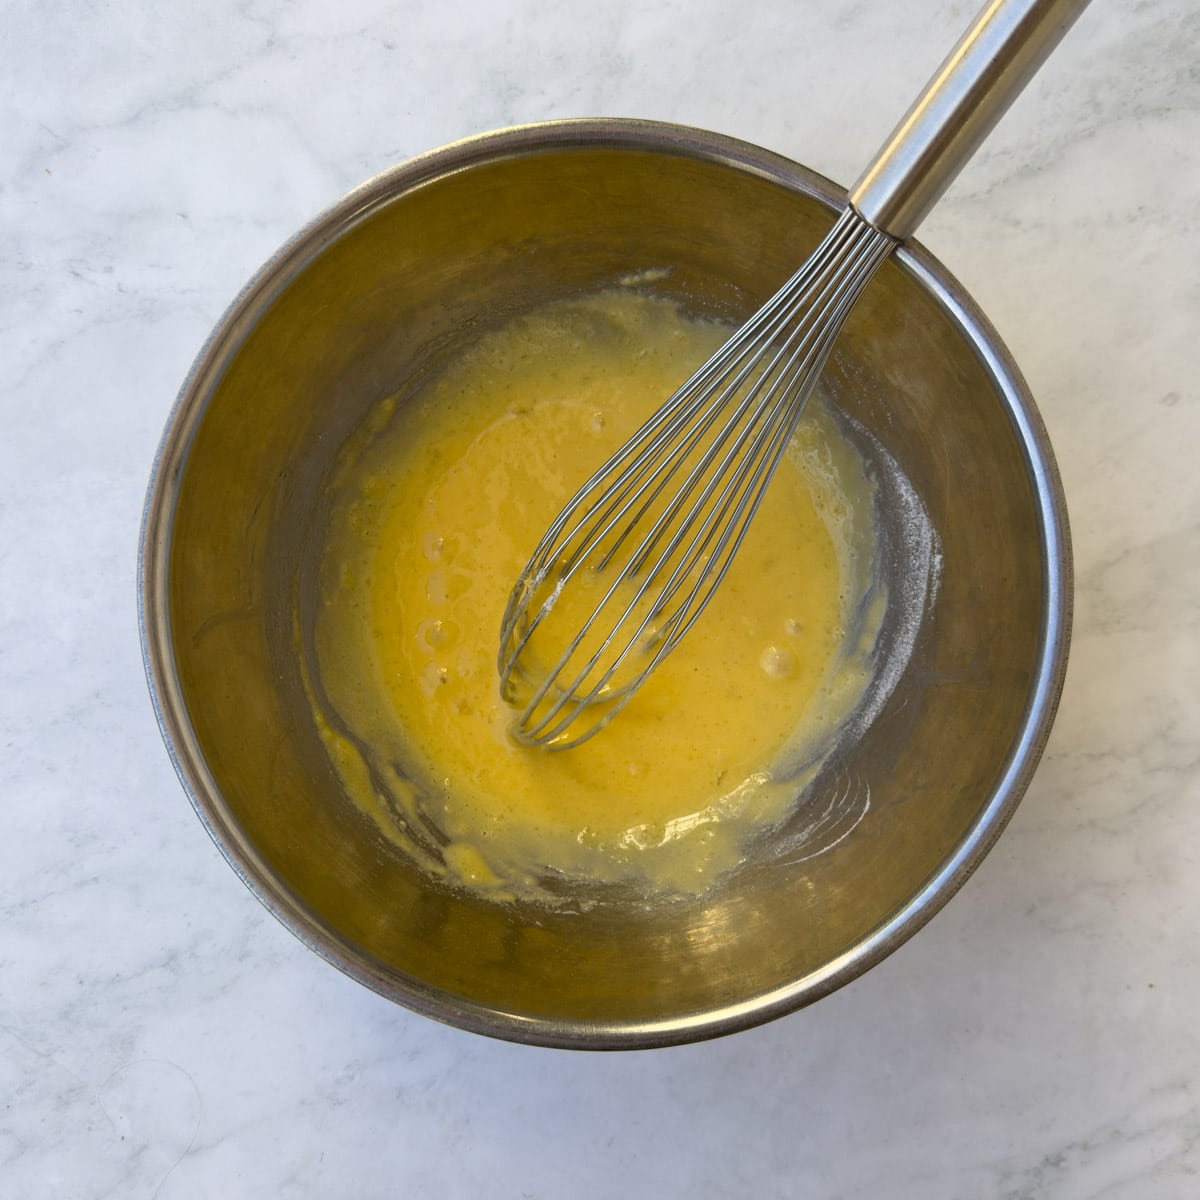
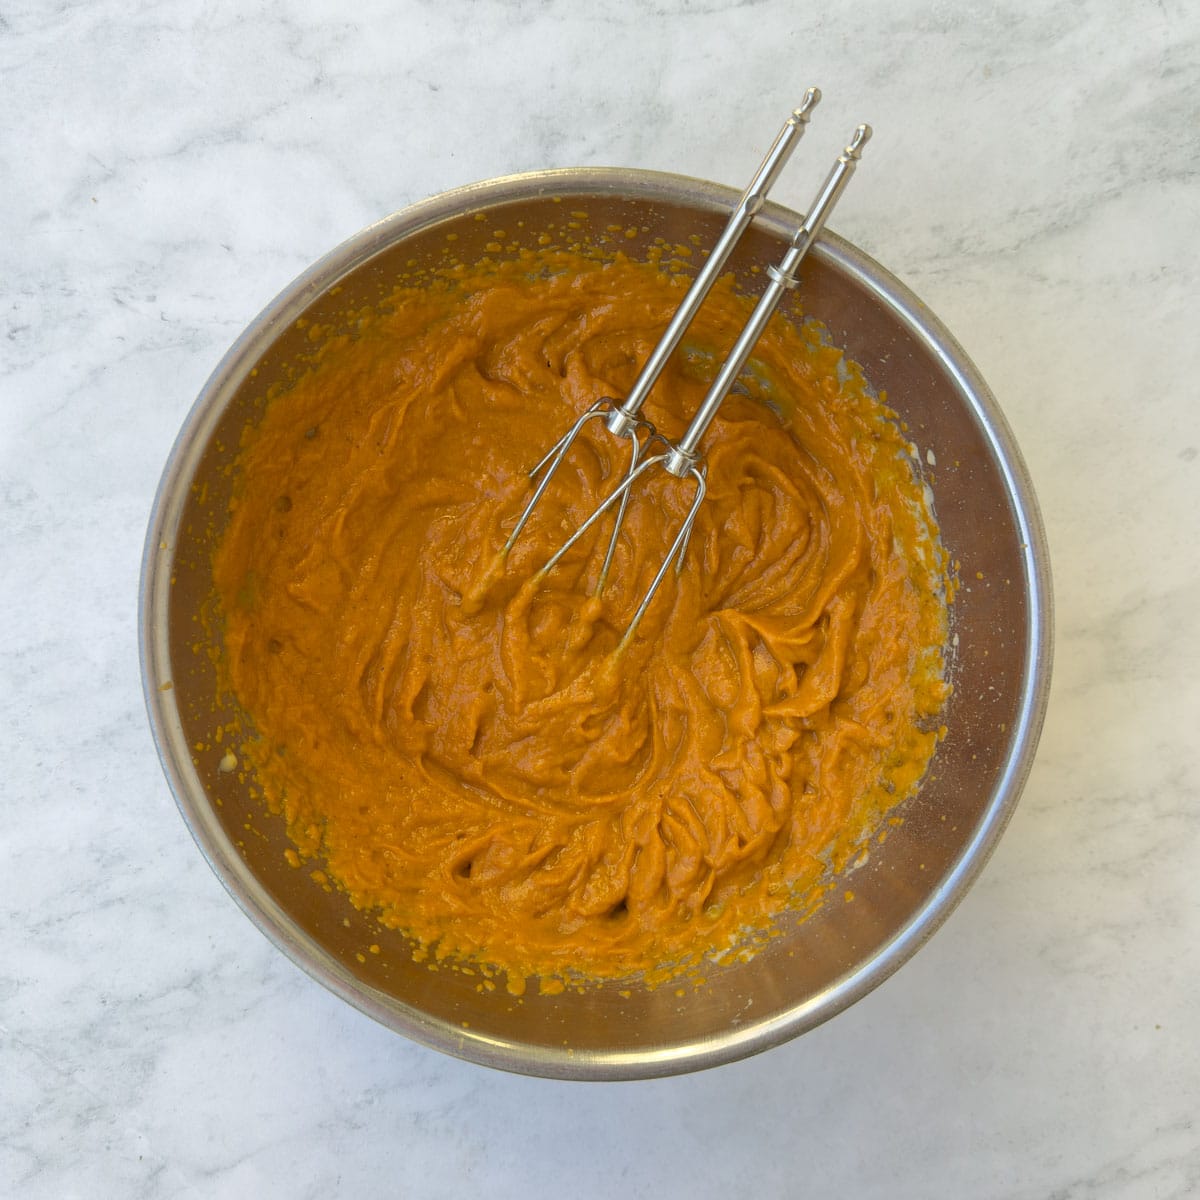
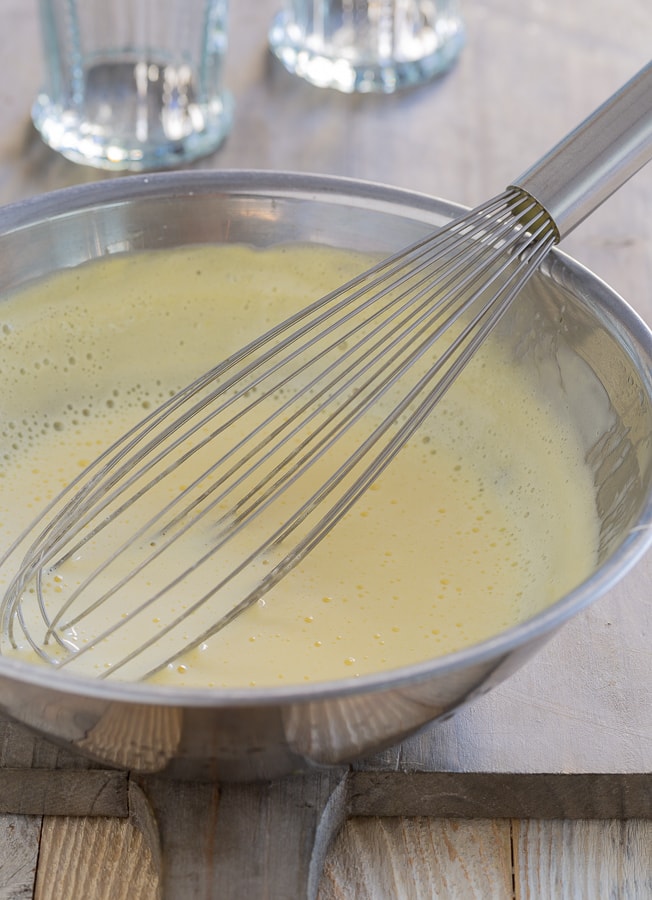
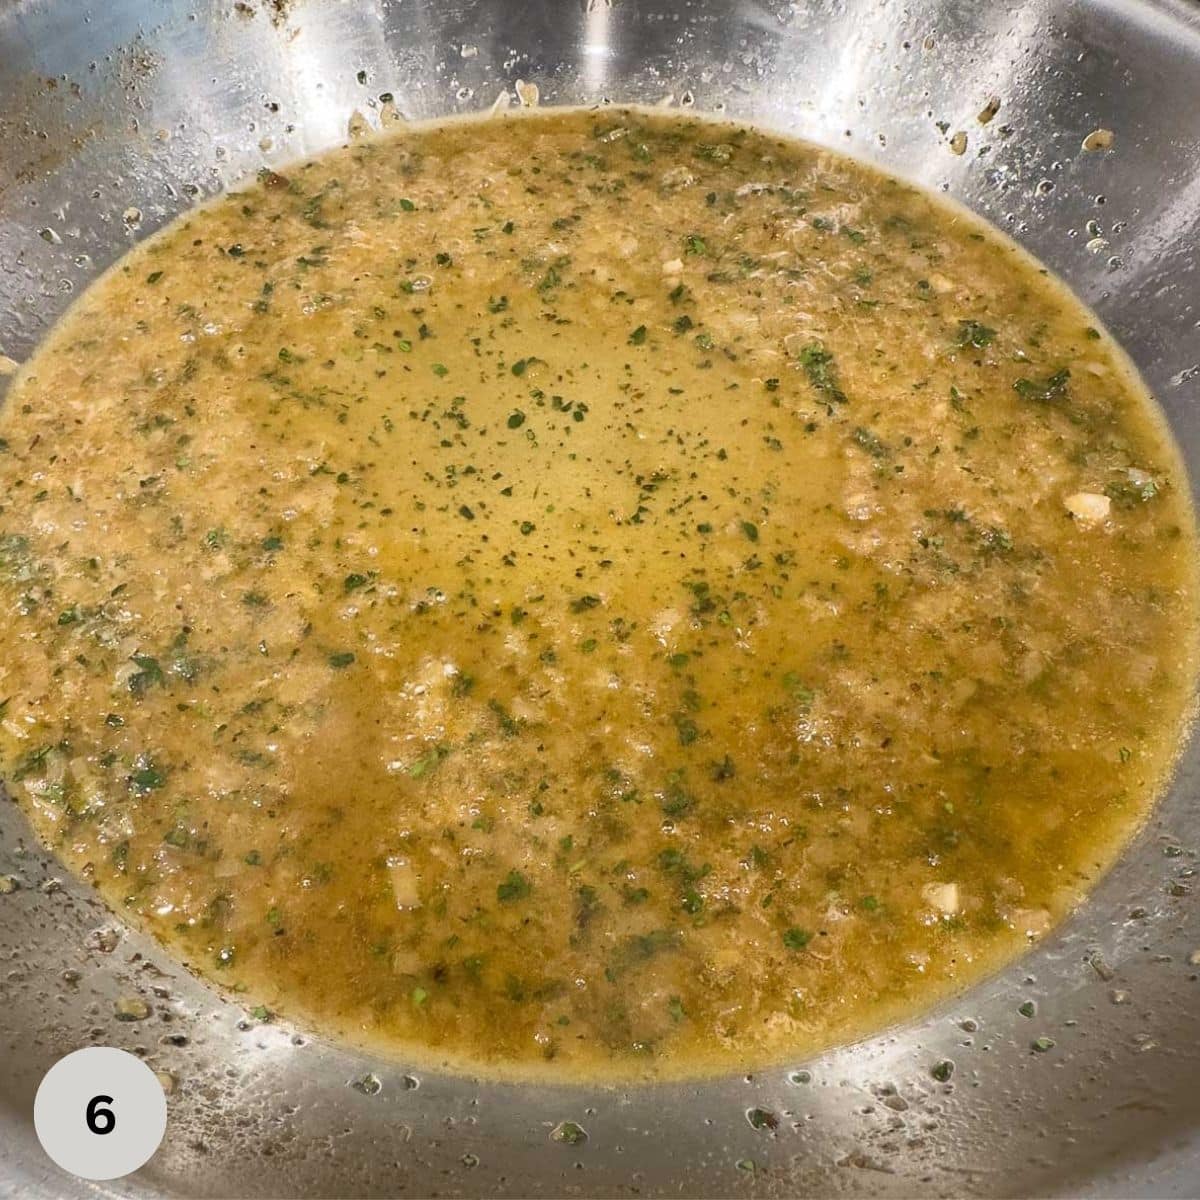
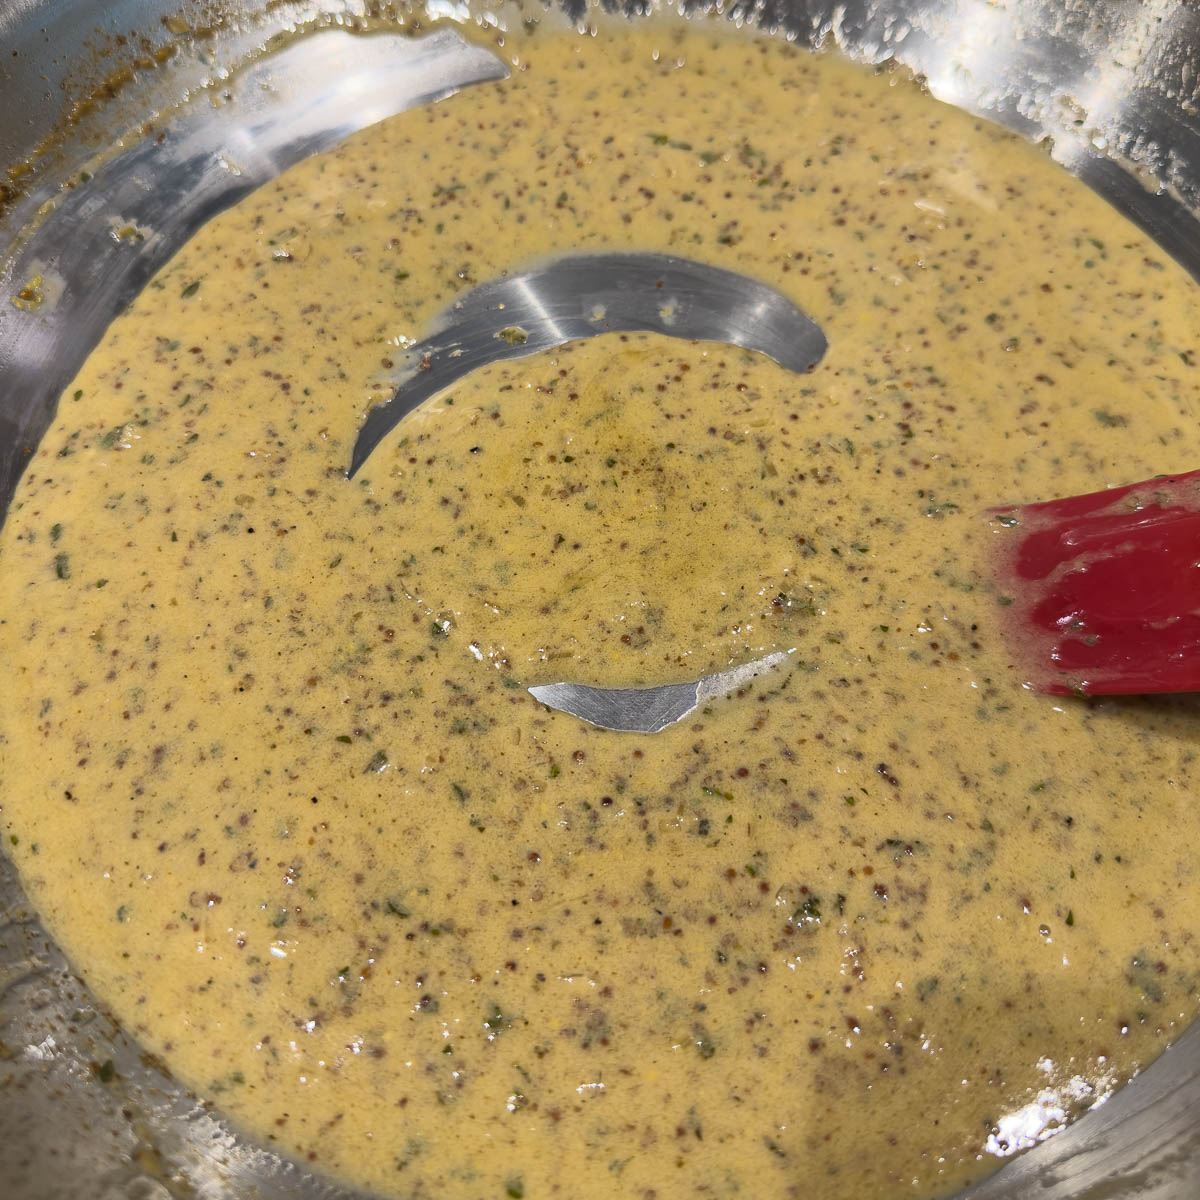
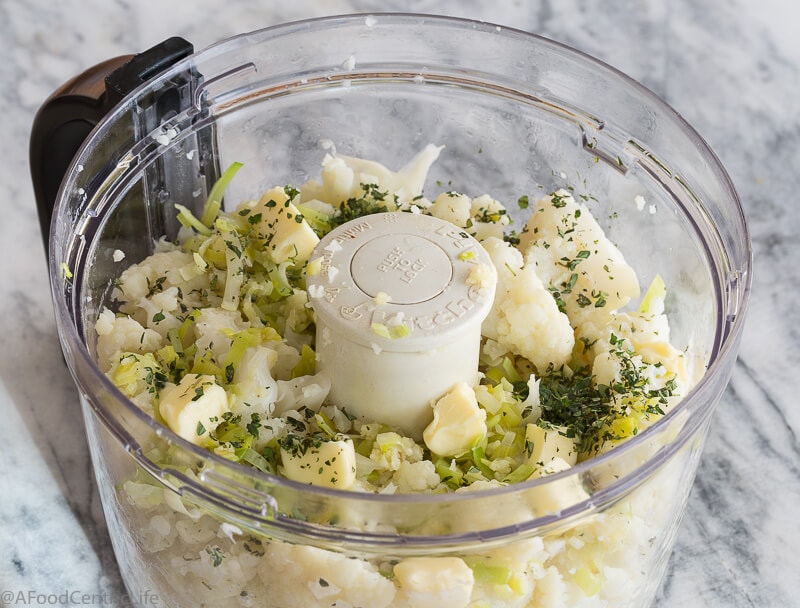
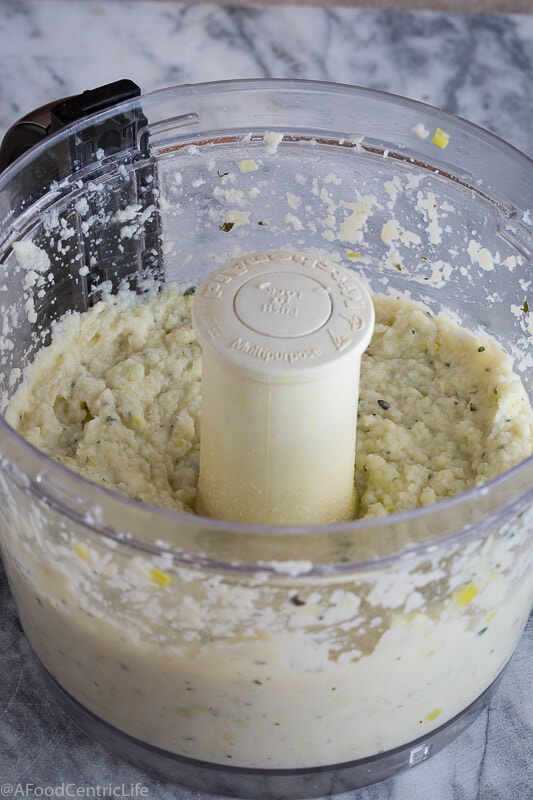
- Chop the herbs very fine so the blend into the soft butter well. Zest the garlic fine or chop fine then smear into a paste with the back of your chef's knife, into a paste. Add the butter and all herbs, garlic, and zest if using to a small bowl. Blend well with a flexible spatula until ingredients are evenly distributed.
- See photos in the post for help! To make a butter log, place the herbed butter on a full size (12"x16") piece of parchment paper or waxed paper. Using a spatula, spread it into a log shape in the bottom third of the paper with the short edge at the top. Fold the bottom of the paper over the top of the butter, then with your fingers or the spatula, gently pull the paper back against the butter to tighten it into a log. Roll the log the entire length of the parchment. Twist end the opposite way from each other and tie them to secure.
- Compound butter lasts 1-2 weeks in the refrigerator. Wrap the log in plastic film for more protection if desired. Freeze for up to 3 months. Slice off just what you need to use.