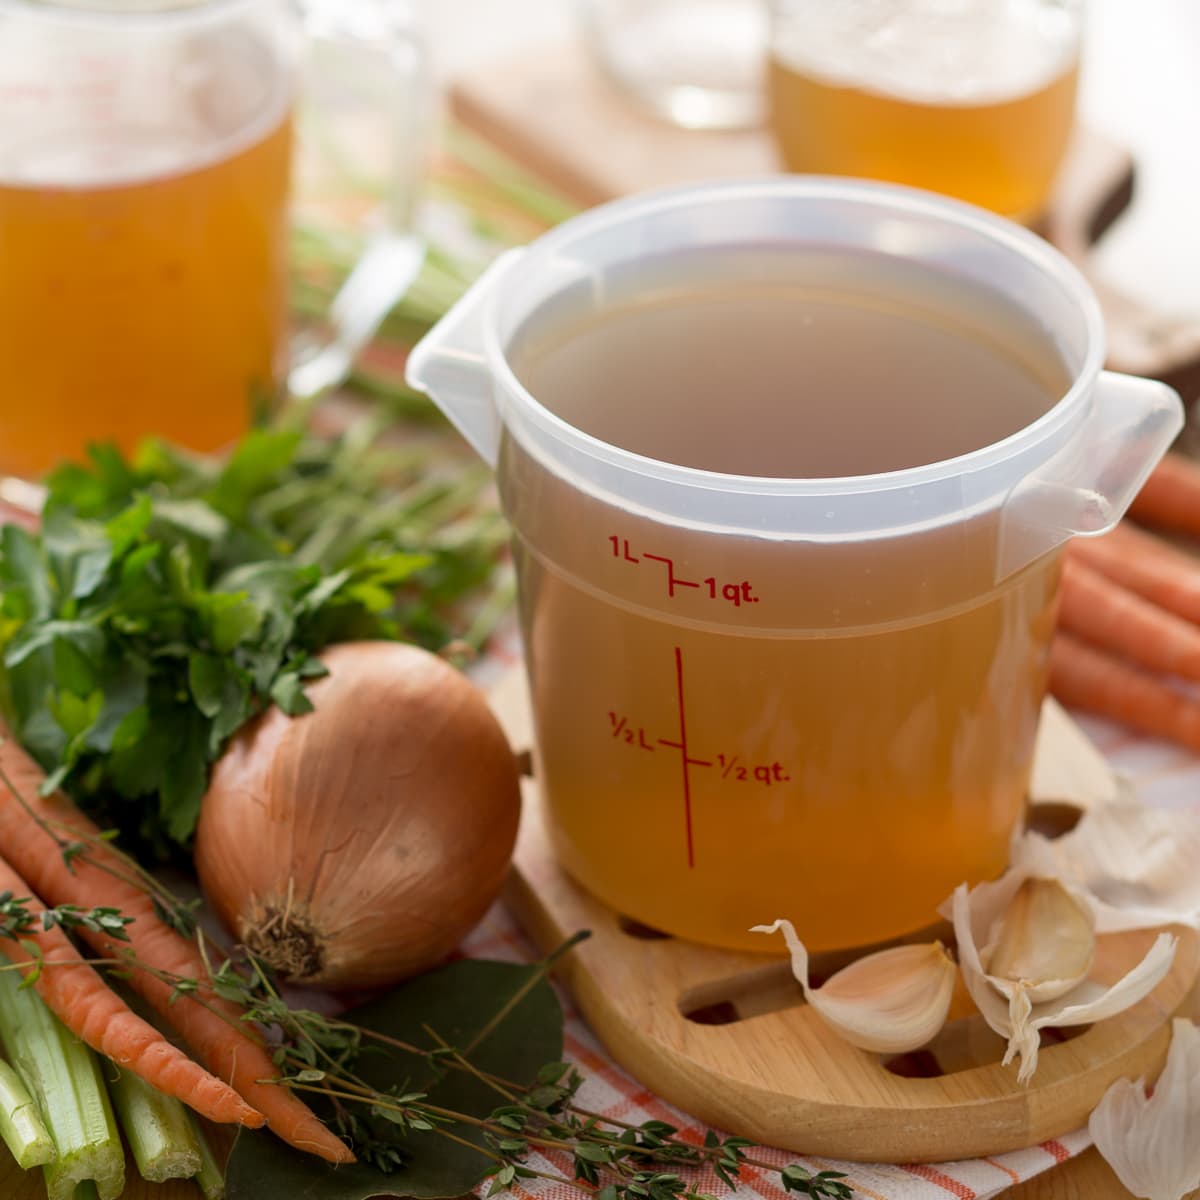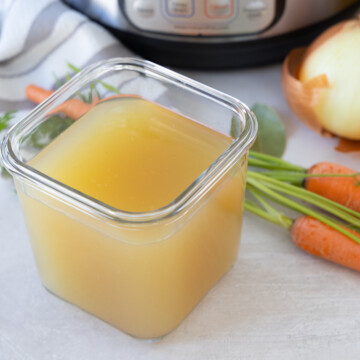
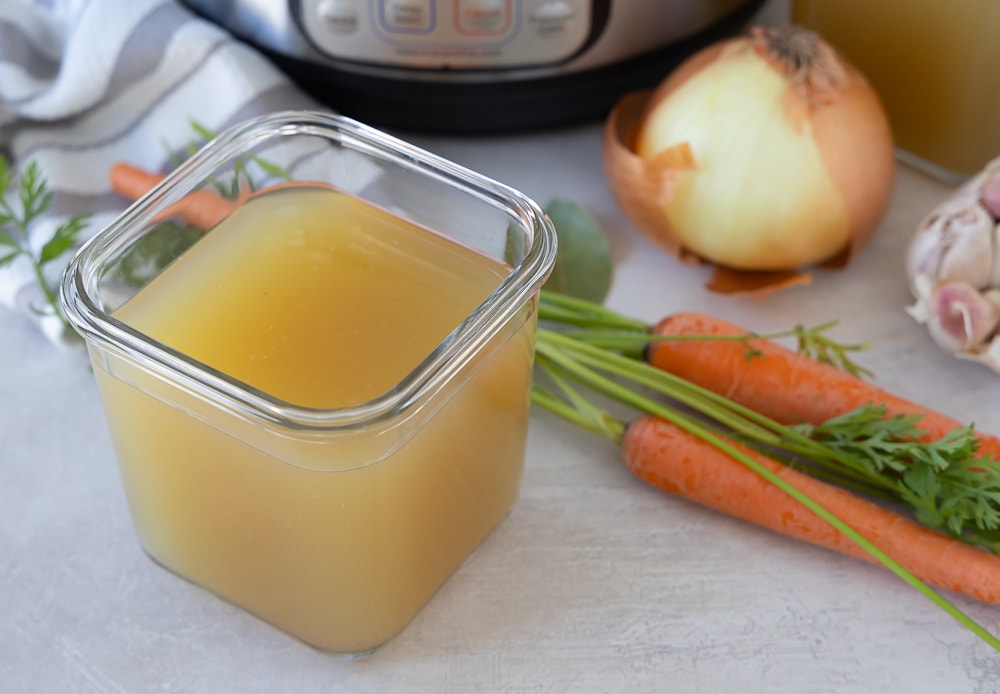
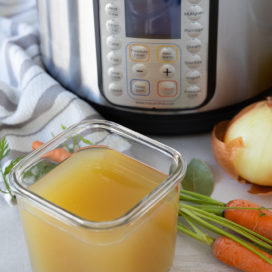
Instant Pot chicken broth is the magic shortcut every home cook needs. Thanks to pressure cooking, you get the same rich, golden flavor as traditional bone broth - in just 3 hours instead of 20. It's more flavorful, and far healthier than anything in a box or can. Once you try this method, you may never go back to the stovetop version. Make batches and freeze it! That's what I do.
I started pressure cooking homemade chicken broth out of necessity, but now it's my go-to because the results are incredible. The Instant Pot extracts deep flavor and rich nutrients quickly, without the long simmer or tending traditional chicken broth requires. It's hands-off, fuss-free, and produces a clean, golden broth every time.
[feast_advanced_jump_to]Instant Pot Chicken Broth Recipe Snapshot
- Faster than traditional broth - Ready in a few hours instead of simmering for hours.
- Rich flavor from pressure cooking - Deep, golden broth with concentrated taste.
- Versatile use - Perfect for sipping or adding to recipes that call for chicken broth.
- Lower histamine option - Shorter cooking time makes it gentler for sensitive eaters.
- Better than store-bought - You control the ingredients, superior taste and nutrition.
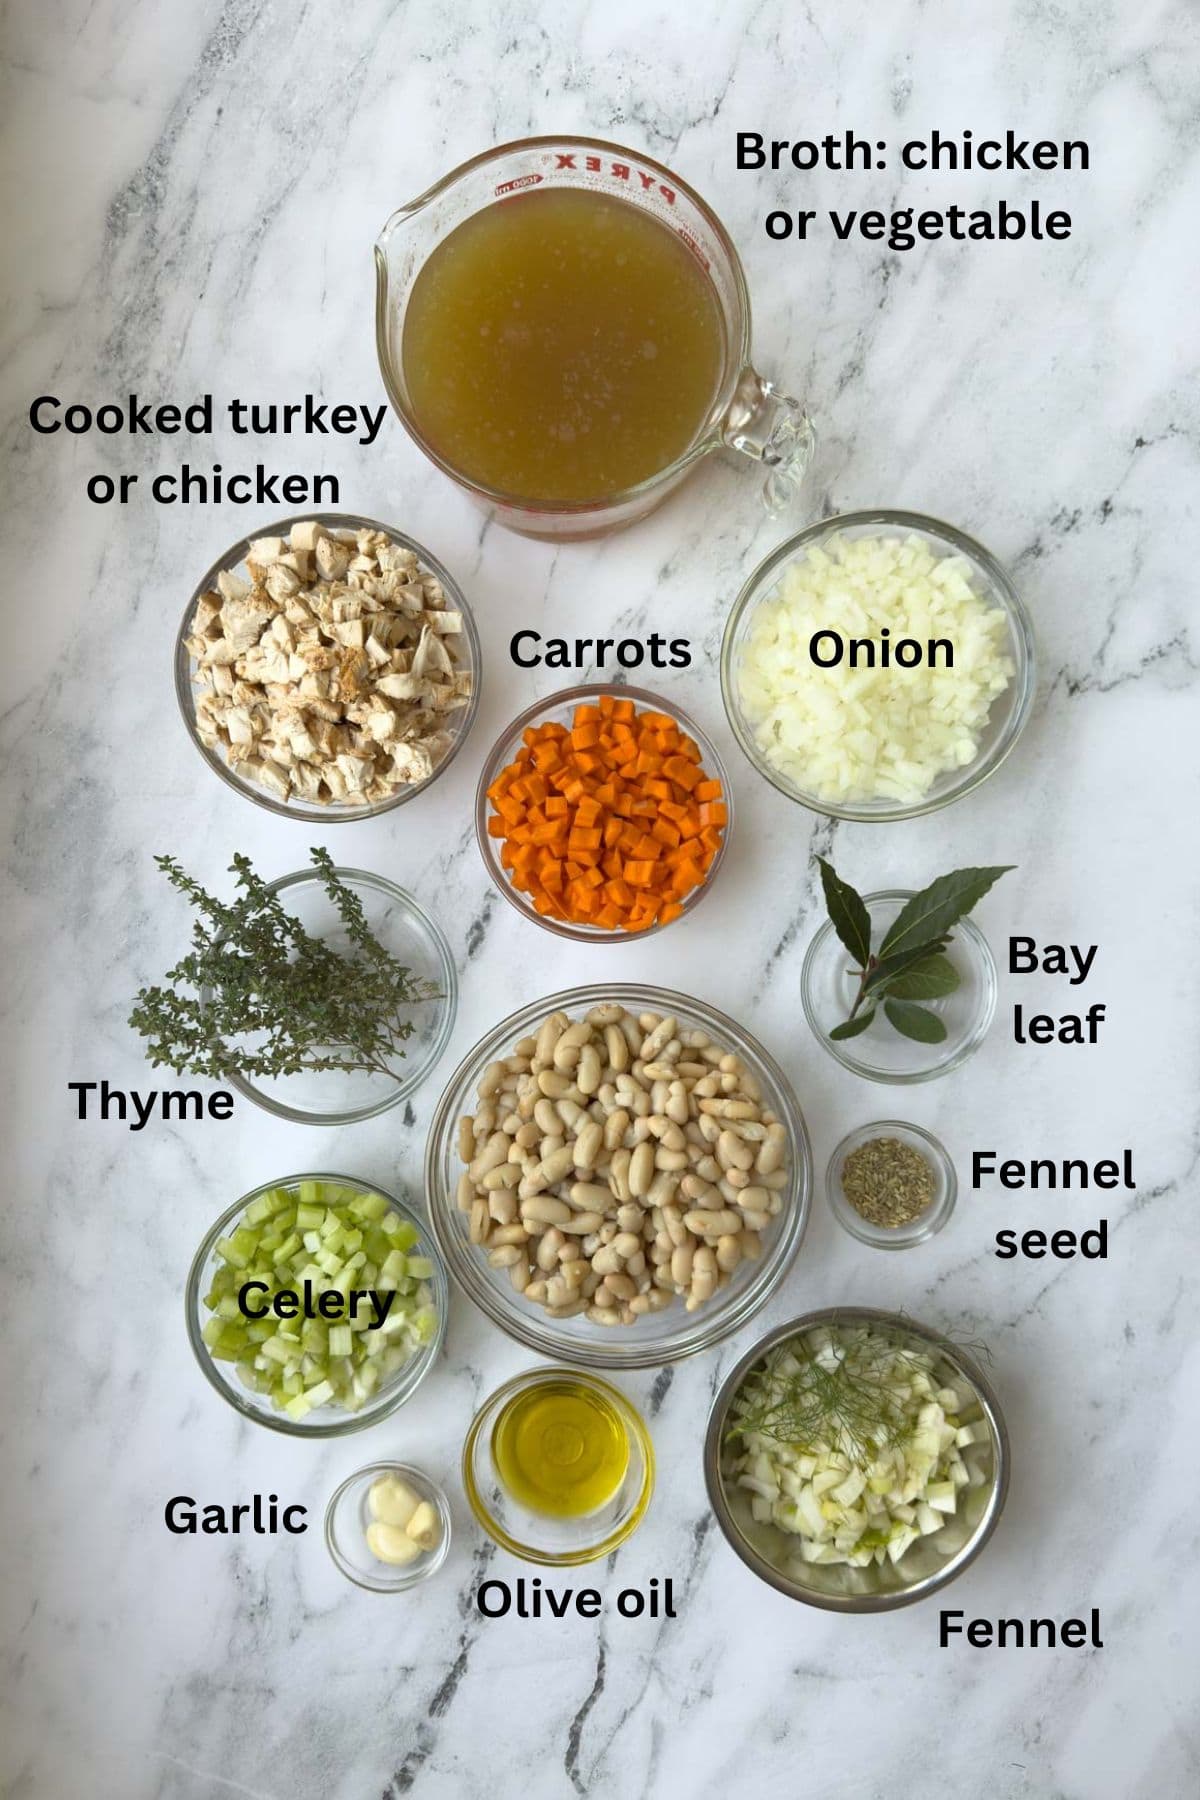
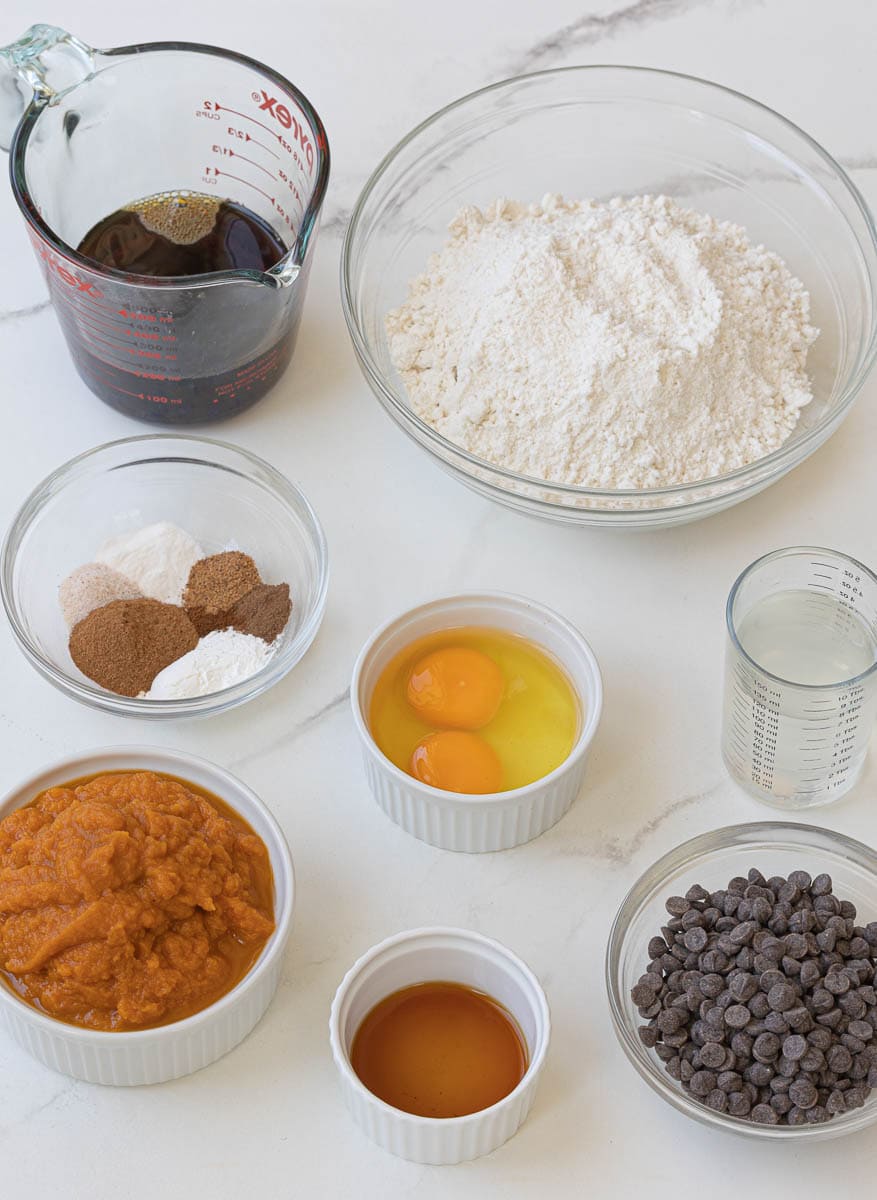
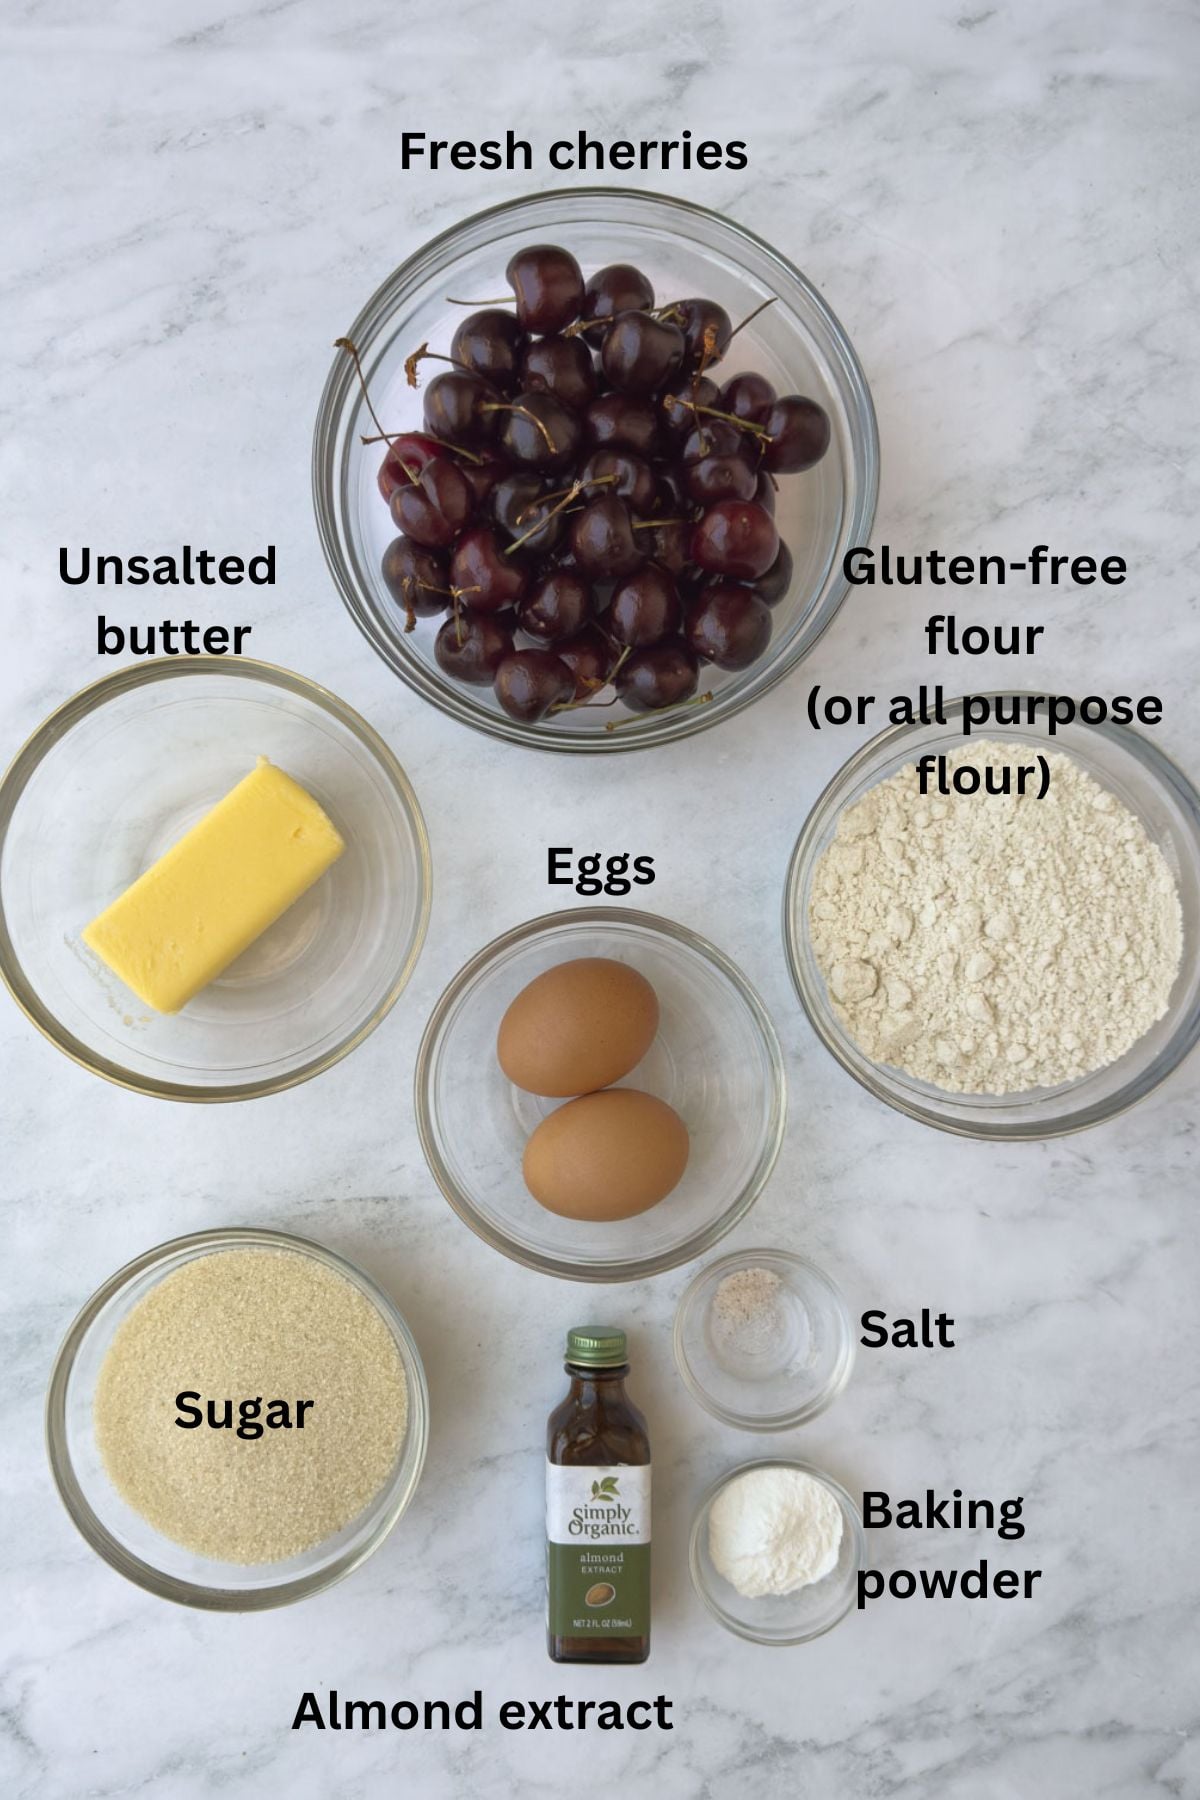
Ingredients You'll Need
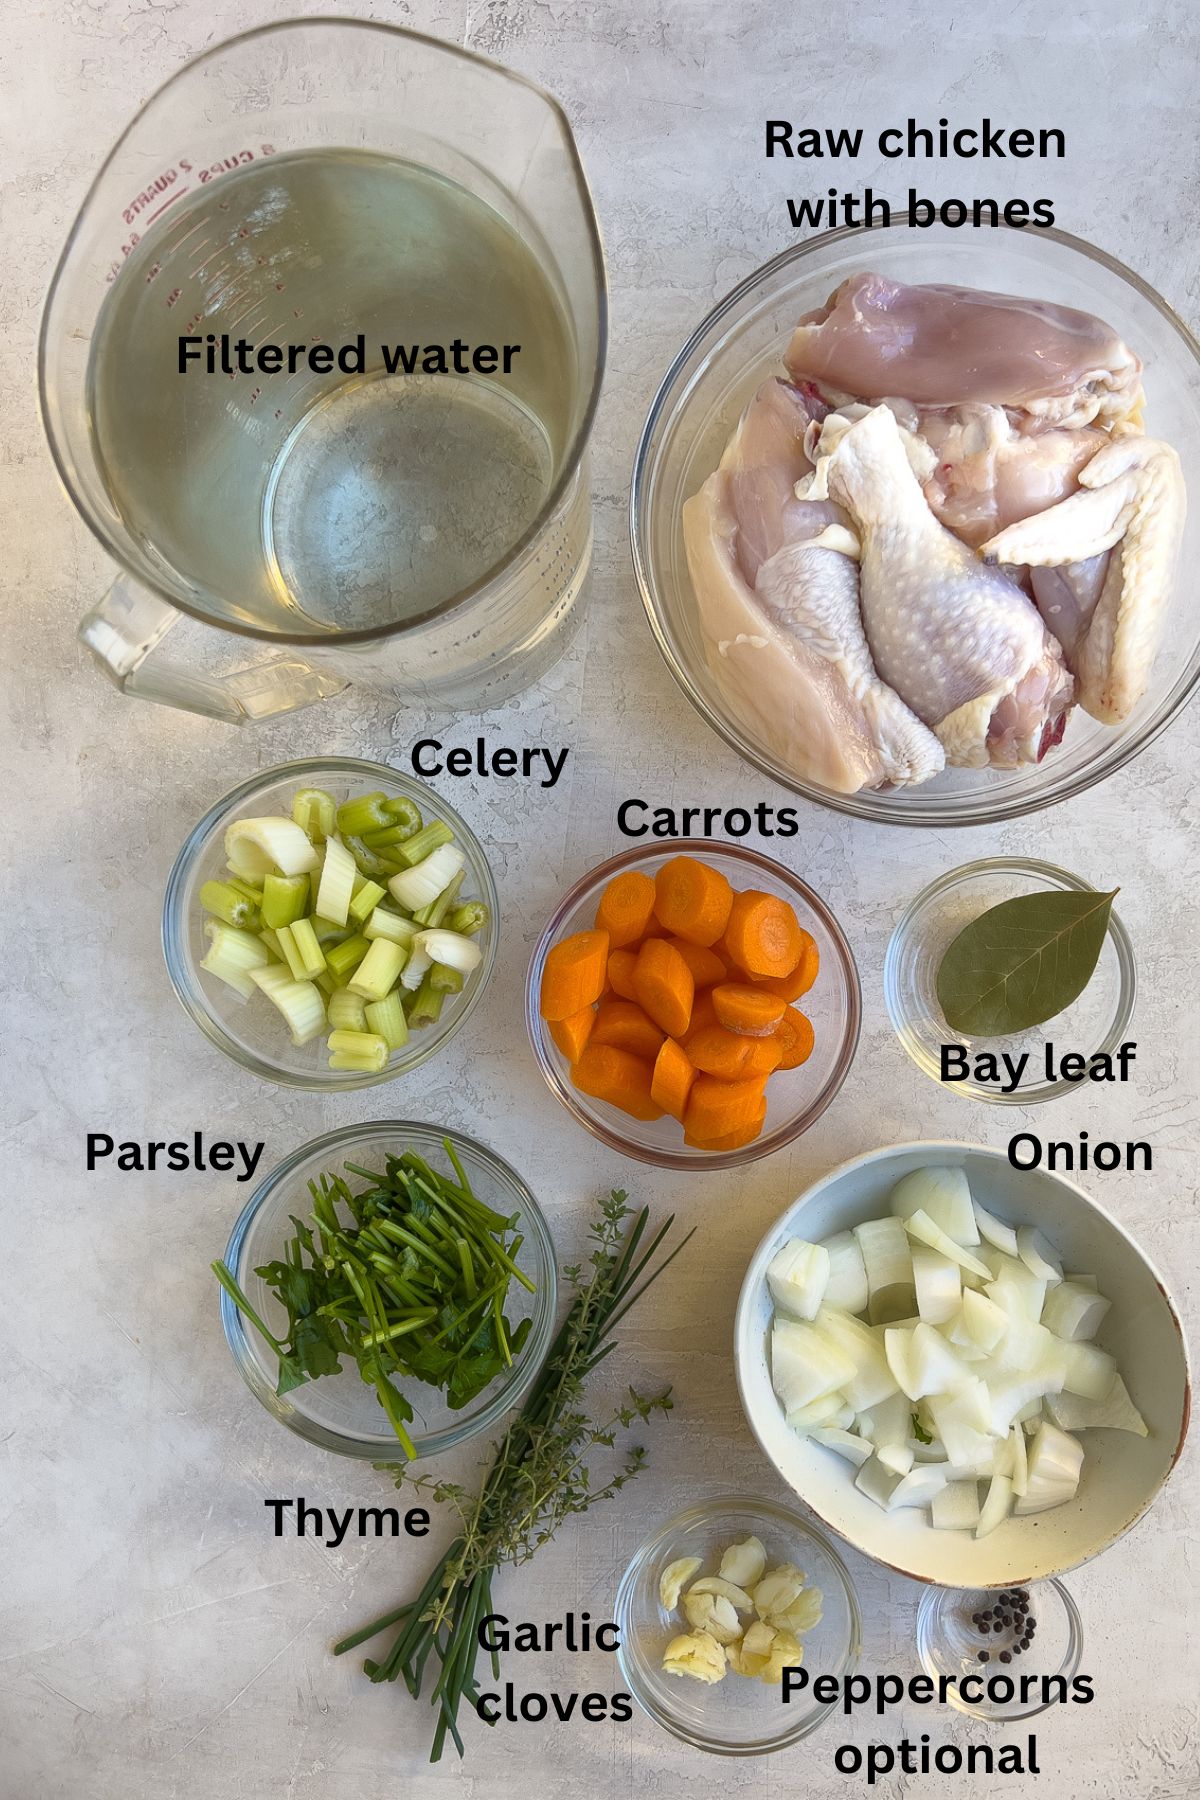
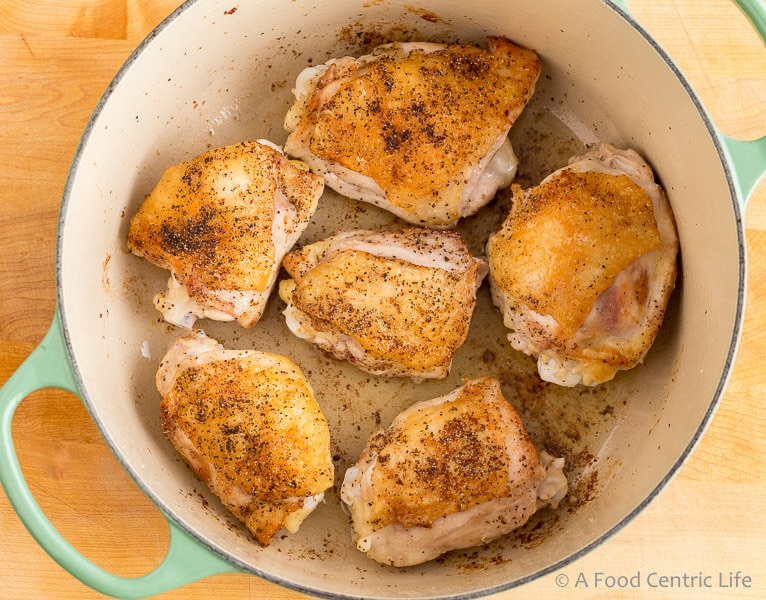
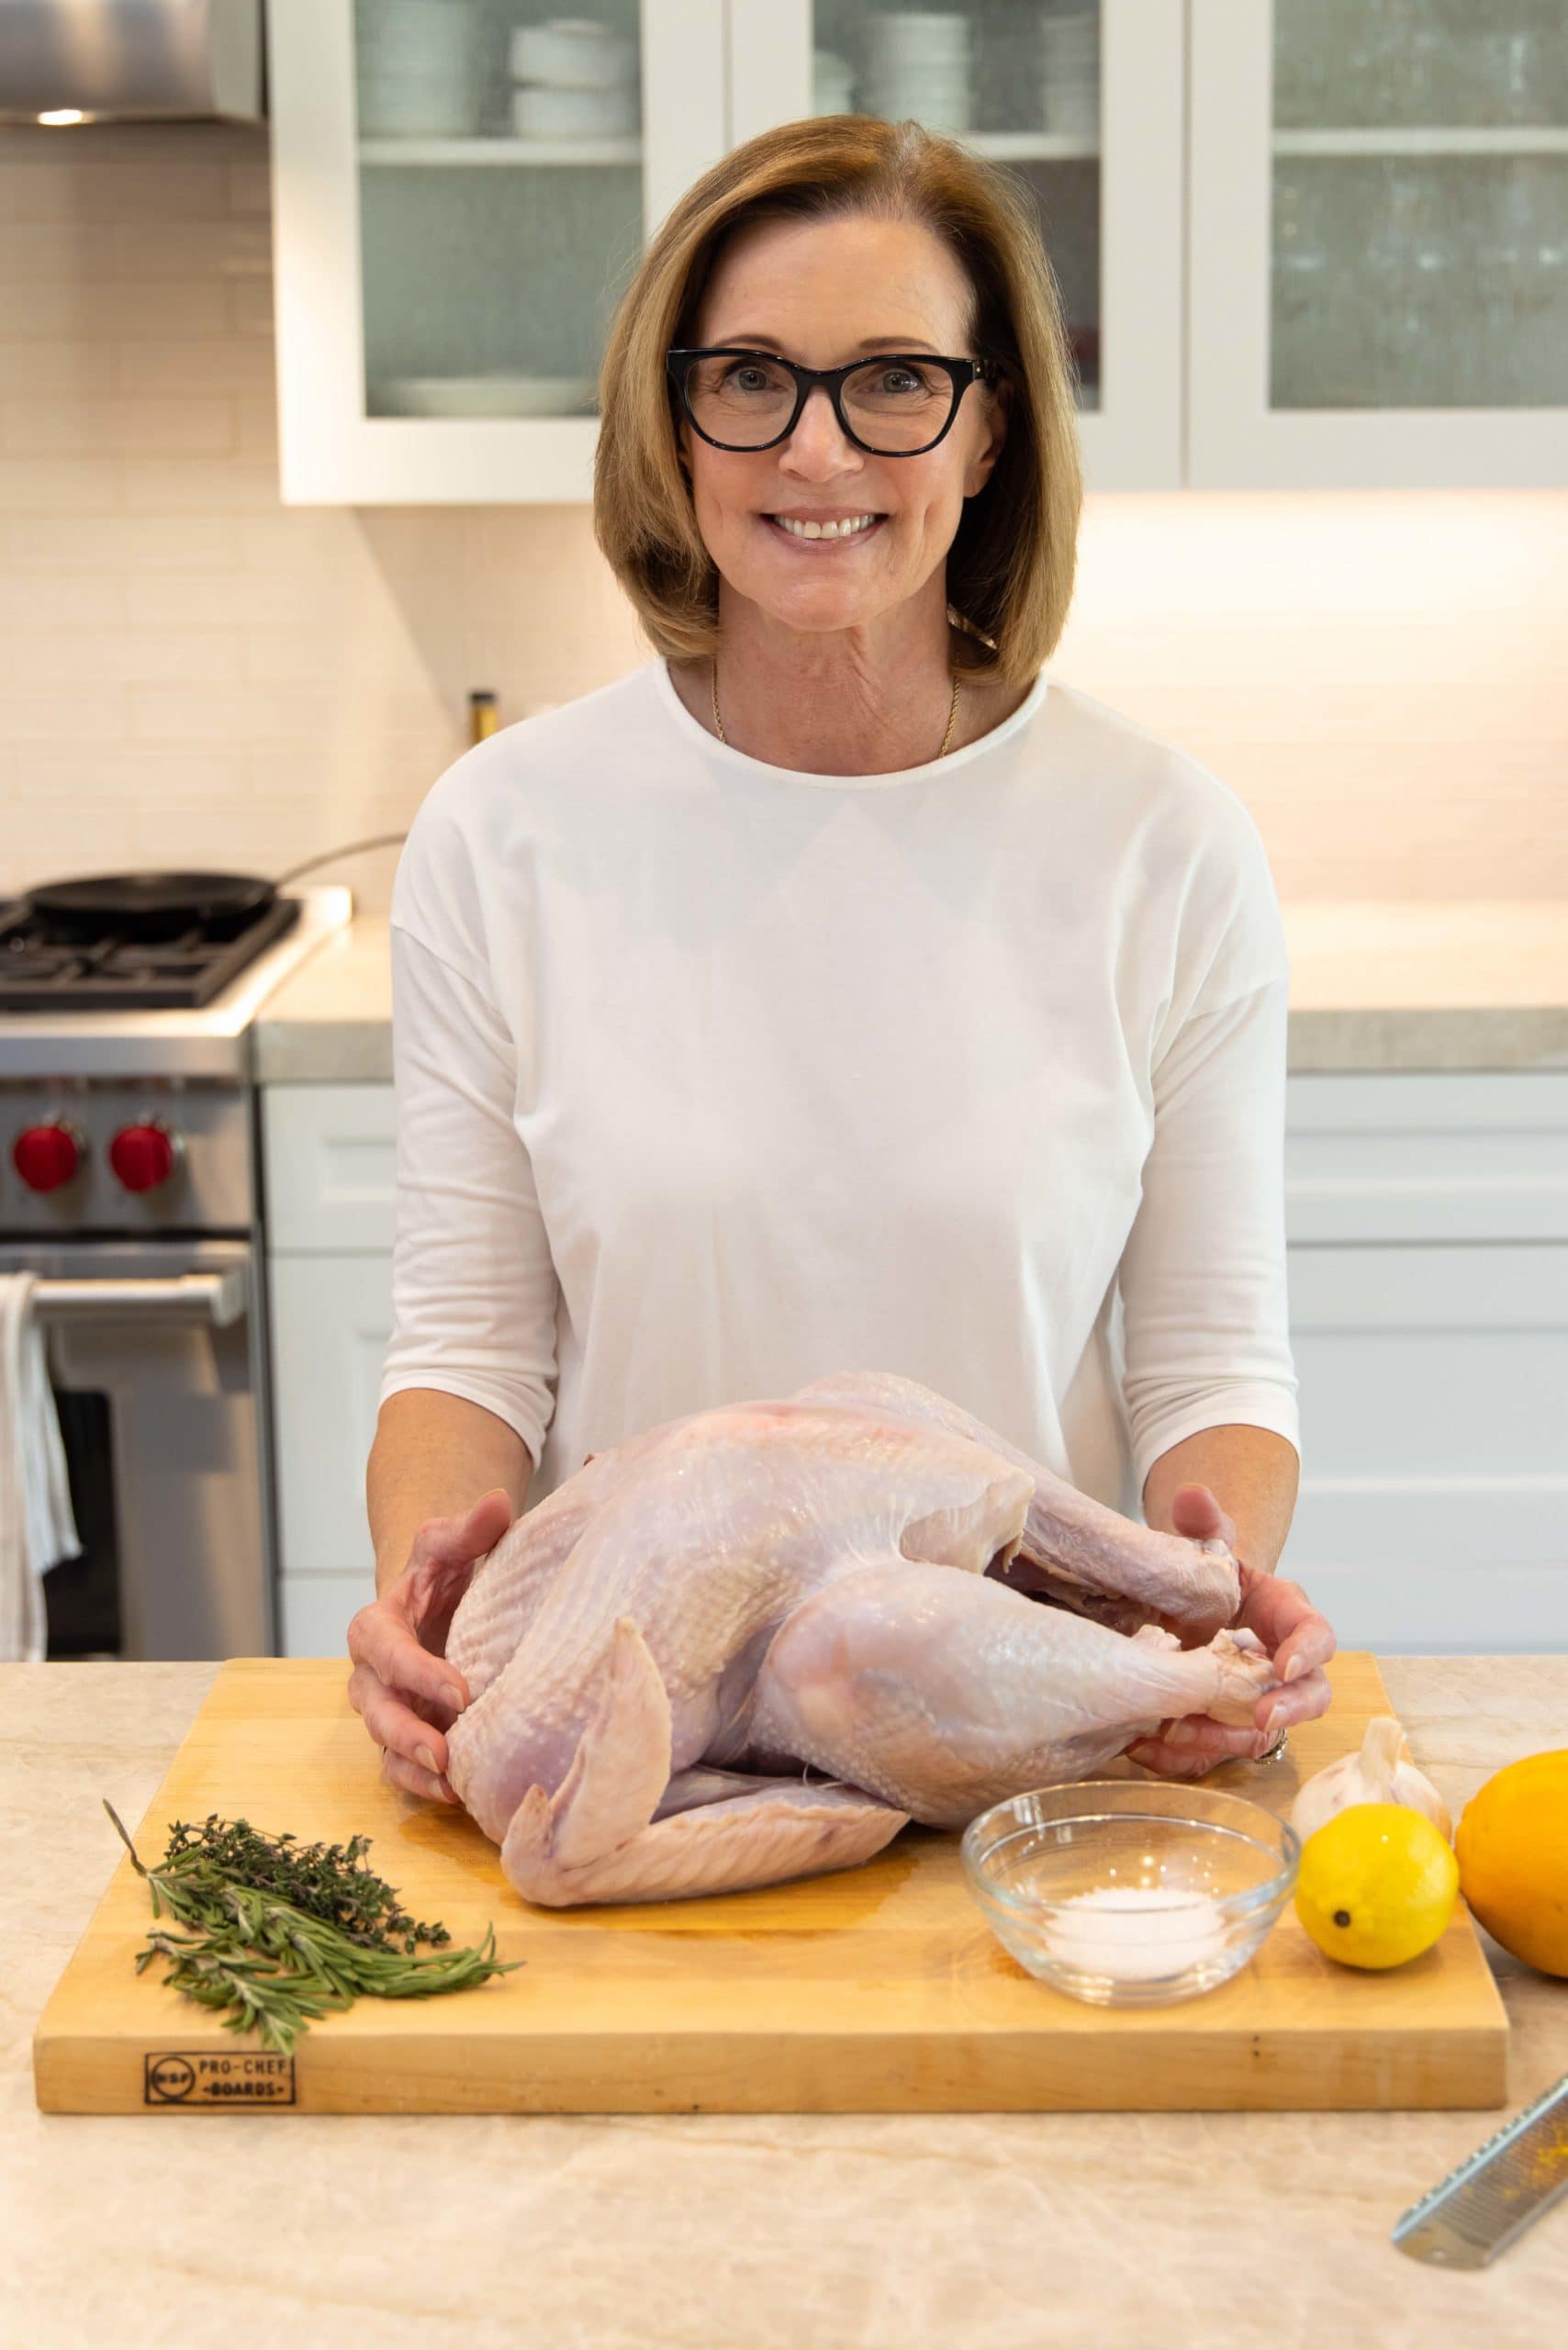
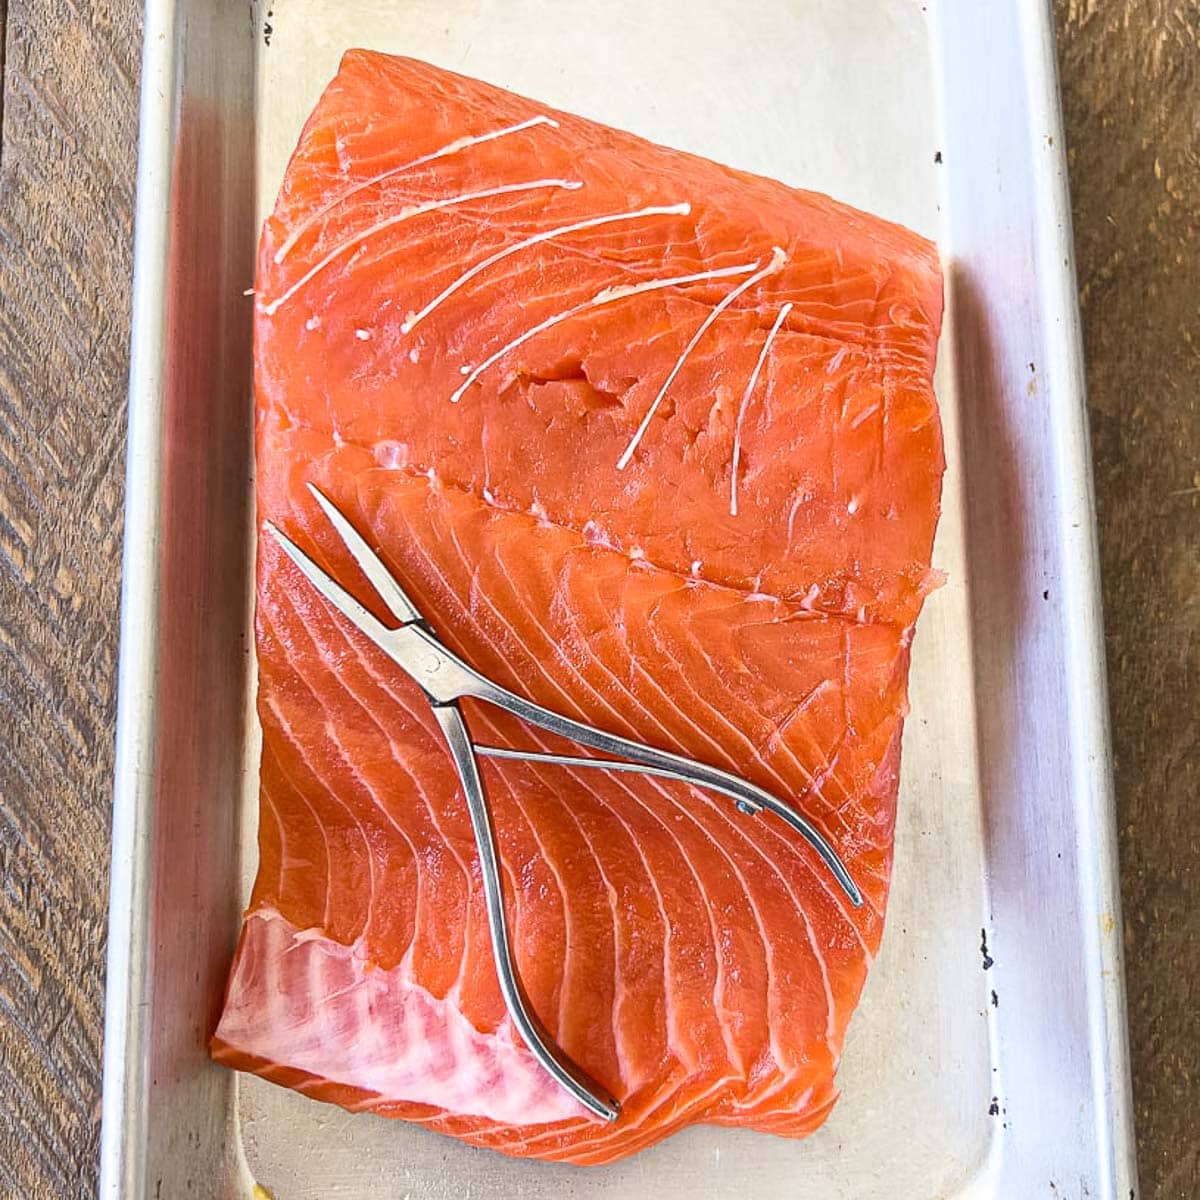
- Chicken - Use meaty, bone-in pieces such as whole legs and thighs. A whole chicken works too. Broth needs bones for body and flavor. Ask the butcher to cut it up, buy a pre-cut bird, or cut it yourself (a great skill to learn!). Whenever possible, choose organic.
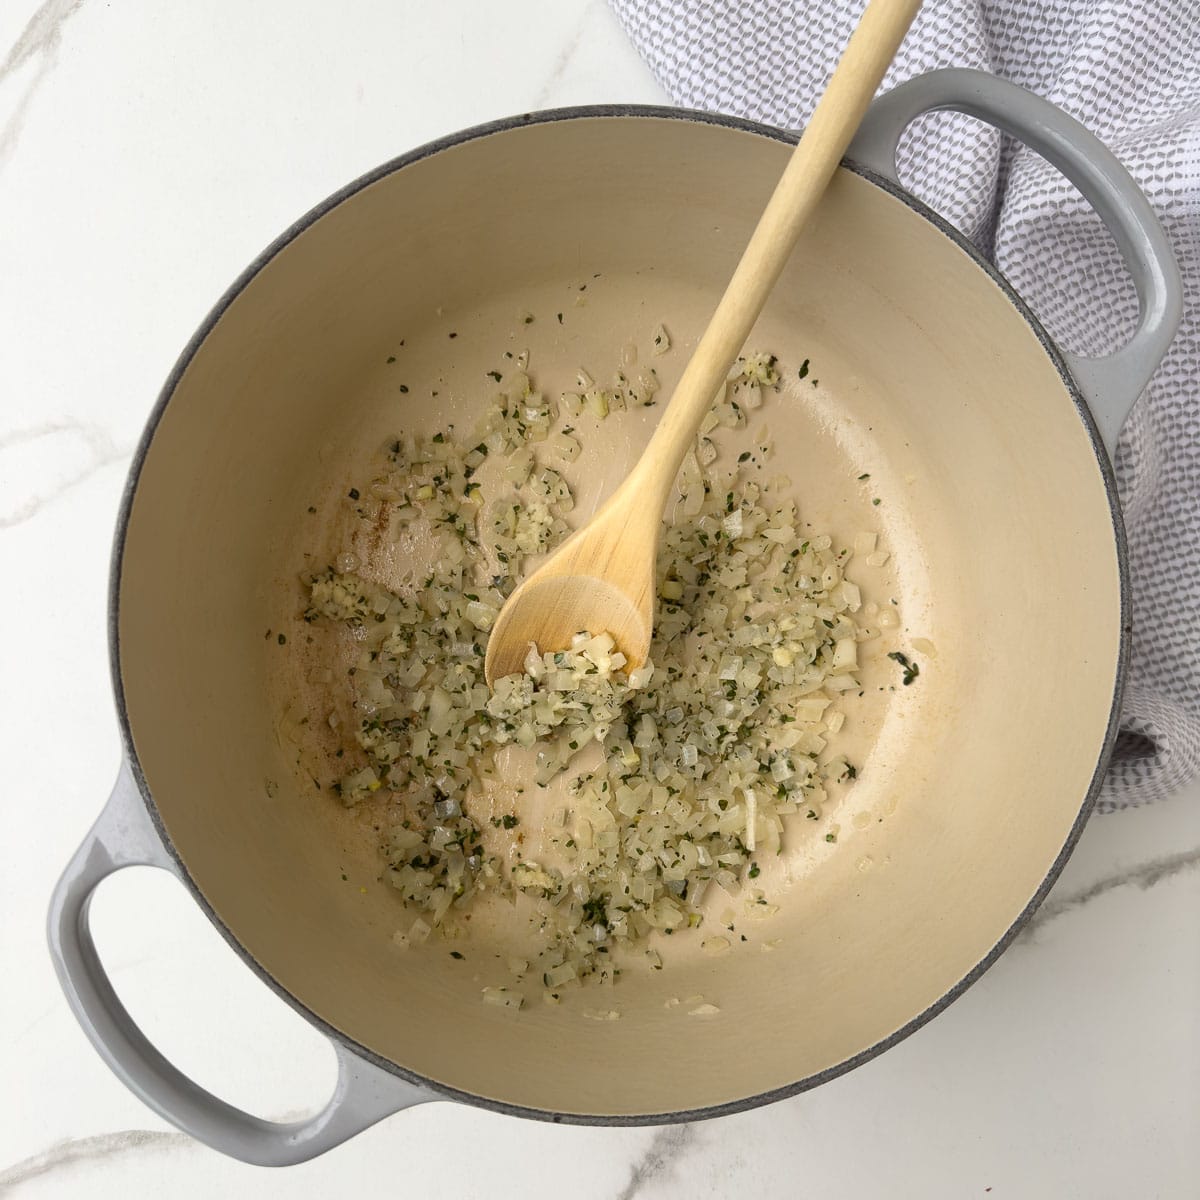
- Onion - White, yellow, brown, or sweet onions all work for building a savory base.
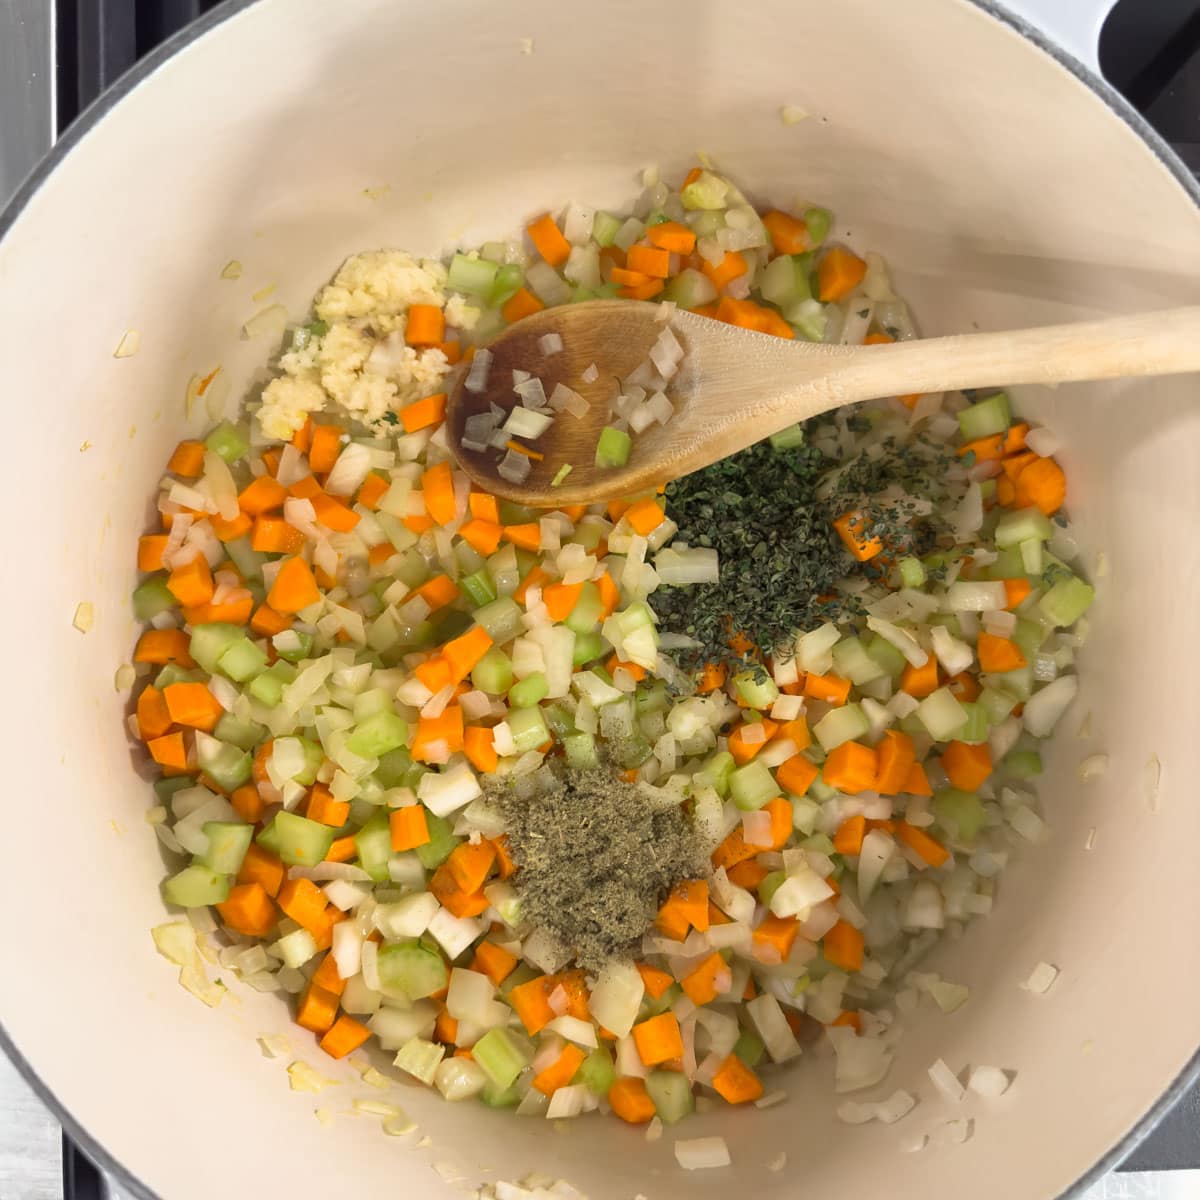
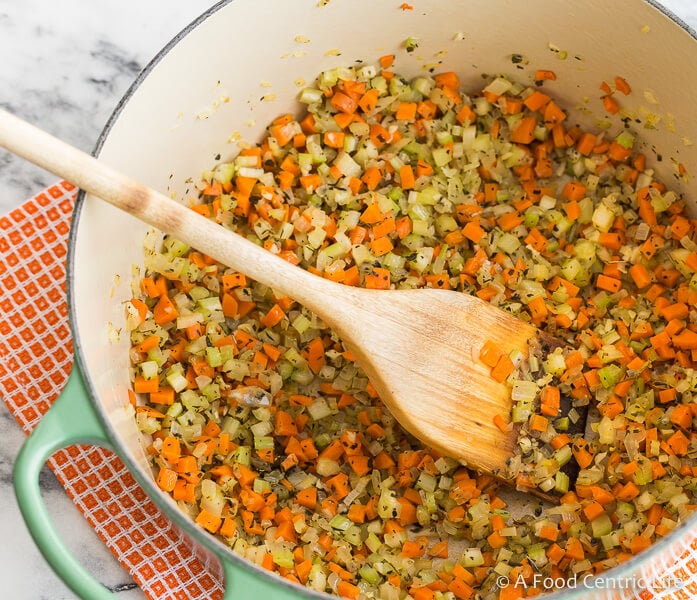
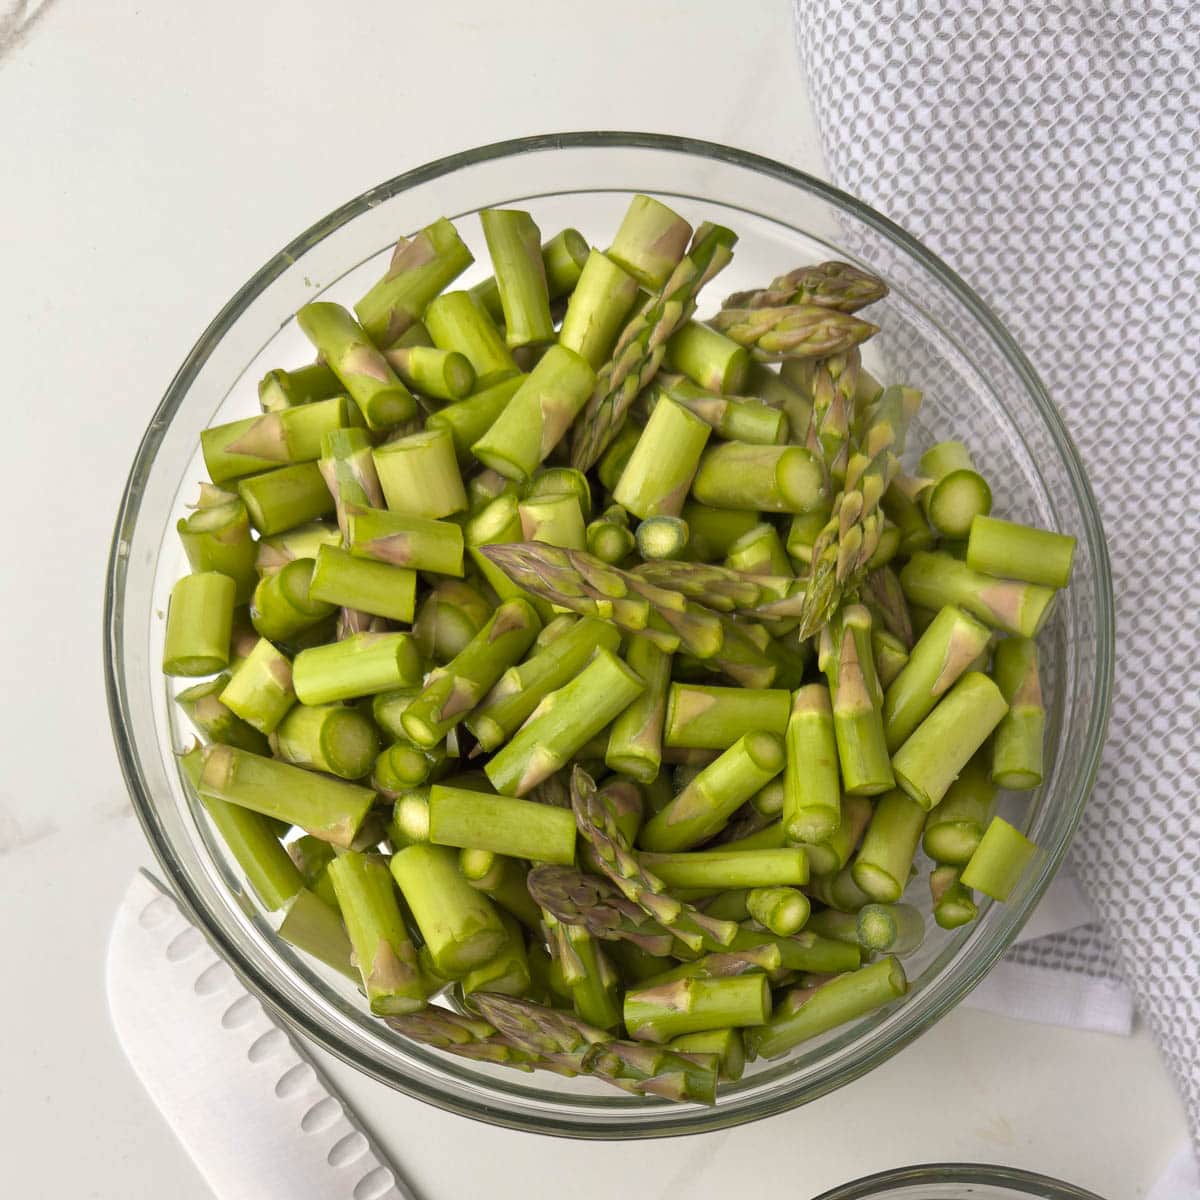
- Carrot - Part of the classic French flavor base mirepoix (onion, carrot, celery). Adds natural sweetness and depth.
- Celery - Balances flavors and adds subtle herbal notes.
- Leek (optional) - Adds gentle, layered flavor if you have one on hand.
- Garlic (optional) - Boosts flavor and supports the immune system.
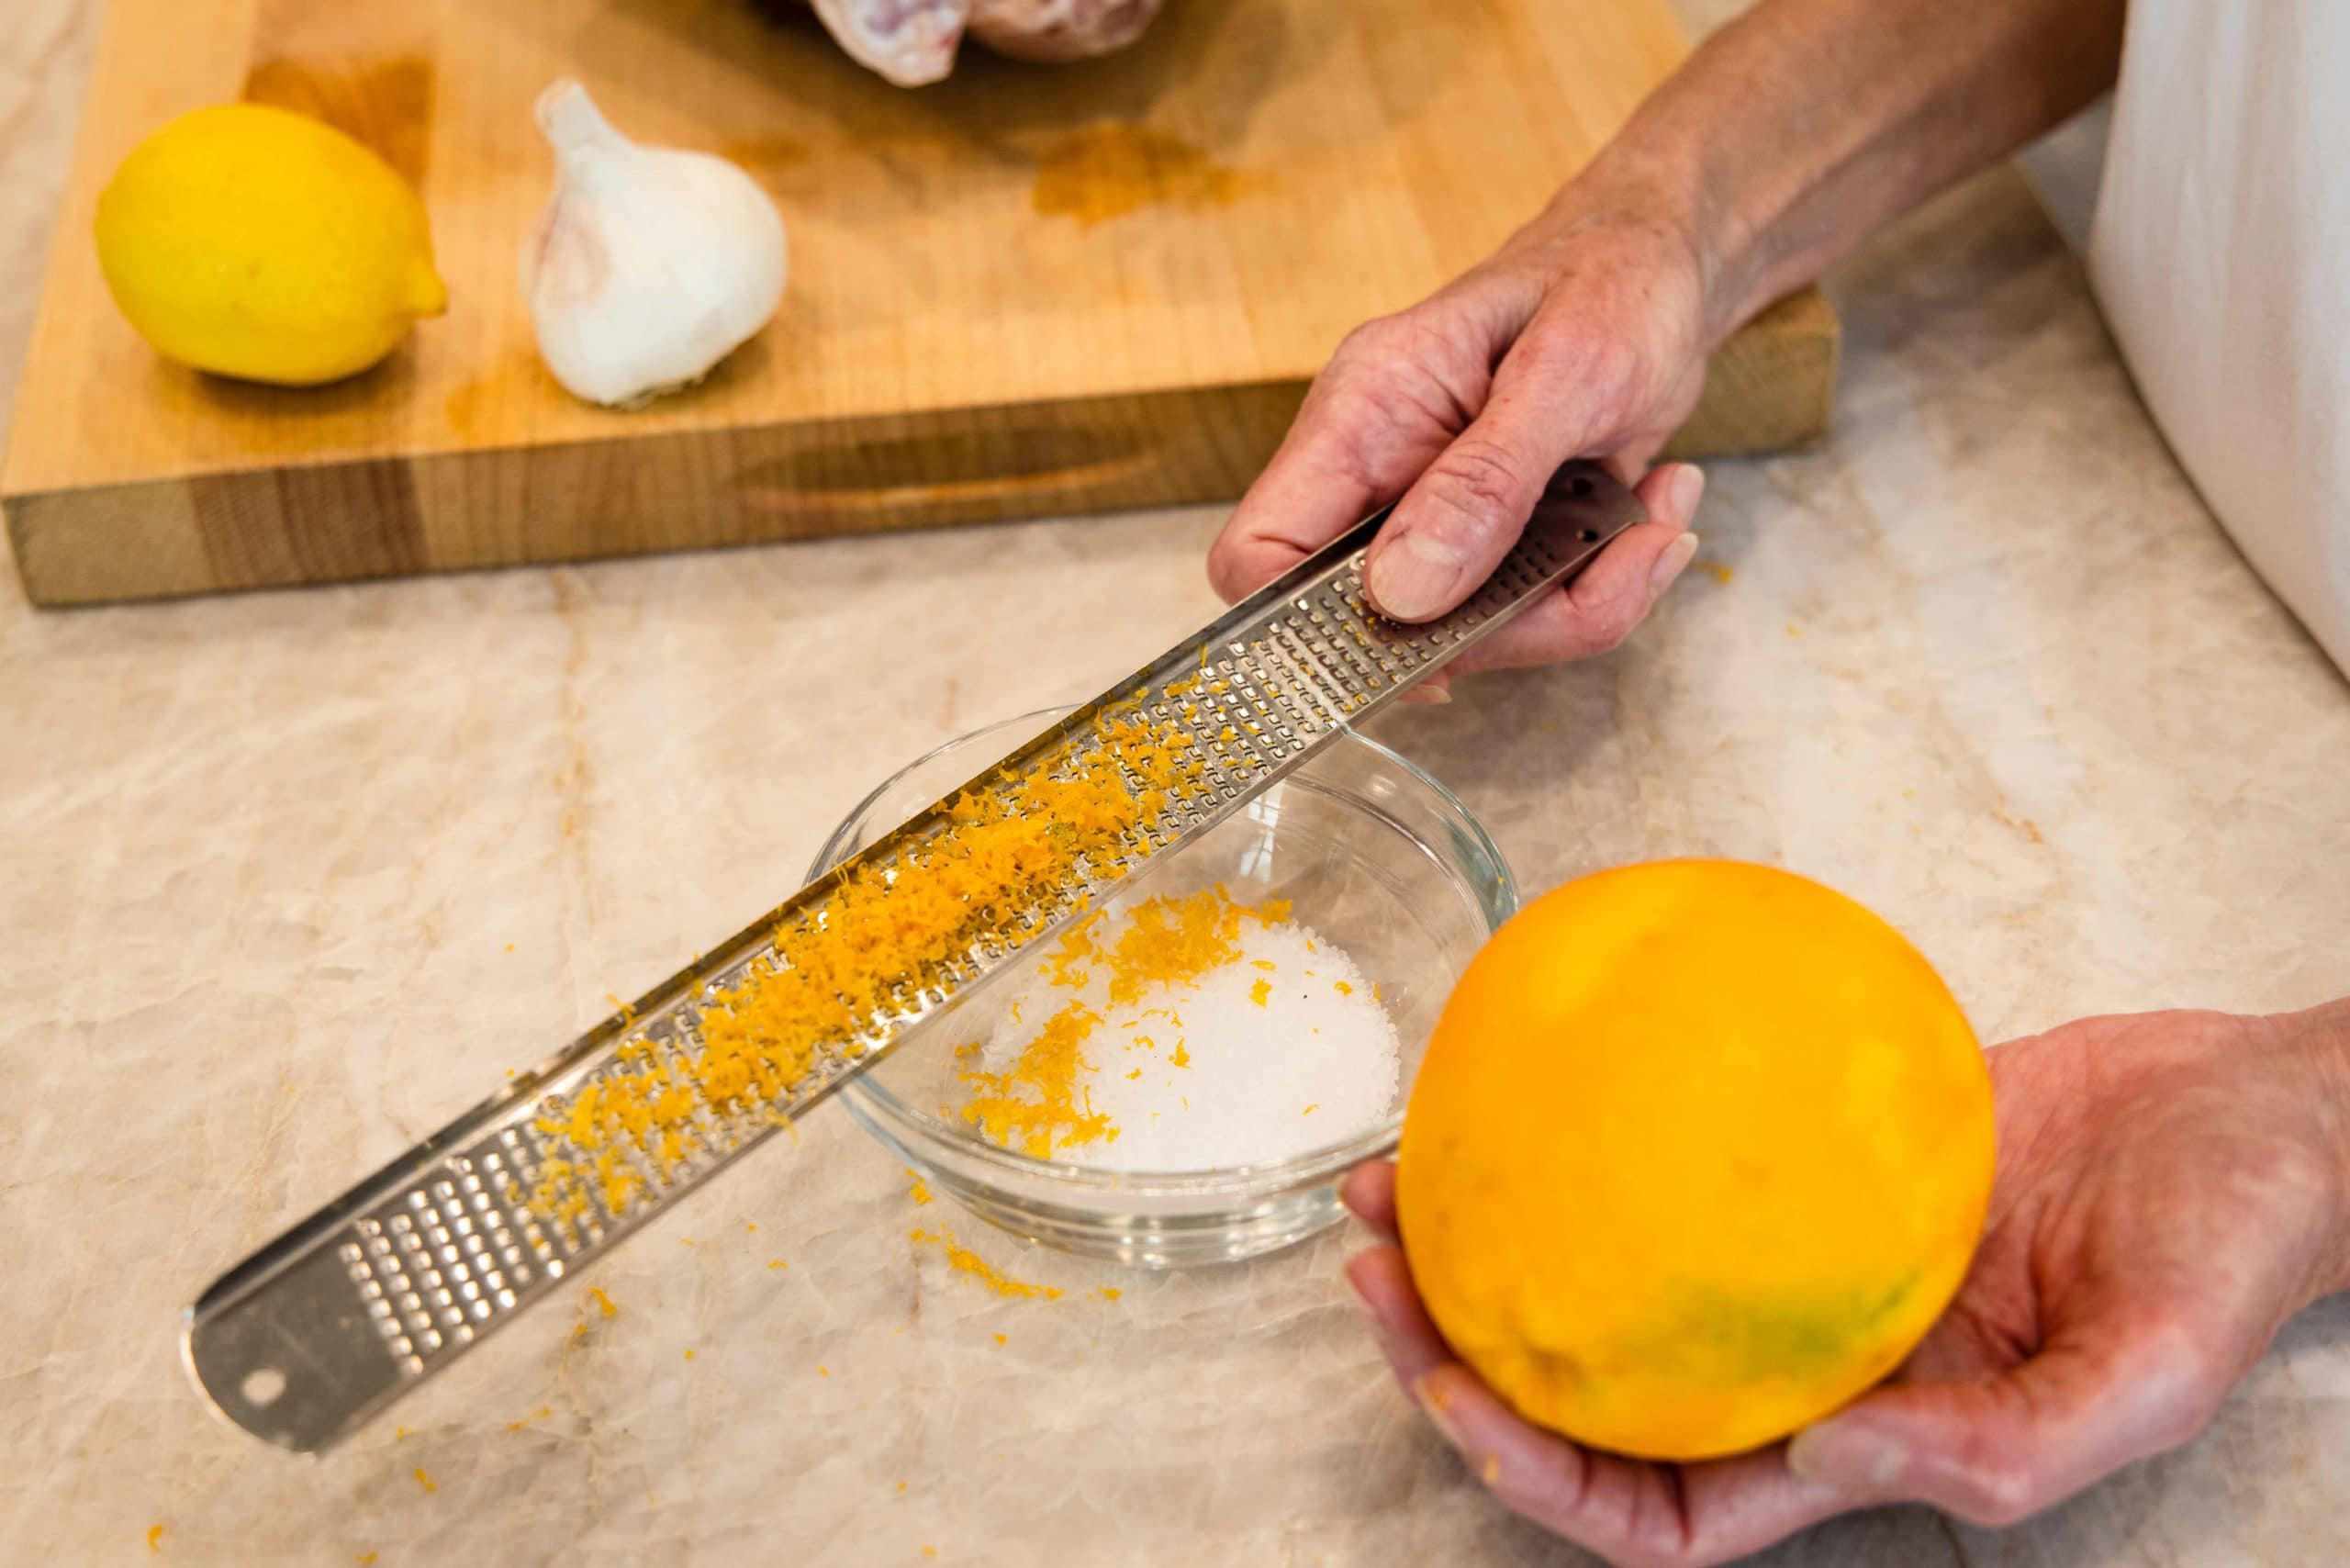
- Herbs - Fresh thyme, parsley, and a bay leaf (fresh or dried).
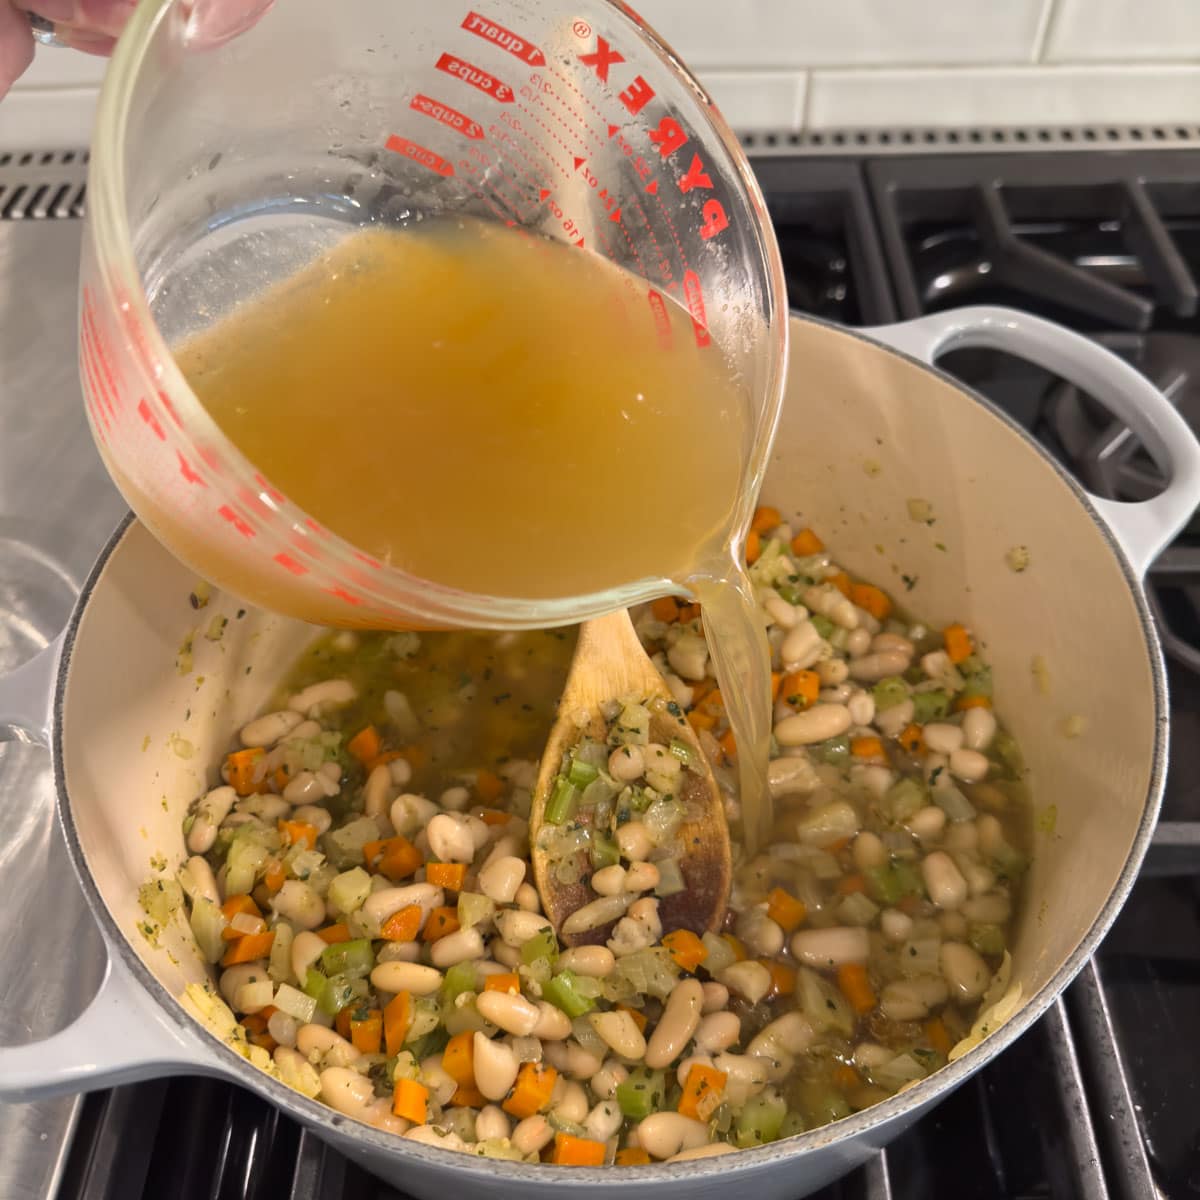
- Filtered water - Always use clean, filtered water for the best-tasting broth.
- Black peppercorns - Add for mild spice and depth, but skip if you're histamine-sensitive.
Please see the recipe card for measurements.
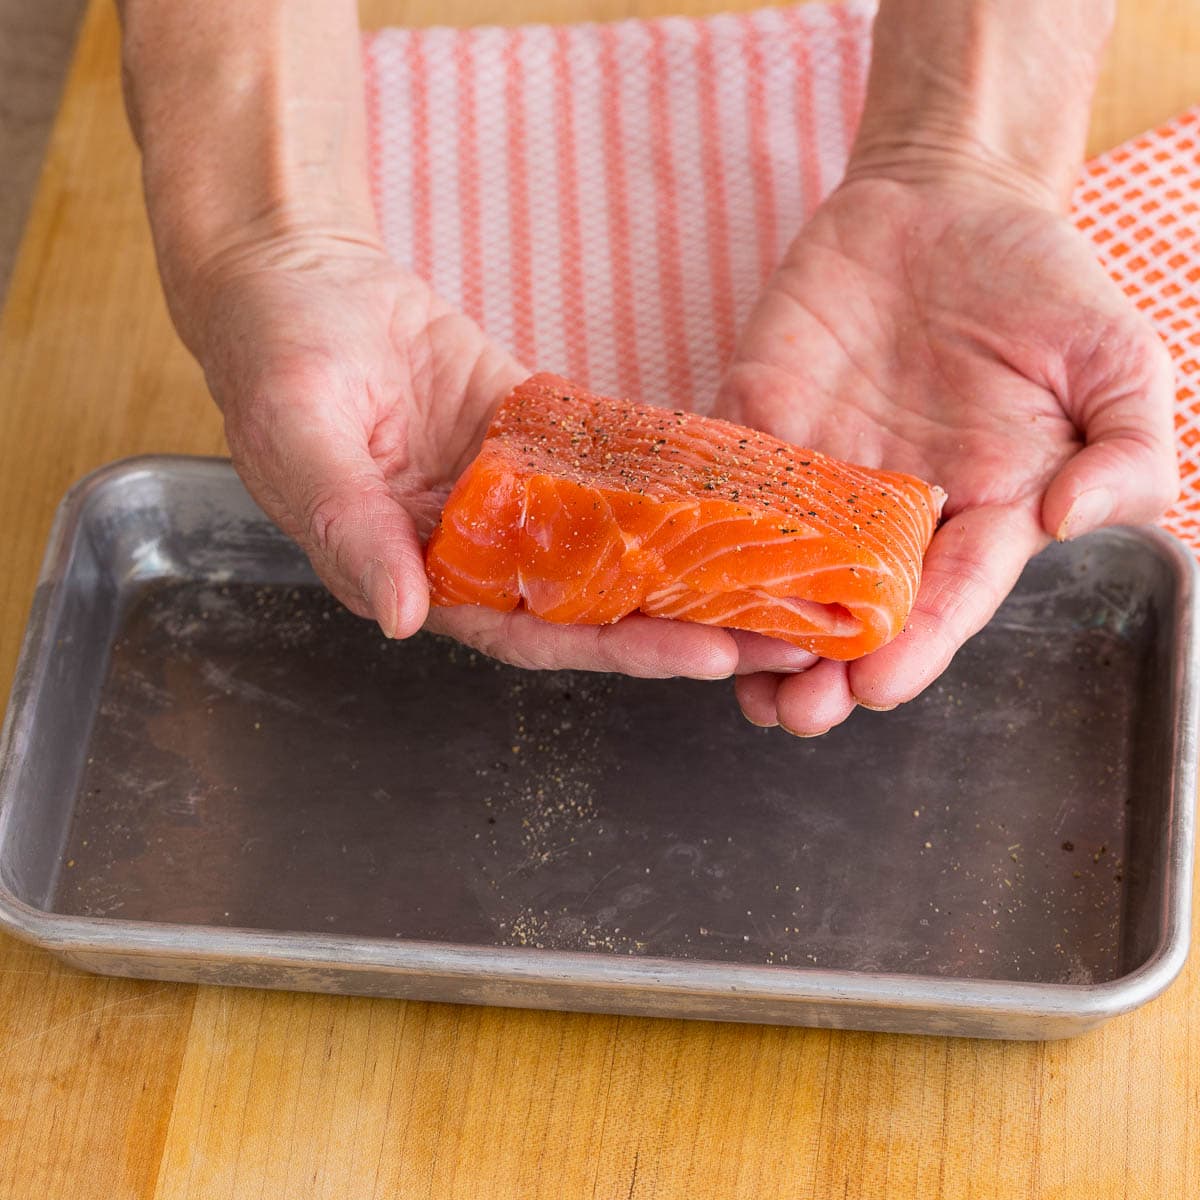
Chef's Tip: NO SALT. You should never salt broth. Save the salt for the finished dish. It is more controllable that way and people have differing levels of salt sensitivity or the need for a lower sodium diet.
Substitution and Variations
- Garlic - Skip it entirely if you're allergic or sensitive.
- Leek - Use the dark green tops for broth; save the light white part for sautés and other cooking.
- Thyme - Fresh sprigs give the best flavor, but dried thyme works if that's all you have.
- Extra richness - Add a few chicken feet for a more gelatinous, collagen-rich broth. (It may feel unusual, but it's a classic chef's trick worth trying).
Chef's Note: is it stock or broth? Today the terms are used interchangeably, but technically stock is made from the bones of the chicken and broth is made from meaty pieces and vegetables. Bones make homemade chicken broth gelatinous (like jello) because bones release collagen as they cook.
How to Make Chicken Broth in an Instant Pot
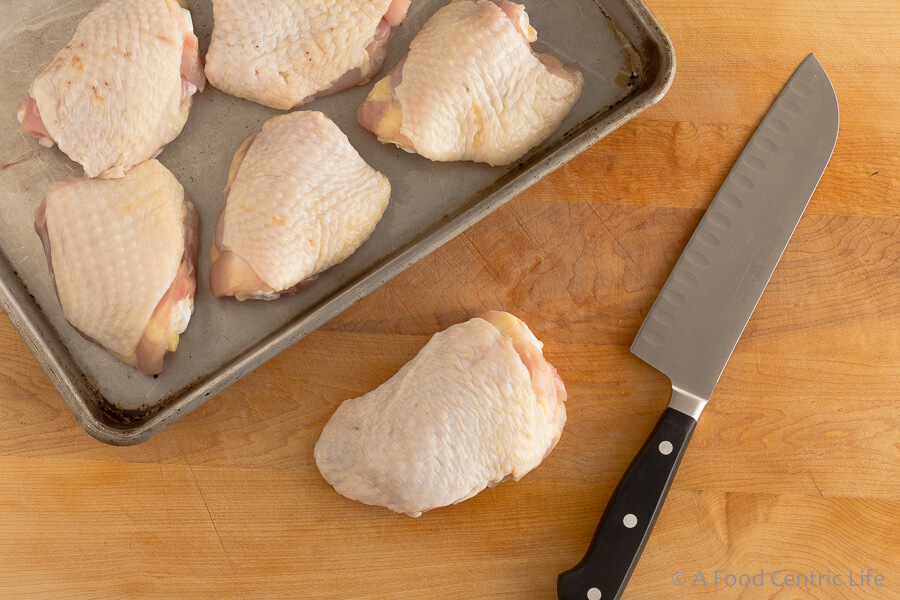
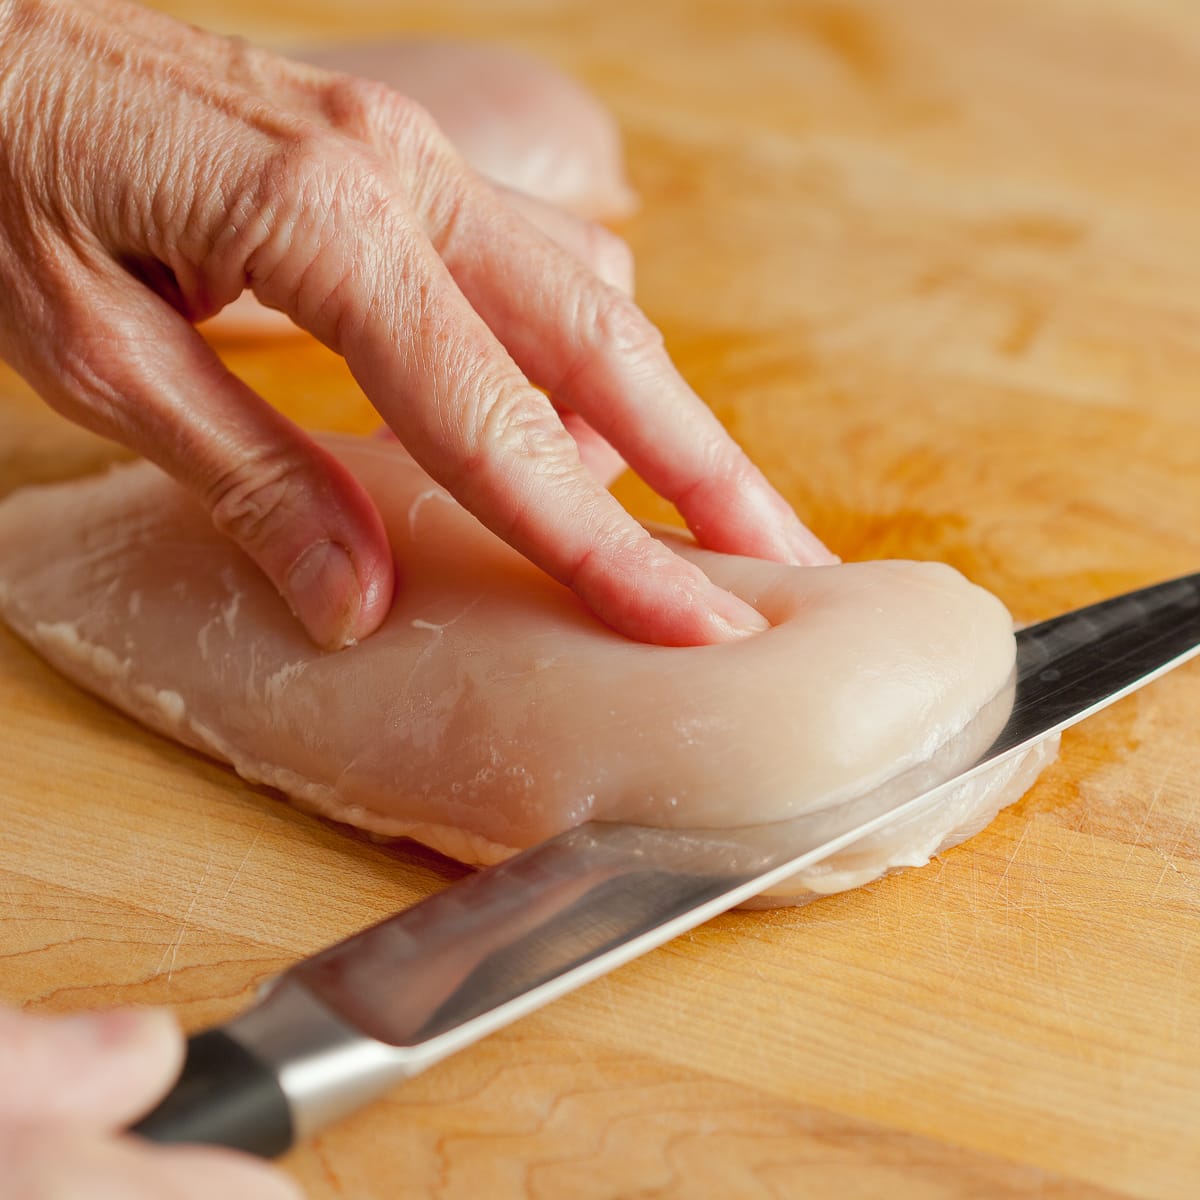
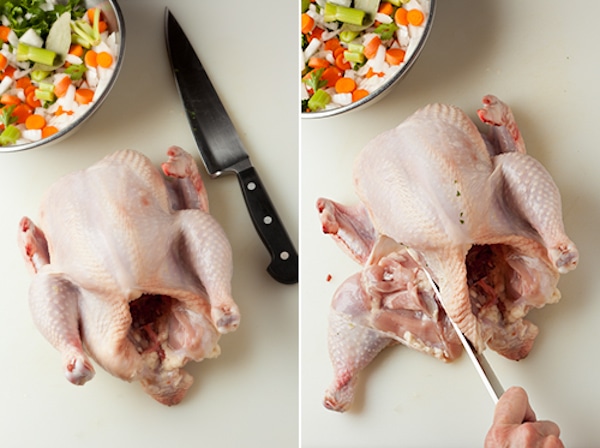
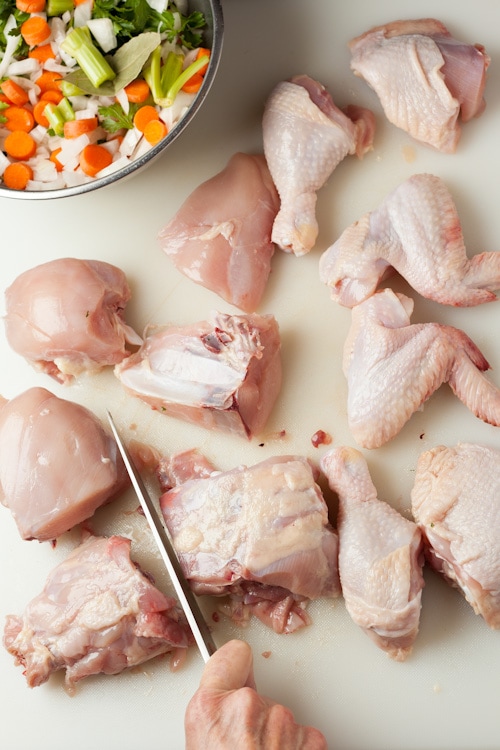
There are two chicken options: Use chicken parts such as whole legs or thighs, or use a whole chicken. If you're cutting up a whole chicken start at step 1. You need a heavy chef's knife. Special heavy scissors called poultry shears are also very helpful, and not expensive to buy.
If you have chicken pieces, start at step 2 "broth instructions". Another good addition for the pot is the leftover backs from making spatchcock chicken.
If Using a Whole Chicken (How to Cut Up a Chicken)
Place the chicken rounded side (top) up on a stable cutting board.
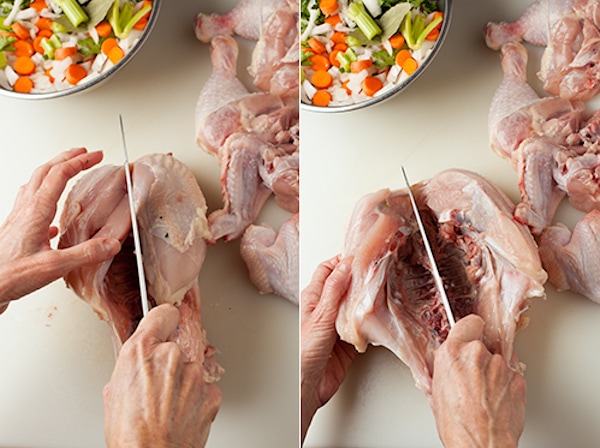
Broth Instructions
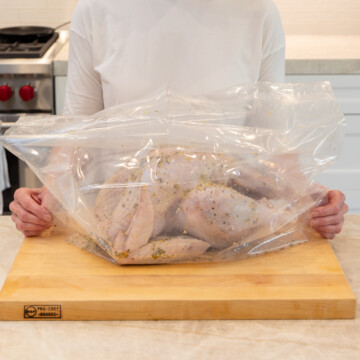
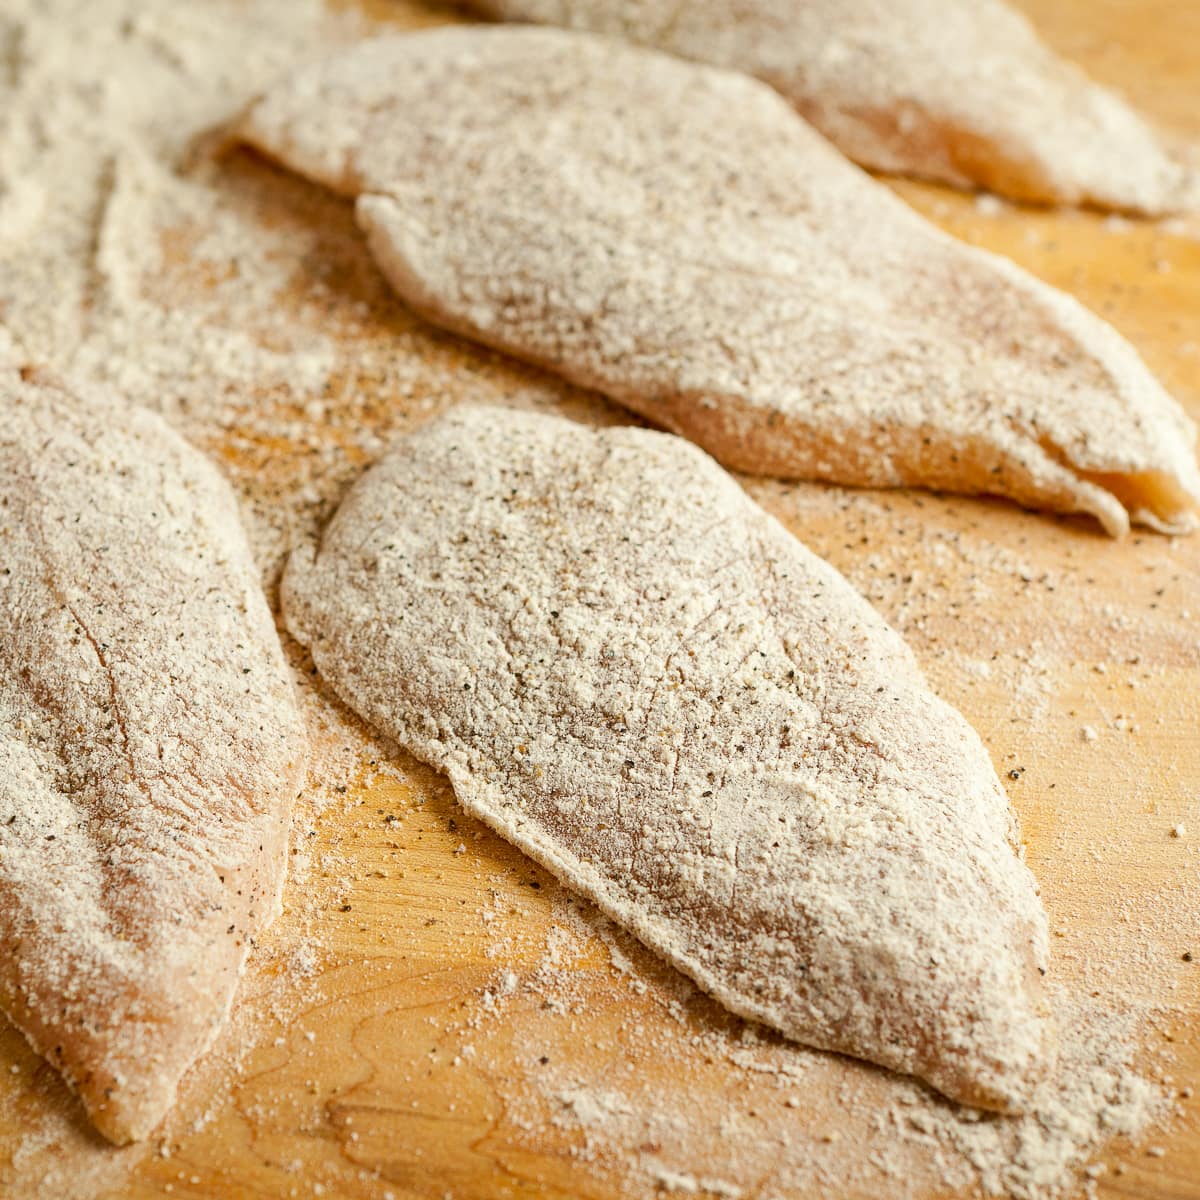
Strip as much skin off of the chicken as possible. That makes room for more meat and bones.
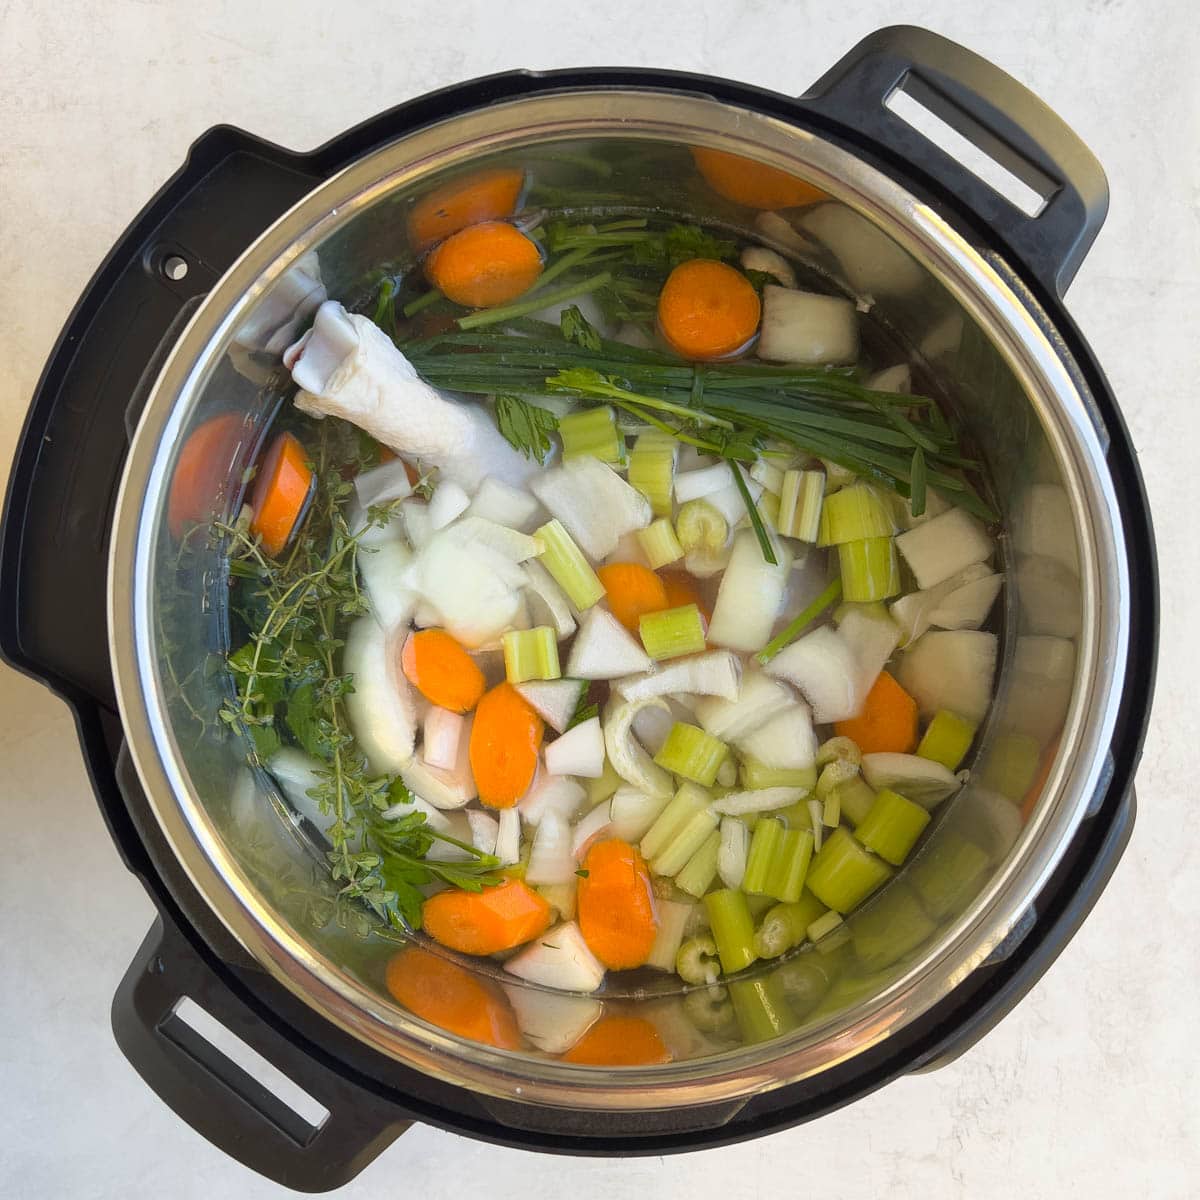
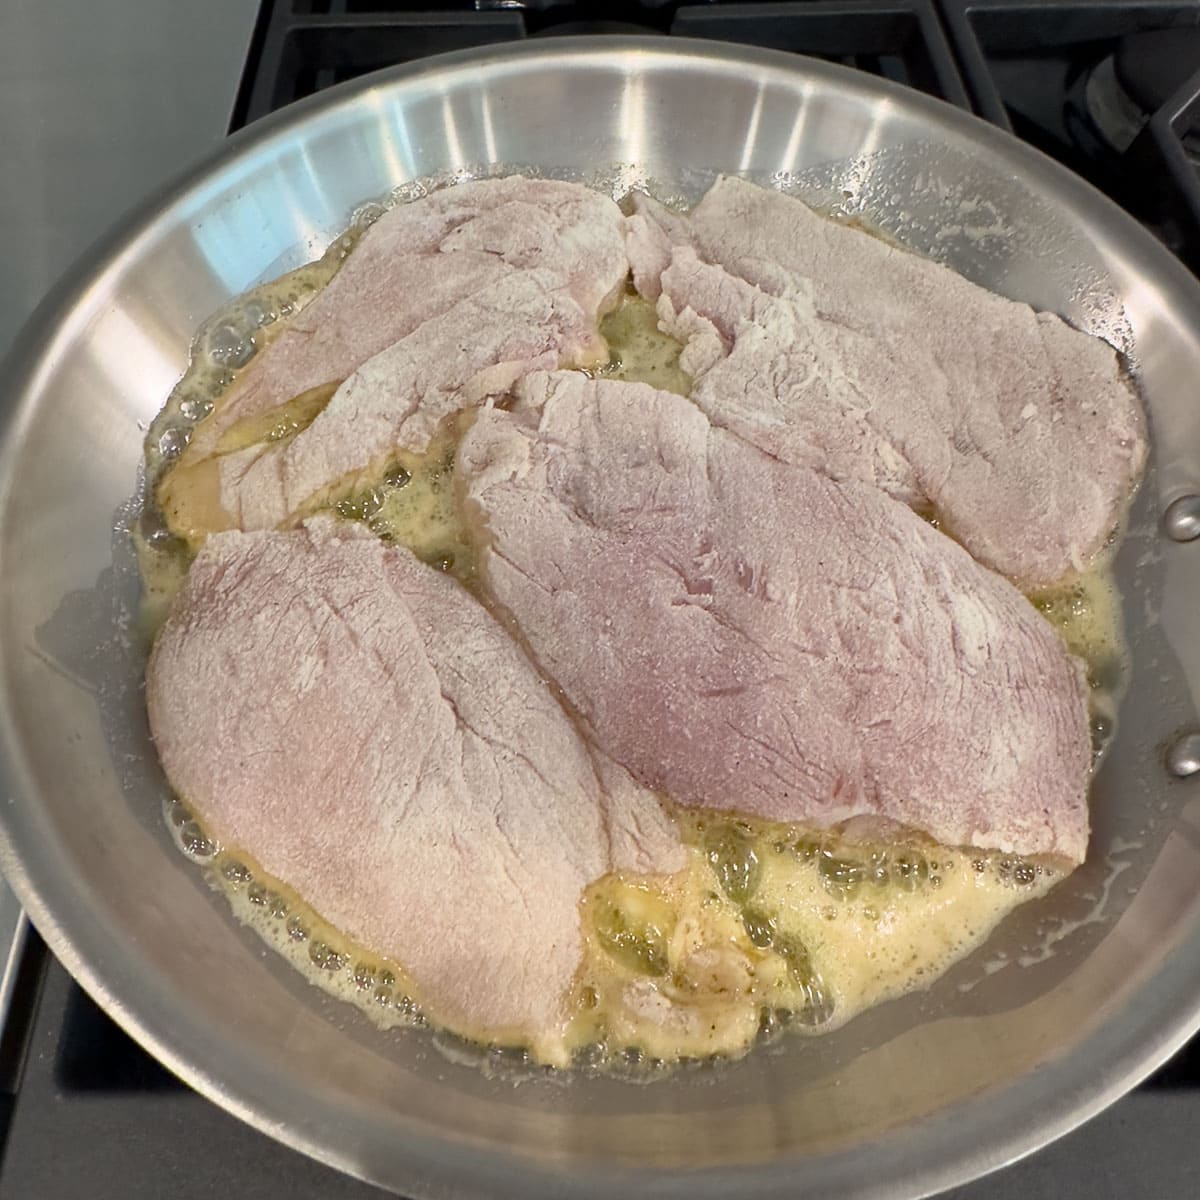
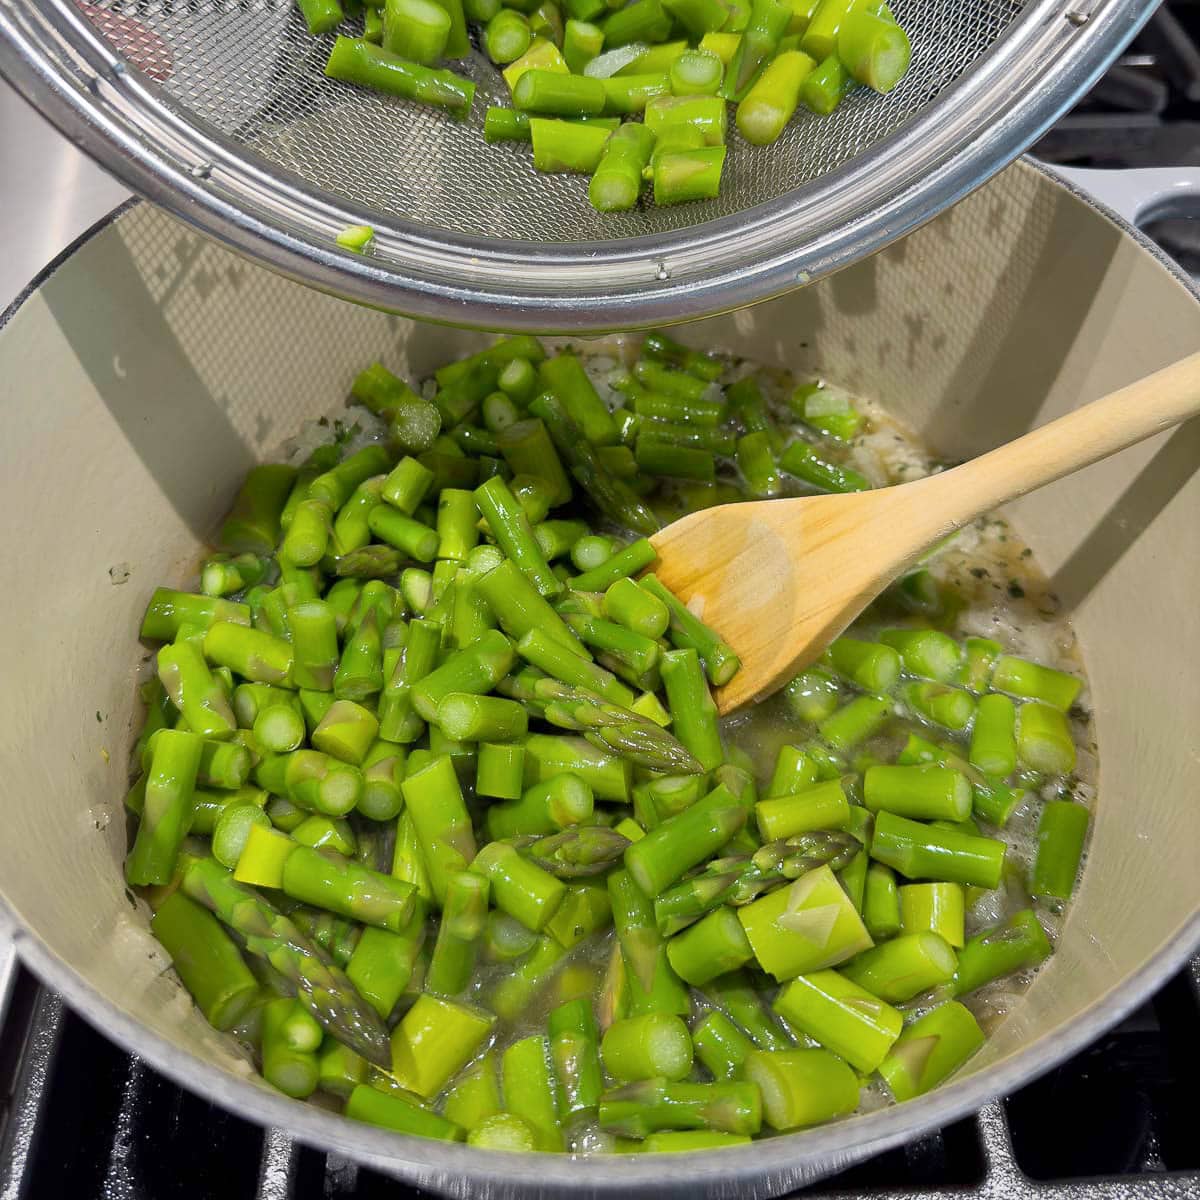
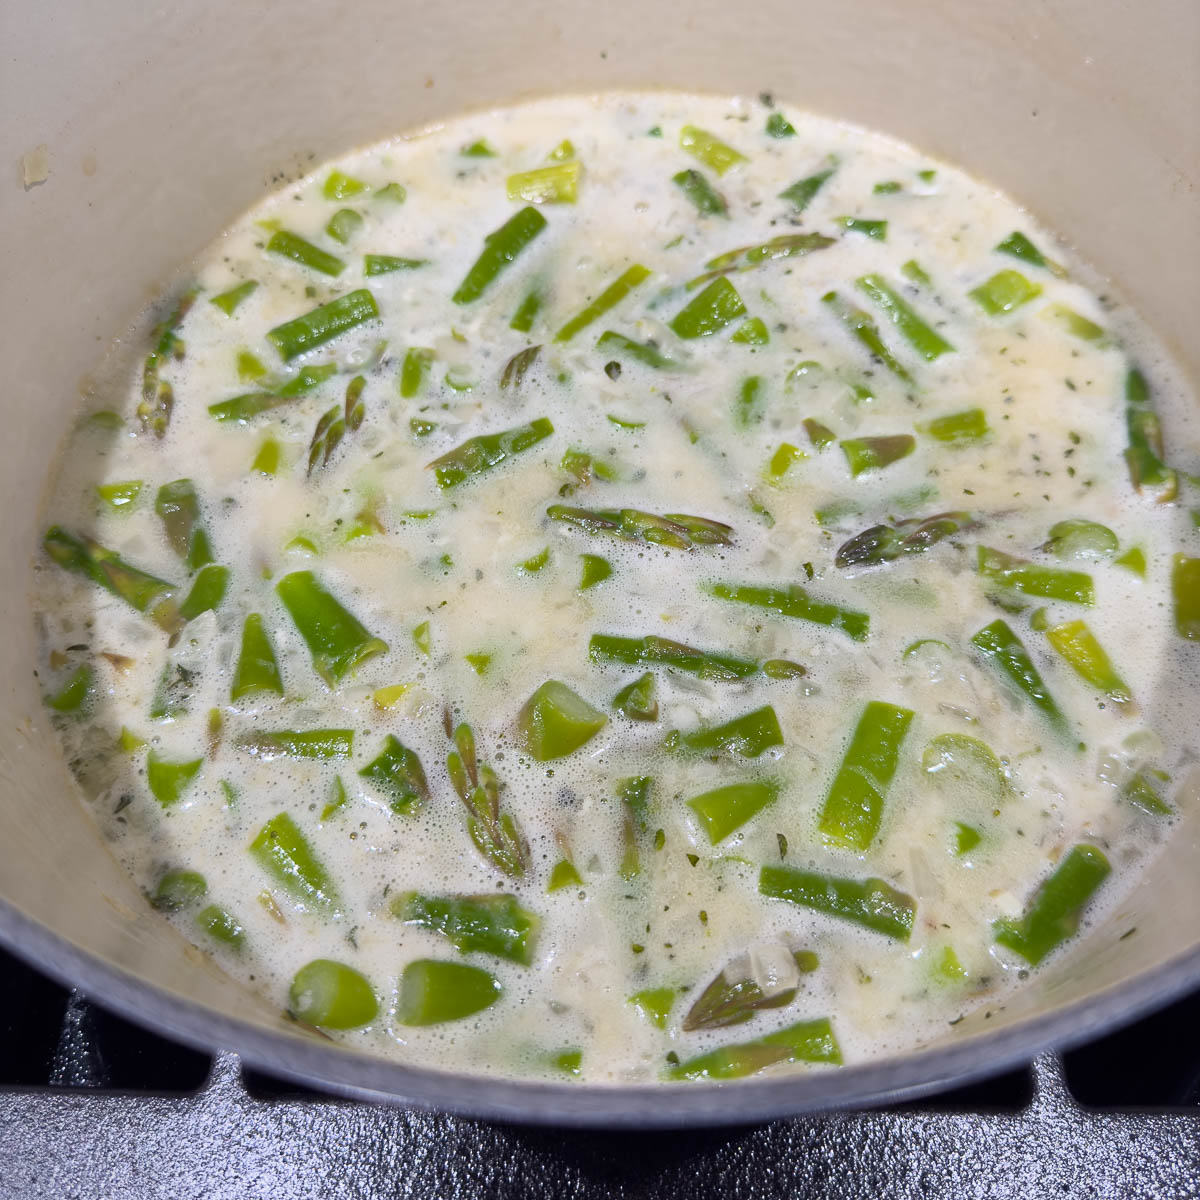
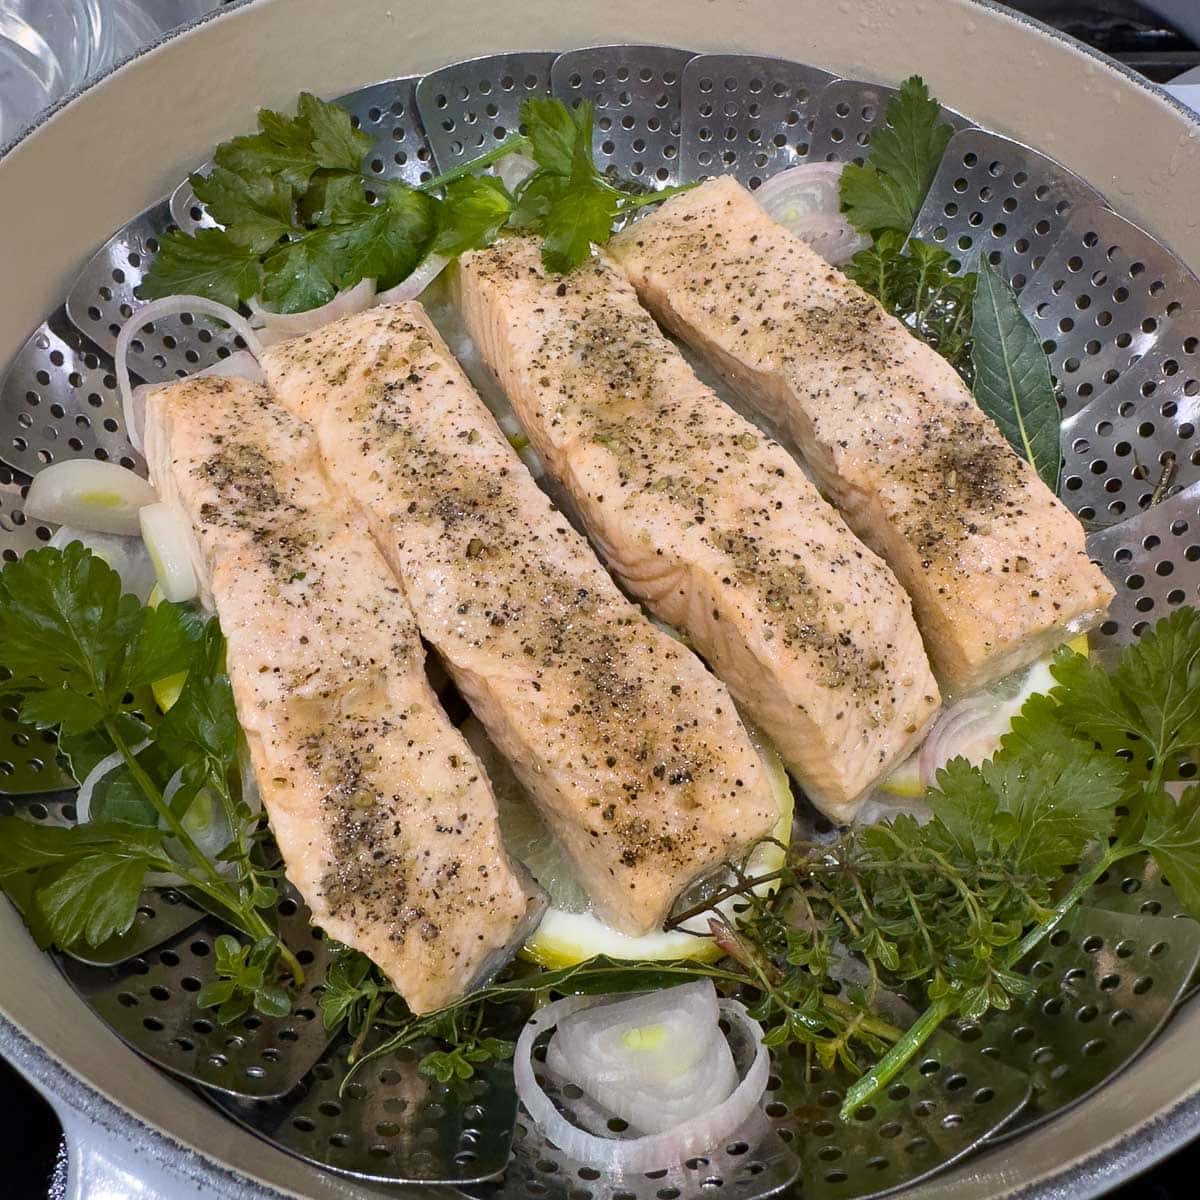
Add all of the ingredients to the pot then add the water. Don't fill the inner pot beyond the PC max fill line marked on the inside. Lock on the lid and turn the vent to lock. Press the Soup/Broth button and set the timer for 2 hours. It should be set to high pressure.
When the time is up, hit the cancel button and allow the pressure to release naturally for 20-30 minutes. After that, turn the vent button and let any remaining pressure release. Overall time with the pressure build and then the release is 3 hours in total.
Straining and Chilling the Broth

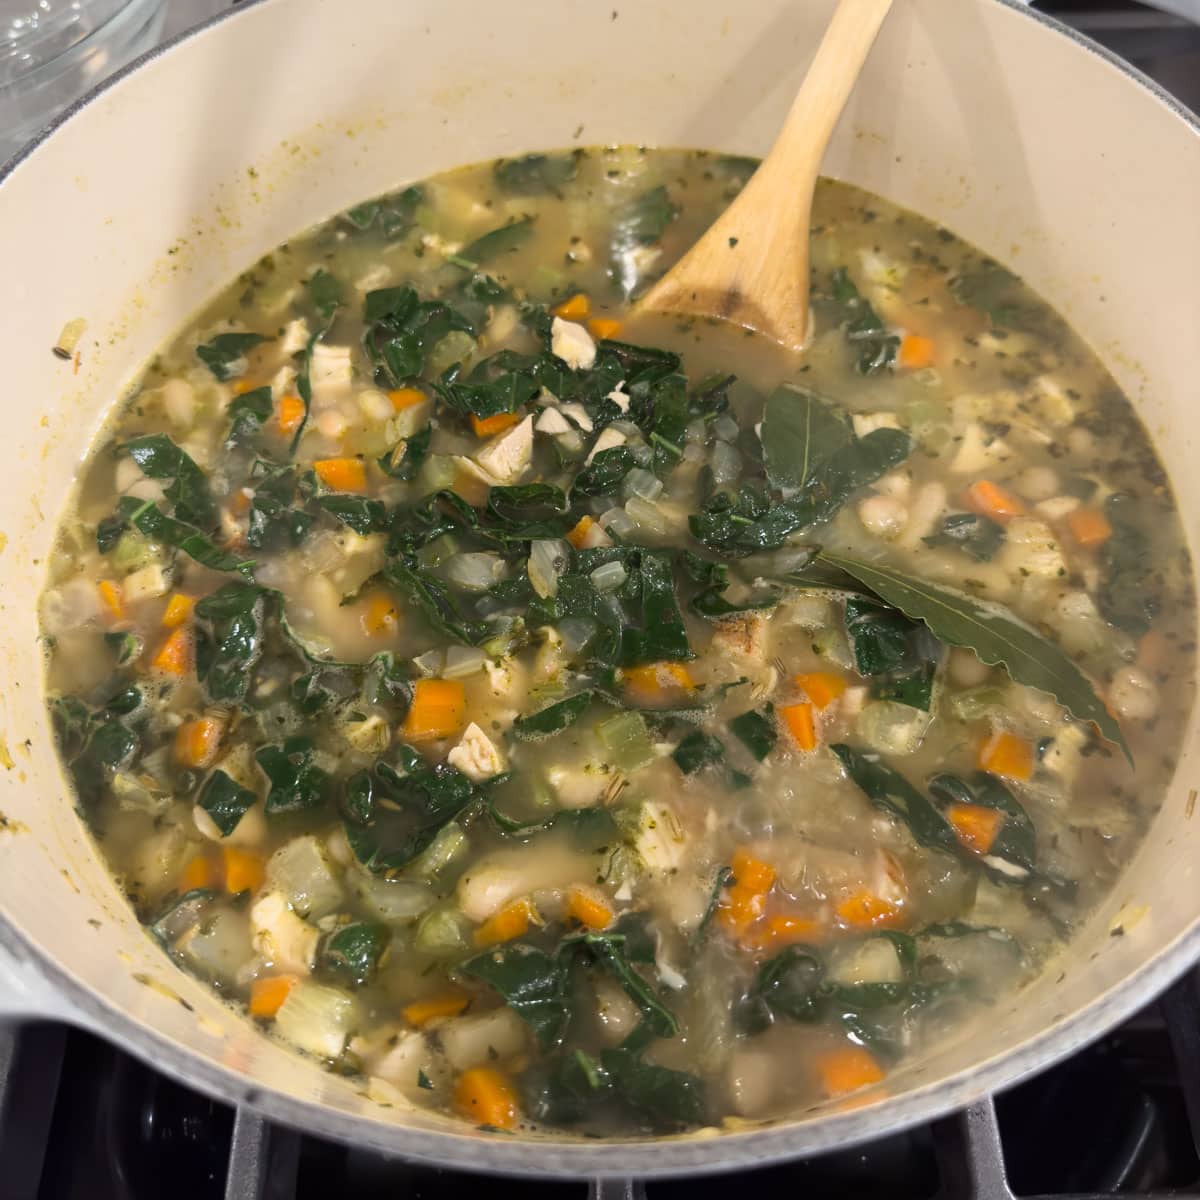
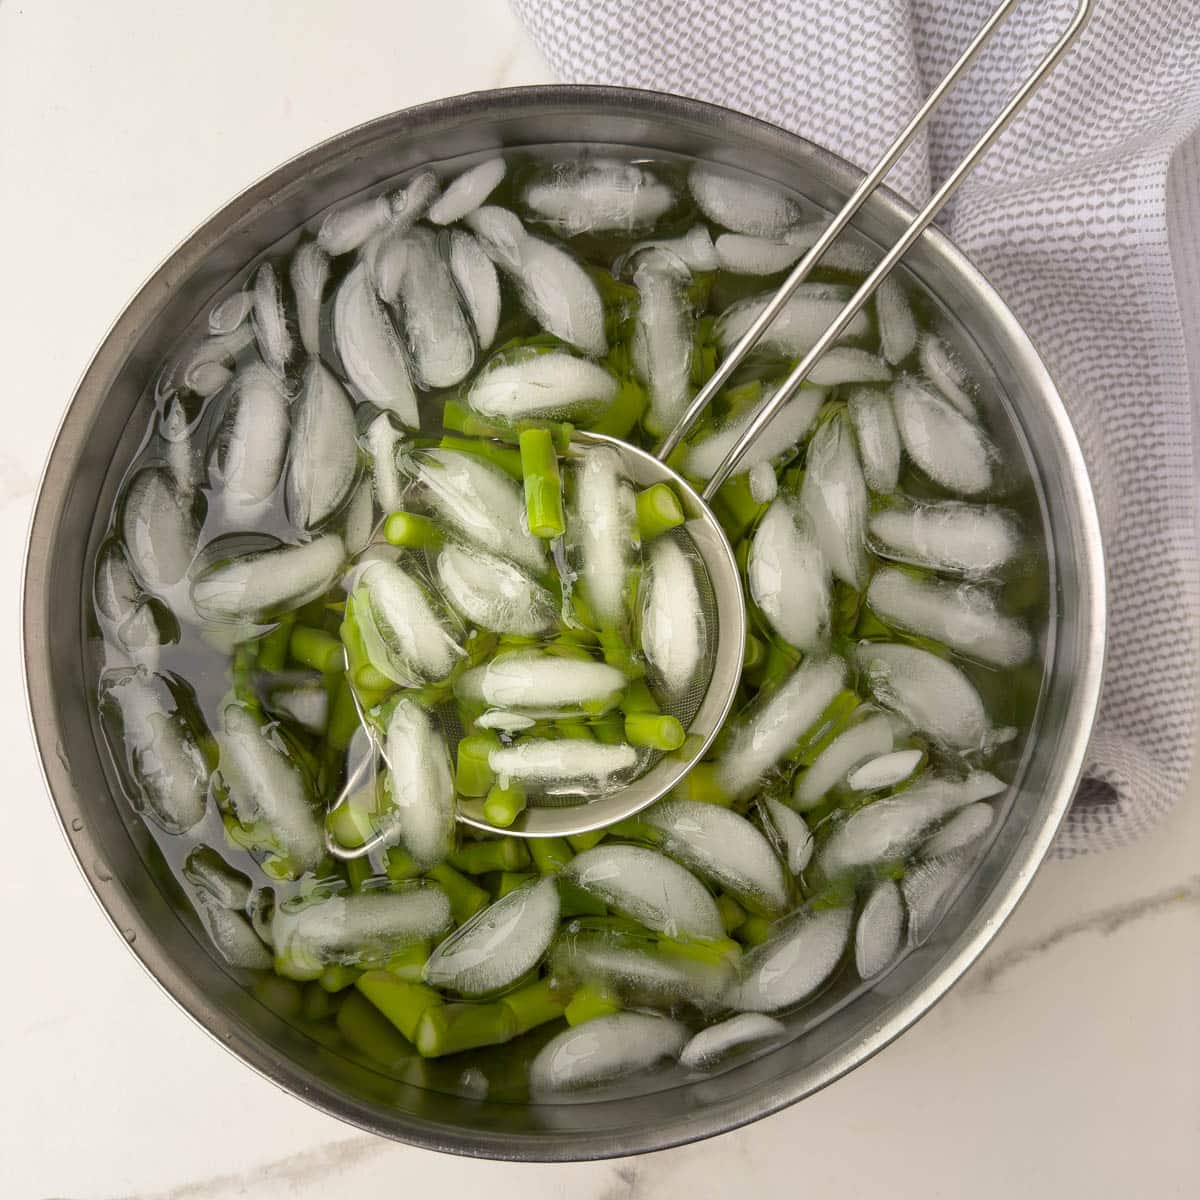
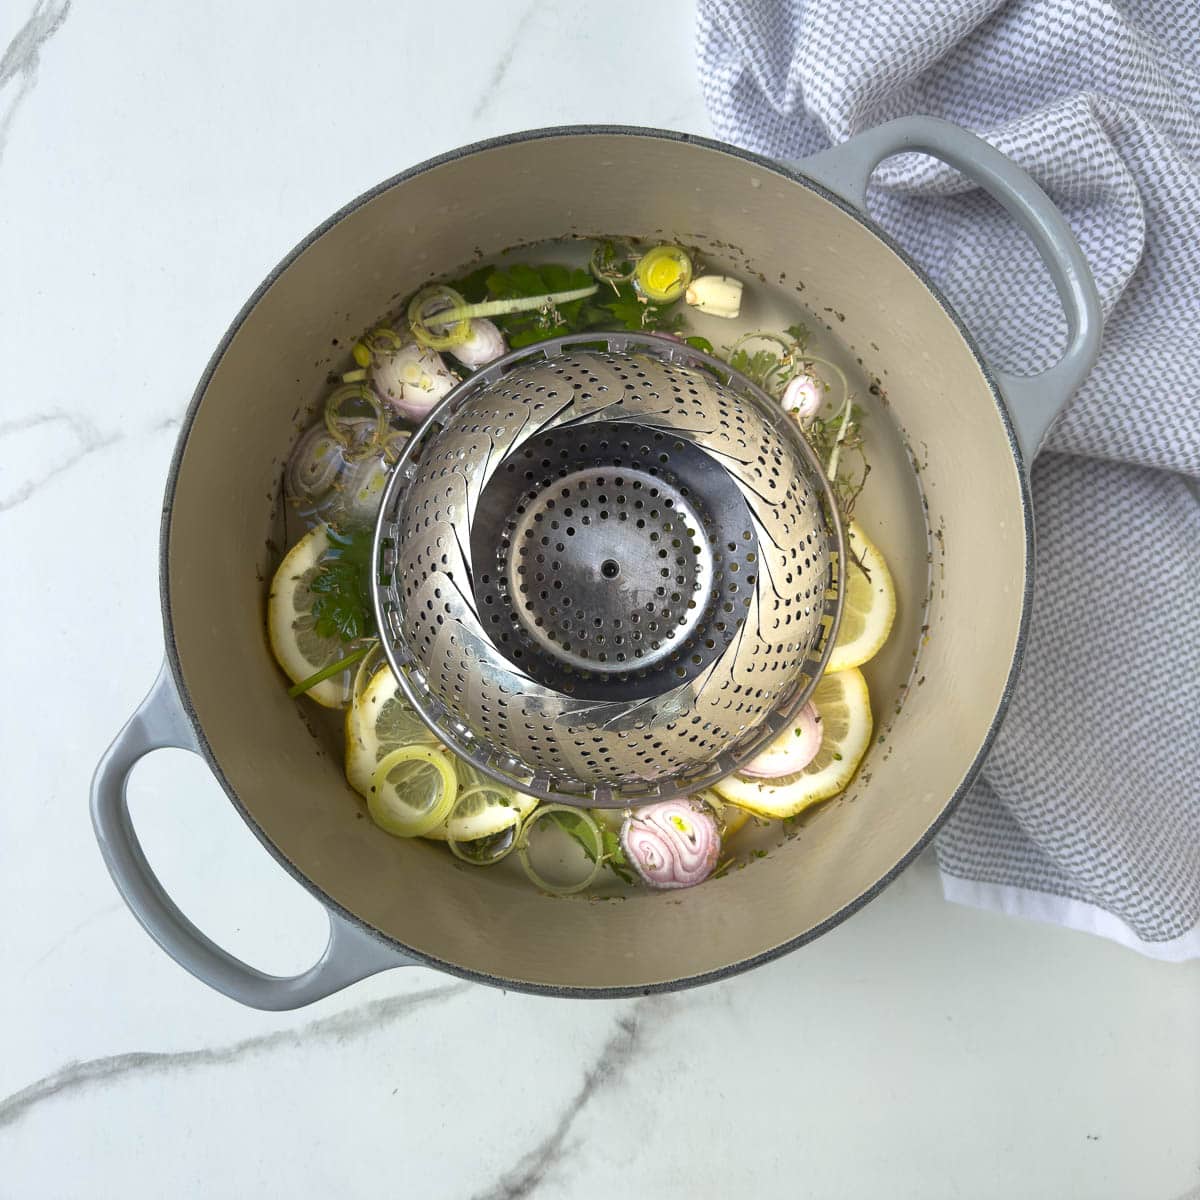
Strain the broth of spent chicken, bones and vegetables through a sieve or fine colander. Clean out the pot and add the broth back in, then place it in a sink full of ice and water to quickly chill (ice bath). Stir occasionally to assist the release of heat. After an hour (or less) your broth should be cold.
For refrigerator safety. let the chicken broth cool to 70°F before putting it in the refrigerator to further chill.
Chef's note: When I make long-simmered bone broth, I use a little apple cider vinegar to help release the collagen from the bones. For a pressure cooker vinegar is not needed as the higher temperature in pressure cookers converts collagen to gelatin quickly for nice rich broth. Added a few chicken feet or backs insures the gelatinous texture.
Refrigerate Broth Overnight
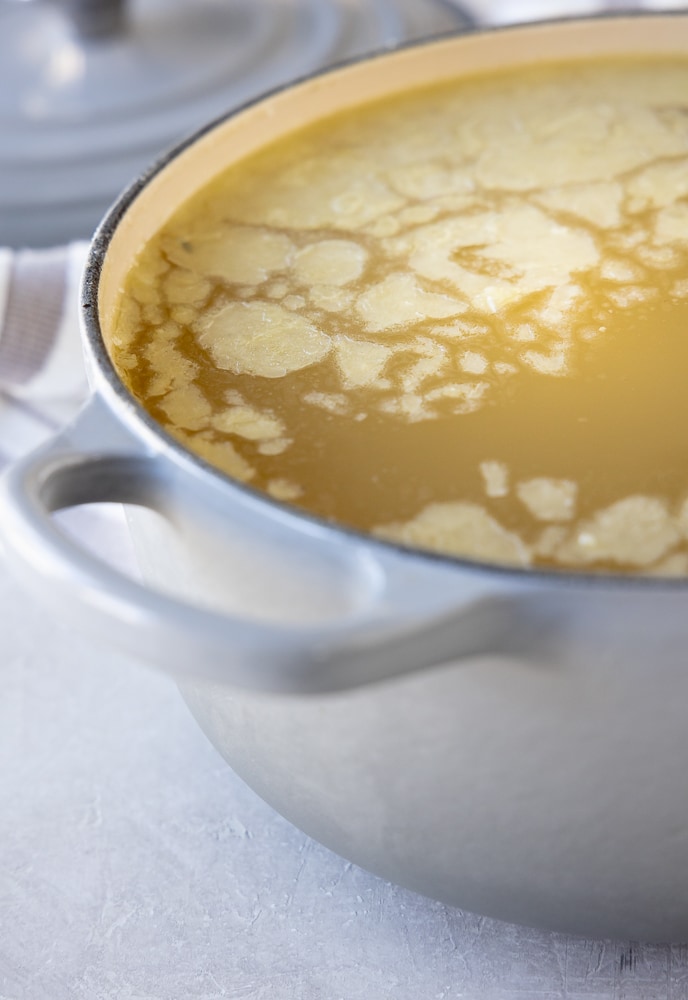
Cover the pot and place it in the refrigerator overnight. In the morning skim the solidified fat from the surface, portion, label and freeze.
One additional tip, sometimes I strain the broth one more time through a fine sieve (or cheesecloth) to remove any vegetable bits, but this is optional. You can use a small, mini fine strainer and do it as you portion into your containers for freezing.
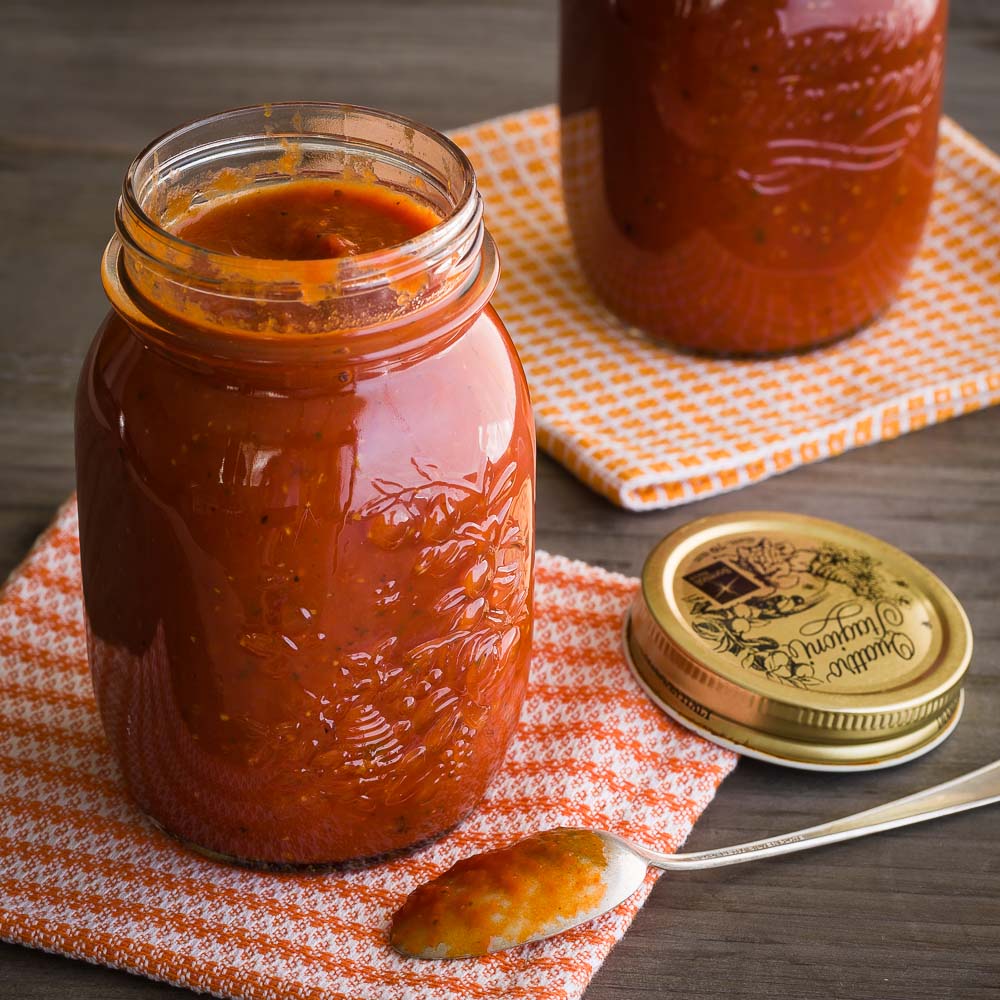
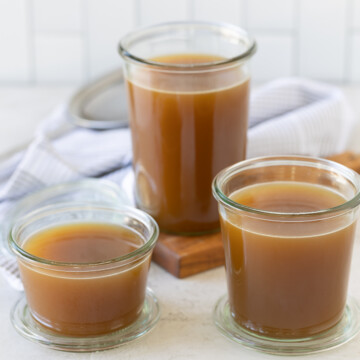
How to Freeze Chicken Broth
I freeze in 1-cup and 3-cup portions for sipping and soups, or in mini portions (½ cup size) for deglazing pans to make quick sauces. Use mason jars, a freezer bag or other airtight container.
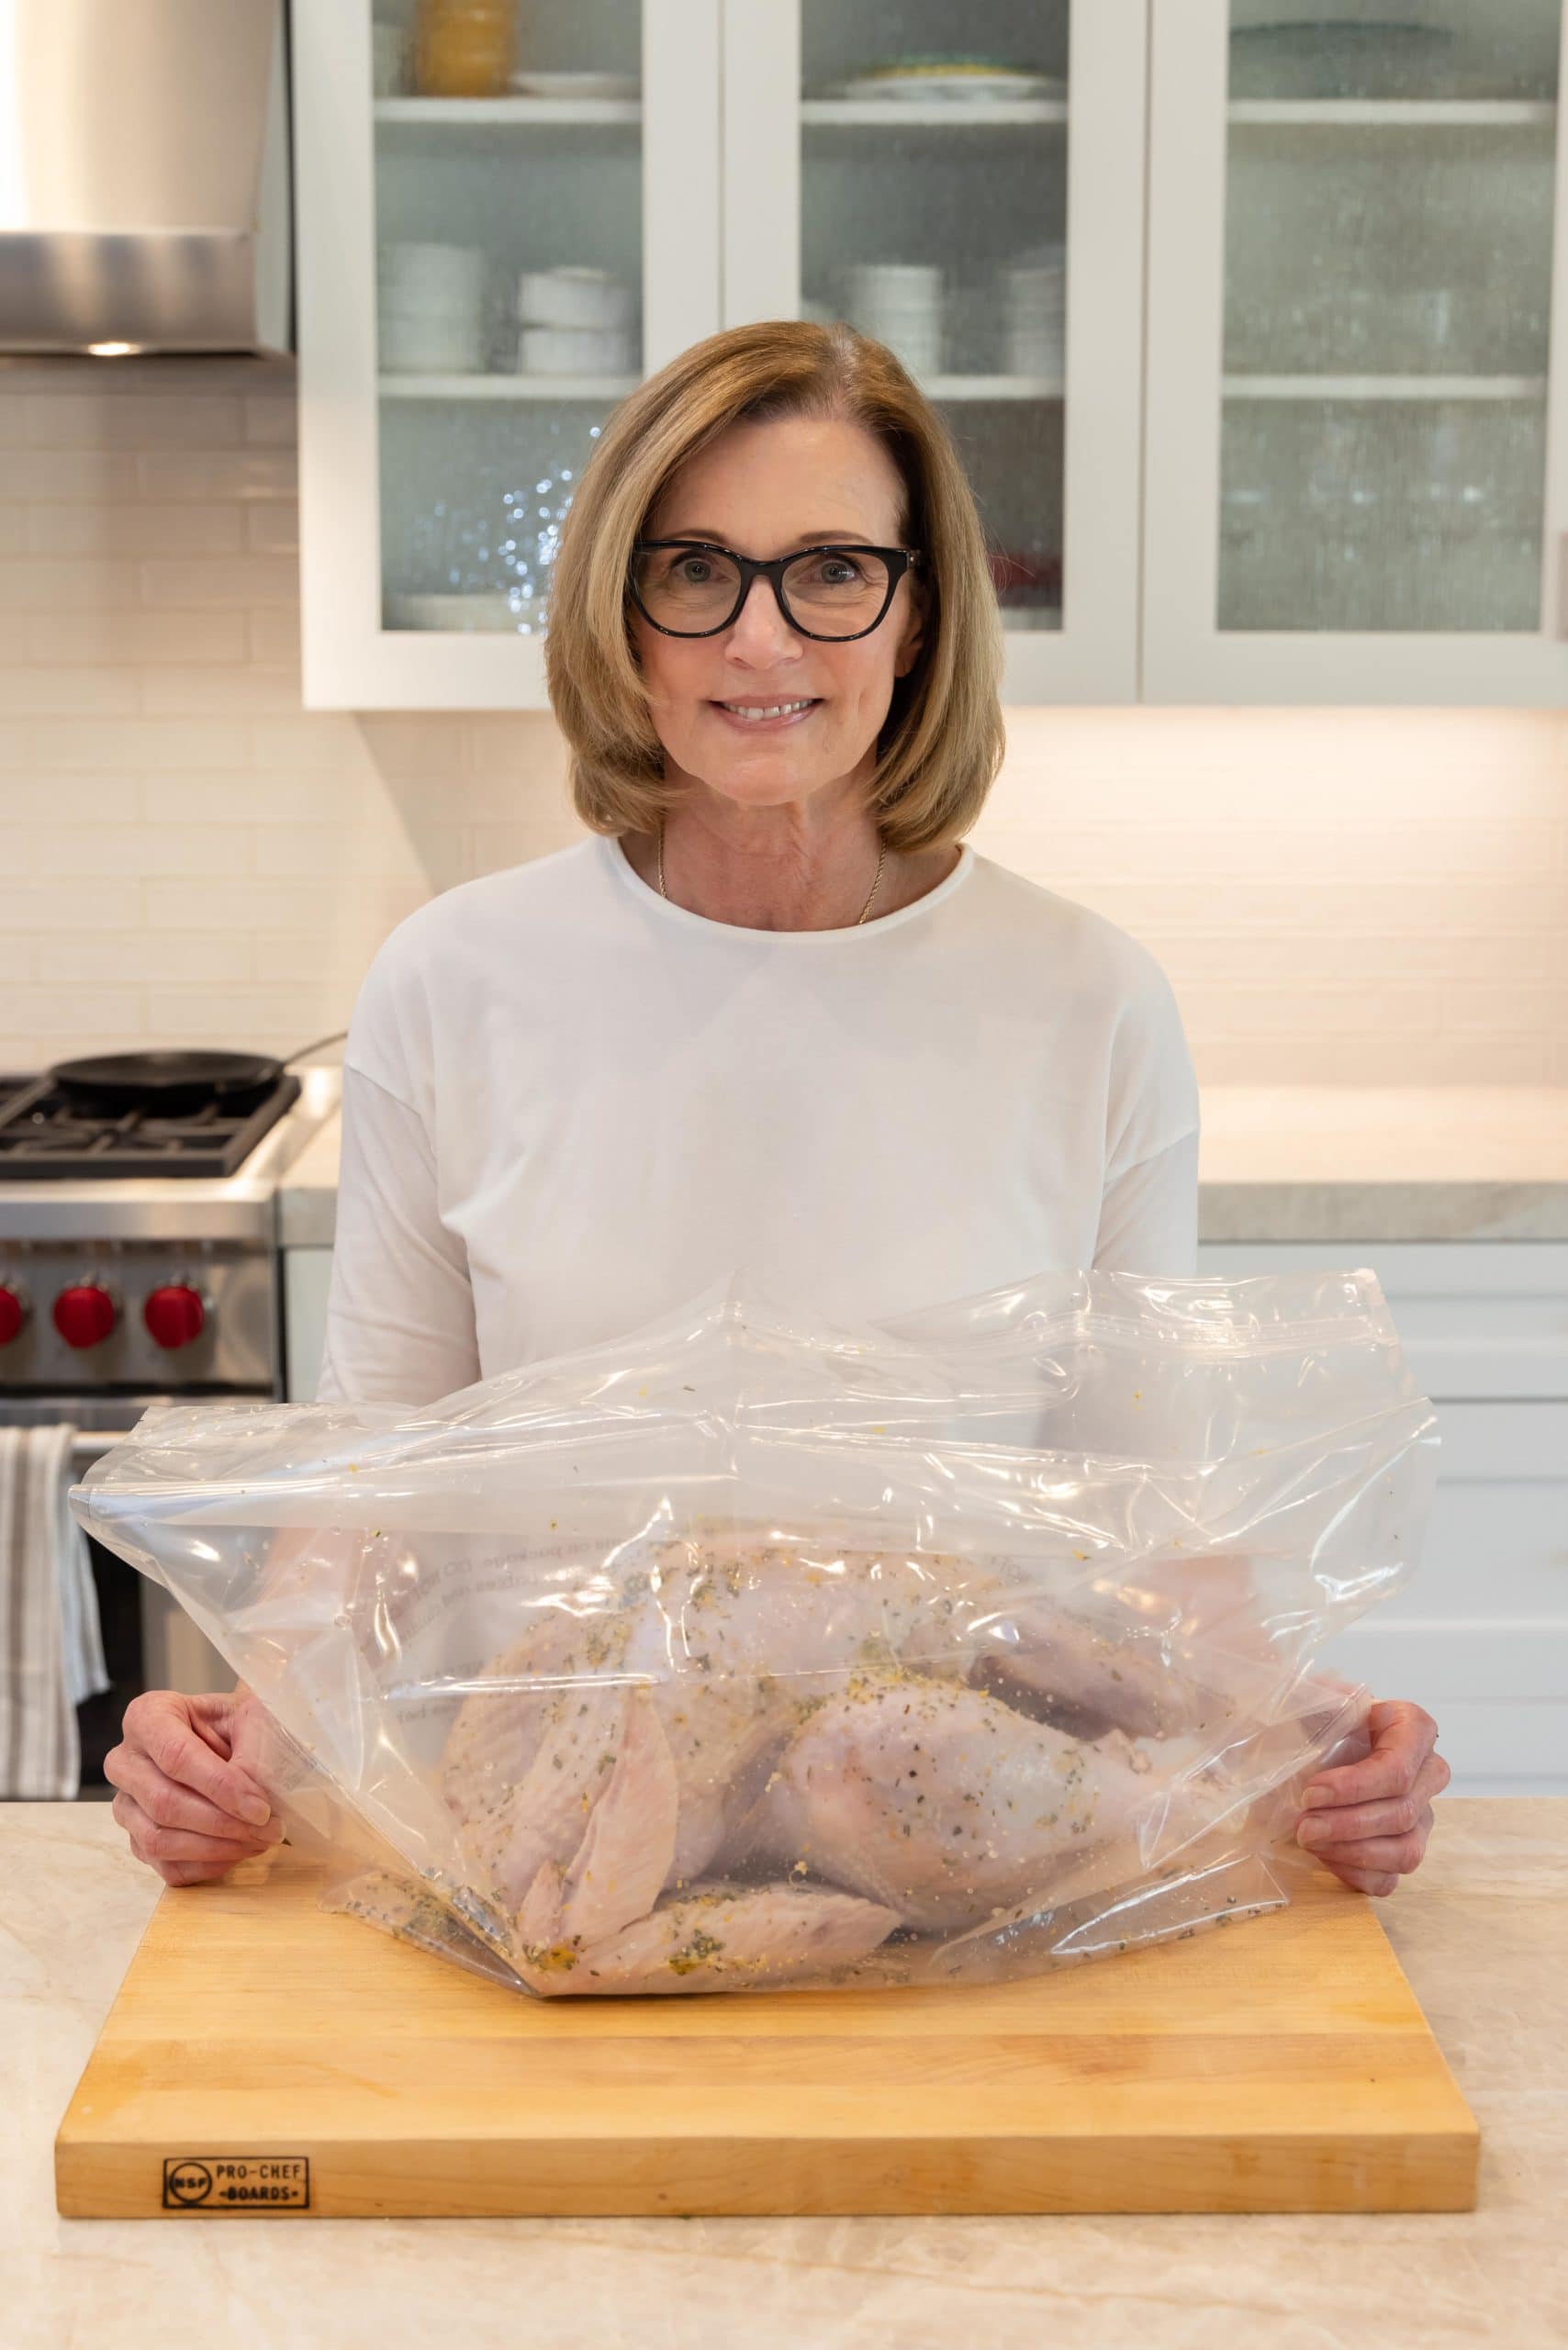
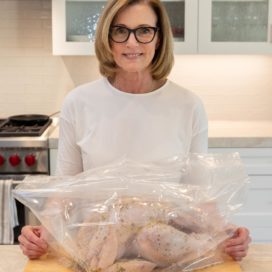
If using a freezer bags, be sure the broth is totally chilled, seal the bags well and lay them flat in your freezer on a small rimmed sheet pan to freeze solid. Then you can remove the sheet pan.
The reason this is not my favorite freezing method is the bags can get nicked and leak, plus it's plastic. Use glass or try these large silicone molds called Souper Cubes. Love them! Be sure to label and date your containers.
Pressure Cooker vs Slow Cooker
For homemade chicken broth, I recommend a pressure cooker (like the Instant Pot) over a slow cooker. Pressure cooking happens in a sealed chamber with steam and pressure, which extracts maximum flavor and nutrients from the chicken and vegetables in a fraction of the time.
Slow cooker - While convenient, most models only make smaller batches, and the flavor isn't quite as concentrated. I prefer making larger amounts in the Instant Pot so I can freeze the extra.
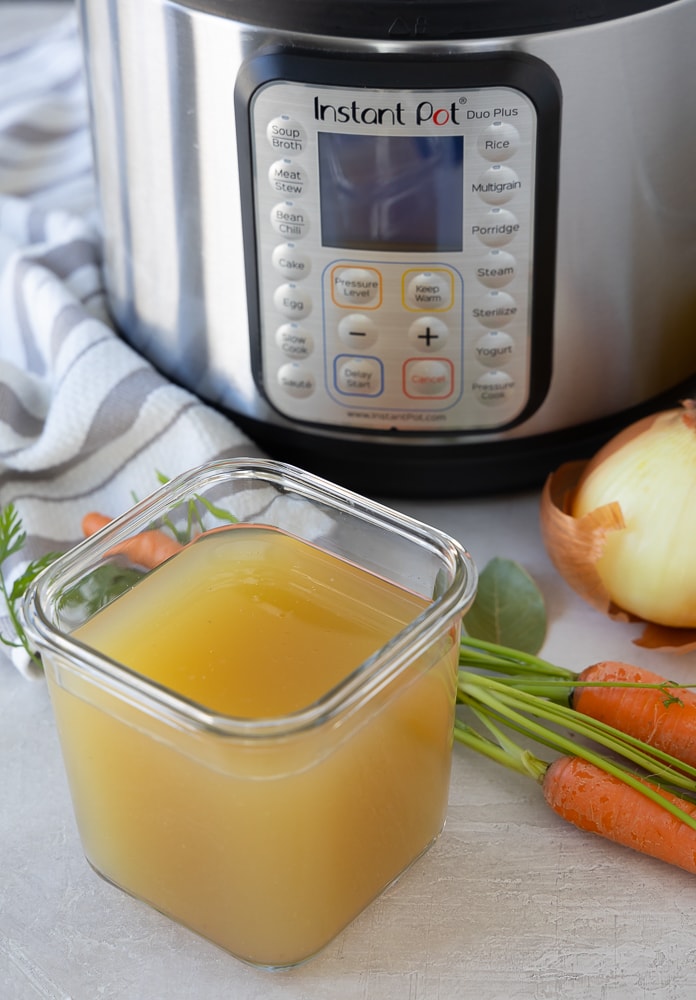
Instant Pot or electric pressure cooker - I use a 6-quart Instant Pot Duo Plus. Any brand works, and if you have a larger pot, scale up ingredients to make a bigger batch (cooking time may increase slightly).
Stovetop pressure cooker - Works just as well if that's what you have.
Four Ways to Thaw and Reheat Chicken Broth
- Refrigerator overnight - Transfer frozen broth to the fridge and let it thaw slowly. Reheat gently in a small saucepan over low heat.
- Microwave + stovetop - Loosen the broth in the microwave, then finish thawing and heating in a pan on the stove.
- Cold water bath - Place the frozen container in a larger bowl of cold water, changing the water every 30 minutes until thawed enough to transfer to a pan.
- Silicone cube method - If frozen in cubes, pop one out and melt it directly in a saucepan over low heat, covered.
Tip: if you use a freezer bag, be sure to place the bag in a large bowl to in case the bag has a hole and leaks.
Recipe FAQs
When making chicken broth in an Instant Pot, it takes approximately 3 hours in total. It takes about 30 minutes to come up to pressure, then 2 hours to cook, then approximately 30 minutes for the pressure to drop before straining and chilling. Can I make a quick chicken broth for a shorter cooking time? Yes, I've made it with a cook time of 90 minutes versus 2 hours still with good results.
Use the high pressure setting on an Instant pot when making chicken broth.
Instant Pot chicken broth lasts 3-4 days in the refrigerator or 2-3 months in the freezer in appropriate containers, labeled and dated.
More Broth and Soup Recipes
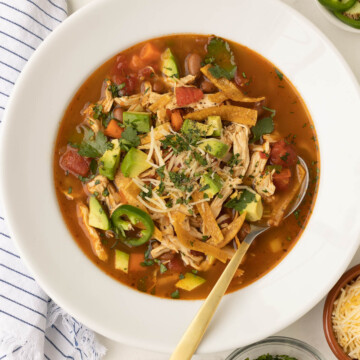
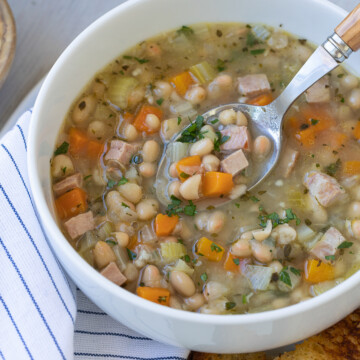
For more broth recipes, try my long-simmered chicken bone broth, roasted turkey broth, and quick vegetable broth. Find chicken soup recipes here.


⭐️Did You Make This Recipe?
If you make Instant Pot chicken broth, please add your comment. I appreciate your feedback and enjoy hearing from you. If you loved it, please give it a 5-star rating! They really help other readers.
📖 Recipe
Easy Instant Pot Chicken Broth
Equipment
- 6 quart or larger Instant Pot or electric pressure cooker
Ingredients
- 4 pounds bone-in skinless chicken thighs and legs skinned as much as possible, see note below
- ½ onion chopped
- 2 carrots chopped
- 1 large rib celery chopped
- ½ medium leek, rinsed of sand chopped, optional
- 3 garlic cloves peeled and smashed
- 2-3 fresh thyme springs
- 1 bay leaf
- 2 quarts filtered water 8 cups
Would you like to save this recipe?
Instructions
Prep the chicken
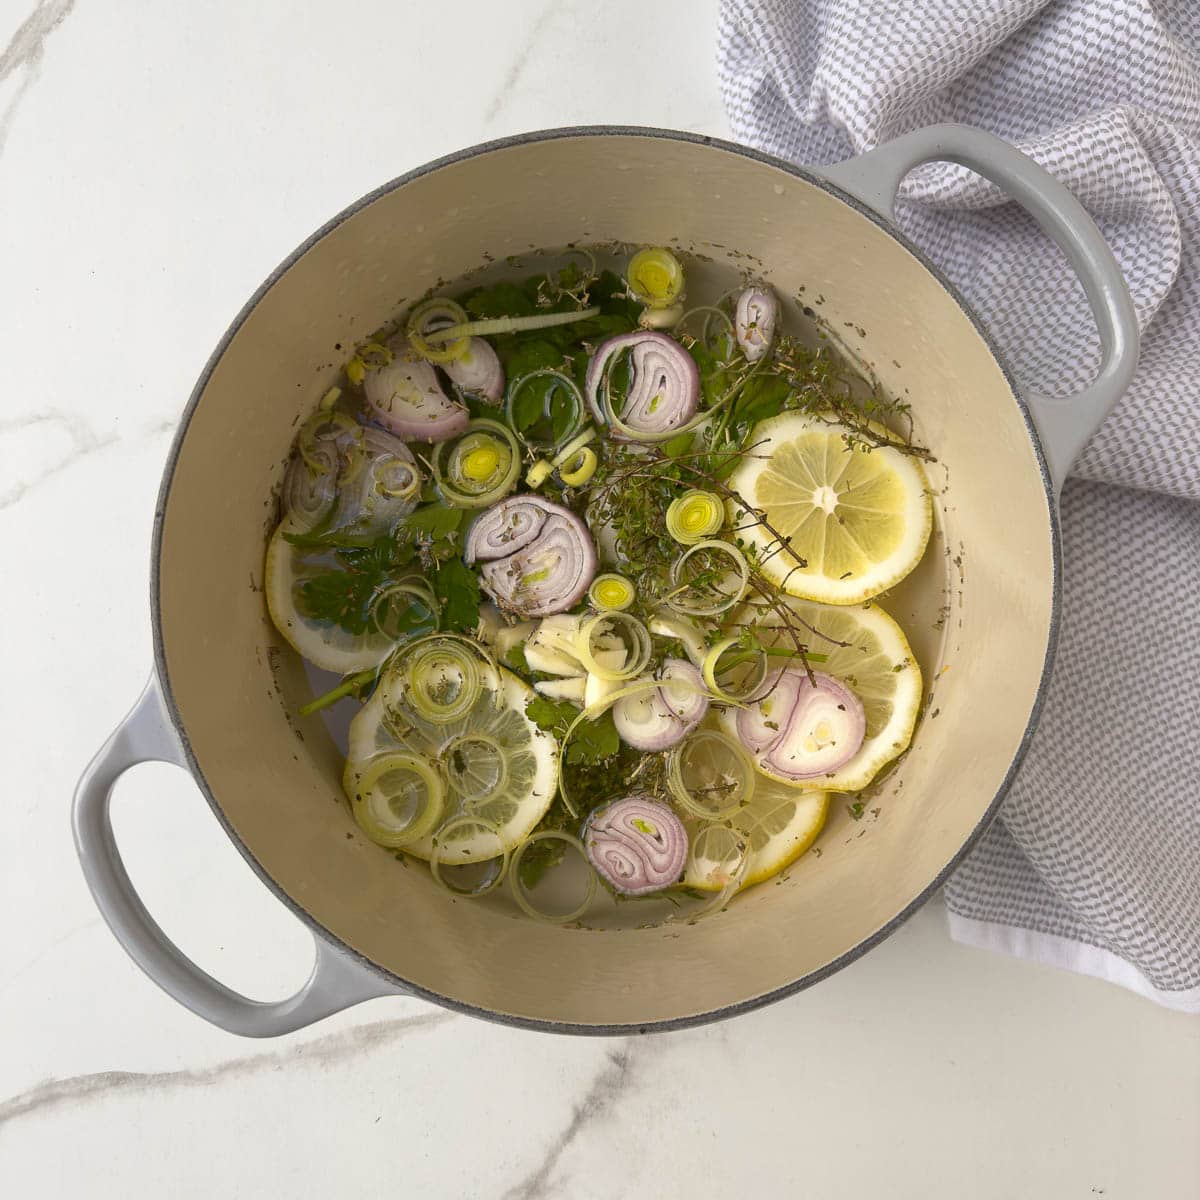
- If using a whole chicken cut it into pieces and remove extra fat and as much skin as possible. For help see the photos in the post. If using pieces, also trim off extra fat and skin. Place the chicken in the pot, then add the onions, carrot, celery, leek, garlic, thyme, bay leaf and water.
Pressure cook
- Fill the pot up to the line that reads "PC max ⅔" with fresh filtered water, about 2 quarts. Lock on the lid and turn the vent to lock. Press the Soup/Broth button and set the timer for 2 hours. After 2 hours press the cancel button and allow the pressure to release naturally for 20-30 minutes. After that turn the vent button and let any additional pressure release.
Strain broth
- Strain the spent chicken, bones and vegetables thorugh a sieve or fine colander into another container. Wash the pot, then add the broth back to the pot for chilling.
Chill broth
- Fill a sink half full of ice and cold water for an ice bath. Place the pot in the ice bath and chill for about 1 hour, or until the broth is below 70°F. Cover and place the pot in the refrigerator overnight. In the morning, skim the surface of solidified fat, then portion, label, and freeze.