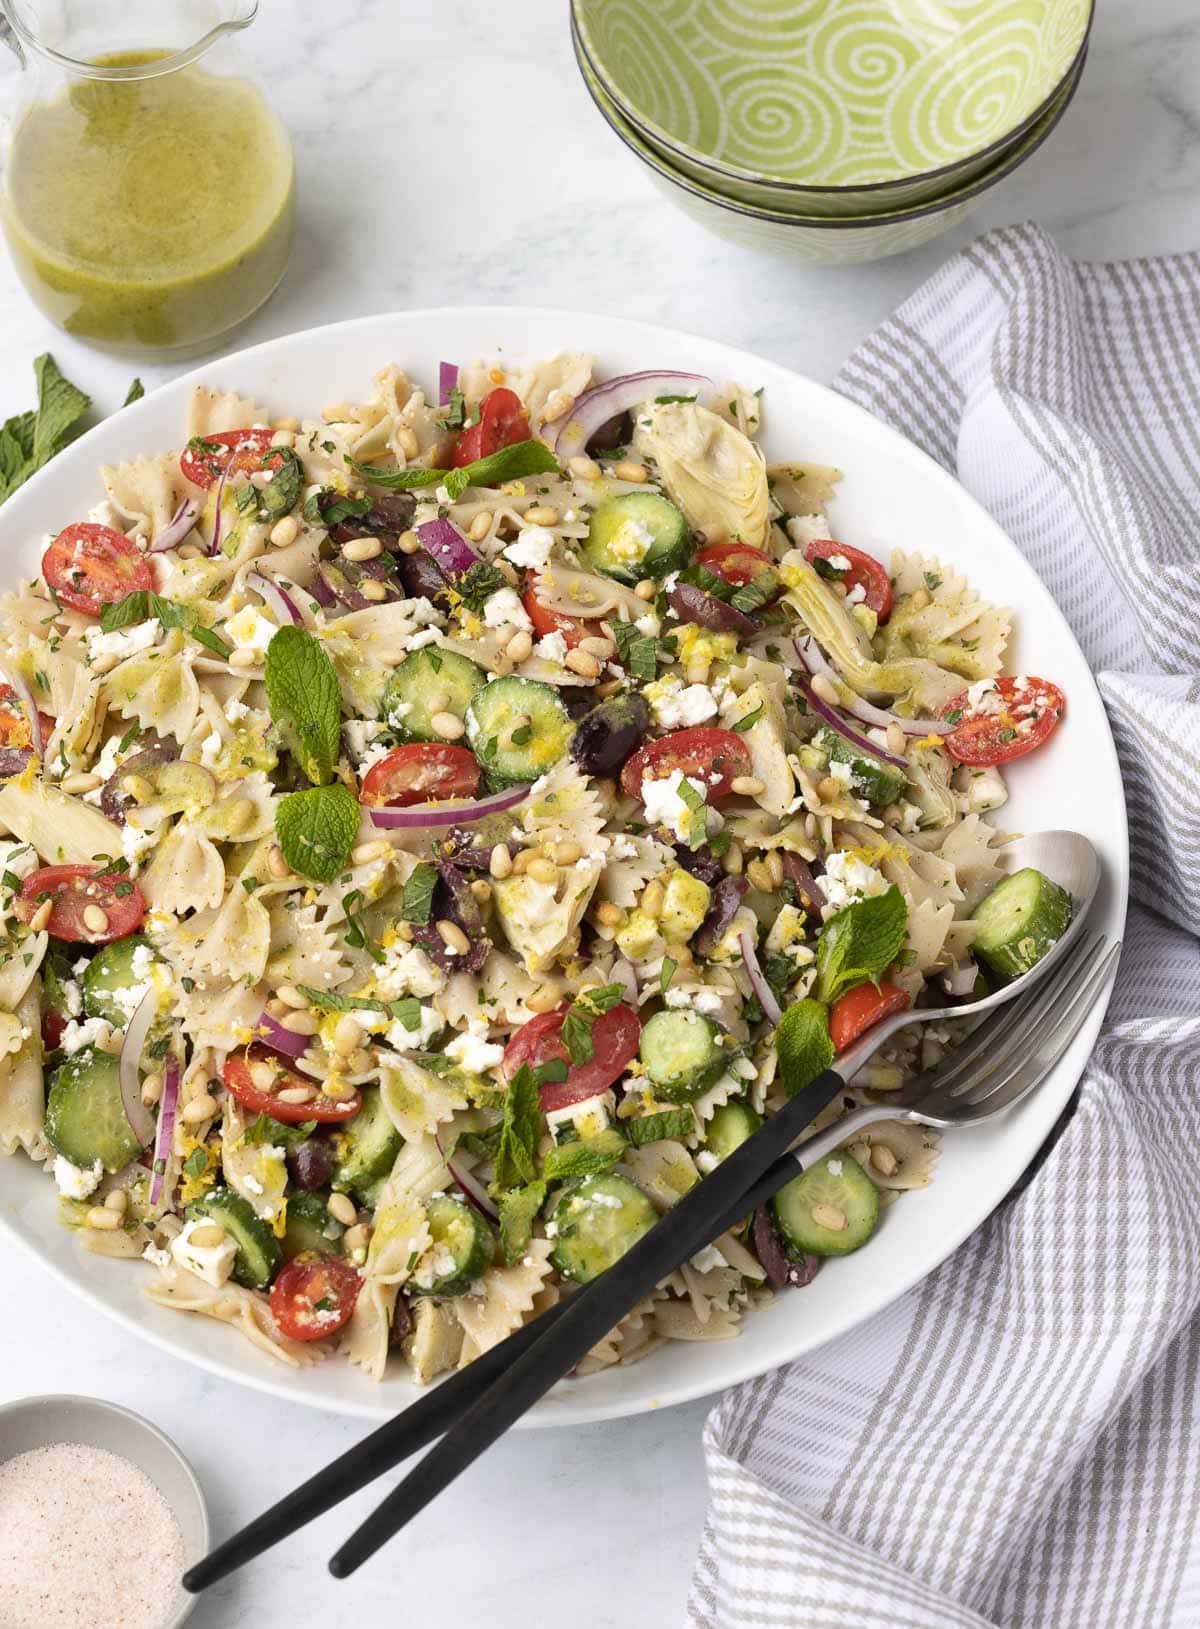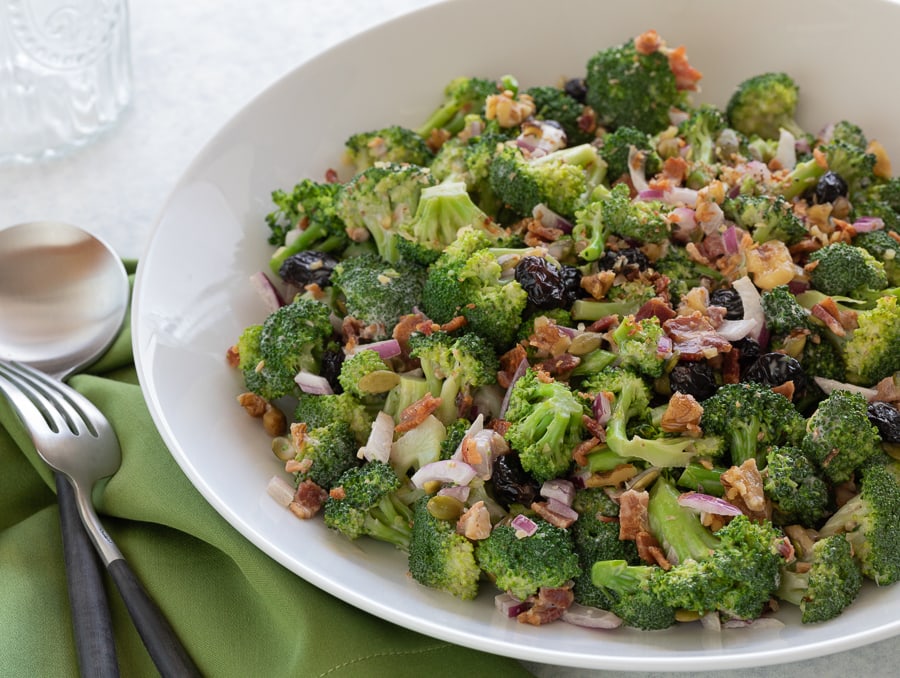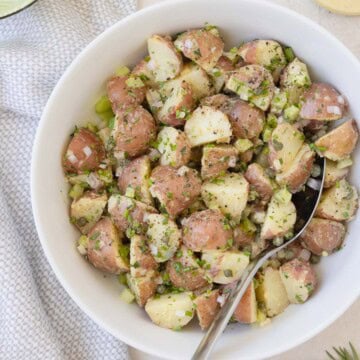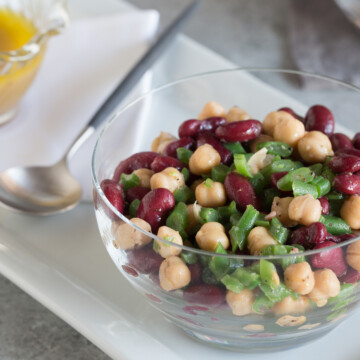
This 3 bean salad recipe is a classic make-ahead side dish with fresh green beans, canned beans, and a tangy homemade vinaigrette. It's quick, healthy, packed with plant protein and fiber, and perfect for summer picnics, potlucks, barbecues, and parties. Serve it with burgers, ribs, grilled chicken, or seafood, and easily customize it with extra beans, herbs, vegetables, or feta.

Our favorite lunch spot along California's spectacular Big Sur coast is Nepenthe, famous for its Ambrosia burger, sandwiches, salads, soups, and wonderful views. On a recent visit, I ordered their classic 3 bean salad as a side and was reminded how good this simple salad can be. This is my version, inspired by that easy, old-school favorite.
3 Bean Salad Recipe Snapshot
- Fast and easy - Takes minutes to make.
- Healthy - Delicious source of fiber and plant protein.
- Versatile - Great along side of soup, burgers, ribs, and added to a green salad.
- Add more beans - Turn it into a 5 bean salad in a minute.
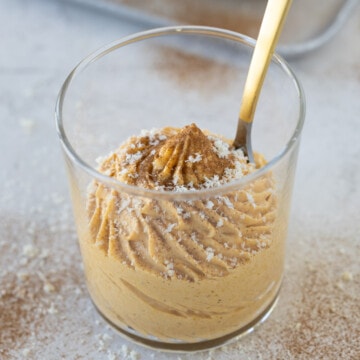
For another recipe with garbanzo beans (aka chickpeas), try this kale salad with avocado, beans, and a creamy tahini dressing.
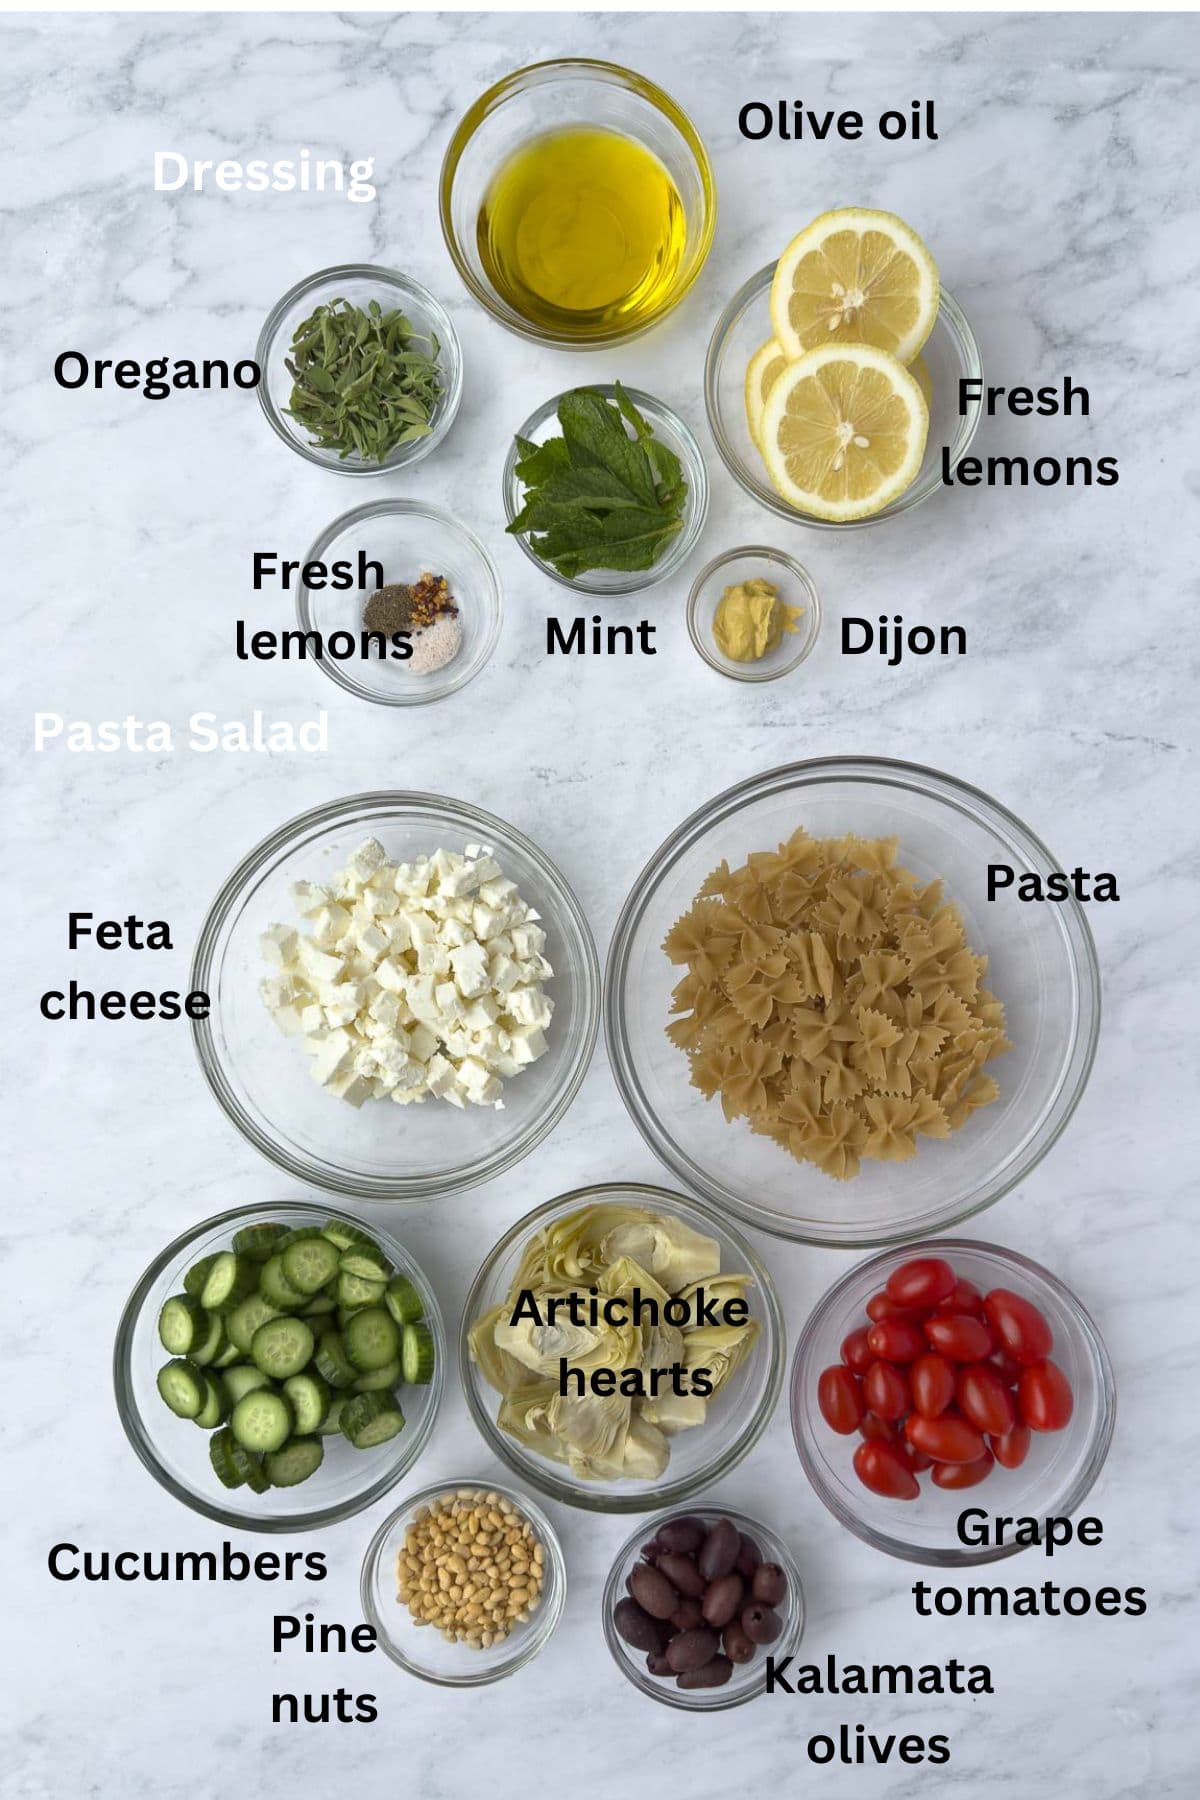
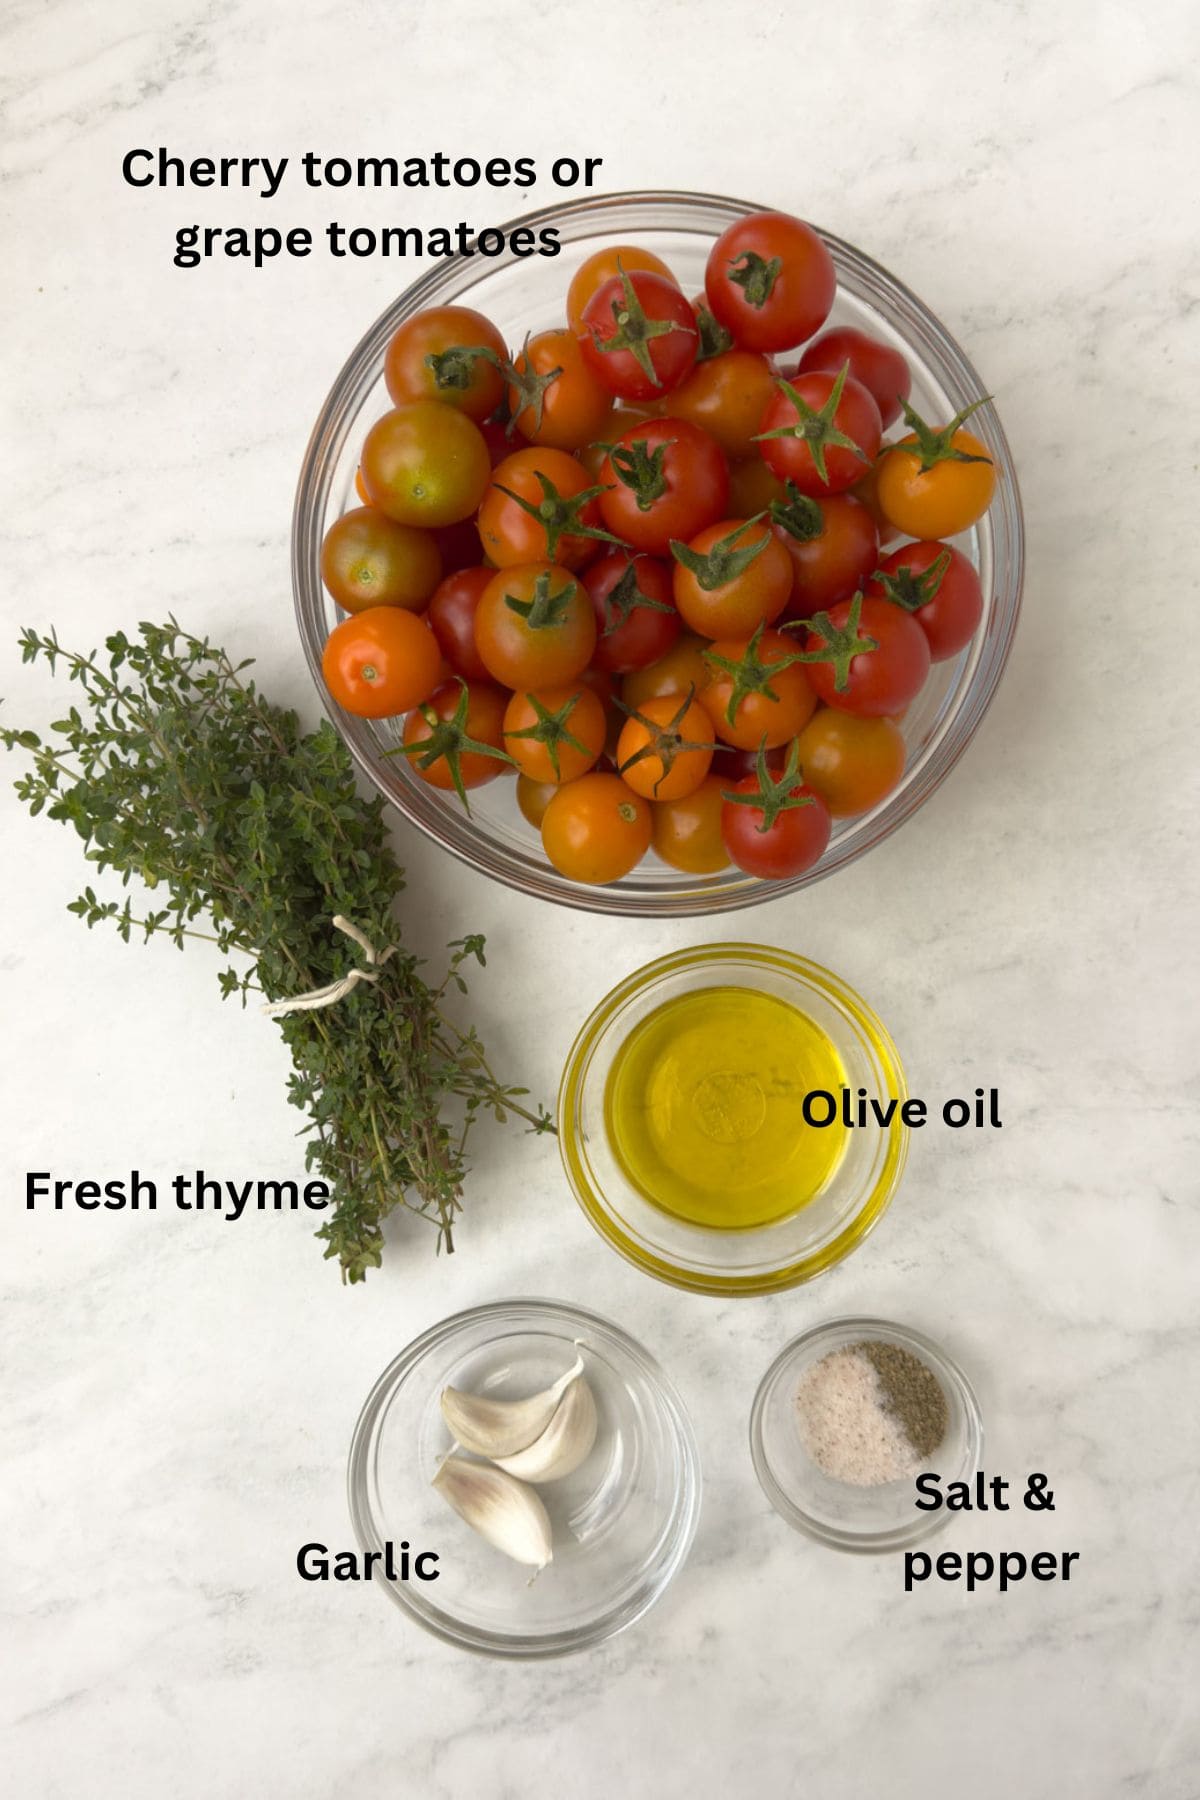
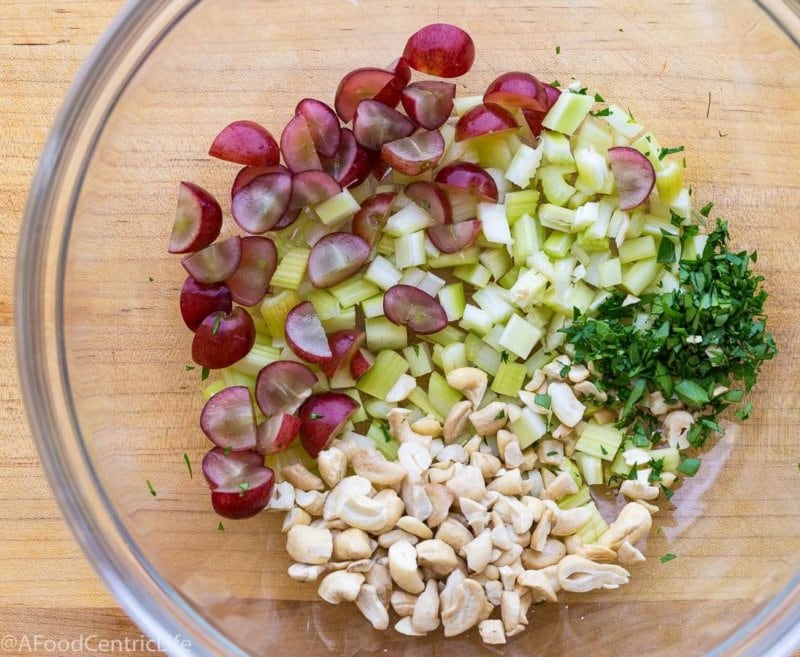
Ingredients You'll Need
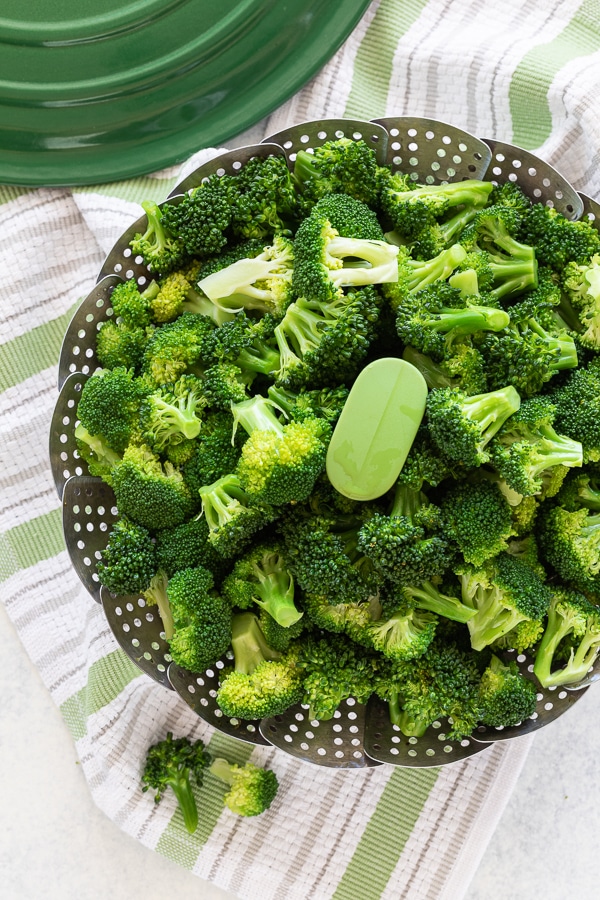
Three simple types of beans make a winning combination, and using canned beans and fresh green beans, blanched for 5 minutes, makes it easy.

Bean Salad
- Kidney beans - Buy the canned red kidney beans, either light red or dark red. Buy low sodium or no-sodium added beans so you control the salt.
- Garbanzo beans - Also called chickpeas, same as the sodium advice above.
- Green beans - I prefer the tender, slender French green beans called Haricot Vert. If you can't get them, use regular fresh green beans. If fresh beans are not available, use frozen whole green beans, or canned green beans.
French Vinaigrette
- Oil - Extra virgin olive oil provides the best flavor. Don't use vegetable oil, it adds no flavor.
- Vinegar - Red vine vinegar is traditional for a French vinaigrette, but you can use apple cider vinegar, white wine vinegar, or champagne vinegar.
- Mustard - Creamy Dijon mustard is my go-to. It helps to emulsify the dressing a bit and gives it a bit of a kick plus great flavor.
Please see the recipe card for measurements.
Chef's tip on kidney beans: Dark red kidney beans or light red kidney beans? Light red kidney beans are a little softer in texture than dark red kidney beans, with well balanced flavor. Both have a firm texture and work in soups and salads such as this three bean salad. White kidney beans are called cannellini beans. Don't ever eat kidney beans raw as they are naturally toxic before cooking. Canned beans are cooked.
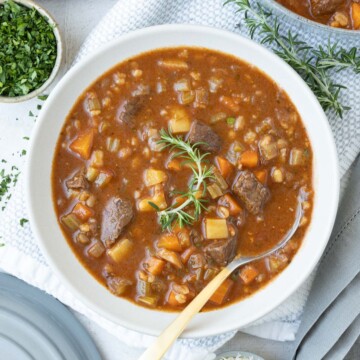
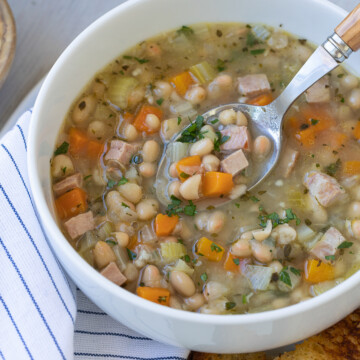
For a hearty soup with white kidney beans (cannellini beans), make a pot of this Tuscan white bean soup.
Substitutions and Variations
There are lots of fun ways to change this 3 bean salad up!
- Make it a 5-bean salad - Add cannellini beans, Great Northern beans, navy beans, black beans, or lima beans.
- Change the dressing - Use homemade Italian vinaigrette, or brighten the salad with a little fresh lemon juice.
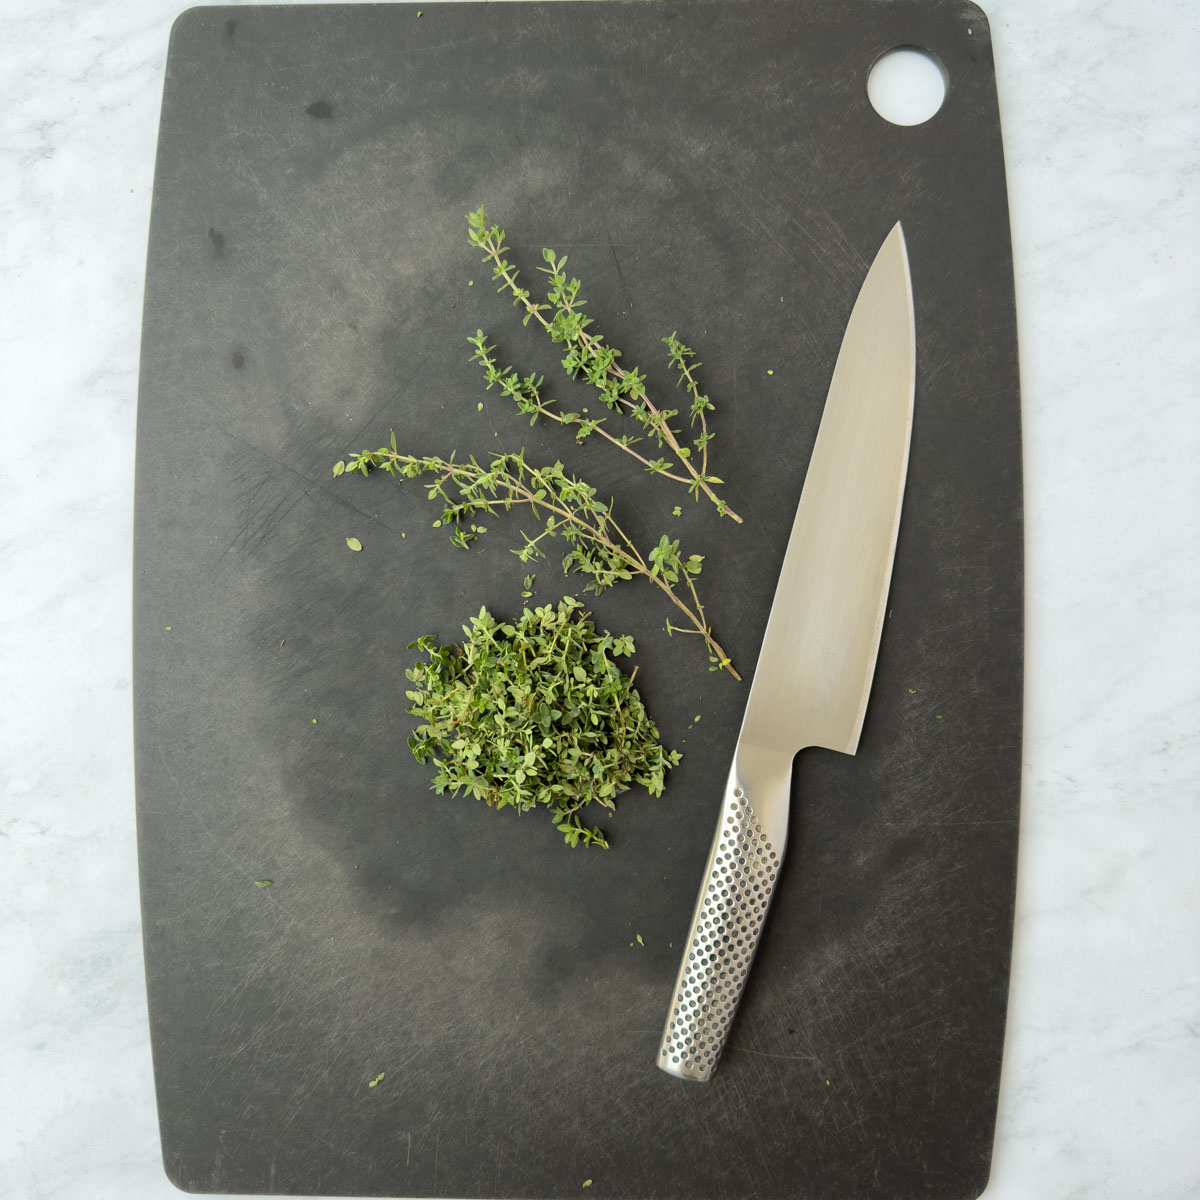
- Add fresh herbs - Parsley, thyme, chives, or mint add fresh flavor and color. Mint is especially good.
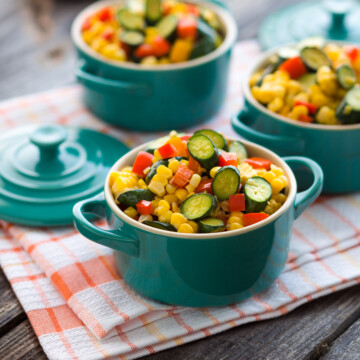
- Add more vegetables - Try corn kernels, chopped celery, finely chopped red onion or shallot, or chopped bell pepper.
- Use wax beans - Swap some or all of the green beans for yellow wax beans.
- Add cheese - Crumbled Greek feta adds tangy, salty flavor.
Here's another super easy bean salad, my white bean salad, made with either canned beans or dried beans.
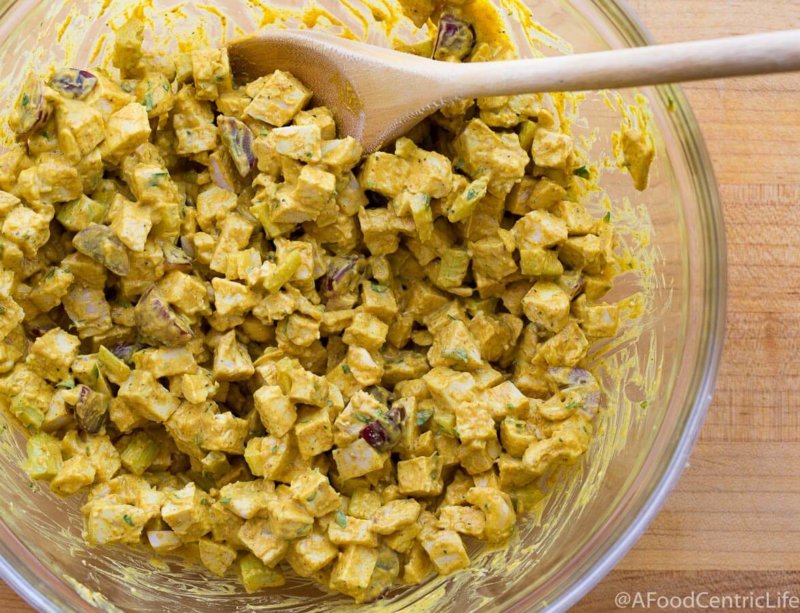
How to Make 3 Bean Salad


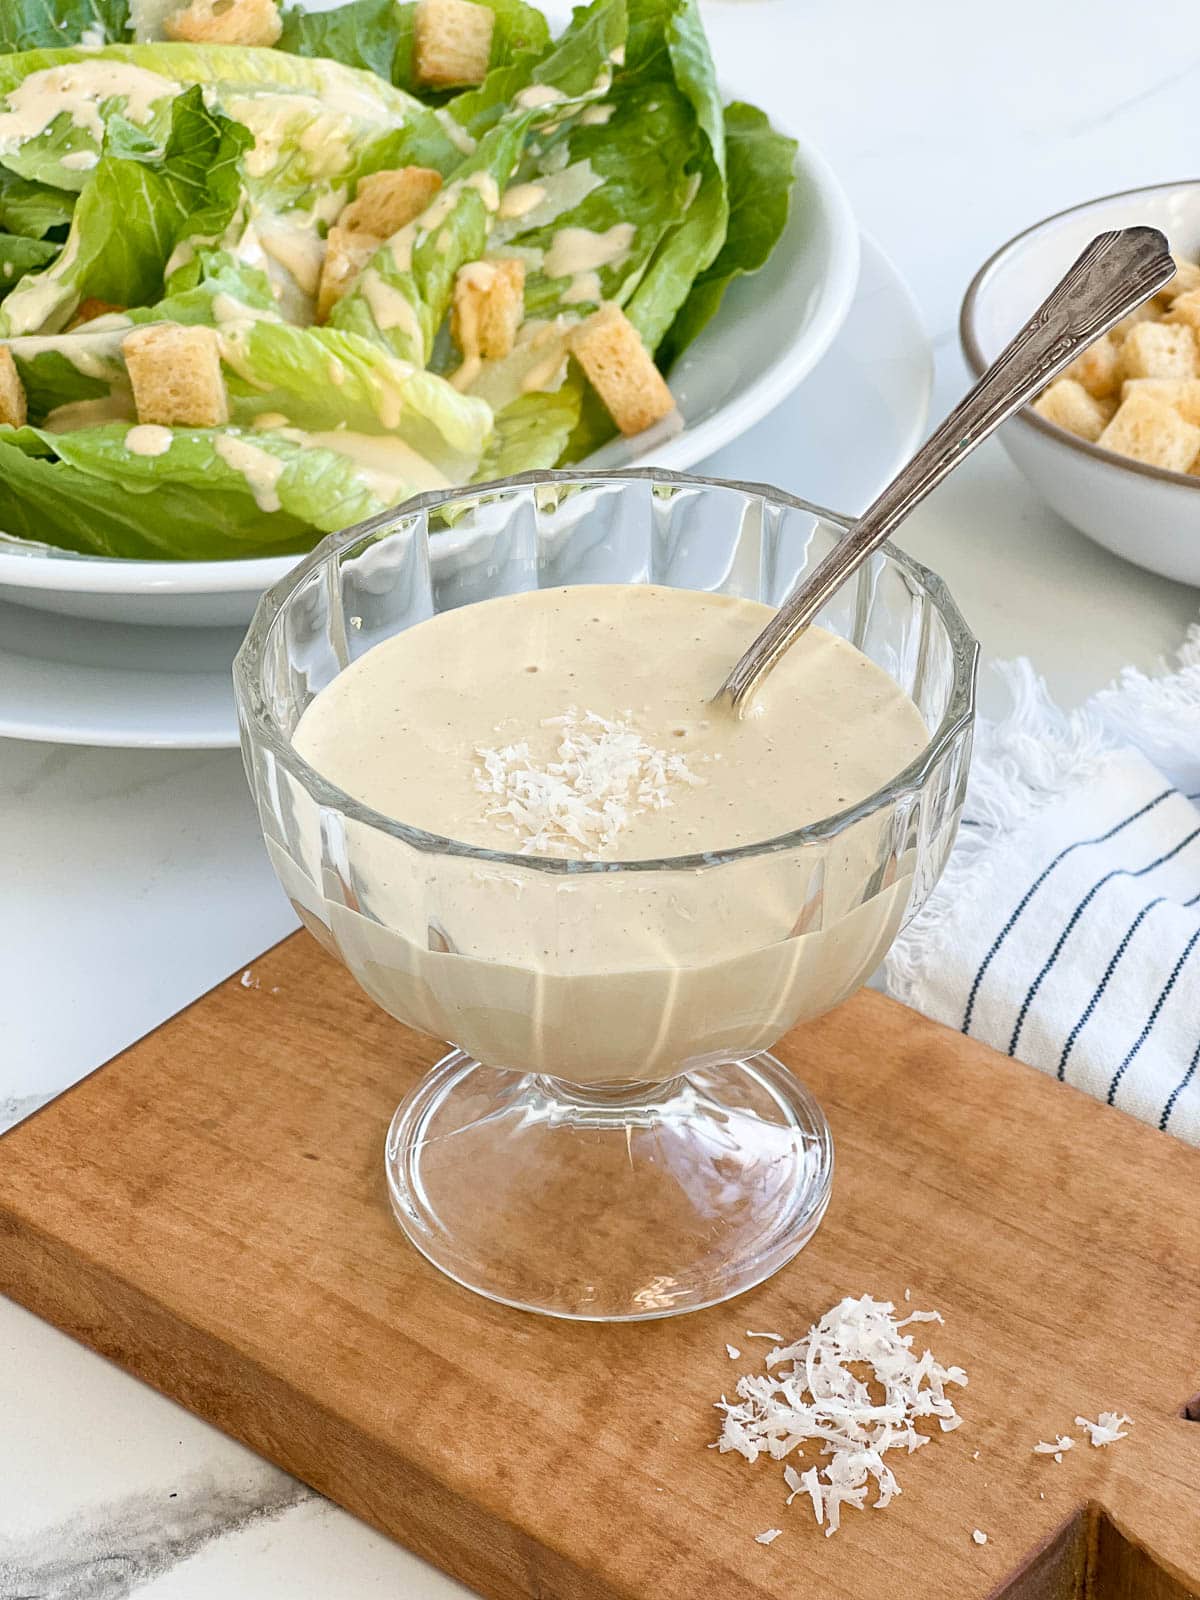
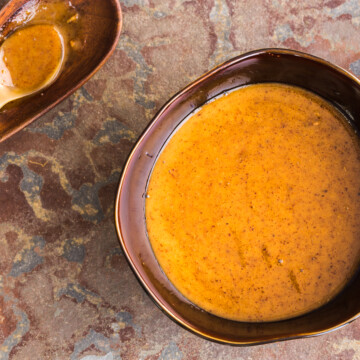
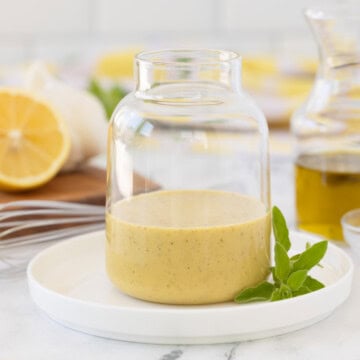
How to a Make French Vinaigrette
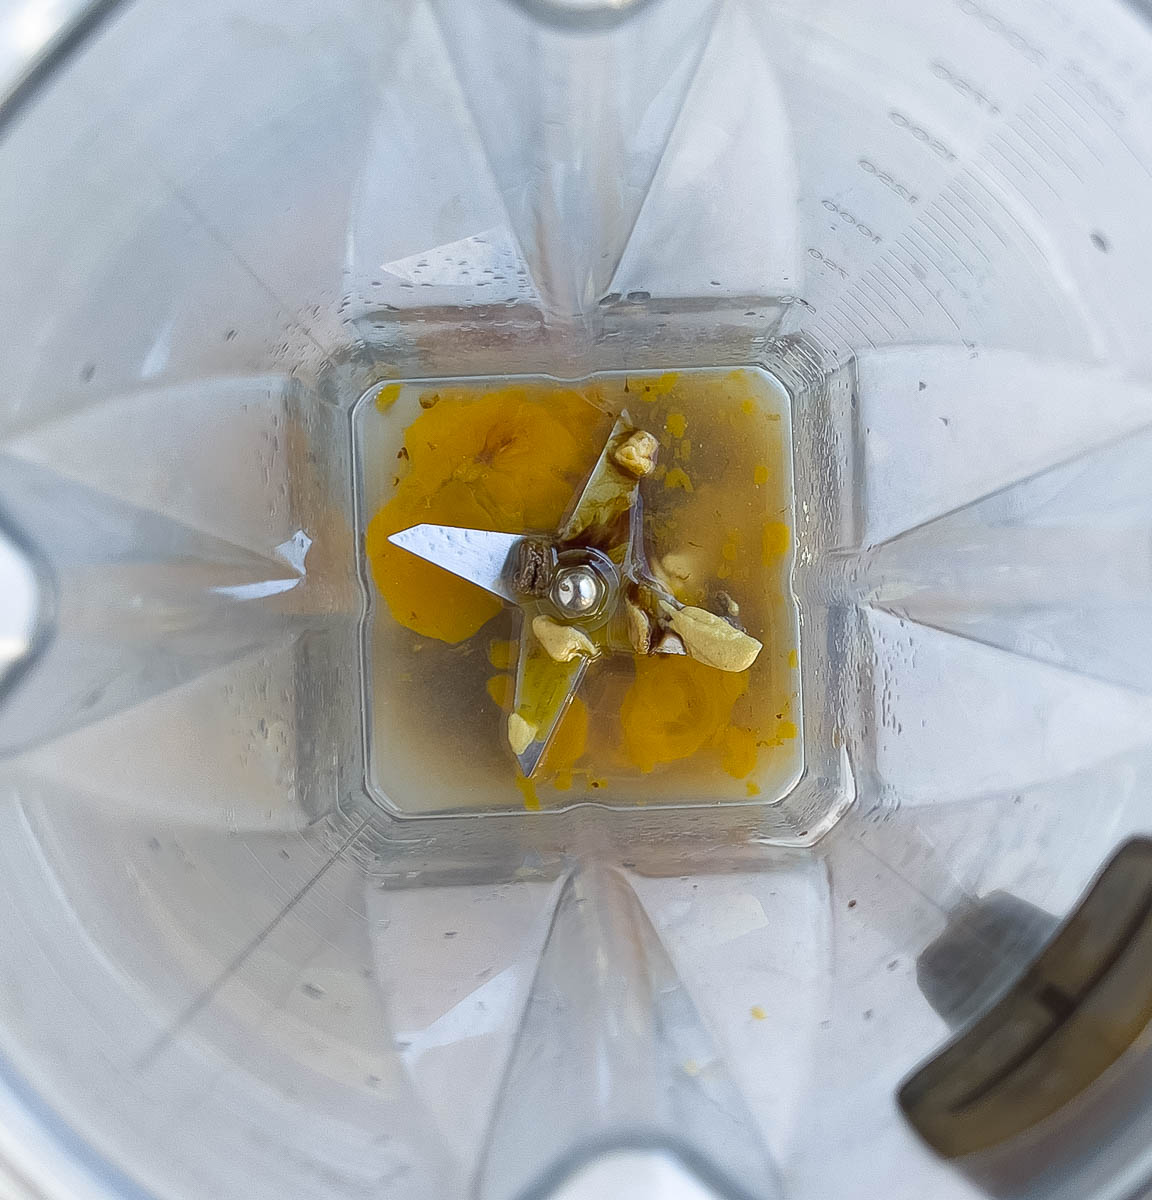
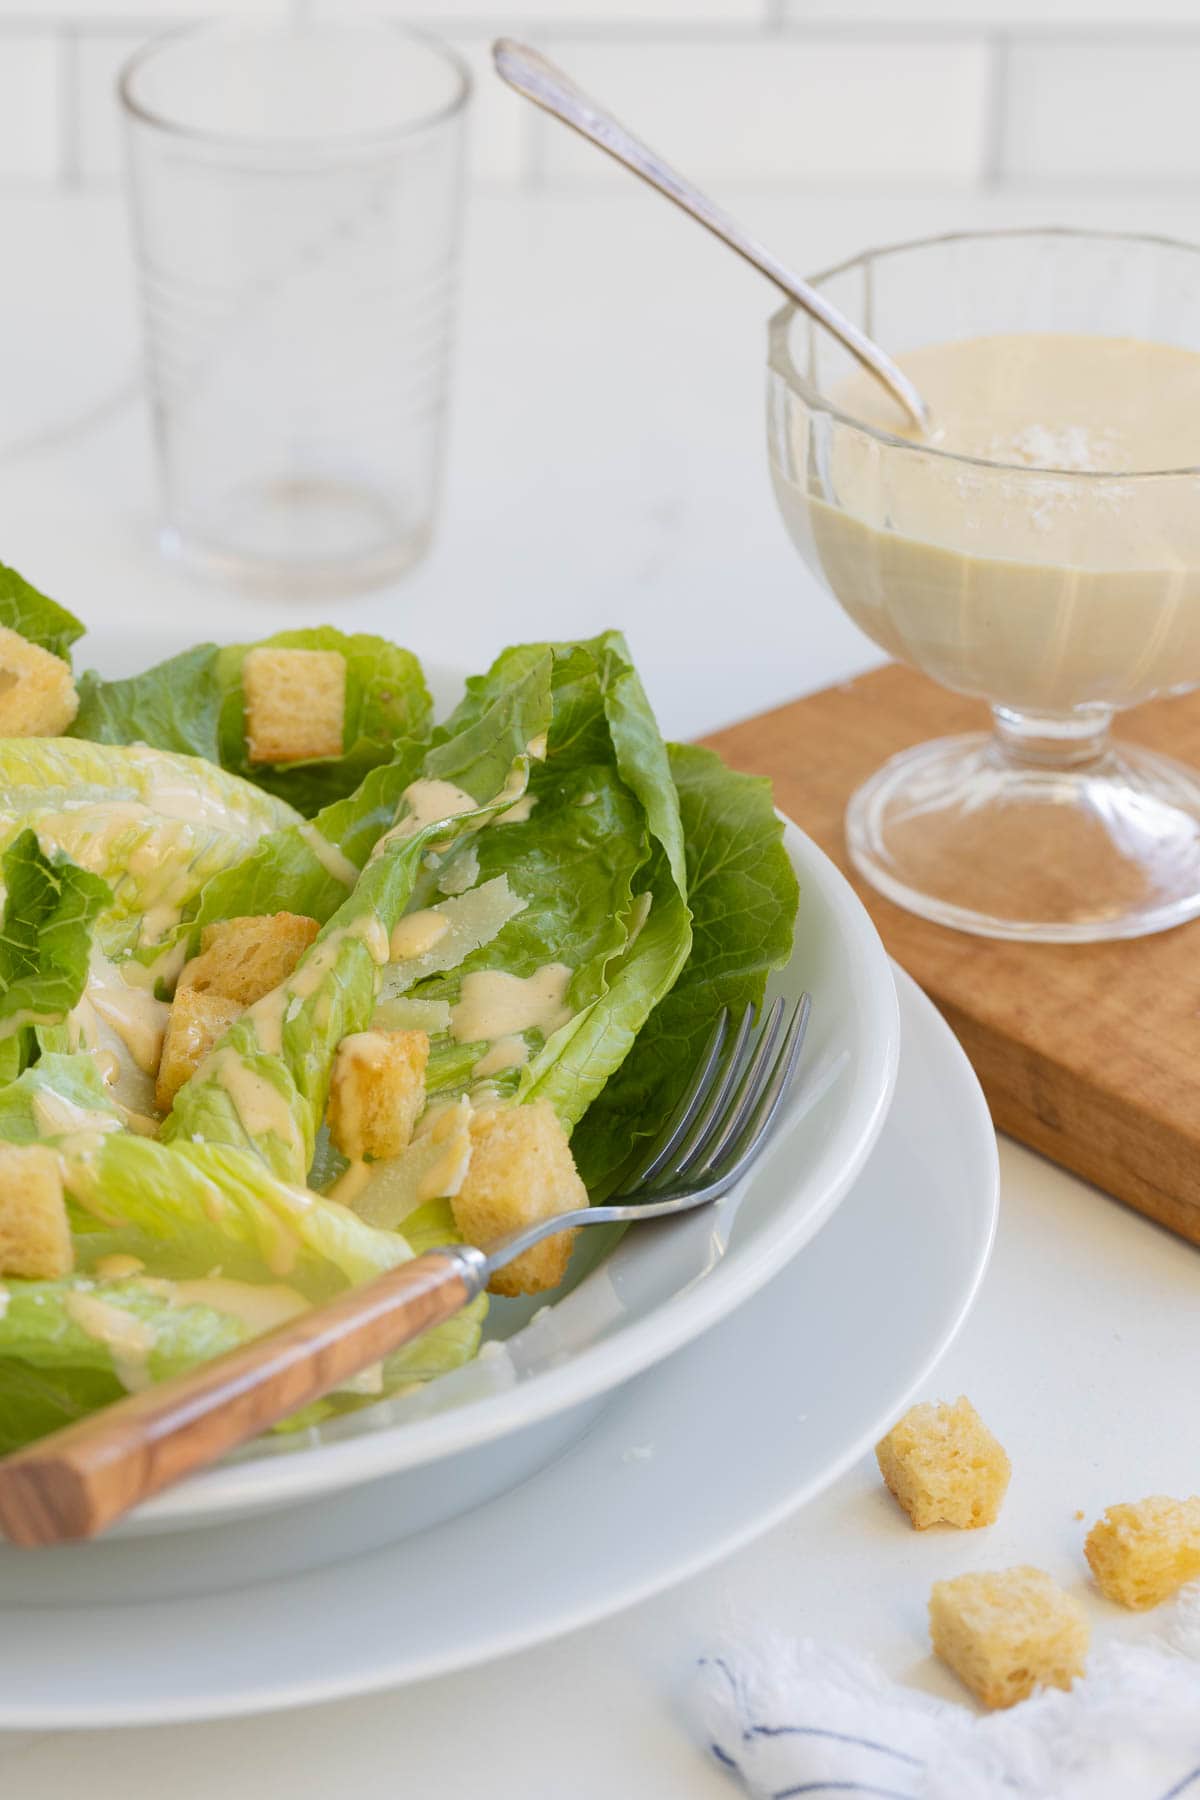
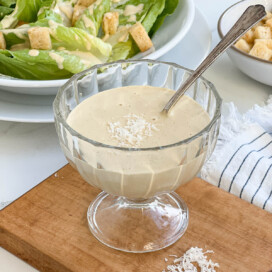
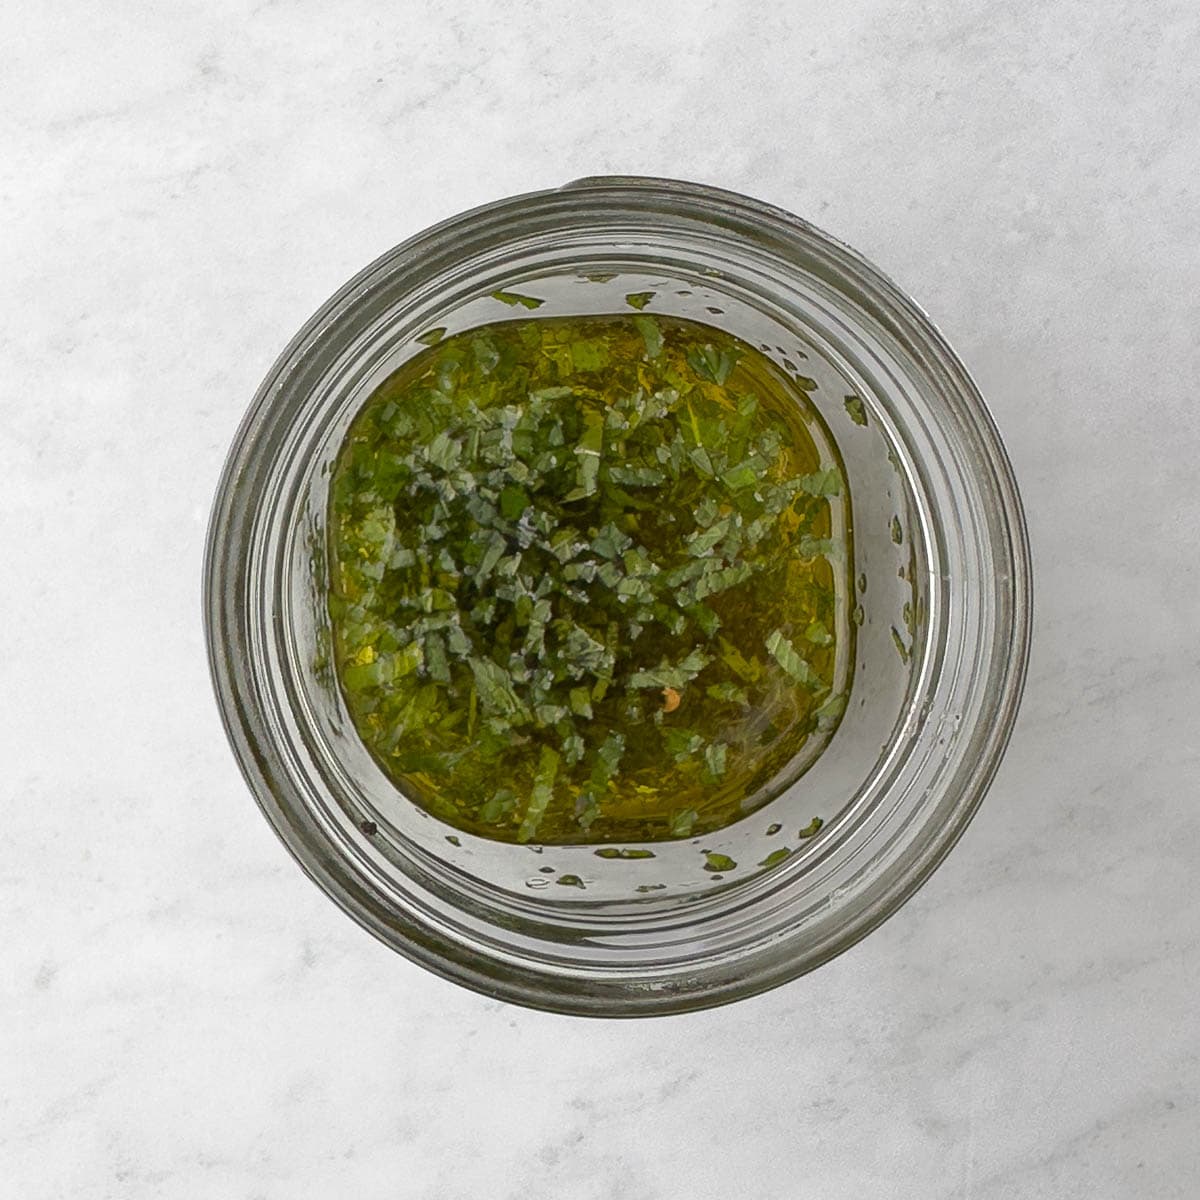
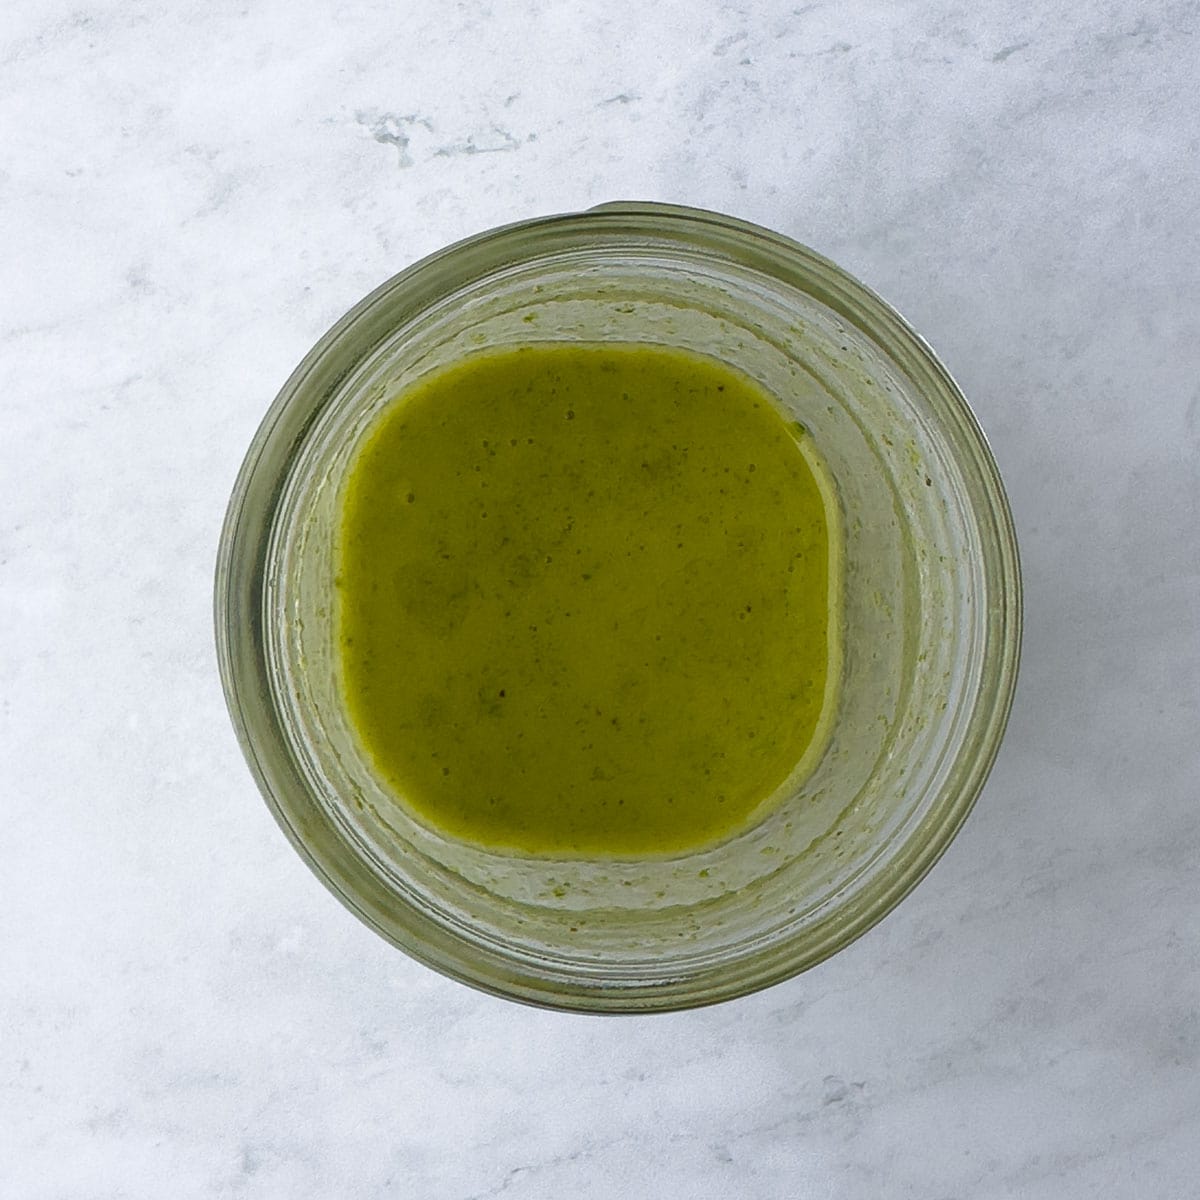
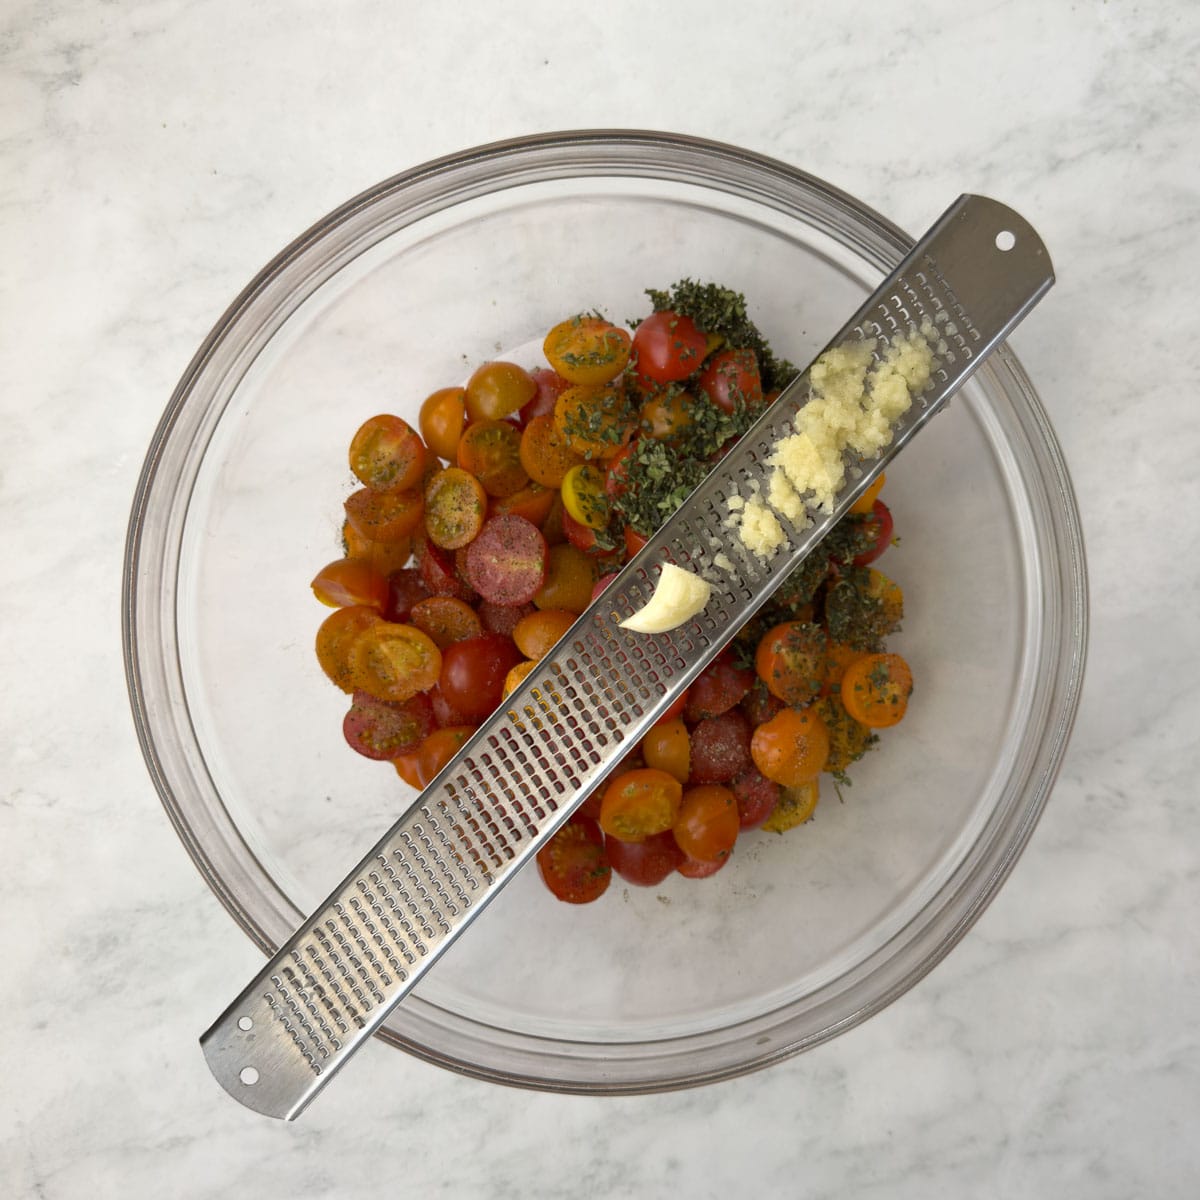
Here's simple tasty dressing for bean salad. Making a homemade vinaigrette is easy and skips additives you might get in a bottle. Add extra virgin olive oil, red wine vinegar a little Dijon mustard plus a sprinkle of sea salt and pepper to a jar and shake until smooth. This is a good basic tangy dressing for many salads, so make extra to use during the week.
Chef's tip for garlic: Adding a little garlic to dressings is delicious, but biting into raw garlic is not. For really fine garlic use one of my tricks: chop it finely then use the back of your chef's knife to smear it into a paste, zest it with a microplane zester, or use the garlic paste in a tube.
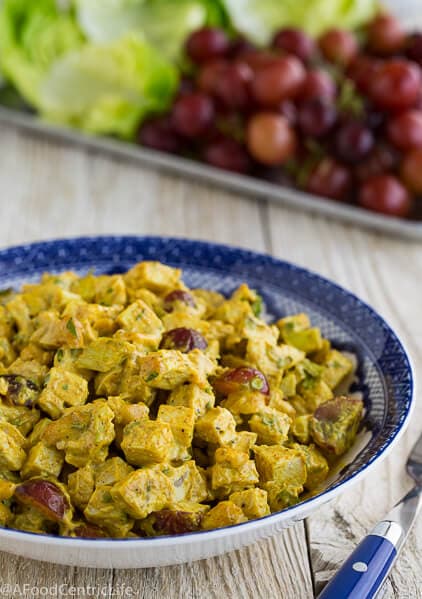
Serving Suggestions
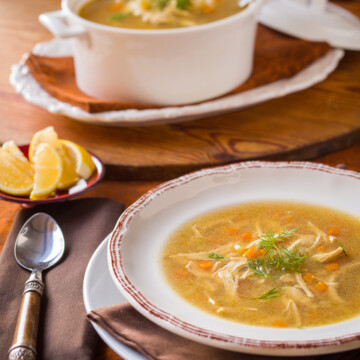
Three bean salad is good alongside a cup of soup, as a side to many dishes such as grilled meats or roast spatchcock chicken, and over fresh salad greens as an entree salad. I prefer it served at room temperature for more flavor, but it's good served cold too.
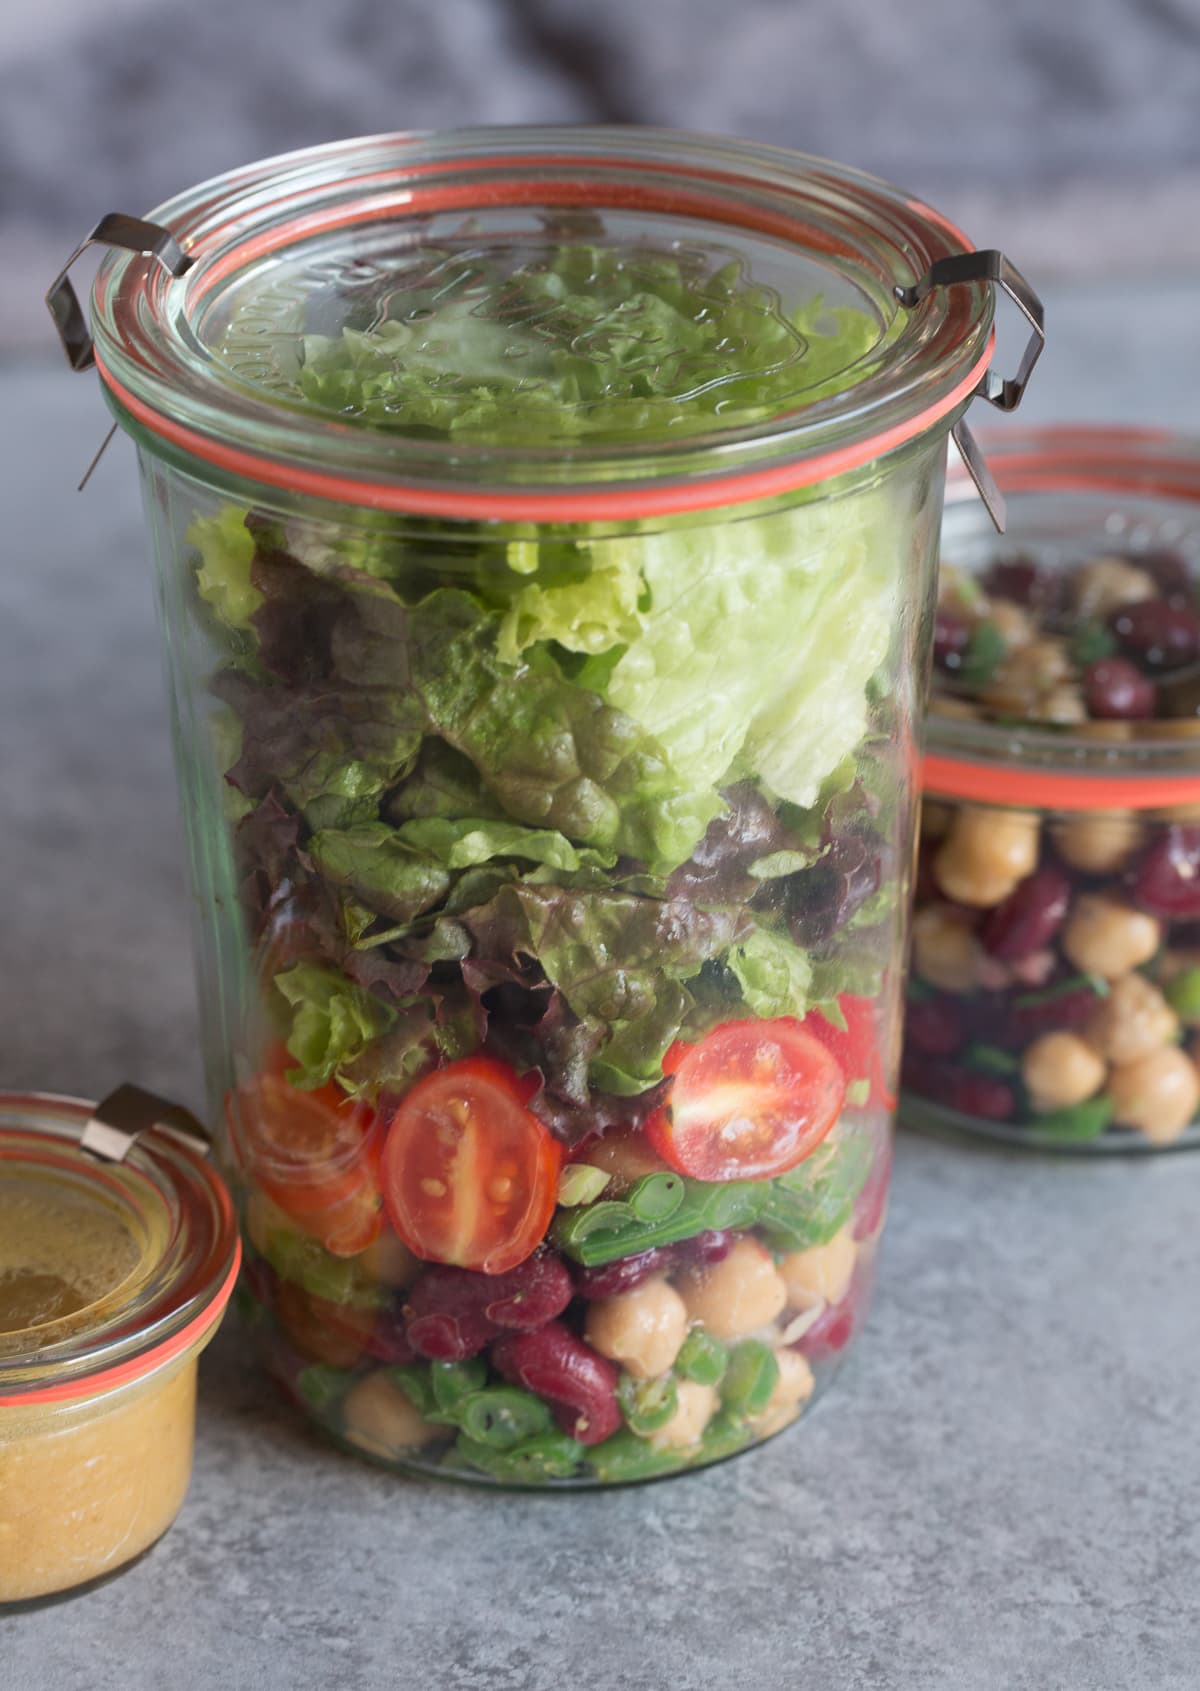
Meal Prep the Salad
To meal prep three bean salad, add ¾ of a cup of the bean salad to the bottom of a large glass jar or other airtight container. Top with chopped tomatoes and stuff full of salad greens. Pack vinaigrette for the greens separately so they stay crisp and add when ready to eat.
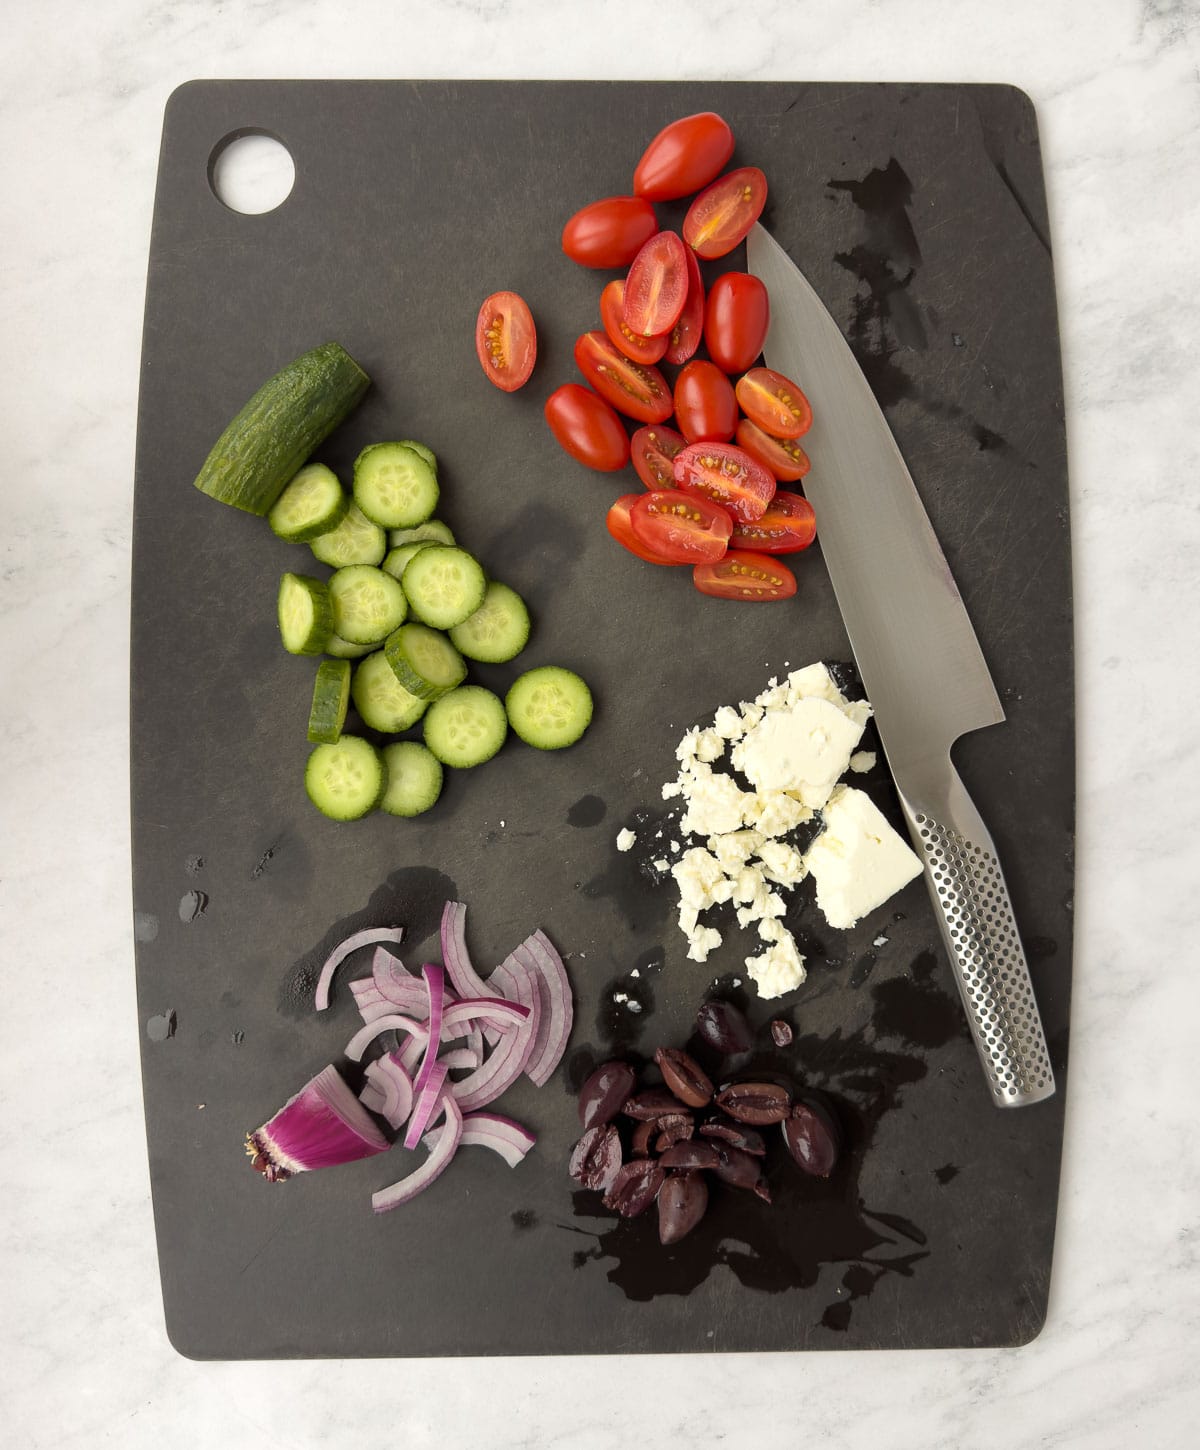
Good additions for a green salad are pitted black kalamata olives, crumbled feta cheese, chopped bell pepper, chopped celery or a little finely chopped red onion or shallot. Chopped fresh herbs are good too.
For more protein, add chopped leftover roast chicken breast.
Storage
Three beans salad lasts 4-5 days in the refrigerator. It's best to store it without dressing. Add the dressing just before serving or a few hours before serving for the beans to soak up the flavor.
More Bean Recipes
Beans are so versatile! Here are a few more recipes with beans for you to try. Of course this golden hummus with turmeric is always a great option.
Did You Make This?
If you make this three bean salad recipe, please comment and let me know. I enjoy hearing from you. Love it? Please give it a 5 star rating. They really help other readers.
📖 Recipe

3 Bean Salad Recipe
Equipment
- Small pot to blanch green beeans
Ingredients
Three Bean Salad
- 4 ounces fresh green beans I prefer the slender French green beans
- 1 15 ounce can red kidney beans rinsed and drained
- 1 15 ounce can garbanzo beans rinsed and drained
French Vinaigrette
- 2 tablespoons extra virgin olive
- 2 teaspoons red wine vinegar
- ½ teaspoon Dijon mustard
- 1 small garlic clove finely chopped or zested
- ¼ teaspoon sea salt
- ⅛ teaspoon ground black pepper
Would you like to save this recipe?
Instructions
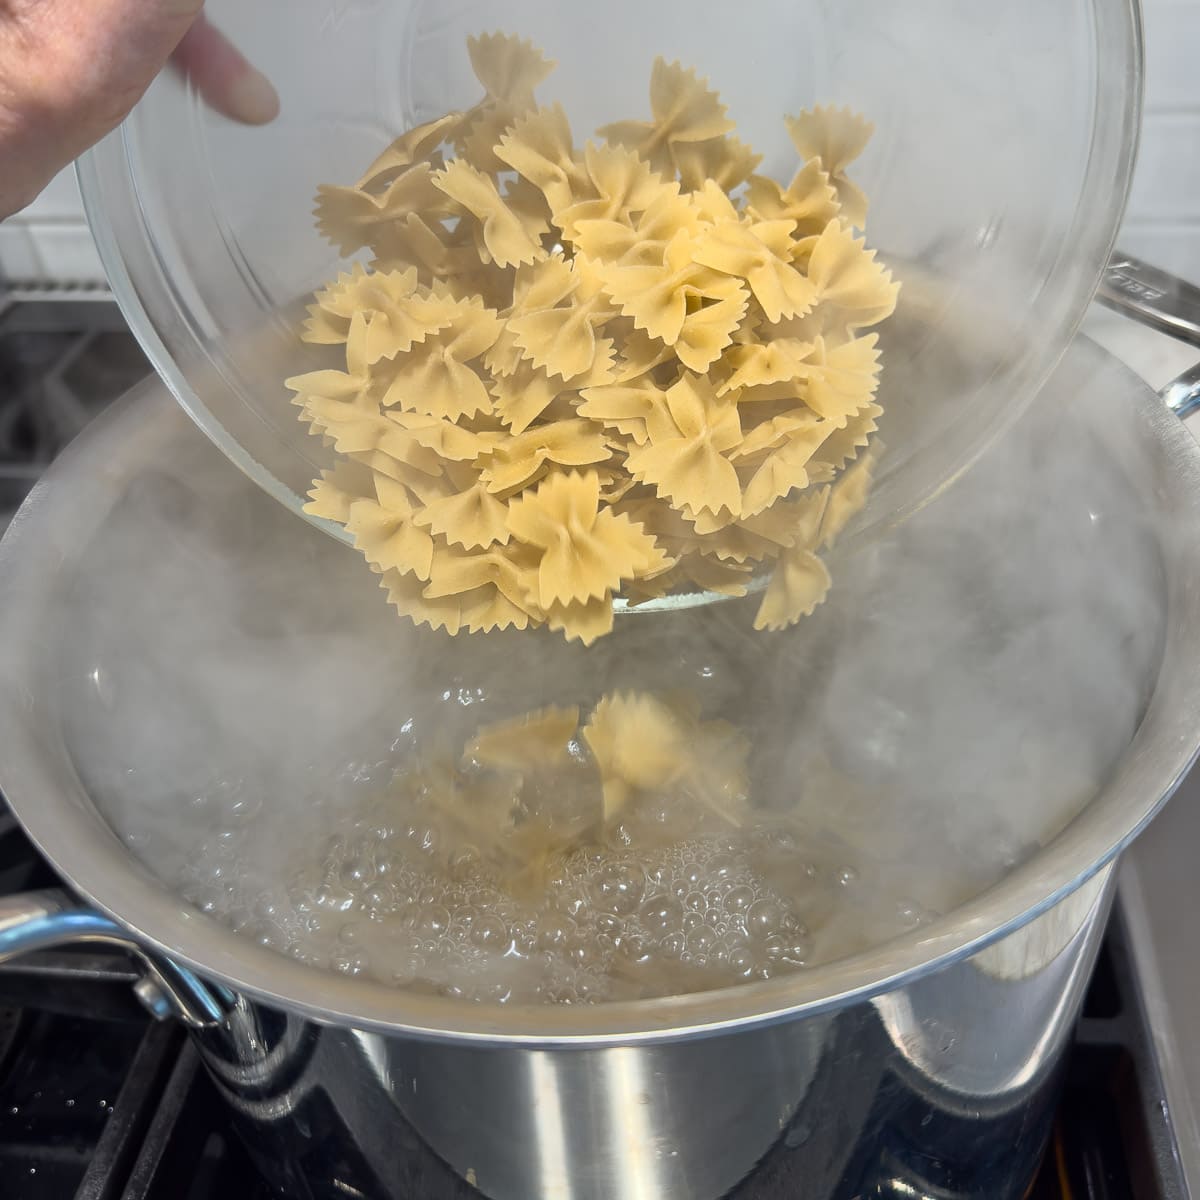
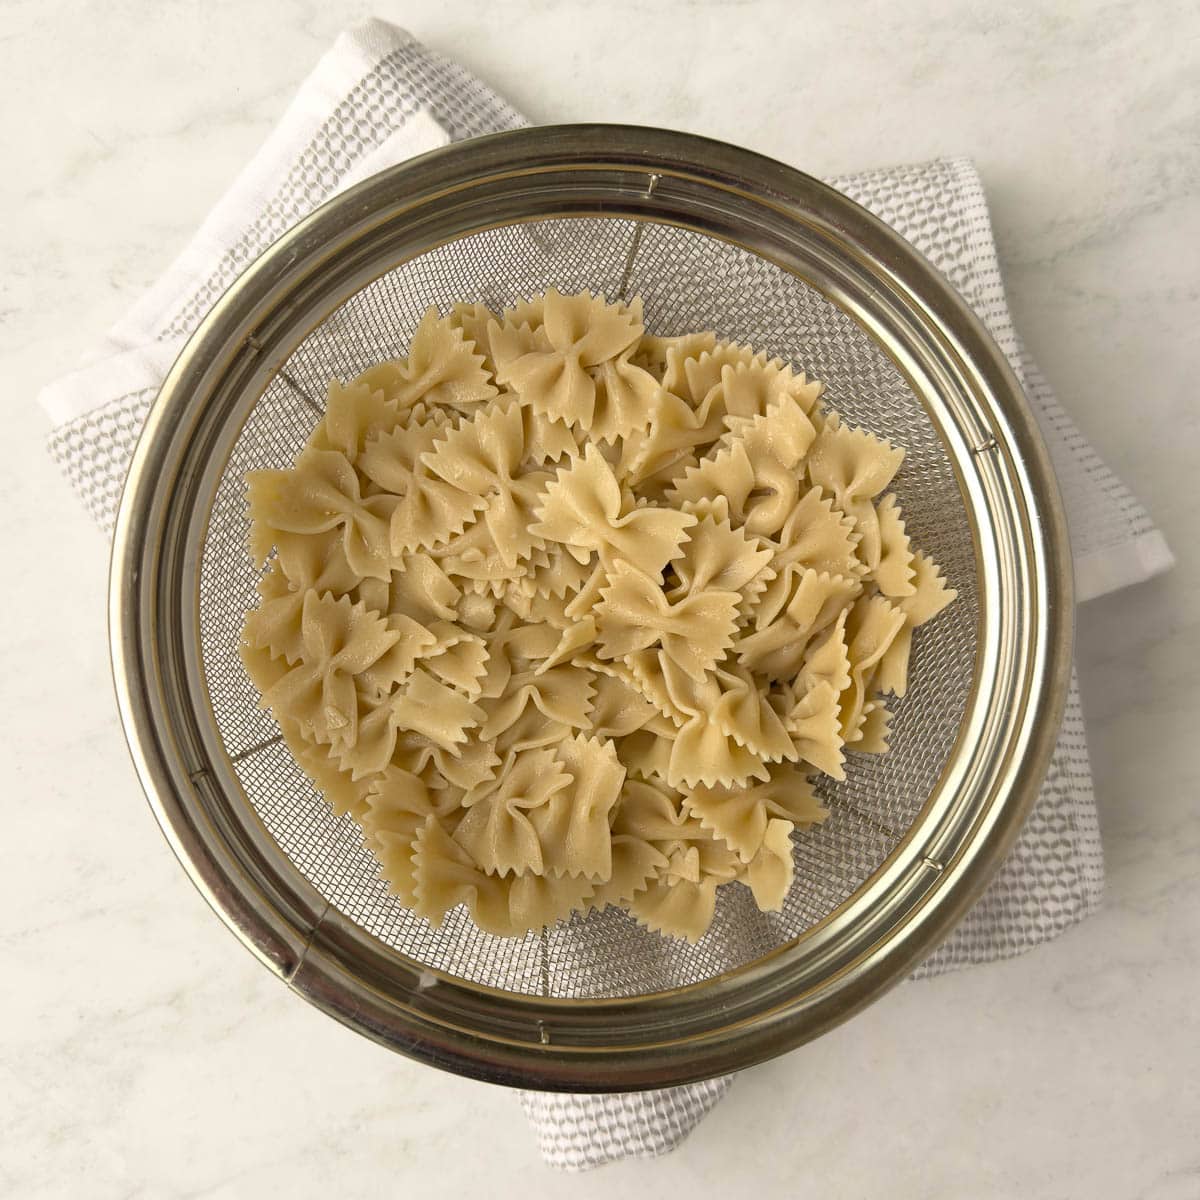
Cook green beans
- Set up an ice bath by filling a medium bowl half full of ice and cold water. Bring a medium pot of water to a boil, adding 1 tablespoon salt. Add the green beans and boil for 5 minutes. Drain beans and immediately place them in the ice bath to stop the cooking process and keep them bright green. Chill until cold, about 5 minutes. Drain and dry the beans, dump the ice water, dry the bowl.
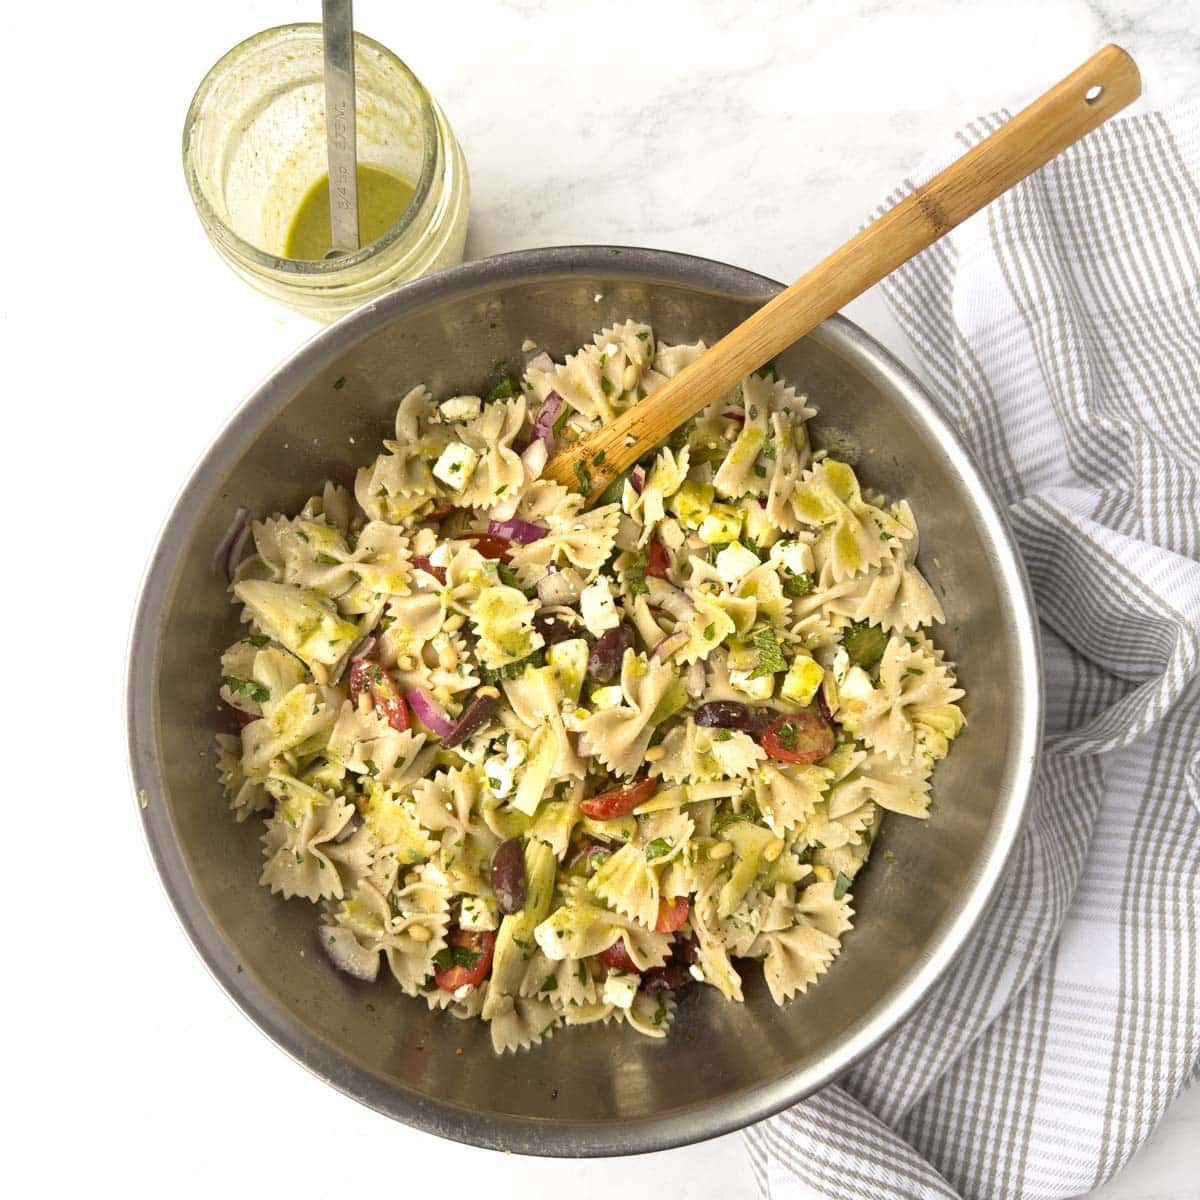
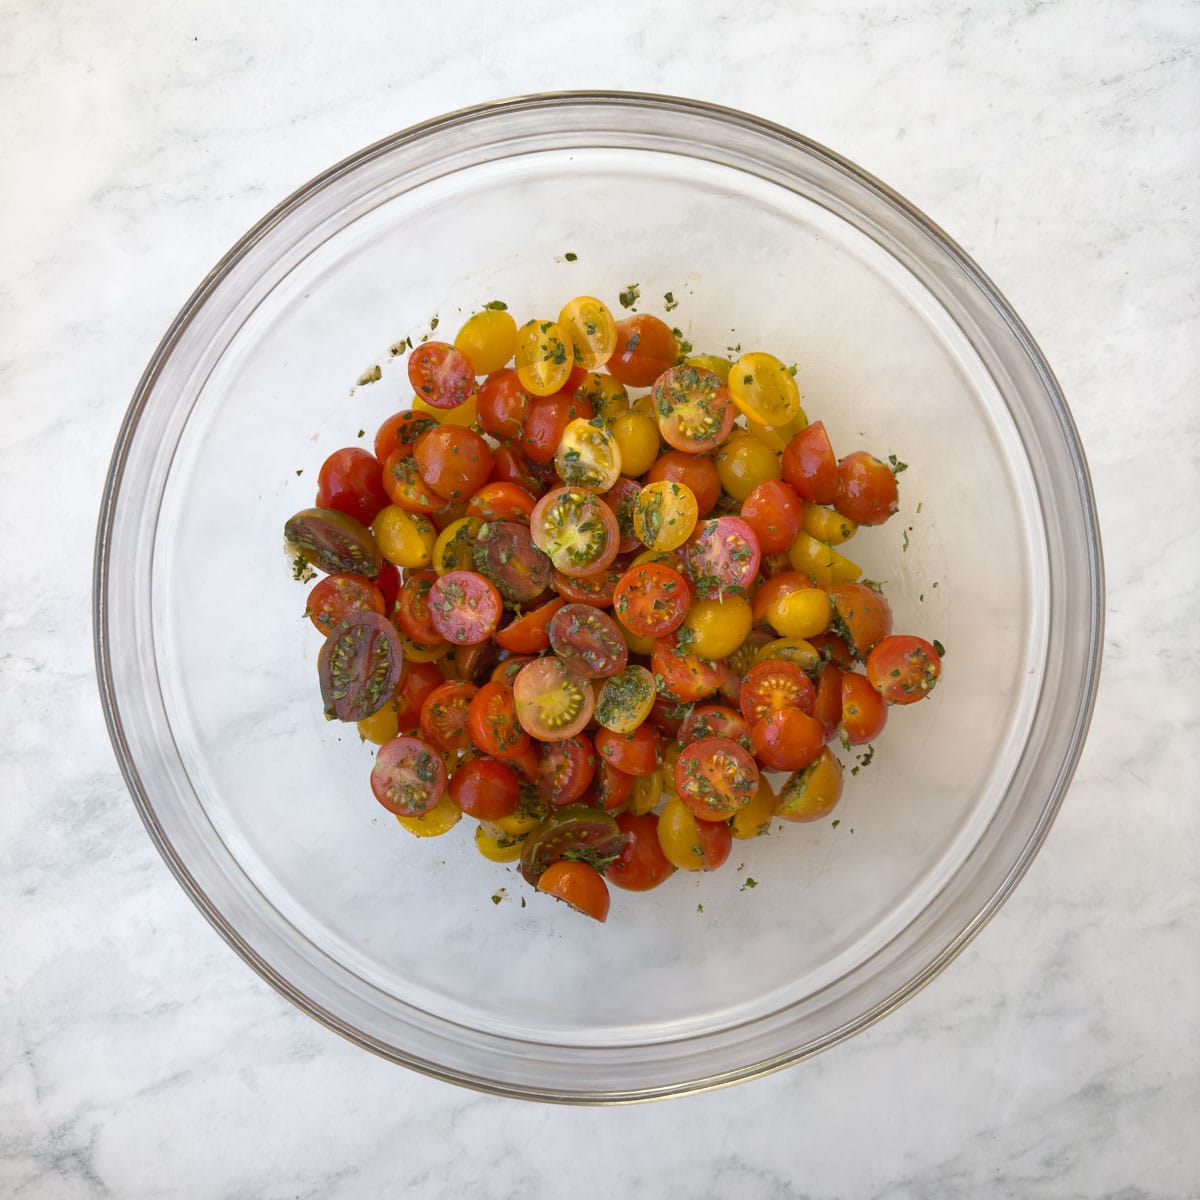
Make the salad
- Add the oil, vinegar, mustard, salt and pepper to the bowl and whisk smooth for the vinaigrette. Add the kidney beans and garbanzo beans to the bowl. Chop the green beans into approximately ½-inch pieces, add to the bowl. Toss to coat with the dressing and it's ready to serve.